
Bake Your Own Bread (It’s Cheap and Easy)
Simple Silent Season Series #1
When I was growing up in the 1970s and 80s, Sunbeam and Wonder Bread were the main breads of our house. Sometimes, my parents would get a loaf of Beefsteak Rye in regular or marble. Beefsteak was a soft rye, an almost crumbly bread. Now that I am a grown person and make my own bread decisions, I know that is not how rye bread should be. It should have a chewy crust and be soft inside.
Good, fresh bread is easy to find where I live (the Greater Philadelphia area and an hour and twenty from New York, the epicenter of killer rye). If you’re feeling fancy, caraway seeds take it to the next level. But something about making your own bread brings satisfaction of the highest order.
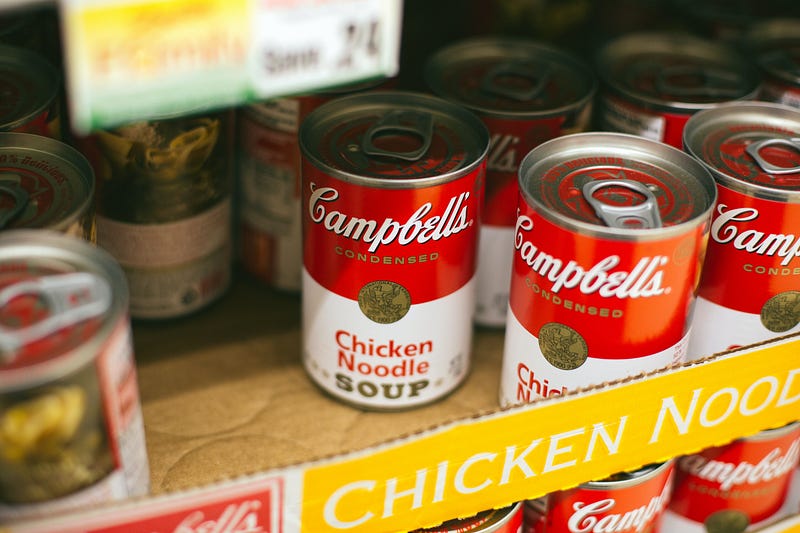
I grew up in a can, box, and jar home. This is not a complaint, simply a statement of fact. My mother grew up in the 50s and 60s, so this makes sense. Most of our veggies and starches came from cans and boxes, just as her childhood had been. I never thought for a minute it was possible to do something mystical, like making homemade artisanal bread. I mean — crusty bread from my own oven? Impossible.
Then, I started watching Food Network and reading cooking magazines when I got married in the mid-1990s. I learned that scratch-cooking and even homemade bread were not that difficult and they were easier and cheaper than prepared foods. This began my journey of cooking and baking, which has fashioned me into a shameless epicure.
During this cold, quiet season, I am offering a series of things to do for ourselves during this time of year. One of the easiest and most satisfying is baking a loaf of homemade bread.
I am putting a riff on a recipe my eldest daughter sent to me, which is great. But if you want a slightly larger loaf or want to make two smaller loaves so you can share one, I’ve modified it for such purposes.
For full instructions and the original recipe, click this link. My modifications are:
- 4.5 cups of flour
- Approximately 2.5 cups of water
- 2 tsp. salt
- 3/4 tsp. yeast
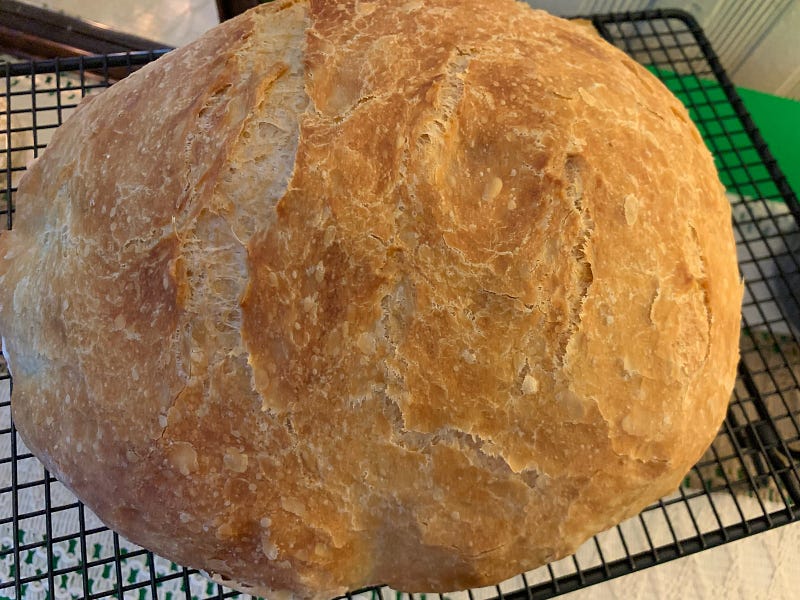
- When it is time to bake, nestle the bread into the Dutch oven right in the parchment. This leaves your Dutch oven clean and avoids any transfer mishaps or loss of air volume.
- Bake a little longer, closer to 65–70 minutes total. Be guided by the color (deep golden brown), and make sure it “sings” when you take it out (a little crackling sound that emerges from the loaf).
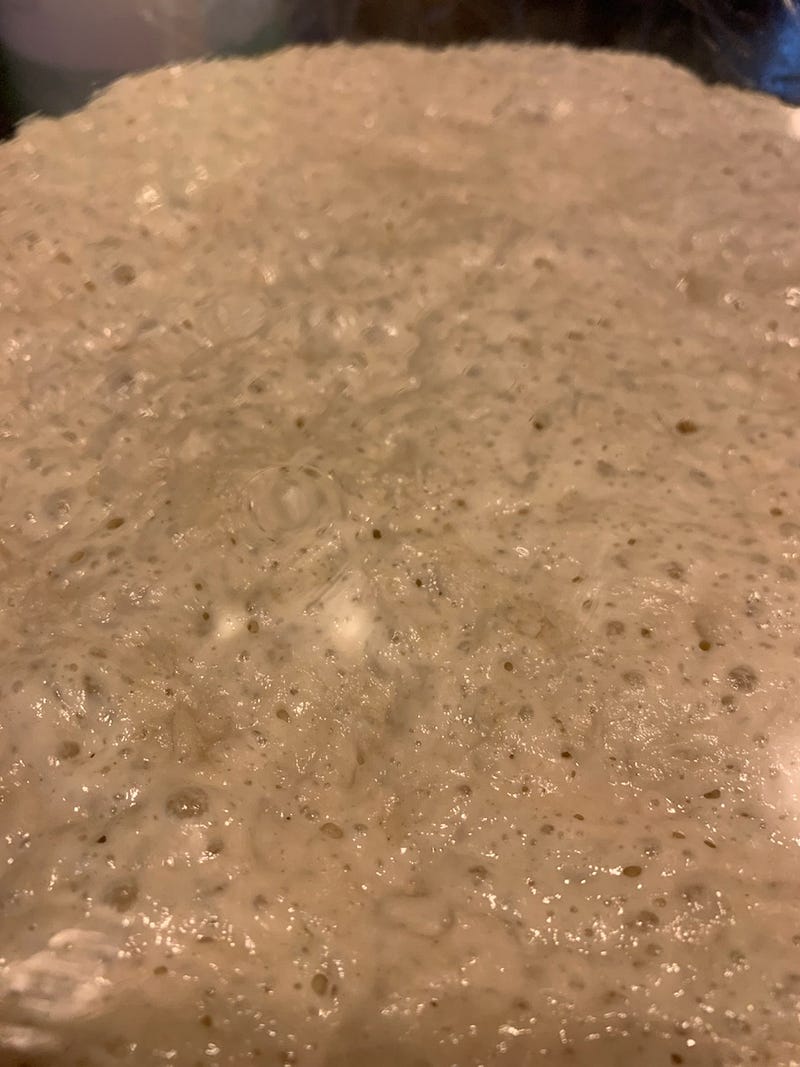
- NOTE: The microwave light trick works like a charm to help the bread rise overnight, especially in a drafty old Victorian like my house.
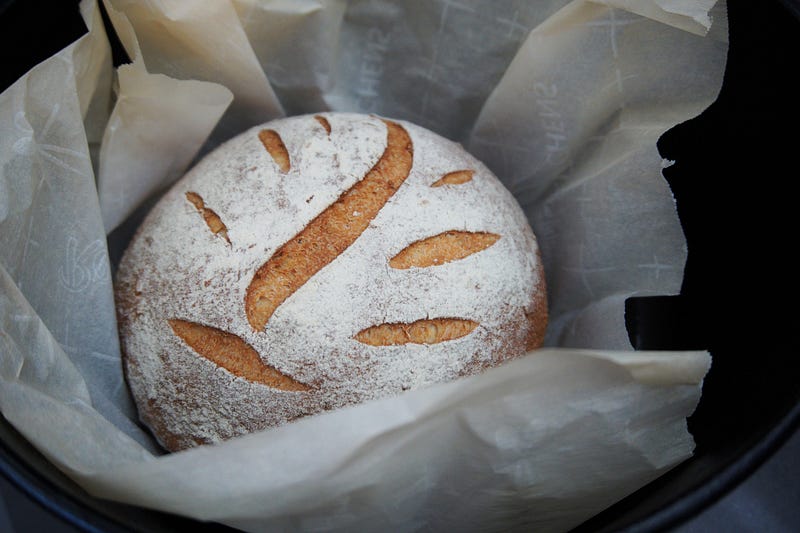
Here are my beautiful overnight bubbles and the finished product.
This was extremely easy. I mean, barely any effort and little cleanup. The night before, mix the ingredients by hand and let them rest in a clean, oiled bowl until the next day. Then, follow the instructions to do a second rise and bake off.
It was literally less than ten minutes of hands-on time for the whole process. Faster than running to the store for a loaf. Plus, you get the benefit of the smell of it baking. There’s no candle or spray that could ever replicate it.
Freshly baked bread is a gift. It’s a simple, warm, lovely way to care for ourselves in the chill of winter. Or, if you’re okay with the oven in a warmer climate, for a more temperately located home.
I’ll be sharing more ways to slow down and embrace the silent season of winter in the coming weeks. All will be easy, inexpensive ways to bring a little joy and fulfillment to life while we wait for springtime.
Until then, enjoy the season of waiting by enjoying the present moment.
Thank you for reading! Tracy is a New Jersey writer who loves Earl Grey tea and spending time in nature. Please follow me on Medium to stay connected. Not a member of Medium? Click HERE to become one and get unlimited reads while supporting writers. Please click here to see my line of printed goods on Amazon.