
Application Security Automation Part 2
Automated Static Code Analysis

Installation
Note that almost all of the installations and configurations are not hardened so if you create something similar on a production environment please do it in a more secure way (I will post about this topic later), this process is just for demonstrating this system and its potential capabilities on a local environment.
Lab Information
Windows 10, updated, local firewall disabled (all parts can be installed on Linux too), 4 machines in total on VMware.
- 1 Sensor -> number of sensors can be increased
- 1 SSC -> Requires a DB which I will install on same machine. In a production environment DB and application server should be on different machines.
- 1 Controller ->Scan Central Controller
- 1 Jenkins -> no nodes for now just a simple installation for testing
1-Sensor(s)
You need to install Fortify SCA first then modify it as a worker of Scan Central.
What You Need
- Fortify SCA Installer exe
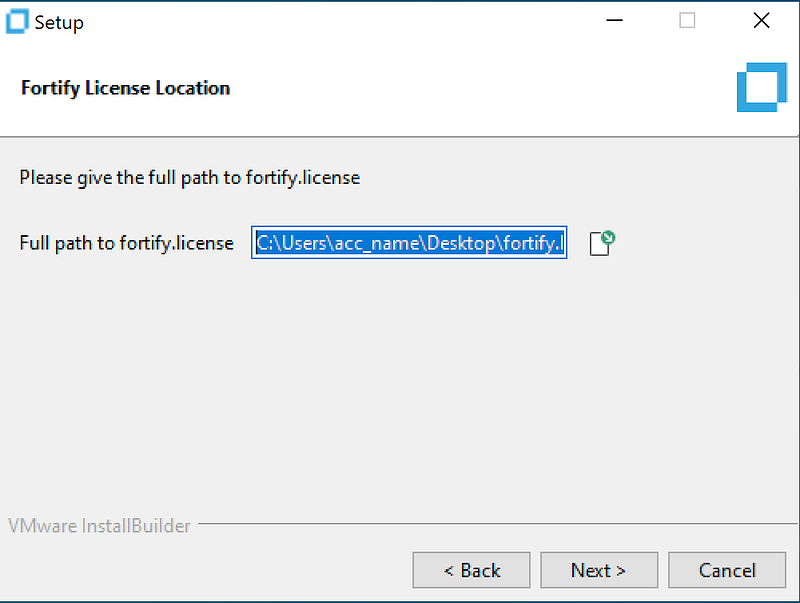
- Valid Fortify License
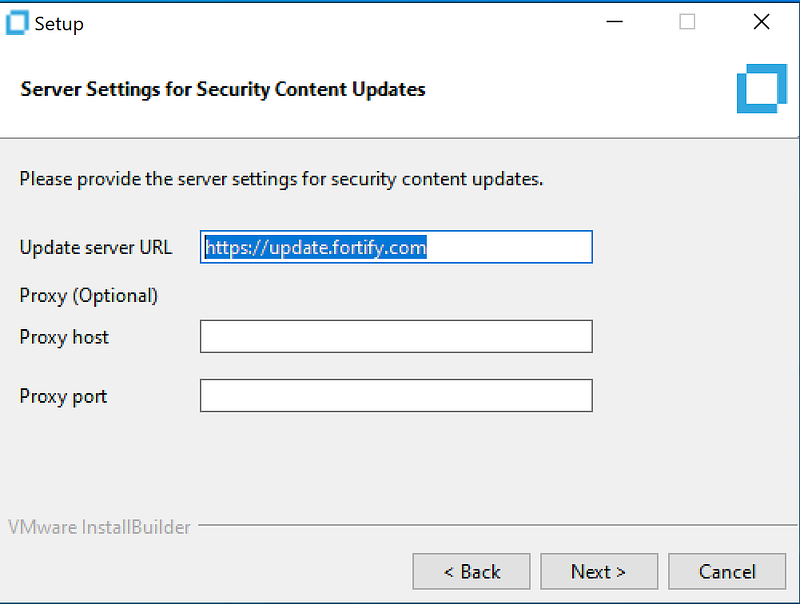
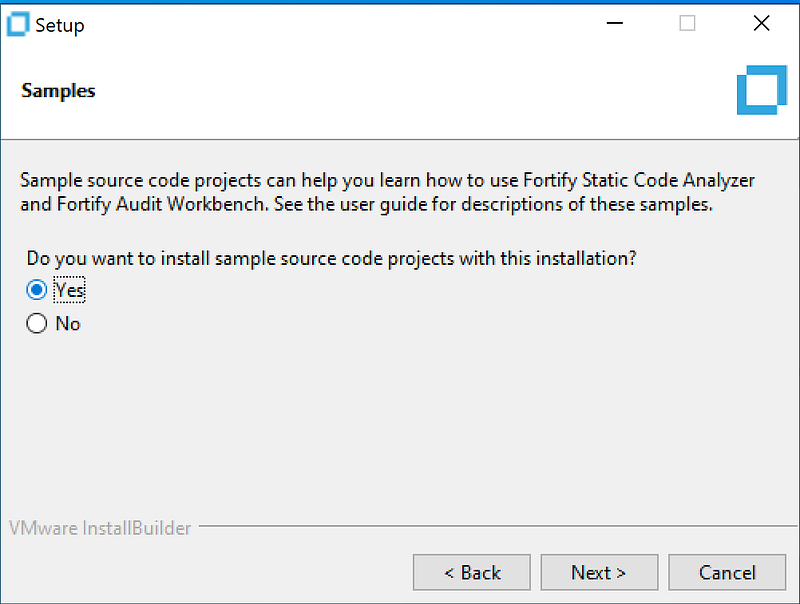
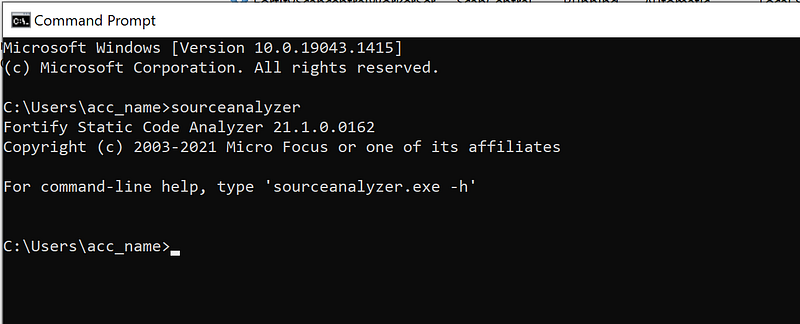
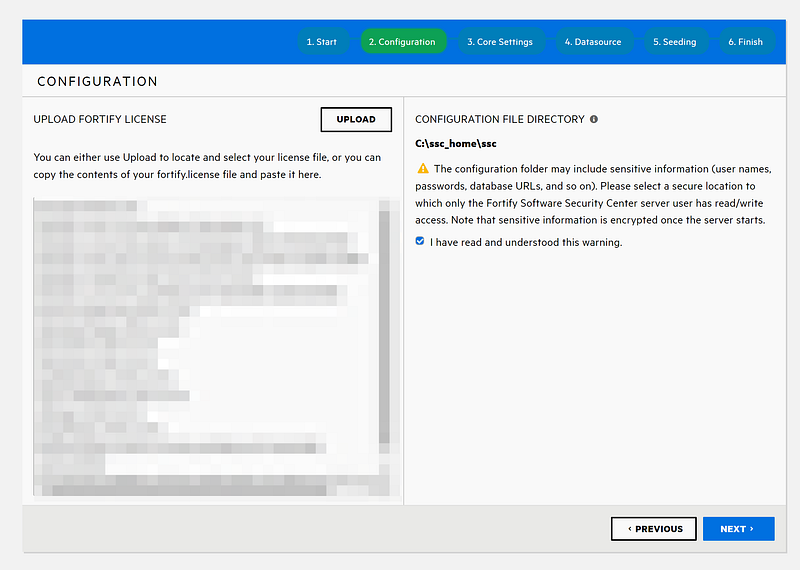
Run the exe and the installer will lead you. I will point out some important decisions below. Check out the screenshot descriptions.
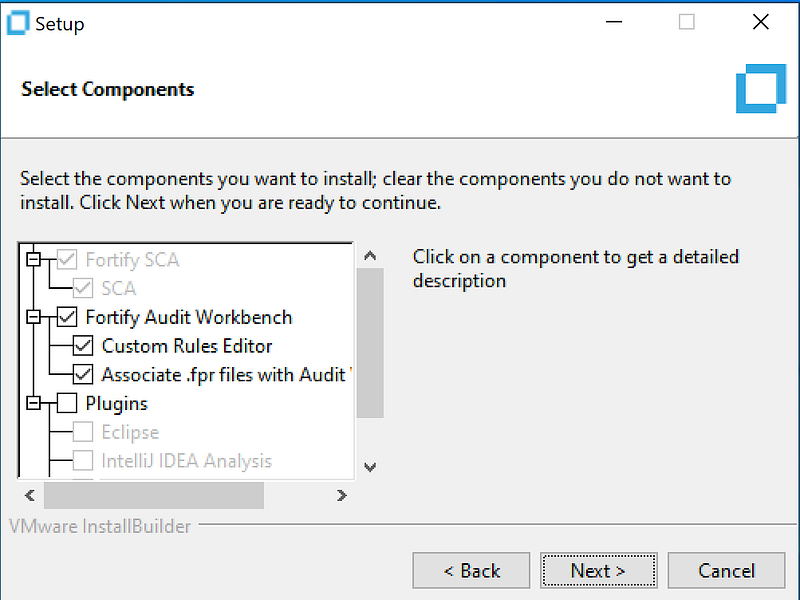
Installation is done, you have a working standalone SCA. “sourceanalyzer” is added to path so you can use it directly from command line. It is not a worker for Scan Central yet, we will configure it later in the upcoming posts.
2-SSC
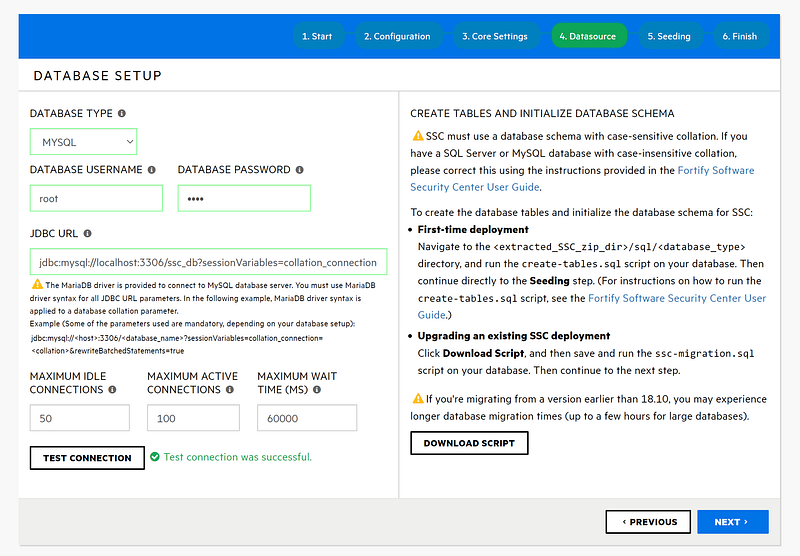
You need to have a database and a Tomcat server for SSC. I will use MySQL. MsSQL and Oracle are supported too.
What You Need
- MySQL installer
- Tomcat installer
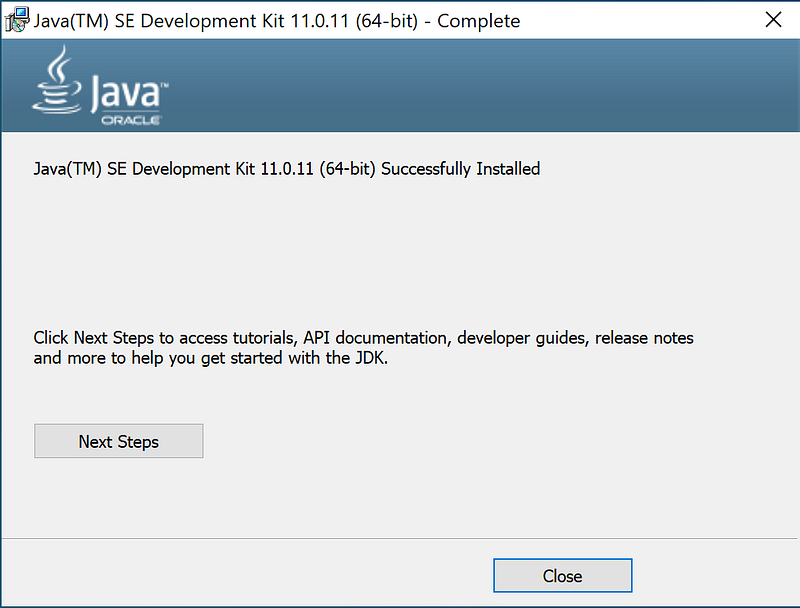
- JDK for Tomcat
- SSC files


Important configurations for MySQL, other DB systems require different configurations.
I will use Workbench for creating tables and by default Workbench blocks UPDATE and DELETE so we need to disable it.
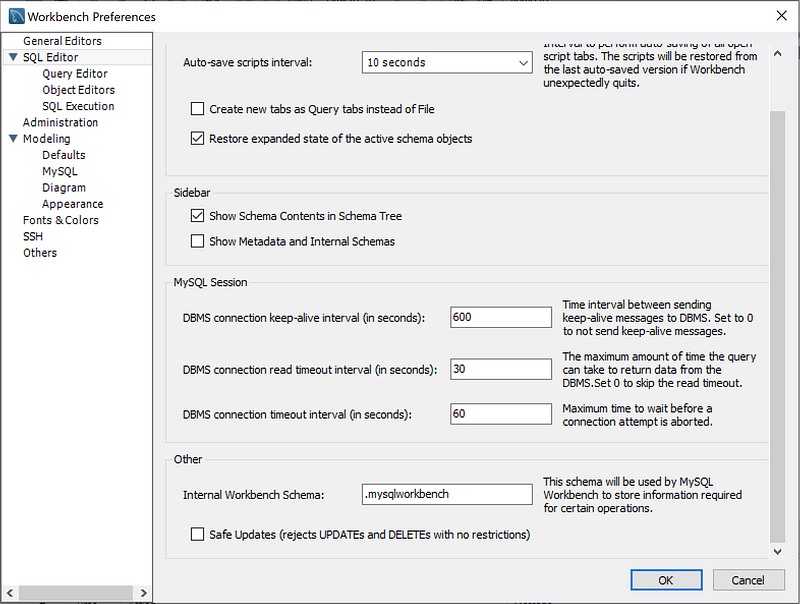
After confirming the new preference, you need to restart Workbench.
You also need to change “max_allowed_packet” size because default size of MySQL is too small for SSC’s seeding packets. There are various ways to change this parameter, but I will change mine directly from my.ini.
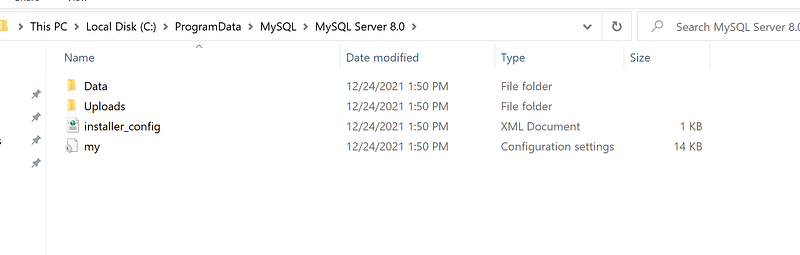

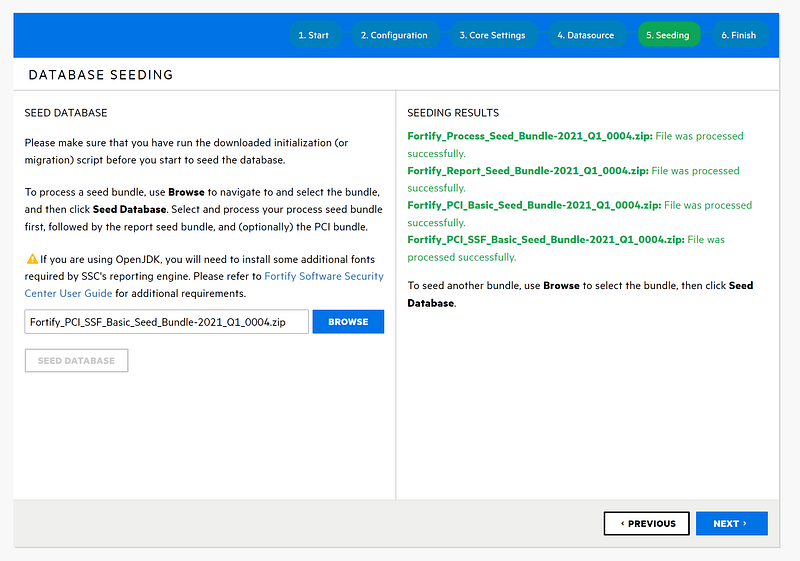
After restarting MySQL, it is ready for SSC tables. create_tables script can be found in SSC setup files.
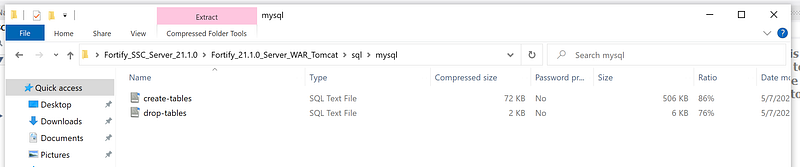

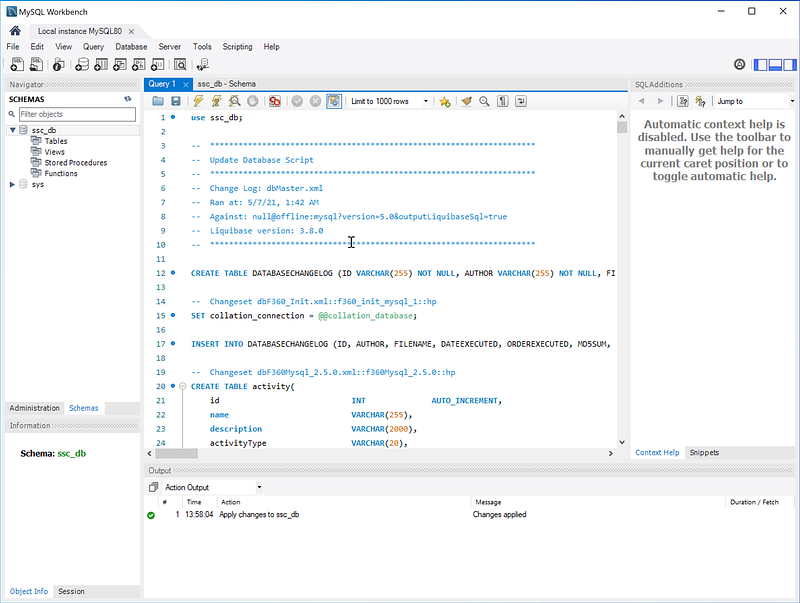
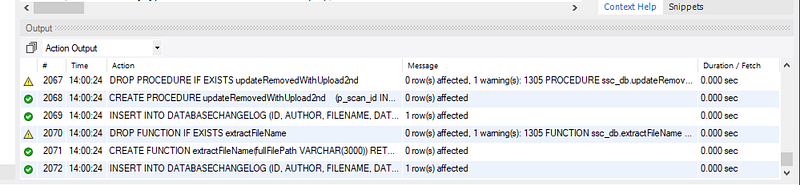
When the script execution is done, database for SSC is ready.
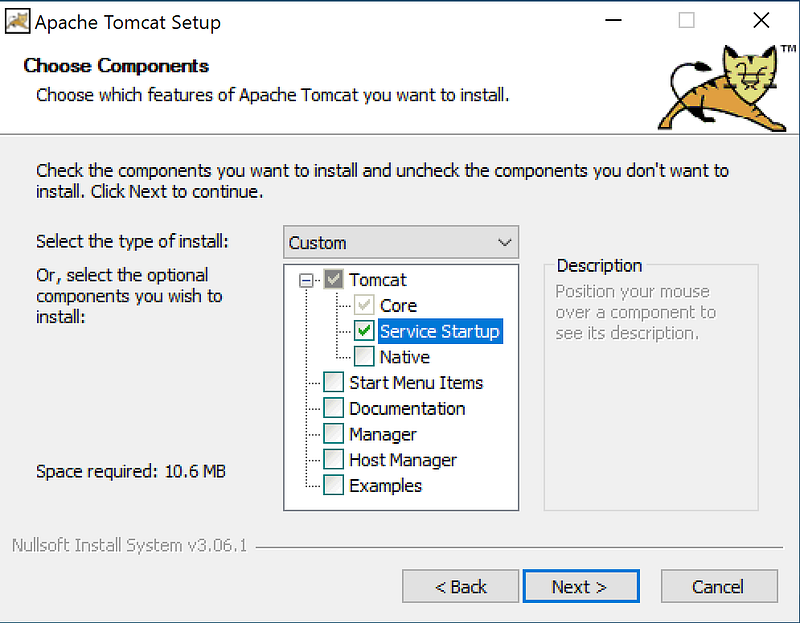
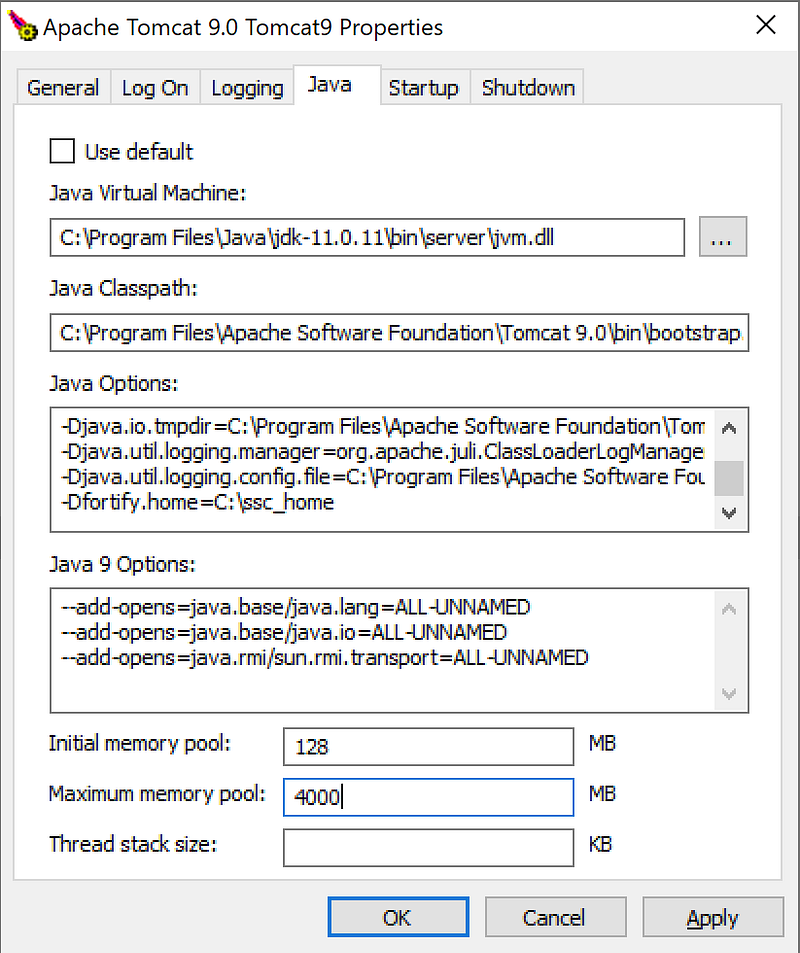
Next step is Tomcat. I will install it as a Windows Service, so installer is great.

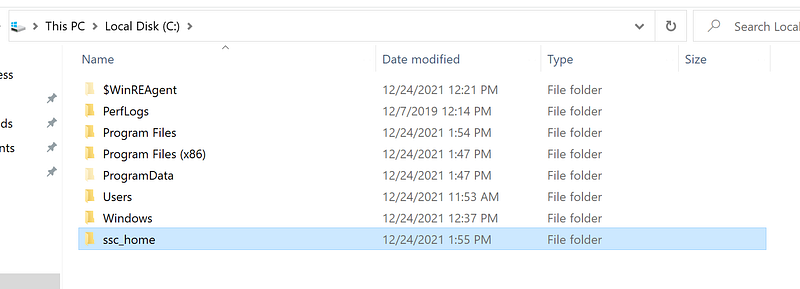
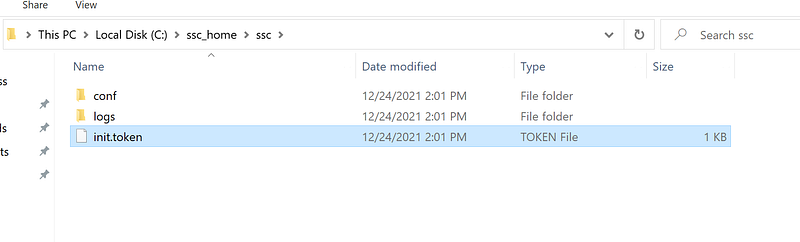
You need to create a folder for SSC’s files and add this path to Tomcat, default location of this folder usually cause a chaotic situation. I almost always use following path for the home folder. The name of the folder is up to your creativity.
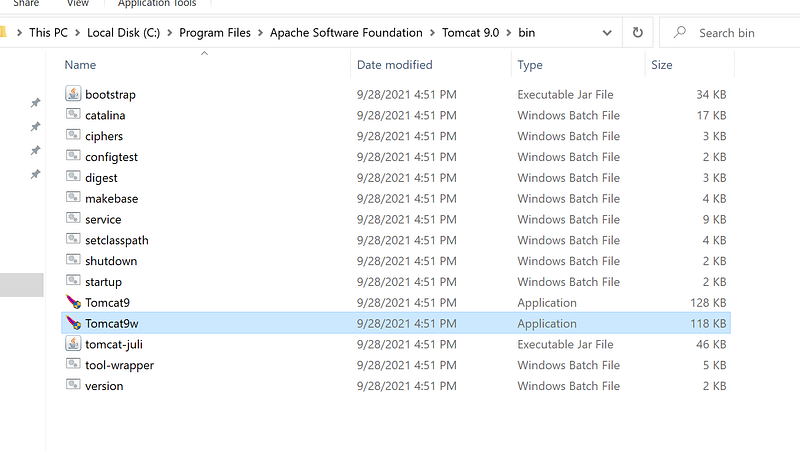
After copying SSC .war file under Tomcat webapps folder, we are ready to start Tomcat.
Next step is basic configuration of SSC. Open your browser and go to http://localhost:8080/ssc . 8080 is the port I chose. It may be different if you choose another port.

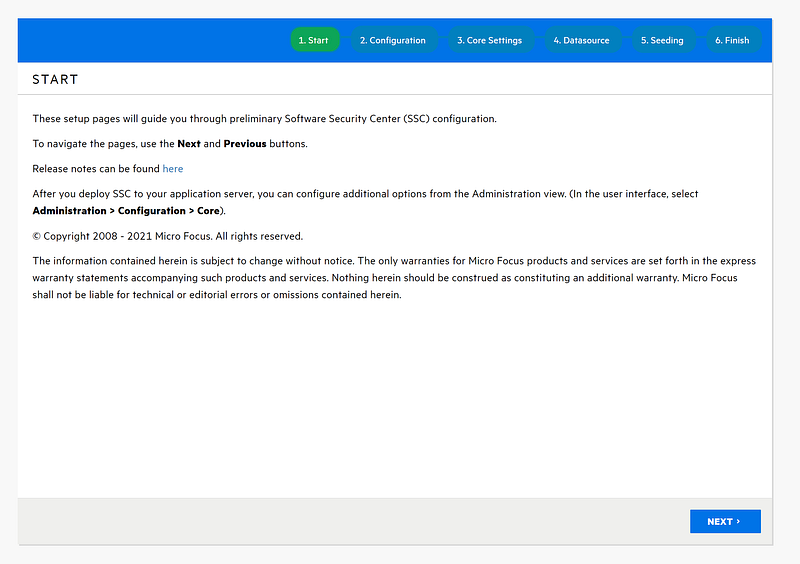
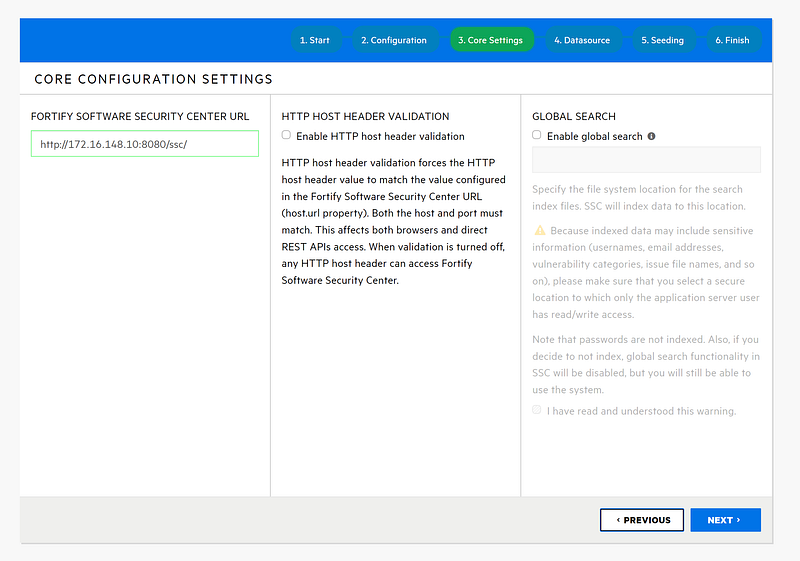
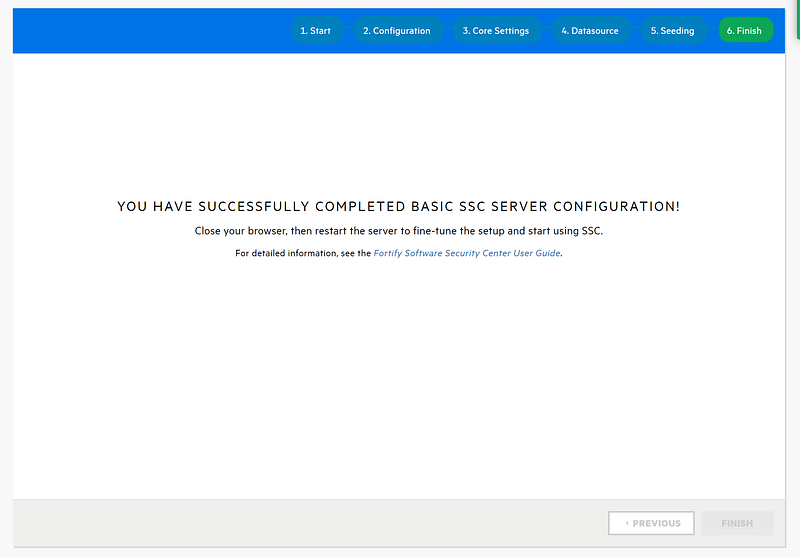
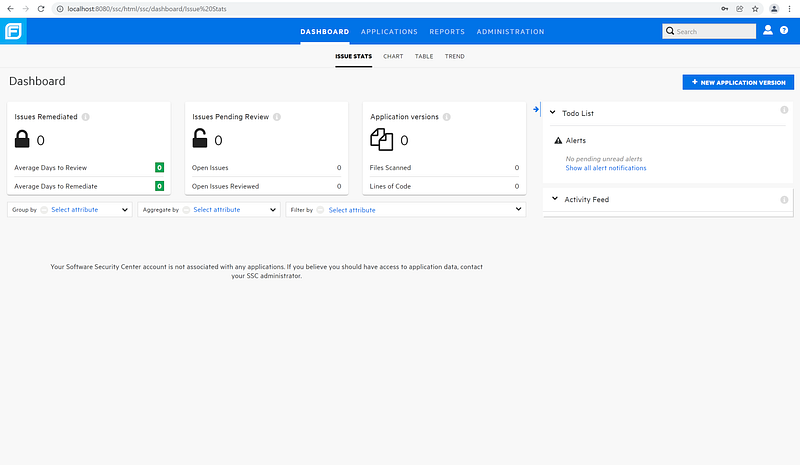
SSC is ready to go.
3-Controller
Scan Central Controller is similar with SSC, a java application running on Tomcat, but it is less customizable than SSC. It comes as a package from Microfocus.
What You Need:
- JDK
- Controller installation files
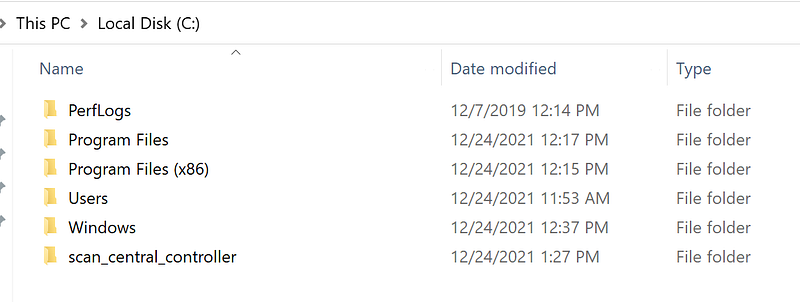
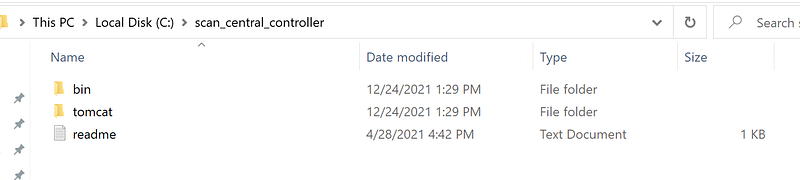


We are good to go, controller is ready.
4-Jenkins & Scan Central Client
To translate the source code, you need Fortify SCA. Setup is same with sensor at this point, I will configure it as a client later. Please refer to “1-Sensor(s)” for details.
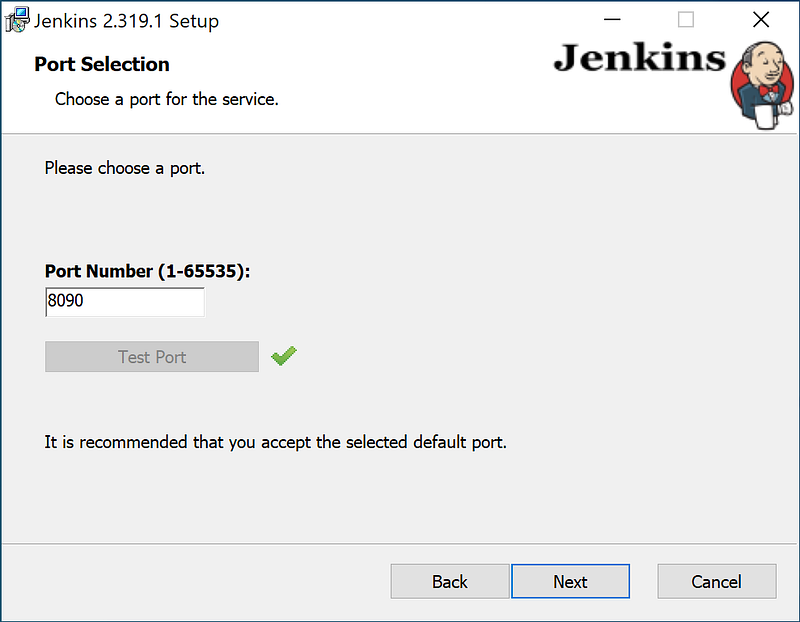
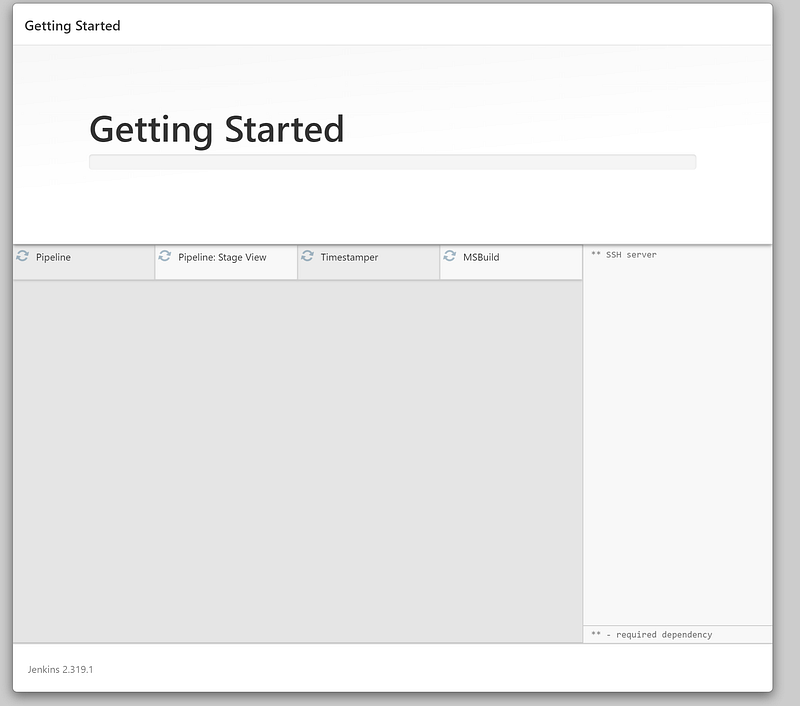
Jenkins is default too, I only changed the port and plugins that come with suggested settings. Jenkins requires JDK too. It is possible to follow Jenkins’ documentation.
4 machines for this system are ready now.

Don’t worry we will configure everything in the next post.
Organization of series 1- Introduction
2- Installation (This post)
4- Scanning