
A Simple Way To Run Stable Diffusion 2.0 Locally On Your PC — No Code Guide
It’s no exaggeration to say that AI has been making tremendous strides in the past few months, and the newest development in this field is the release of Stable Diffusion 2.0.
This new model from Stability AI is packed with brand-new features like depth-guided image generation, text-guided inpainting, and more. You can read more information about SD 2.0 here.
In this article, I’m going to show you how you can run the new model locally on your PC with an easy-to-use Web UI.
System Requirements
Make sure that your current system meets the minimum requirements to run the model. In this tutorial, I will be using Windows and NVidia.
- Windows 10/11
- NVidia RTX GPU with at least 8 GB of VRAM (lower RAM may work but could run into issues)
- At least 25 GB of local disk space
Environment Setup
Download and install the following dependencies.
- Python 3.11.0 and add Python to PATH if needed
- Latest git release
If all is well so far, we’re ready to install Stable Diffusion 2.0 locally.
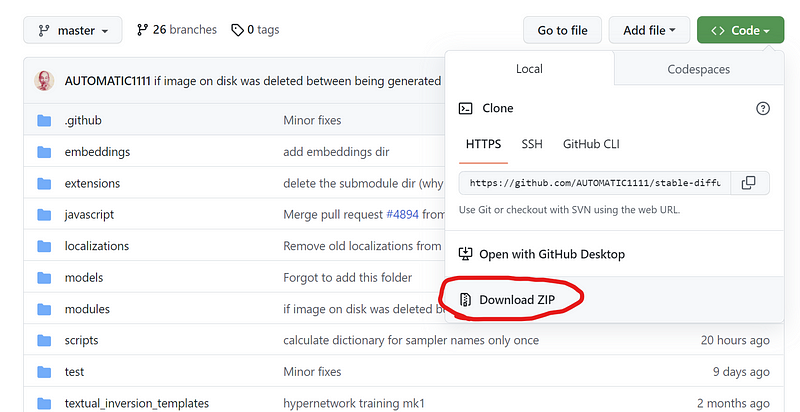
Step #1. Download the project file
You have the option to download the project file as a zip file or clone the project via git. In this example, let’s download the project as a zip file.
Extract the file locally, preferably in the root of the C:\ directory to avoid path problems.
Step #2. Download the checkpoint file
Download the checkpoint file “768-v-ema.ckpt” from hugging face and paste it inside the following folder.
C:\stable-diffusion-webui\models\Stable-diffusion\
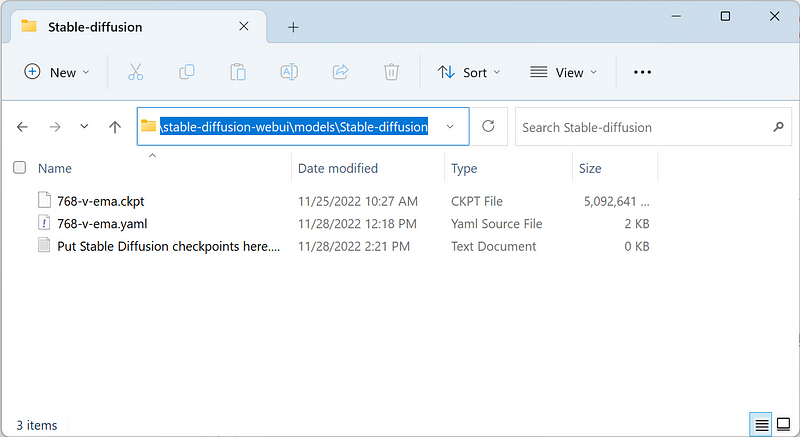
Download the config yaml file too and rename it the same as the checkpoint file.
Both files should be in the same folder as in the image above. Also, make sure the file extension of the yaml file is not “.txt”. I had to spend a good 30 minutes debugging this because the file extensions were hidden lol.
Step #3. Generate images
Double-click the webui-user.bat file and wait until all dependencies are installed. You should see the localhost link below.
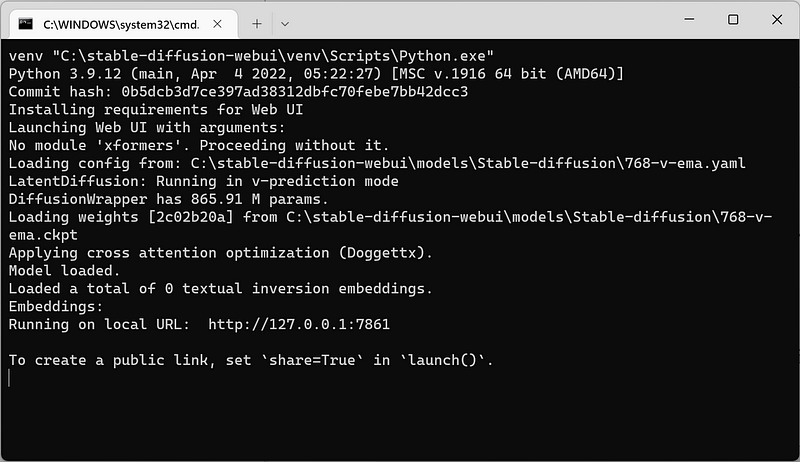
Open the URL in your browser, and the Web UI should be displayed.
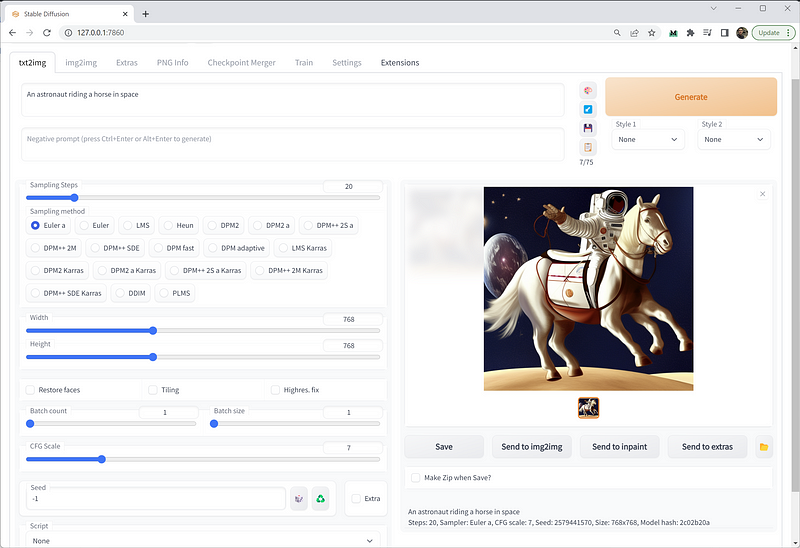
Input the image text prompt and press the "Generate" button. Change the resolution to as much as your graphics card can handle.
I can push the resolution to 1028x1028 on my NVidia RTX 3060 Ti with 8 GB VRAM.
Here’s an example:
Prompt: A photorealistic image of an astronaut riding a horse on mars
Awesome. You can play around with the settings and adjust the parameters to render the image that you want.
That’s it. I hope you get it to work on your side. If you have any issues, feel free to post them in the comments, and I will try my best to answer them.
For now, the web UI tool only works with the text-to-image feature of Stable Diffusion 2.0. Other features like Img2Img or the brand-new depth-conditional image generator are yet to be supported.


