
A 10-Step Guide to Decoding Your Curation Topics
“Chosen for further distribution” — in which topic/s? — it’s complicated…

Important Note. I wrote this on February 1, 2021. Everything worked. Today, February 2nd, the process does not work. Ugh, Medium! I’ll continue to check. I’m hoping it’s just a glitch and that this tutorial will be worth your while. I’ll post an update when I know more. Thanks for your understanding!
The new 5-Step guide as of March 16, 2021:
Hi there. My name is Aimée and I’m the editor of Age of Empathy. I’ve been writing on Medium since April 2020. I’ve earned top writer a total of 13 times and have had a fair number of articles chosen for further distribution and a fair number that sank below the AI radar. I like to know which topics my articles are curated under because I think this gives me good insights into what my audience likes to read.
Many of the writers at Age of Empathy and many of my writing peers have asked me how to do this. Because it’s not a simple answer, I’ve made the following guide. I hope it helps. If you have comments or questions, please drop a private note or leave a comment below.
Let’s get started.
10-Step Guide to Finding the Topics in Which Your Article Was Chosen For Further Distribution
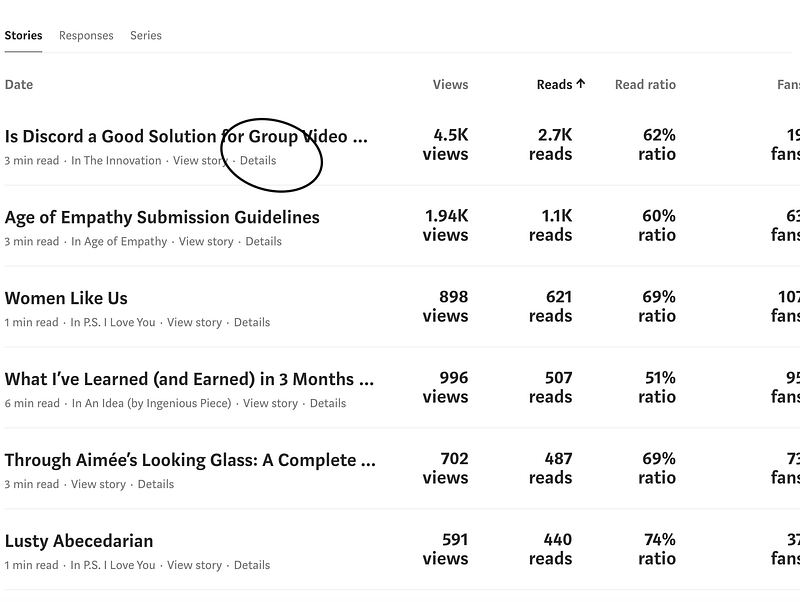
Step 1. Go to Your Stats Page.
Look at your stats page. You will have to go through each article and click on “Details” to see if your story was “Chosen for further distribution.”
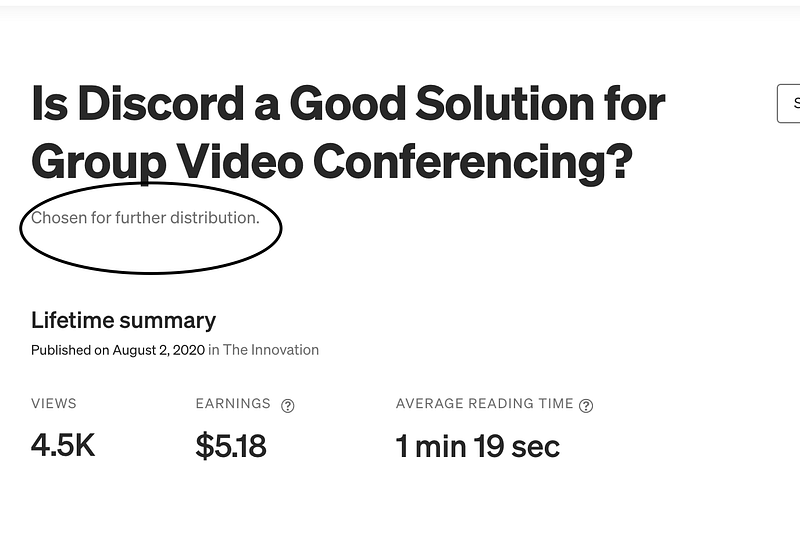
Step 2. If Your Article Was “Chosen for further distribution,” Proceed. If not, look for another article.
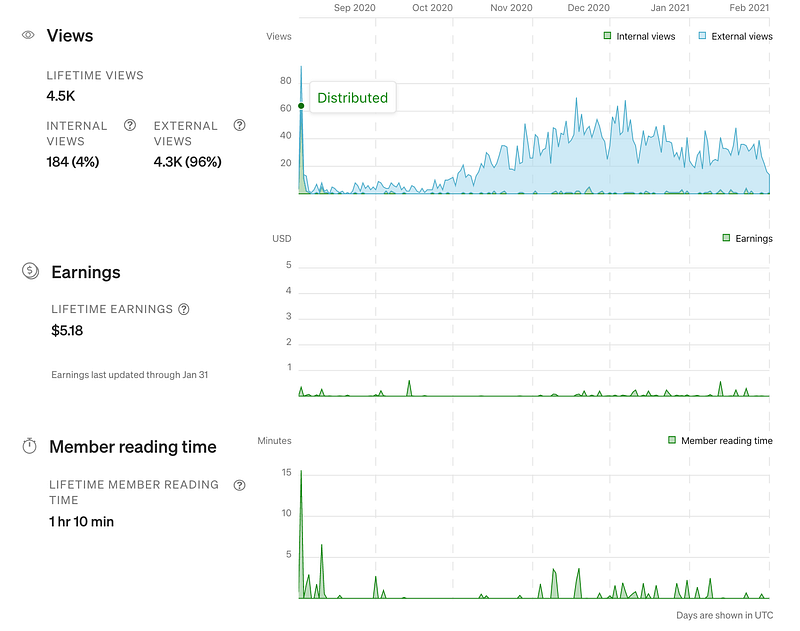
When you find an article that says “Chosen for further distribution,” click into that article. As you can see, 4.5k views don’t necessarily equal $$$$. 96% of these views are external. And, here I’d like to remind you what my good friend Hogan Torah reminds me: Even when we aren’t making money from external views, we’re getting our name + brand out there. That means these external views are valuable in their own way, especially as we make our way off-platform. In HT’s actual words, “Don’t delete old shit just because it doesn’t go viral the first 3 days.”
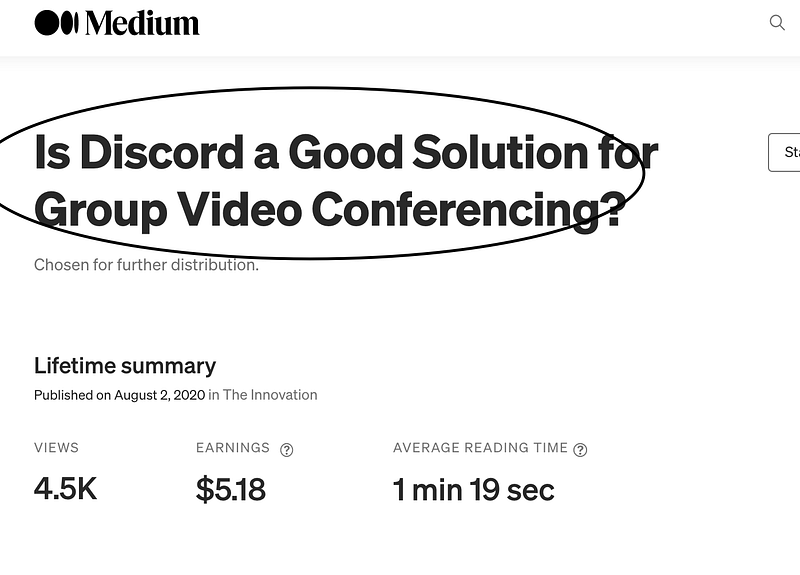
Step. 3. Leave the Stats Page to Go to Your Article
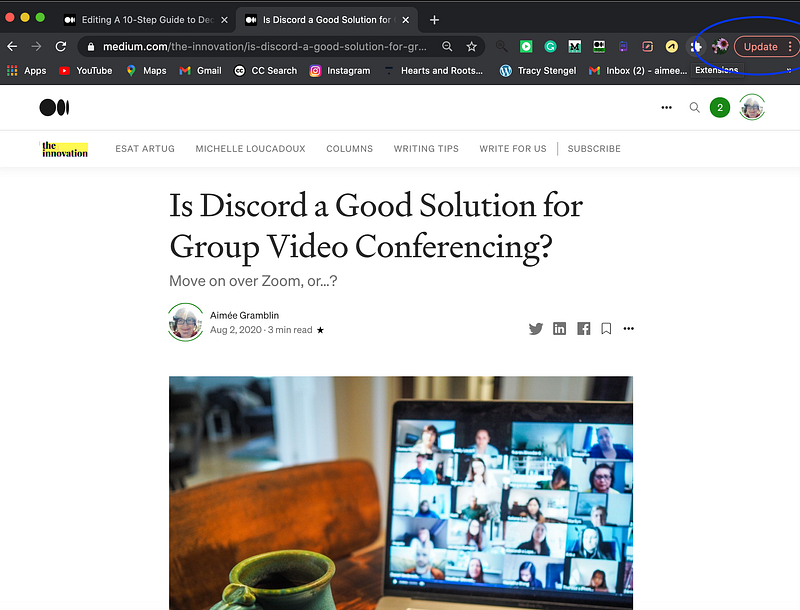
Go to your actual article. You can do this by clicking on the title from your stats page.
Step 4. Let’s Get Into Coding!
Go to your article in the Chrome browser. It must be the Chrome browser. Click the 3 vertical dots in the upper right-hand corner.
Step 5. The Dropdown Menus
When you click the 3 dots, you’ll get a drop-down menu. First, you need to choose “More Tools” and then “Developer Tools.”
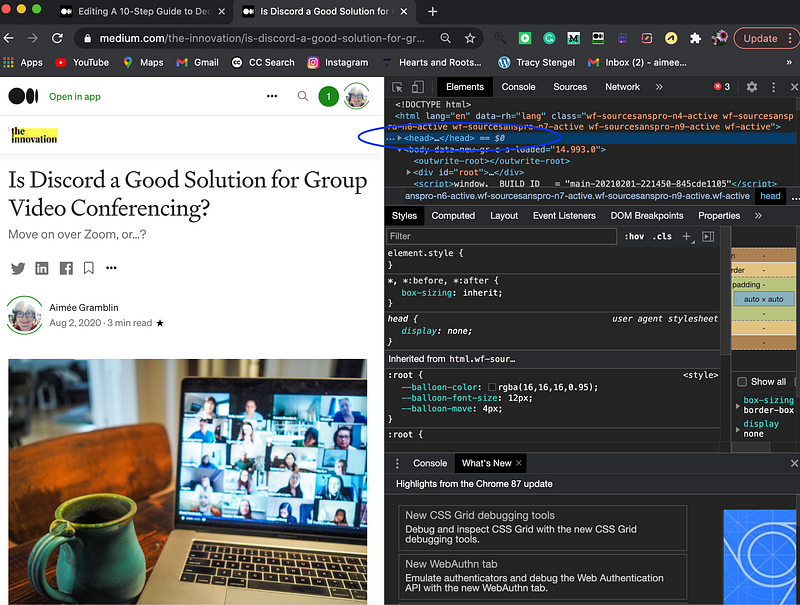
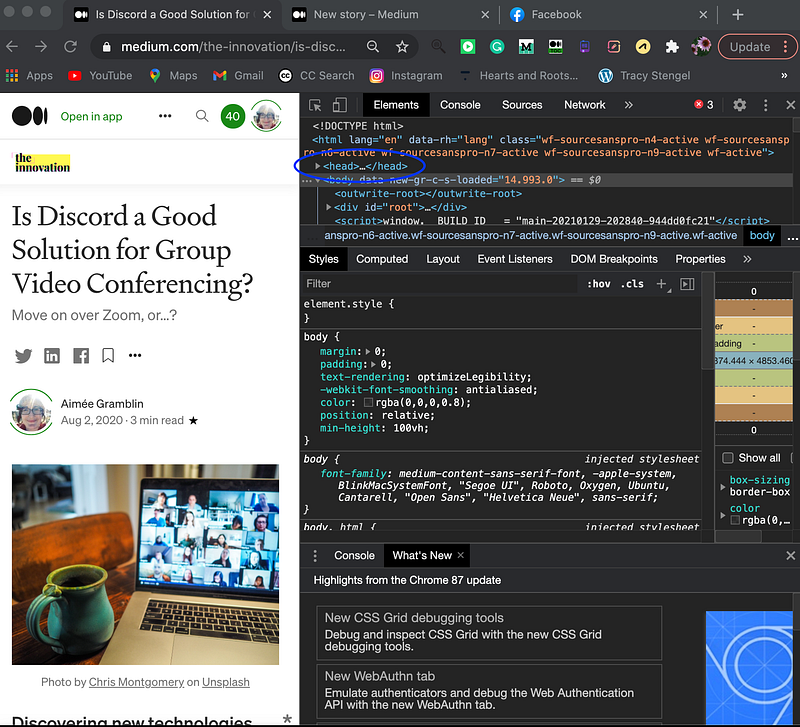
Step 6. <Head>…</Head>
You will now get code that looks super confusing if you are me. Just look for the double-head as shown below (stifling back juvenile laughter). Click once on the … option. You do not want to double-click; this will just confuse you and open more code. If you do this, as I did while writing this article, just back out and start over.
Once the double-head is highlighted. Click Command + C to copy on a Mac or Control + C on a PC. Trust me.
Step 7. Open a Blank Document
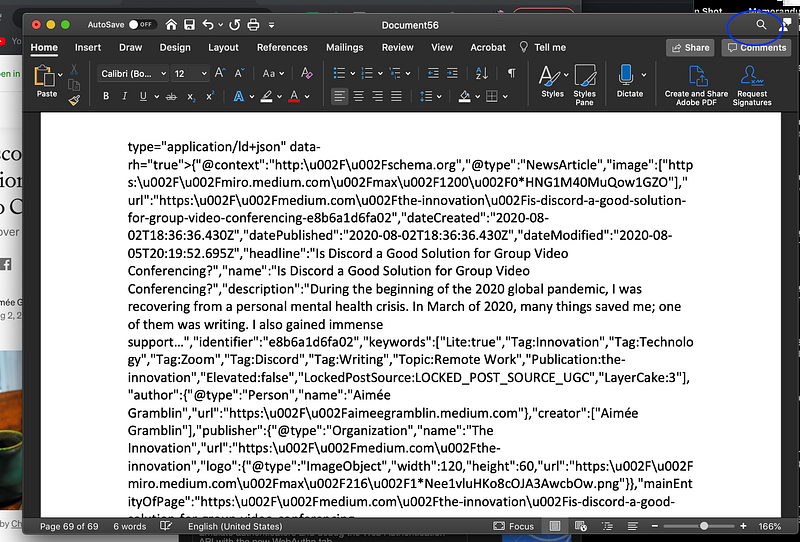
Open a blank document. I use Microsoft Word. Paste the code into your document by using Command + V or Control + V. In the article I’m using as an example, this little trick brings me 69 pages of code…but, not to fear, we don’t have to “read” it all.
The code looks something like this:
Step 8. Look for the Highlights
The next step is finding which Topics *may* have been chosen for further distribution.
Yes, this is a total PITA process.
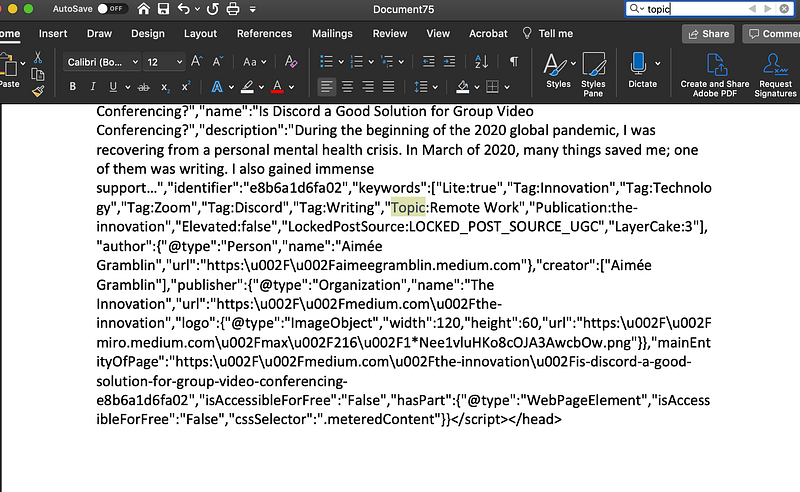
Go to the search magnifying glass in the upper righthand corner of your word document and type in “Topic”.
Because this article currently has only one topic highlight, I’m assuming it was further distributed in “Remote Work.”
But, what happens if more than one topic appears? How do you know exactly which topics the article was further distributed under?
The thing is, topics appear on all articles, so this isn’t the final step in figuring out which topics your article is distributed in.
Since I’m using this article to show you how to search, I’m applying the next steps for your articles that show multiple “Topic” highlights when you read the code.
You will have to complete the next steps individually for each highlighted Topic. Write down or remember your highlighted topics.
Step 9. Go to Medium’s Topics Page
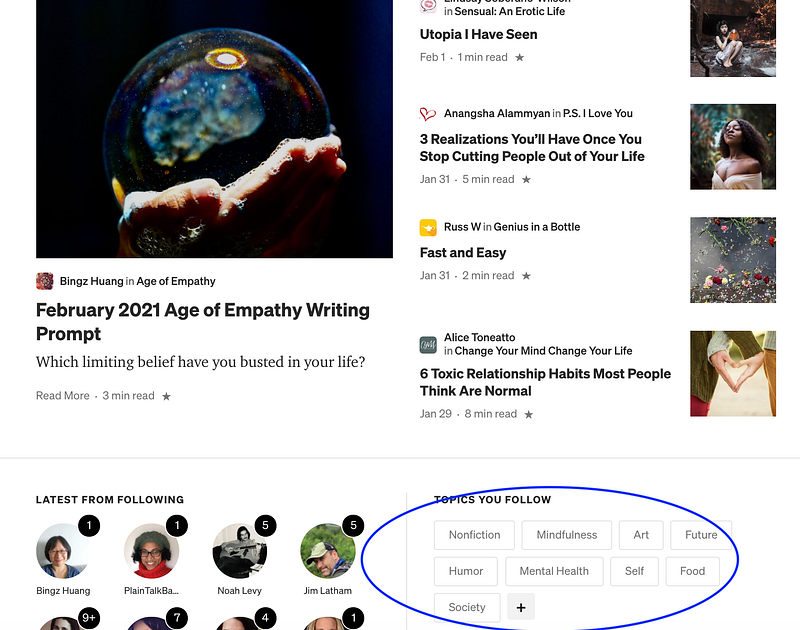
Go to your main page to find “Topics You Follow”. If the topic is there, click on it. If it’s not, click on the + sign to be taken to a list of all of Medium’s topics used for further distribution. When you find the topic that was highlighted in your code, click on it.
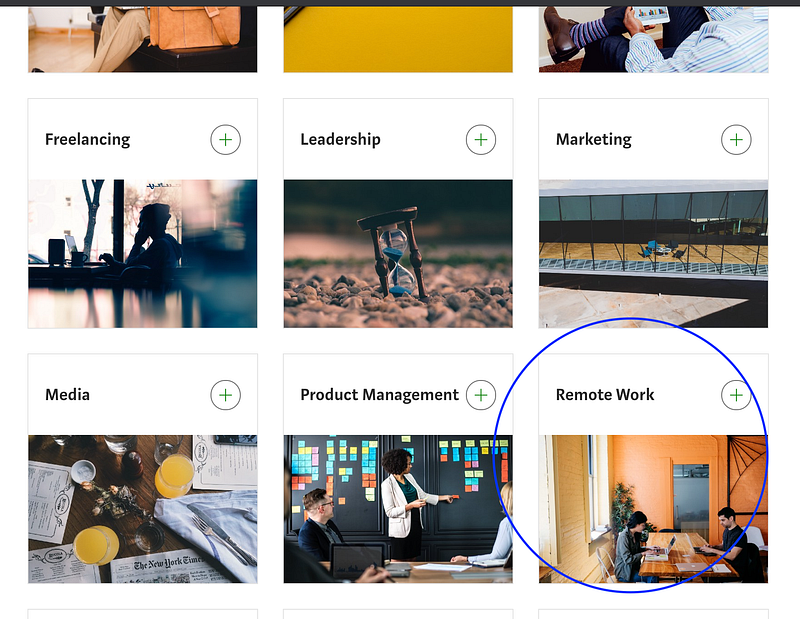
Topics are organized by sub-headers like “Arts and Entertainment,” “Culture,” and “Equality.”
“Remote Work” is categorized under the “Industry” sub-header.
Step 10. Search For Your Article.
When you click on the topic, a list of all articles distributed in the topic will come up.
From what I can tell, they are organized chronologically, starting with the most recent.
It behooves you to track your articles when they are new if you’re checking for further distribution. If the article is older, like mine, you’ll be scrolling for a while. When you see the article pop up, this confirms it has been chosen for further distribution.
If it does not come up, then it was not chosen for further distribution in the particular topic you are looking under. For instance, the topic highlights might show: “Work” and “Remote Work” but when you take this step, you only see your article appear under “Remote Work.” That means the article was not curated in the “Work” category.
AI somehow knew appropriate topic tags to highlight but didn’t know which topics were chosen for curation. I don’t know if these undistributed topic tags do anything for writers or not. If you know, please enlighten me.
Takeaway
Finding out if your articles were chosen for distribution is fairly easy.
Finding out in which topics your articles were chosen for distribution is a bit…complicated. But, it is possible.
Some writers find it worth it to keep track of Topics in which their articles were chosen for further distribution. Others choose not to take their time looking. The choice is yours.
I’m in the first group as I find the data fascinating. Honestly, I wish Medium made it easier for us to collect our own data. Maybe they will eventually. I hope so.
In the meantime, if you’re curious to find in which topics your articles were chosen for further distribution, I hope my guide helps you do just that.
Thank you for reading! You might also enjoy this article: