5 Key Photo-Editing Terms you Need to Know
So, you have been working hard to take some truly amazing pictures. But they look a little flat. You quickly compare them to those taken by the pros and you feel a little disappointed.
Maybe you want to boost the colours or add a filter to your snaps, but you don’t want to ruin the quality and you are not sure how to do this.
Don’t worry, this is a pretty common issue for many beginner photographers. It is important to remember that shooting the picture is only half of the battle.
But, by the end of this short article, you will know all of the basics that will allow you to edit your images with confidence, regardless of your editing software.
If you haven’t taken any pictures yet that you would like to edit and you are struggling for inspiration, take a look at my recent article to boost your creativity as a photographer and then return to this article:
Once you understand these 5 key editing terms, you will be able to confidently edit almost any photo, with the peace of mind that you are not going to be degrading the quality of your snaps.
Ready to jump in and start improving your pictures today? Alright then, let’s get straight into it!
A quick summary of photo editing
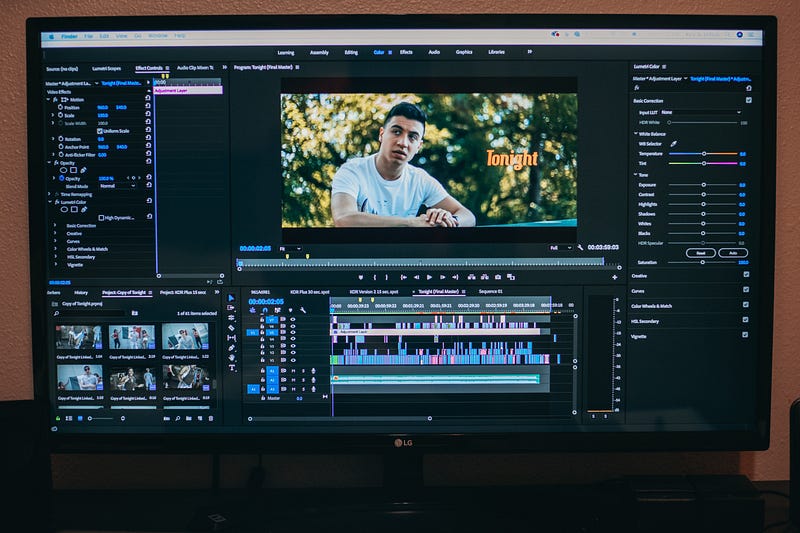
Photo editing, also known as post-production, is a process where you take your ‘RAW’ photos taken straight from the camera and you open them up in a photo editing software suite.
Before you shoot your photos, I suggest you make sure that you set up your camera to ensure that you are shooting in the ‘RAW’ format. If you are unsure how to do this, look at your camera manual or the manufacturers website. Shooting in RAW saves all of the light data and this will give you more creative freedom when editing your photos
The most popular photo editing programs are Photoshop, Lightroom and Luminar.
The terms that you will learn today will be applicable to most photo editing applications, so this should be helpful to you, regardless of what photo editing software you will use.
When you take a photo into the editing software you will be able to adjust the brightness, the shadows, highlights etc.
This can have a dramatic effect on the look and feel of your photos.
Therefore, it is important that you understand what the basic terms are and what effect they have on your photos.
Therefore, I am going to explain to you what the 5 most important terms are in your editing software and how you can use them to your advantage to transform your photos.
Key photo editing terms
Exposure
Also referred to as brightness, this is one of the most basic and key editing tools when editing your photos.
This determines how bright or dark the entire image is.
Dragging this slider up will brighten the whole image up, while dragging the slider down will darken the said image.
It is important to remember not to overuse this function.
Dragging the exposure slider up too much will leave your highlights (such as the sky) in your image blown out and your photo will be overexposed.
Decreasing the slider excessively will lead to a darker image where the details in the shadows (trees, the shade etc.) will be gone. This will lead to your image being too underexposed.
For best results, I suggest you underexpose your photo a little to ensure the highlights are not blown out.
This will be a good ‘foundation’ for your image that you can build on by adjusting the next few settings.
Contrast
Contrast increases the number of black and white pixels in an image.
Having more black and white pixels in an image will make the image ‘pop’, but the finer details in the highlights and shadows will be lost and overdoing this slider will degrade the image quality.
This setting can be useful for certain types of images. These can include urban photos, street photography and product photography.
This is where people want these photos to look ‘exaggerated’ and ‘pop’ a little more, but you must be careful not to overdo this.
Again, just like the highlights option, I suggest you increase it a little bit to add some ‘pop’ to the image, but not to the point where the image as a whole looks overedited and filtered.
Highlights
The highlights option controls how bright or dark the brighter sections of your image are. This typically adjusts the level of brightness in the clouds, the parts of the image lit up by a source of light or sections of your images with less contrast.
If you raise this setting, you will be brightening up the brighter parts of your image, which could lead to them being blown out and overexposed.
If you lower this setting, you will be darkening the brighter parts of the photo which could lead to them being underexposed and then you cannot see the detail in these parts of the image.
In my opinion, you should lower the highlights a little, particularly in pictures shot in broad daylight.
This is because the image will probably be a little overexposed by default and lowering the highlights will bring back all the details in the otherwise ‘blown out’ sections of the photograph.
Shadows
I personally think that this setting is the most effective and powerful out of all the options mentioned in this article.
This setting affects the darker parts of your image. This can include parts of your image that are in the shade, buildings in darker colours and parts of a subject that are not illuminated with a source of light.
If you increase the shadows in your image you will bring out the detail in the darker areas of your image.
This can be particularly useful in images that are not taken in broad daylight or are taken in the shade as it can effectively recover what would be a ‘boring’ photo.
Just be careful though. If you increase the shadows too much, you may end up with too little contrast in your images and your photos may end up with an excessive ‘HDR’ look.
If you decrease the shadows you will be darkening the darker parts of your image, which can lead to a loss of details in certain parts of your image.
Again, adjusting the shadows can work wonders for your images but use this very powerful setting with caution.
Saturation
Last but not least, we have saturation. Saturation determines how powerful the colours are in your image.
Increase the saturation and you will make the colours more prominent and powerful in your image.
If you increase the saturation too much, your image may start to look like something out of a fantasy world and you may run the risk of degrading the image quality.
If you decrease the saturation, your image may end up looking black or white and the colours will become far less prominent in your photo.
This can be helpful if you are looking to create a certain theme or aesthetic within your photos.
In my opinion, you should almost always increase the saturation by a little to add some more punch into your shots, but remember not to overdo it.
If you want to find out more about how to use your kit lens properly to take amazing photos that you can edit, check out the following article:
What do you think of these settings and advice? Have these helped you out when editing your photos? Feel free to give me a shout in the responses below and I’ll happily get back to you.
If you enjoyed this and you want to learn more about photography, take a minute or 2 to give me a follow.
If you are a beginner and you want to take action today and start learning the basics to photography, grab your FREE 7-day Photography Bootcamp here :)