
10 Useful Plugins for Visual Studio Code
Auto Rename Tag, Code Spell Checker, Gitlens, and more

After using WebStorm for years, I have switched over to Visual Studio Code (commonly known as VS Code). It’s hard to let go of my familiar and powerful IDE, but I understand that free tools prevail in this open-source age. I have decided to embrace VS Code, a source-code editor developed by Microsoft for Windows, Linux, and macOS.
After using it for a while, I found that VS Code lives up to my expectations. The extensions button, marked with a red box below, is very useful. The plugins displayed in this page bring new power to this so-called text editor, and make it as good as a paid IDE.
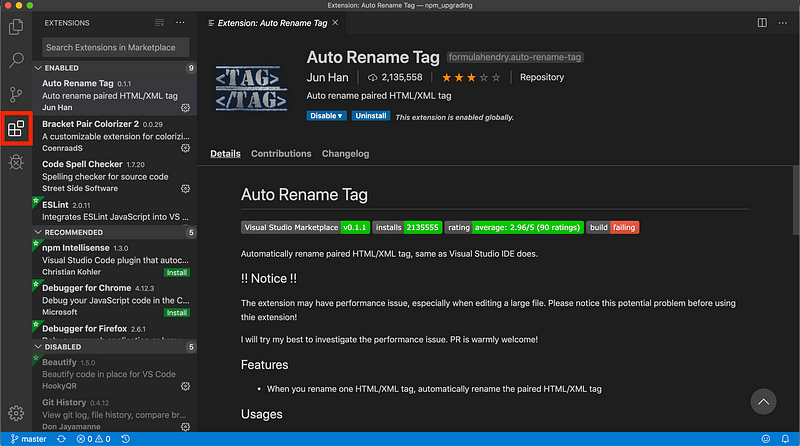
On the left panel, there are three areas for plugins: ENABLED, RECOMMENDED, and DISABLED. On top of it, you can search for any plugin that you imagine. Really! Here, I’m going to list 10 of my favorite plugins.
First, Here Are Some Simple, Easy-to-Use Plugins
Auto Rename Tag
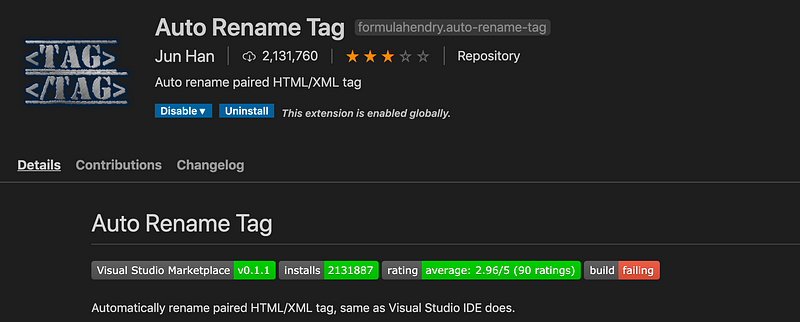
Auto Rename Tag automatically renames paired HTML/XML tags. It can either change the opening tag or closing tag, after which the corresponding tag is changed to match.
After this plugin is enabled, there will be no more mismatched tags. It also saves the effort to double type both opening and closing tags. It works perfectly.

Bracket Pair Colorizer 2
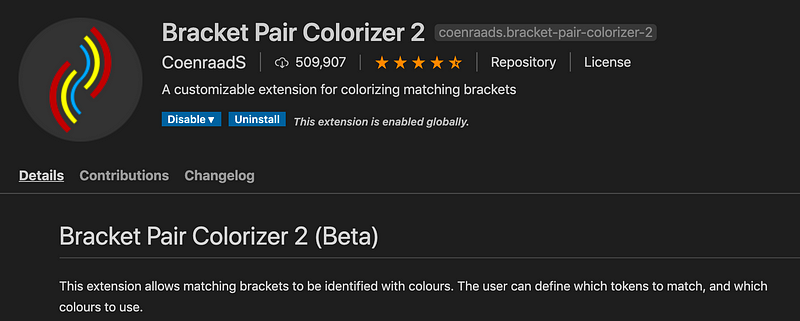
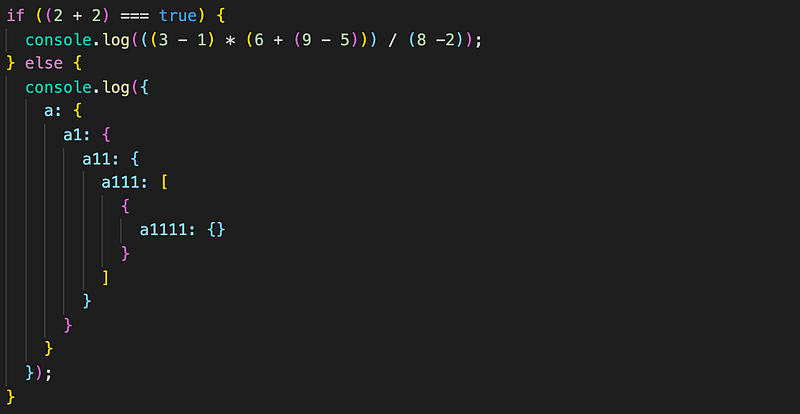
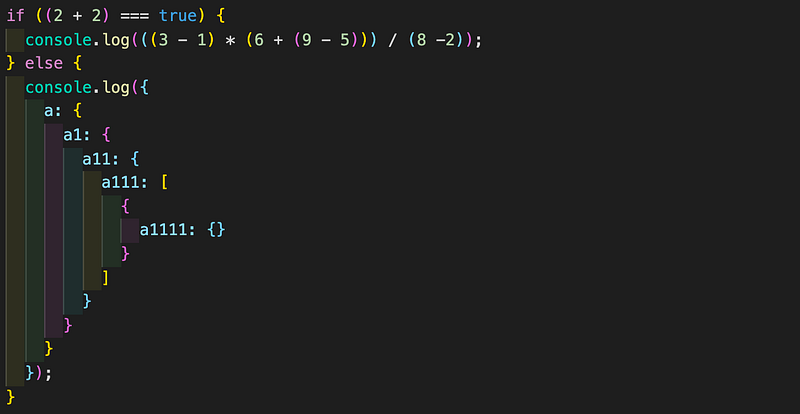
Bracket Pair Colorizer 2 shows matching brackets by using the same colors. This helps to identify the opening and closing brackets.
Indent-Rainbow
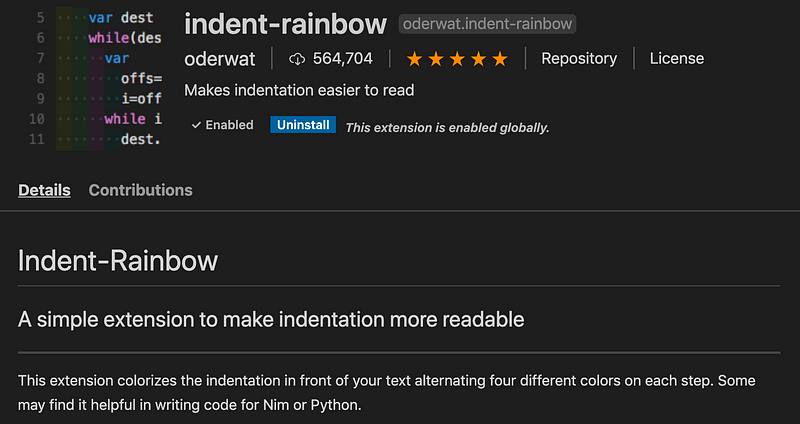
Indent-Rainbow colorizes the indentation in front of the text, alternating four different colors on each step. This helps to make indentations more readable.
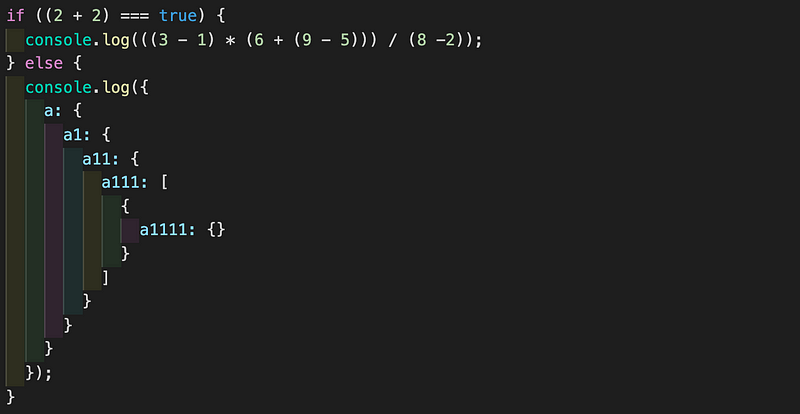
Combining Bracket Pair Colorizer 2 and Indent-Rainbow makes your code much more readable.
Code Spell Checker
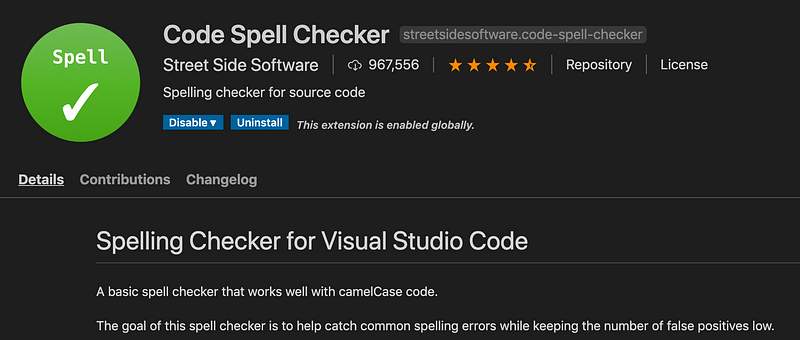
Code Spell Checker is a spell checker that considers camelCase code. The blue underlines make it obvious which words need to be corrected.
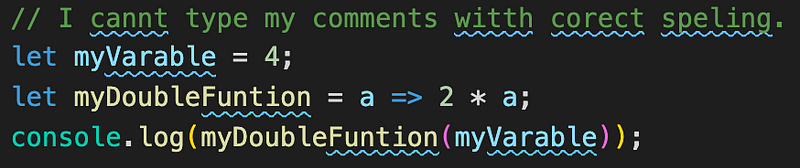
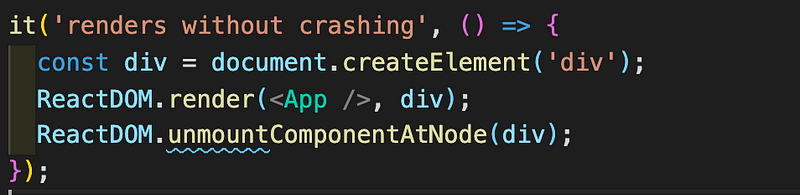
If you’d like to treat “unmount” below as a correct spelling, you can right click to add it to the user (global) dictionary or the folder (local) dictionary.
Sort JS object keys

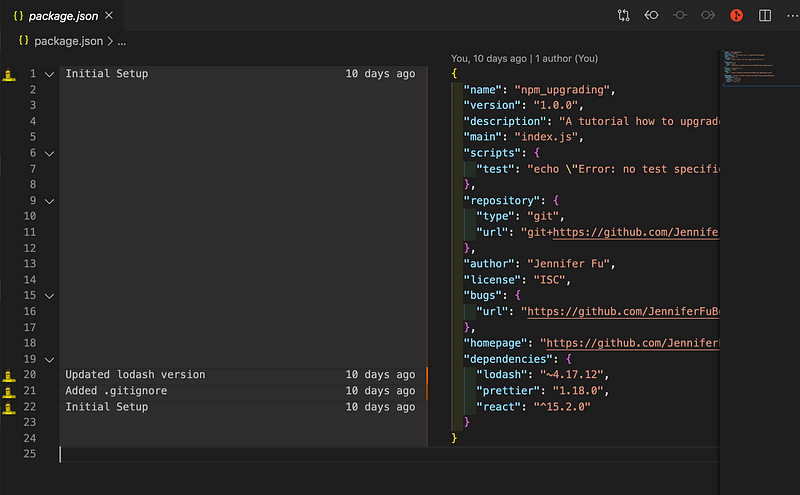
Sort JS object keys is a tool to alphabetically sort the keys for a selected JavaScript object. It can sort the keys in normal order or reversed order.
This is how to use it:
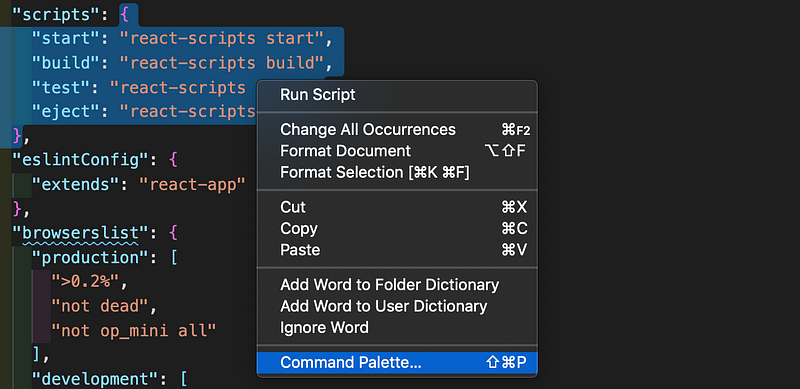
1. Select a JavaScript object in the source code, starting from the { and ending with the }, such as the definition of “scripts” in the above example.
2. Right-click the selection to reveal “Command Palette…”

3. Run “Sort JS object keys” to sort keys in normally (shortcut: Option+S), and run “Sort JS object keys (Reverse)” to sort keys in reverse order.
Step 2-3 can be simplified with the shortcut Option+S.
The Heavy Weights
Do you feel the power of plugins now? Let’s take a look at a few heavy weights.
ESLint

A linter is a static-code analysis tool for identifying problematic patterns found in JavaScript code. ESLint is the most popular linter. It’s easily extensible and comes with a large number of custom rules. It has the best ES6 support.
Please check out the official document for vscode-eslint. Here are the steps on how to make ESLint work:
- Set up the autofix option in
.vscode/settings.jsonwith a number of options.
The setting below turns on autofix for all providers, including ESLint:
"editor.codeActionsOnSave": {
  "source.fixAll": true
}
By contrast, this configuration only turns it on for ESLint:
"editor.codeActionsOnSave": {
  "source.fixAll.eslint": true
}
You can also selectively disable ESLint via:
"editor.codeActionsOnSave": {
  "source.fixAll": true,
  "source.fixAll.eslint": false
}
2. Set up an ESLint configuration, which can be in the form of an .eslintrc.* file or an eslintConfig field in a package.json file. The following is the .eslintrc.json example from rollup.
{
  "root": true,
  "rules": {
    "indent": [ 2, "tab", { "SwitchCase": 1 } ],
    "semi": [ 2, "always" ],
    "keyword-spacing": [ 2, { "before": true, "after": true } ],
    "space-before-blocks": [ 2, "always" ],
    "no-mixed-spaces-and-tabs": [ 2, "smart-tabs" ],
    "no-cond-assign": 0,
    "no-unused-vars": 2,
    "object-shorthand":  [ 2, "always" ],
    "no-const-assign": 2,
    "no-class-assign": 2,
    "no-this-before-super": 2,
    "no-var": 2,
    "no-unreachable": 2,
    "valid-typeof": 2,
    "quote-props": [ 2, "as-needed" ],
    "one-var": [ 2, "never" ],
    "prefer-arrow-callback": 2,
    "prefer-const": [ 2, { "destructuring": "all" } ],
    "arrow-spacing": 2
  },
  "env": {
    "es6": true,
    "browser": true,
    "node": true
  },
  "extends": [
    "eslint:recommended",
    "plugin:import/errors",
    "plugin:import/warnings"
  ],
  "parserOptions": {
    "ecmaVersion": 6,
    "sourceType": "module"
  },
  "settings": {
    "import/ignore": [ 0, [
      "\\.path.js$"
    ] ]
  }
}
This above configuration has an ESLint rule: “no-var”: 2.
Then in VS Code, “var a = 1;” is underlined to indicate an issue. If you hover the cursor on the line, it’ll show you the issue description and provide you the quick-fix options.

Depending on your .vscode/settings.json option, the issue could be autofixed to be “const a = 1;”. Isn’t that great?
- TSLint doesn’t make my list. Although it’s a linter to identify and report errors and enforce conventions for TypeScript, it has been deprecated. The recommended way is using ESLint’s TypeScript support,
typescript-eslint. - Prettier doesn’t make my list either. Prettier is a formatter. It scans files for style issues and automatically reformats the code to ensure consistent rules are being followed for indentation, spacing, semicolons, single quotes vs. double quotes, etc. The recommended way is using ESLint’s Prettier support,
eslint-plugin-prettier.
Jest
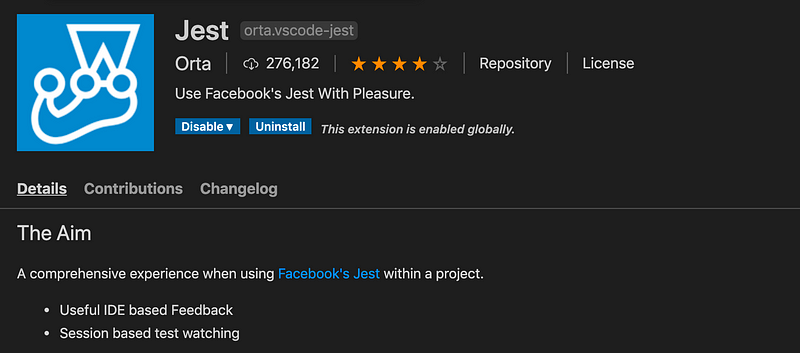
Jest is a popular testing framework used by Babel, TypeScript, Node.js, React, Angular, or Vue.js projects. It aims to work out of the box and config free.
The Jest plugin automatically runs and shows the testing status on the bottom bar (see the red box). For test cases, it shows a green check mark for passed test cases.
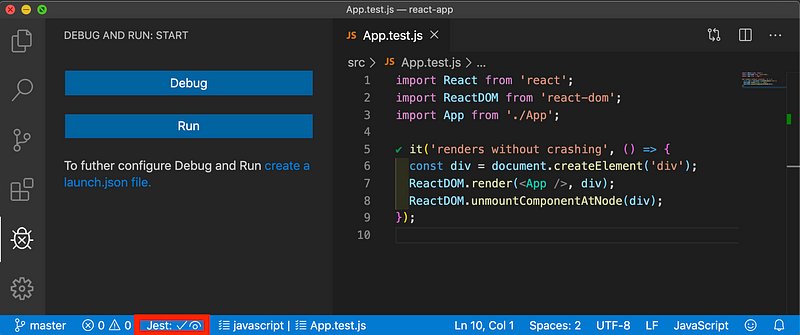
The left panel displays the menu to debug or run the test cases.
Now, change the tag from App to an undefined App1. The testing status on the bottom bar is updated, and the green check mark turns to a red x.
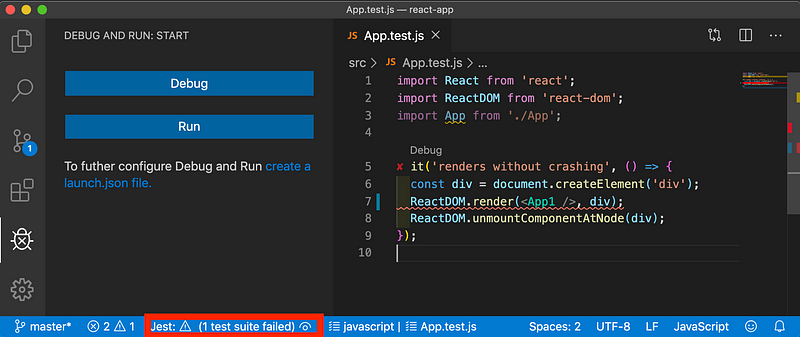
There’s also a debug link showing the above failed test. This link is a shortcut to debug the failed test case.
“How to Use VS Code to Debug Unit Test Cases” gives more in depth description on how to use it.
GitLens
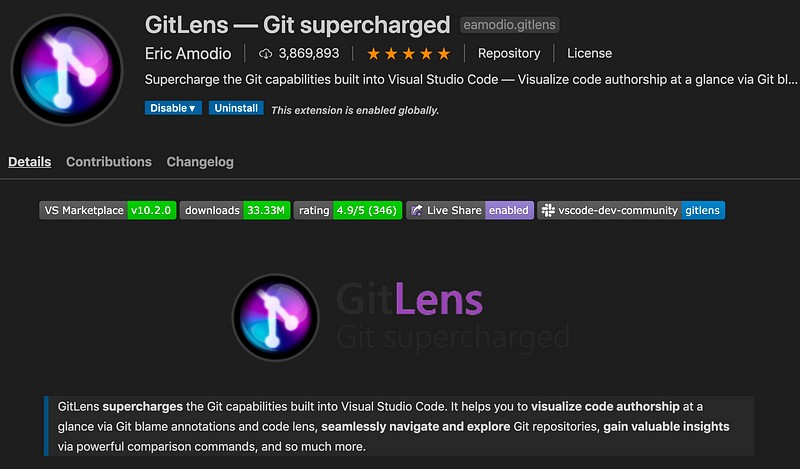
GitLens supports the additional Git capabilities, beyond the VS Code built-in ones. It helps the user better understand code with a quick glimpse into when and why a line or code block was changed — as well as who changed it.
Jump back through history to gain further insights as to how and why the code evolved. It allows effortless exploration of the history and evolution of a codebase. The vscode-gitlens features are very well documented on its official site.
After installing GitLens, you’ll find this GitLens button on the left. If you click on it, the left panel shows all kinds of Git information: REPOSITORIES, FILE HISTORY, LINE HISTORY, etc. If you click a line on the open file on the right, it shows the blame information.
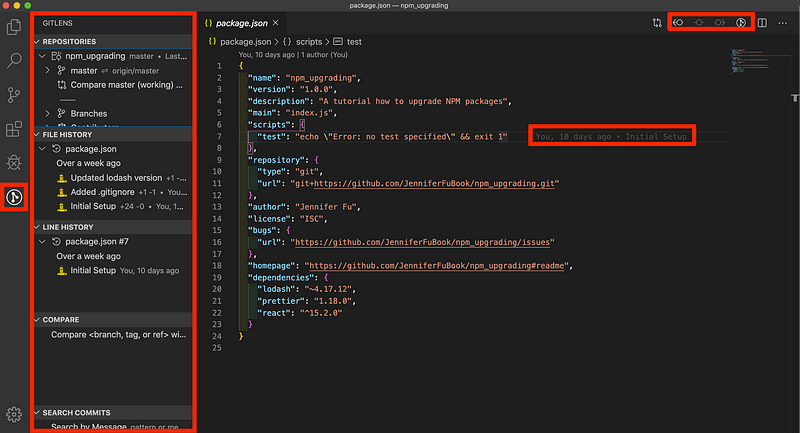
Also at the top-right side of VS Code, you have a row of Git commands. The Toggle File Blame Annotations button is one of my favorites. When it’s on, it shows Git Log information.
Built-In Extensions
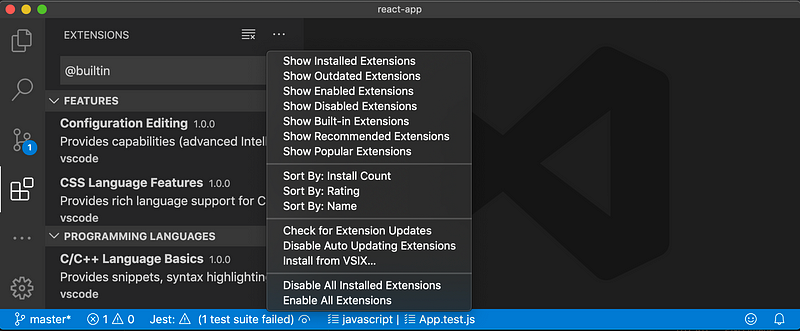
Now let’s take a look at built-in extensions of VS Code, which can be disabled but not uninstalled.
There are a set of built-in extensions that can be listed by searching the keyword “@bultin” or by clicking menu item “… — >Show Built-in Extensions.”
As we have said that GitLens supports the additional Git capabilities. What are the built-in Git capabilities?
Git

Git supports basic Git capabilities. On the bottom bar of the following screenshot, it shows the current branch name, dirty indicators, and the number of incoming and outgoing commits of the current branch. You can checkout any branch in your repository by clicking that status indicator and selecting the Git reference from the list.
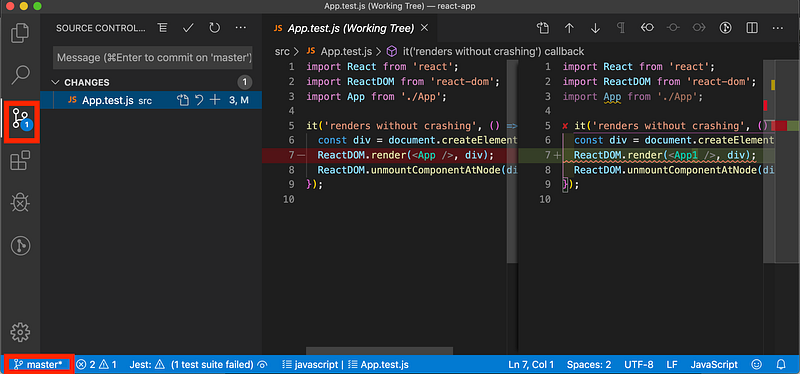
The source-control button on the left indicates an overview of how many changes you currently have in your repository. Selecting this button, it shows details of the current repository changes: CHANGES, STAGED CHANGES, and MERGE CHANGES. Clicking each item will show in detail the textual changes within each file.
For details about Git support for VS Code, you can check out the official site.
Markdown Language Features
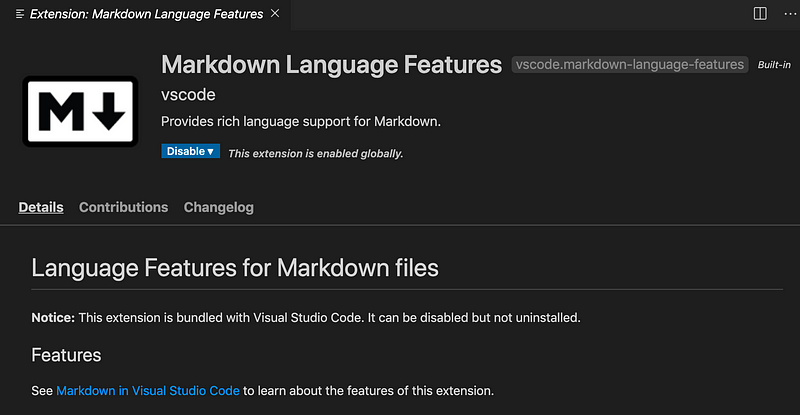
Markdown Language Features is a lightweight markup language with a plain text-formatting syntax. The specific typing can be converted to many output formats, typically to HTML format. It helps to format README files with the .md extension. For more details, check here.
It can be used in a few steps:
1. Select a *.md file.
2. Right-click the displaying file to reveal the command palette.
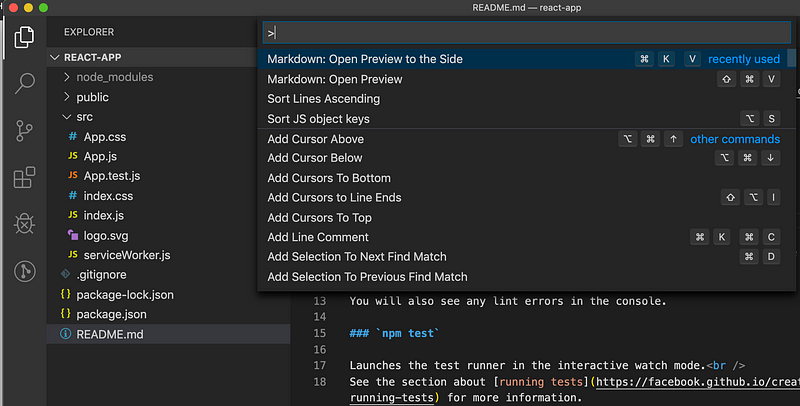
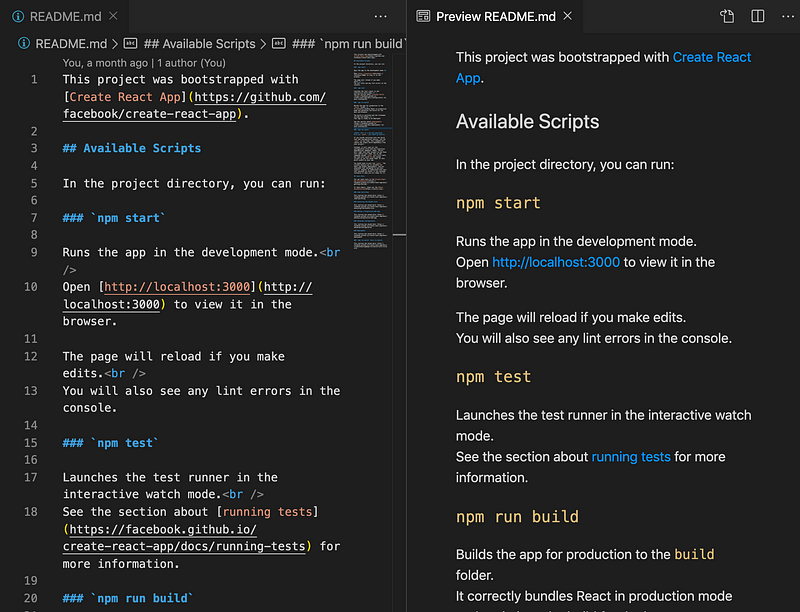
3. Run “Markdown: Open Preview to the Side” to open the preview along with the file. While typing, VS Code automatically synchronizes the Markdown editor and the preview pane by the side.
I had a lot of fun playing with these VS Code plugins. Why don’t you give them a try?
Conclusion
Thanks for reading. I hope this was helpful. You can see my other Medium publications here.


