
HOW-TO-TORIAL
Your Go-to Guide for Quick and Easy Image Attribution, with Samples
Captivating captions captured conveniently
Attribution Confusion
“Add attribution to your image”
Have you ever gotten a note like that from an editor?
When you insert an image into your story using the built-in image search tool magnifying glass, the attribution is automatically added for you. But if you upload your image into your story using the camera tool, you have to add the attribution yourself.
In this case, it’s really easy to forget to add the attribution into an image’s caption, especially if you have a lot of images.
Why bother?
Even if you got the image from a site that indicated no attribution is required, you should add attributions to the images in your story. The site you got the image from may not require it, but Medium’s Distribution Standards does. The various publications’ submission guidelines I’ve seen also require it. Note: “Selected for further distribution” is the official terminology for “curation.”
You also need to include an attribution even if you are the author of the image or you paid for a license to use the image.
Regardless of standards, it’s good form to include an attribution. It can also help you find the image online again if you need to.
What’s the difference between a caption and an attribution anyway?
In the image above, you see the text “The camera tool and the magnifying glass. Screenshot by author.” In this example,
- The caption is: “The camera tool and the magnifying glass. Screenshot by author.” It’s whatever you type under the image.
- The attribution is: “Screenshot by author.” It’s the part of the caption that gives credit to the source of the image.
How do I come up with the attribution?
Fortunately, some sites you download images from help you with attribution. After you download an image, they suggest the text and links so all you have to do is to copy and paste it into the image’s caption. This makes attribution quick and easy!
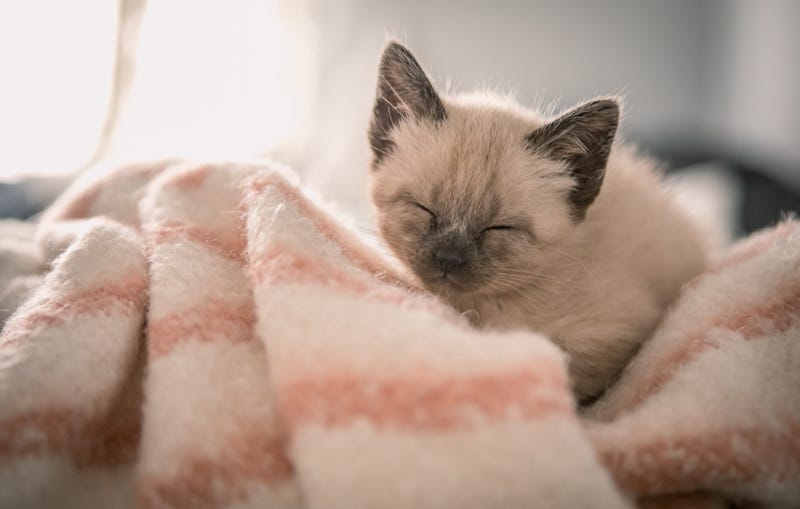
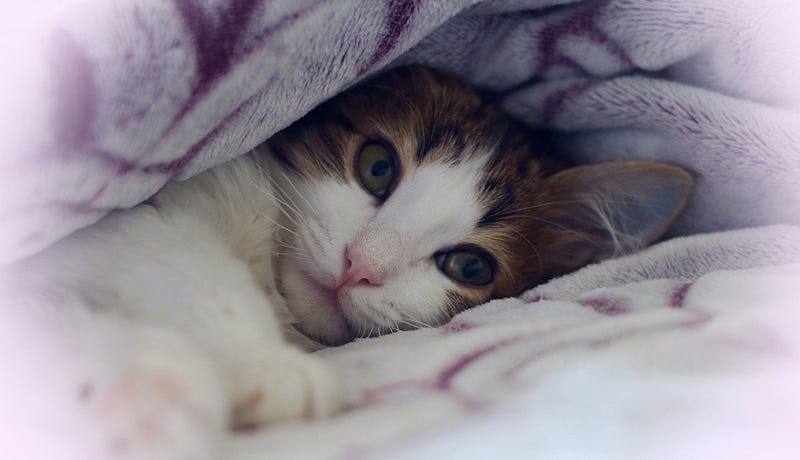
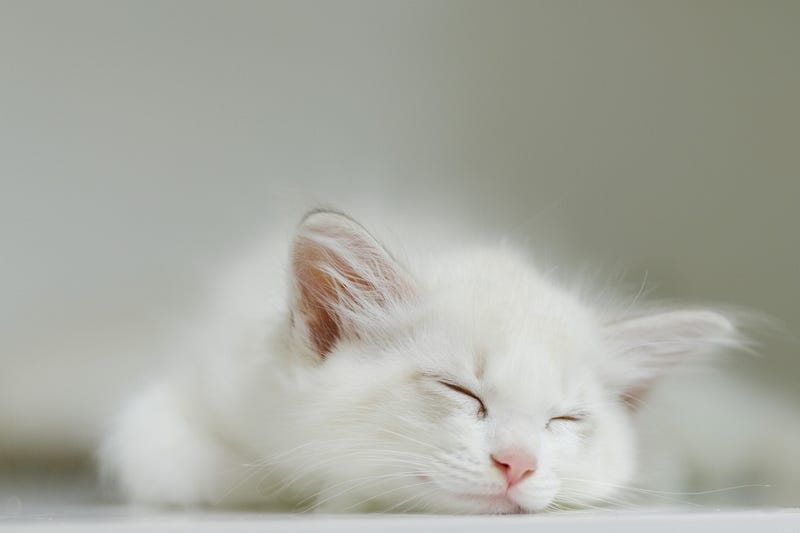
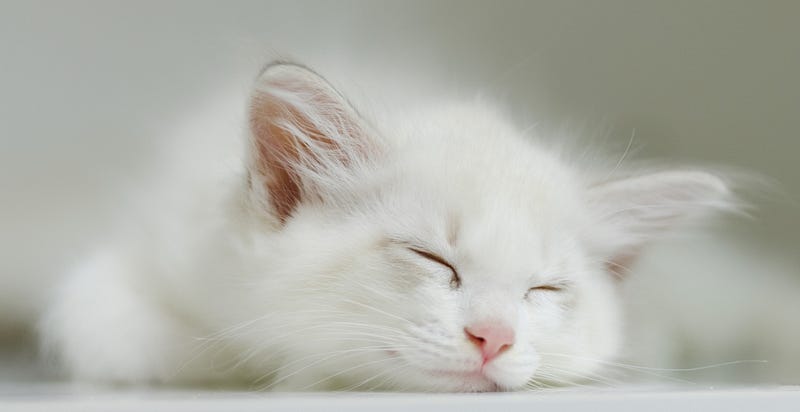
Here are some common image sources and what to say to manually attribute an image from each source. To find an image, I used the search text “sleeping cat.”
Unsplash
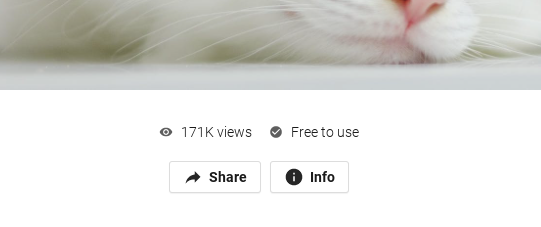
I downloaded this image from unsplash.com:
After you download the image, you should see a box similar to this:
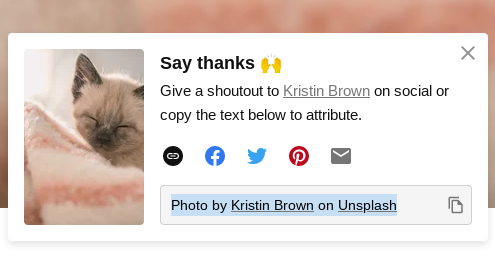
Select the attribution, copy it, and paste it as the caption for the image in your story. You can also simply click the copy icon to copy the attribution, and then paste it as the caption.
Pixabay
This image came from pixabay.com:
After you download the image, you should see a box similar to this:
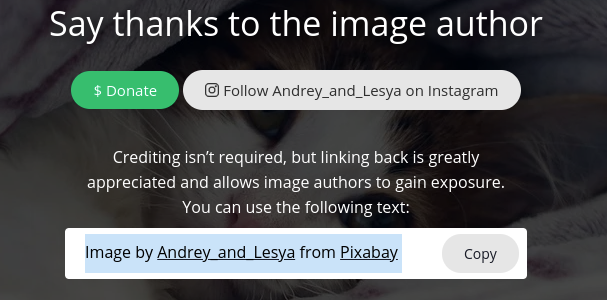
Highlight the suggested text and copy it, including links, then paste it as the caption for the image you uploaded into your story. Copy it using your computer’s copy function, such as CTRL+C.
Although there is a “Copy” button, I don’t use it. I’ve tried it and it copies the HTML code instead, which isn’t what you want for your story on Medium.
This is what I end up pasting if I use their Copy button. If you end up with something like this, go back and copy the text again.
Image by <a href=”https://pixabay.com/users/andrey_and_lesya-12345218/?utm_source=link-attribution&utm_medium=referral&utm_campaign=image&utm_content=5186064">Andrey_and_Lesya</a> from <a href=”https://pixabay.com/?utm_source=link-attribution&utm_medium=referral&utm_campaign=image&utm_content=5186064">Pixabay</a>Pexels
This image came from pexels.com:
Similar to Unsplash and Pixabay, a suggested attribution text is displayed after you download the image.
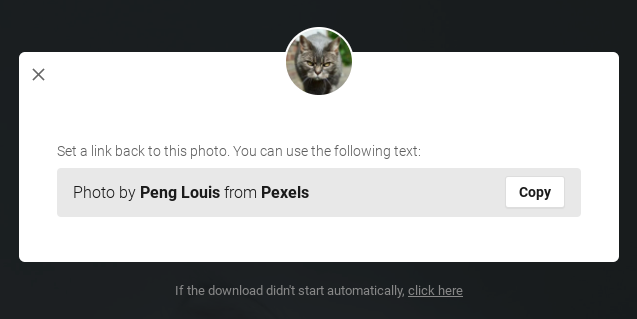
Unlike Pixabay, you need to click the “Copy” button to copy the suggested attribution text.
If this box doesn’t show up automatically, or you need to get back to it, click the “Share” button below the image.
Author’s Original Work
I took a video of my cat and converted part of it into an animated gif. I added it to this story just like any other image, using the camera tool.
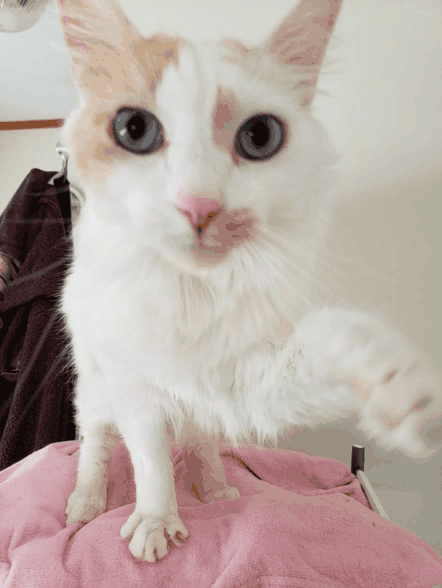
To keep attribution simple, I usually just say “Image by author,” which is generic enough to cover any original photo or artwork, because it is, after all, simply an uploaded image file.
If it is a screenshot that I took, I say “Screenshot by author” to clarify that I didn’t create whatever I took a screenshot of.
If all images in your story are your own artwork, including the main image, you can state at the beginning or end of your story, “All images by author” or something similar.
Edited or Composited Work
There are times when I see an image I can use, but I want to edit it before adding it to my Medium story. I might want to crop it, add some text, or put it through a filter. Or I might want to overlay one image onto another.
In this case, I use the attribution I would have normally used, and I add “edited by author” at the end. This tells the reader I have the rights to use the original image, but what they are seeing is not the original image. It also gives me credit for the changes or composition I made.
Here is an example of a cropped version of one of the above images, and how I captioned it.
Final Thoughts
There are other ways to find images, free or paid. Each web site or source has its own rules on how to properly attribute the images you download.
These are my go-to image sources that make attribution convenient, quick, and easy, and my go-to phrases for attribution. Unless I need a very specific image I can’t find in them, I stick to these sources for convenient attribution.
No more stressing over what to type under that image! With all the time you save using these tips, you can rest easy, relax, and sleep like a baby — kitty.


