
Your first iOS Application Using Xcode
How to Hello, World!
You’ll need to have Xcode installed, but this tutorial takes it from there to producing your first App. If you are looking for a simple Swift tutorial, there is a guide HERE.
Difficulty: Beginner | Easy | Normal | Challenging
Prerequisites:
- Be able to produce a “Hello, World!” Swift application
- Be able to download a repo from GitHub (If you choose you want to!)
Terminology
Constraints: A constraint on the layout of a view
IDE: An application that provides a set of features that are used by software developers to create computer software
Project Navigator: Part of the Xcode interface that allows you to perform file operations
Storyboard: A visual representation of the User Interface of an App
Swift: An open source programming language for macOS, iOS, watchOS and tvOS and others
UILabel: A view used by UIKit that displays on or more lines of text
UIView: An object that manages the content for a rectangular area on the screen
Xcode: An IDE for creating Apps for macOS, iOS, watchOS and tvOS
Why Hello World!?
Simple tutorials usually begin with a “Hello world” tutorial. Those outside the programming community can feel that this is an unusual thing to choose, as it seems to have been picked simply because it is a simple word String (or just String) to print to the screen.
But why would anyone choose that particular String?
We can start at the beginning. There is a book about C programming which used a “Hello, World!” example — although this was actually lifted from a Programming in C: A Tutorial (1974) book.
The actual “Hello, World!” application that tutorials ask you to produce vary in sophistication and implementation, but the basic idea is that you print “Hello, World!” in some form.
We are going to display “Hello,World!” on a label displayed on the phone screen.
Creating a new Project in Xcode
You need to have Xcode installed on your Mac. This can be downloaded from HERE. If you don’t already have this installed, do so now.
Once you have done that, you can click on the Xcode icon

This opens up the IDE, and the first thing we are going to do is create a new project.
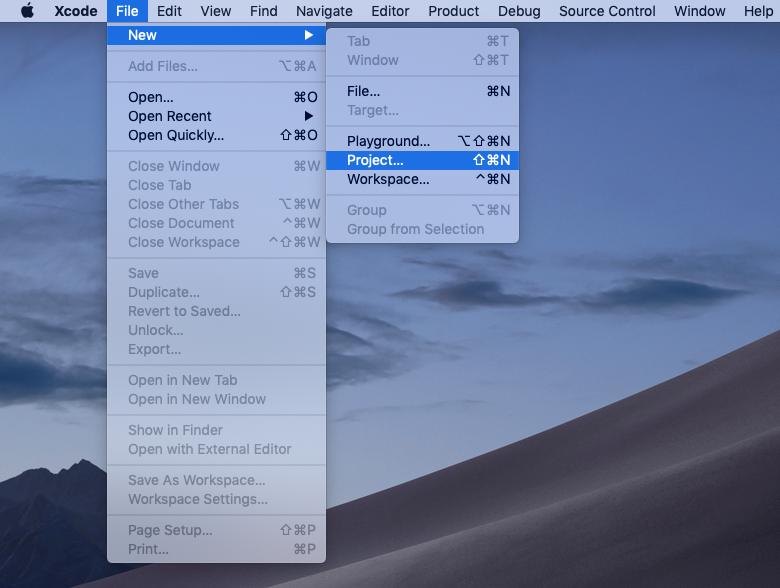
Select Single View App
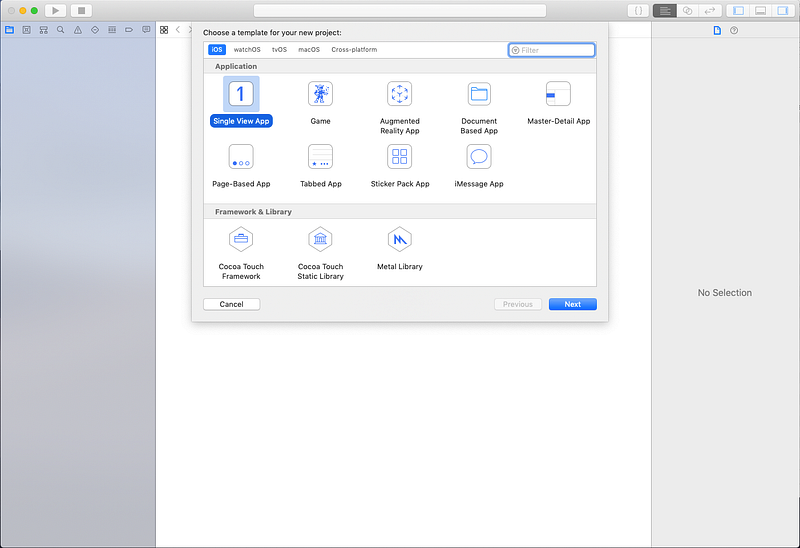
then name your project appropriately:
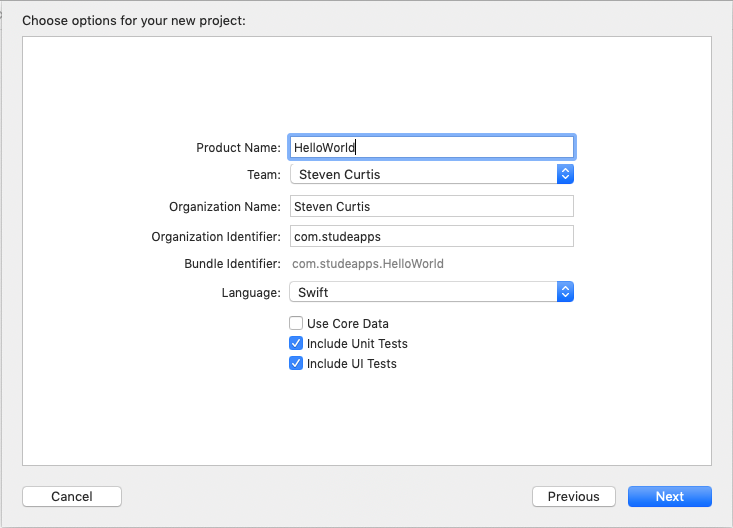
You’ll be asked where to place your project, and I’ll leave you to choose somewhere in your Documents folder or similar.
The process goes a little something like this:
Placing the label
A new Project
You’ll be met with a blank project screen like the following:
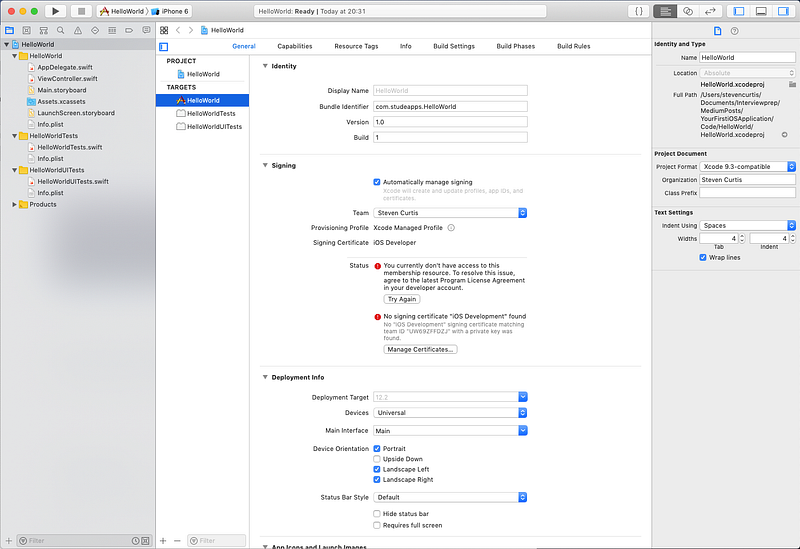
and first we want to display the storyboard. We can do this by pressing the “Main Storyboard” on the project navigator
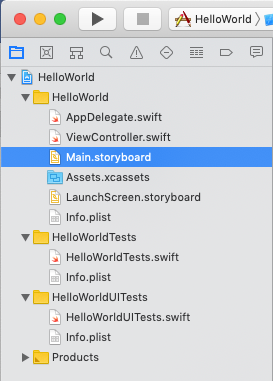
Which allows the Storyboard to open in the main window. It’s all blank at the moment, but we are going to quickly change this by adding a label.
Add a Label
We can then open the object library

which then opens a window to allow us to add objects; we can then search for label in the search box.
We can then drag and drop the label onto the screen.
Add Constraints onto the Label
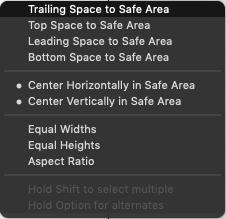
Click on the label itself, and our UILabel will still have the text Label on it. Now we carefully use the Control button and drag to the background. This then gives a menu that allows you to create constraints. Great!
We then need to choose (in turn) Center Horizontally in Safe Area and Center Vertically in Safe area. This will ensure that your label is attached to the exact centre of the phone’s screen.
Awesome! Here are the steps put together:
Writing Hello, World! on the UILabel
We need to add the text to the label. There are actually two ways of doing this, I’ll first show you the important way (the programatic way), and then the fast way (that in the future you will use much less).
We’ll select the assistant editor

Which brings up a new screen, with code. We’re getting there!
We need to join the label to the screen.
We once again click on the label and press Control which draws a line from the label. We then drag it over to the code and the IDE displays Insert Outlet or Outlet Group at any point where the label code can be accepted (ideally choose just above viewDidLoad function.
We will call this label myLabel
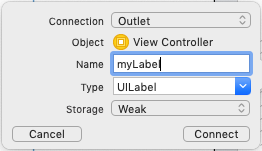
Here is the snippet:

Now we write the code, which allows us display the text.
Since we called the label myLabel we need to make sure we use that name.
Now right in the function that has already been automatically written on the screen, we write the code
myLabel.text = "Hello, World!"
We are almost done!
Now to…
Run the project
We can run the project with a friendly-looking run button in Xcode, from the top-left of your screen. An alternative is to press Command⌘-r which does the same thing

Now it may take a few seconds for your simulator to start. But when it does you’ll be presented with the following:
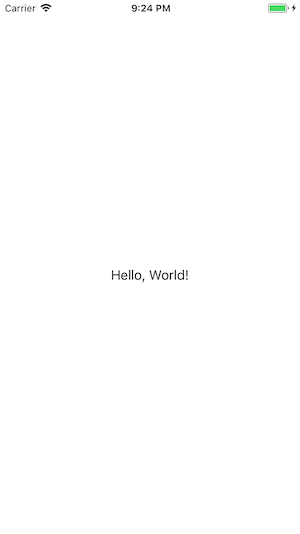
The other way to change the label
You can just double-click on the label when you’re on the storyboard. But you don’t usually want to do this, because making the changes programmatically as above is much the better and more flexible way of doing this.
Conclusion…
Writing Hello, World! like this on a label is a big step as a first real iOS program. If you’ve followed through this tutorial from scratch you’ve done a great job! If you’d like to have this content as a video, you’re in luck. It’s right here:
A Repo Link
You can also download the repo link from here:
The Twitter contact:
If you’ve got questions I’d love for you to get in touch with me. https://twitter.com/stevenpcurtis is a great channel for communication. Say HI!


