
You Can Install Airflow With Docker in Minutes!

You’ll install the Airflow with Docker in minutes.
Easy to follow, step-by-step explanations. You’ll love it.
You’ll install the full version of Airflow.
Also, you’ll learn to install the lite version of Airflow.
CONTENTS
Airflow Installation — Full Version
Airflow Installation — Lite Version
INTRODUCTION
“Airflow is a platform created by the community to programmatically author, schedule, and monitor workflows.” (https://airflow.apache.org/)
Airflow is one of the most known work orchestration tools.
But …
Installation of Airflow is more complicated than it should be.
With this tutorial, you will get the easy-to-follow two different Airflow installation options.
After this tutorial, you will be ready to work with Airflow in minutes.

Airflow Installation — Full Version
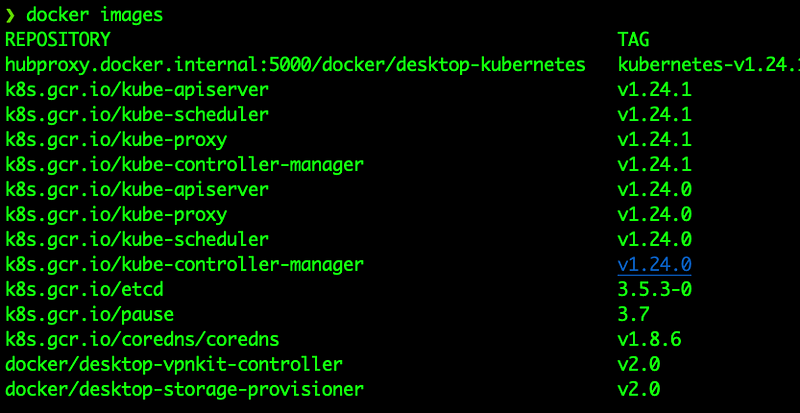
In this tutorial, we will use the Docker version of the installation. I assume that you have a Docker desktop in your local environment. Let’s check it.

Also, see the containers in use/or stopped, if any.
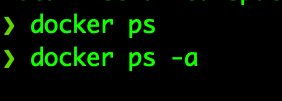
The Docker workstation is clean and lastly, let’s check the docker-compose.

🛑 Be sure that you have the newest version of docker-compose.
We are ready to install the Airflow-Full version with Docker.
Let’s make the basics.
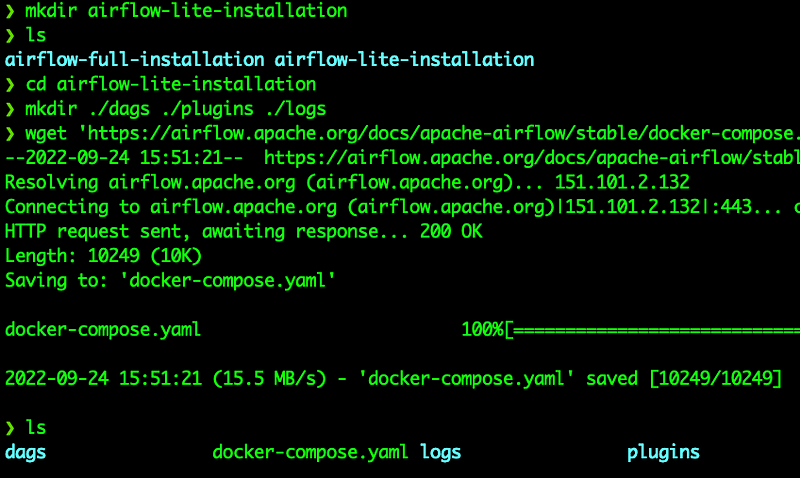
First, make a new folder and start to work there.
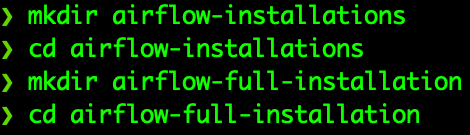
We are ready to get installation yaml file from the Airflow website.

YAML file contains the following service definitions:
✅ airfow-scheduler: Scheduler monitors tasks and DAGs
✅ airflow-webserver: The web server serves on localhost:8080
✅ airflow-worker: The worker does the job given by the scheduler
✅ airflow-init: initialize the airflow
✅ flower: Monitors the environment
✅ postgres: database
✅ redis: Forwards messages from the scheduler to worker. (https://airflow.apache.org/docs/apache-airflow/2.1.1/start/docker.html)
Let’s look at the docker-compose.yaml file.
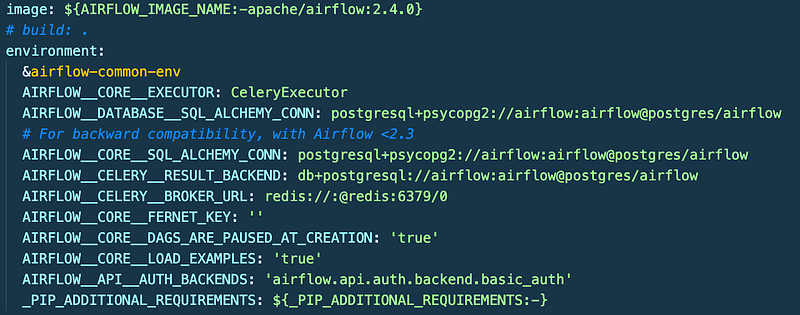
We will install the newest version of Airflow (2.4.0).
And we see the common environment variables for the airflow services.
Airflow has three volumes: dags, logs, and plugins.
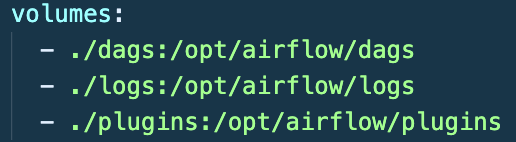
Under the new folder, we need to make three folders for the Airflow volumes synchronization.
Let’s do that.

Continue to look at the YAML file.

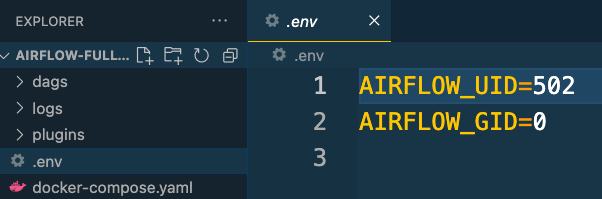
We need to be sure that permissions for volumes synchronization between the local environment and docker containers are the same.
For that, we need to define environment variables in our local environment.

We are ready to initialize the airflow installation with Docker.
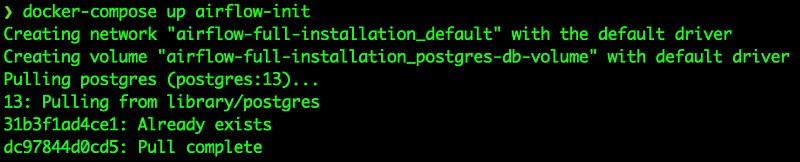
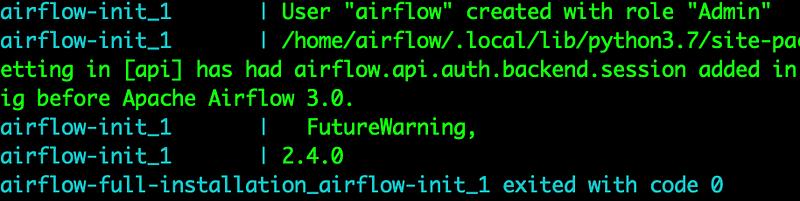
Installation finished with success.
New user ‘airflow’ is created with the ‘Admin’ role.
Now we are ready to start these services.

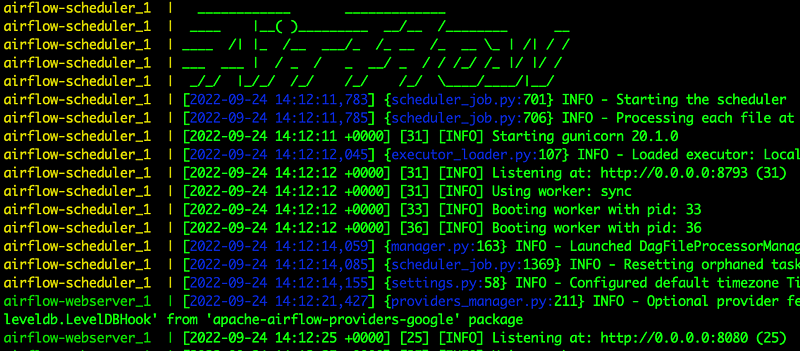
With the docker-compose-up command, all the services defined in the YAML file have started to work.
Let’s see the containers.
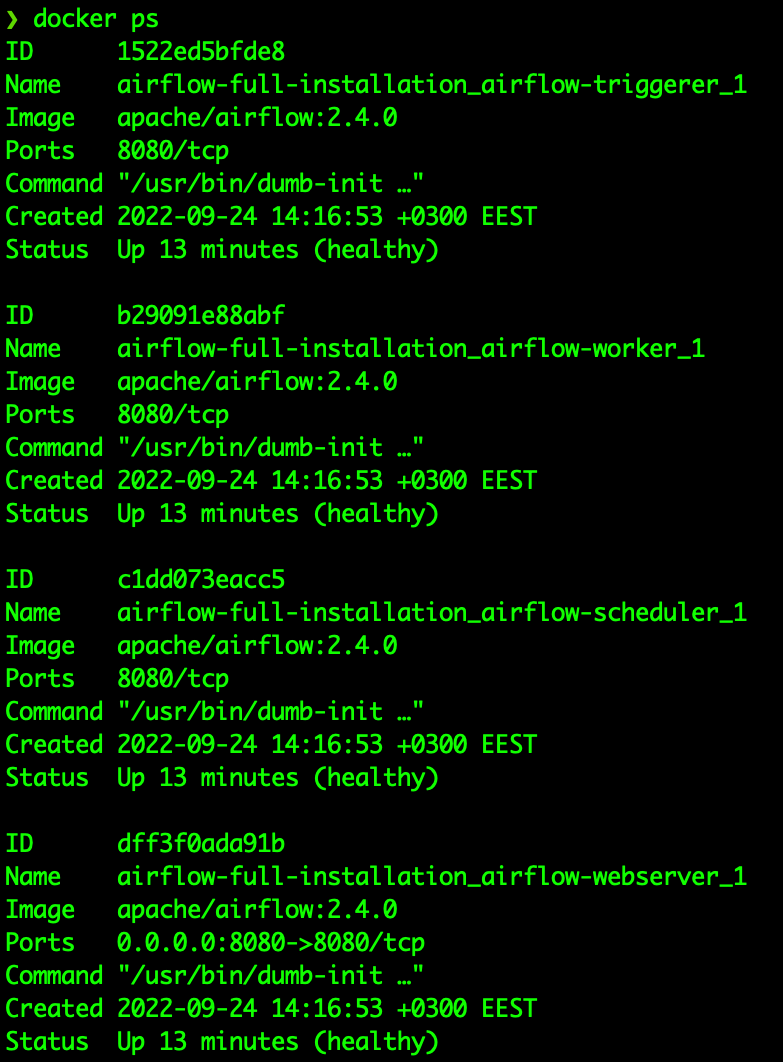
Containers are up and healthy.
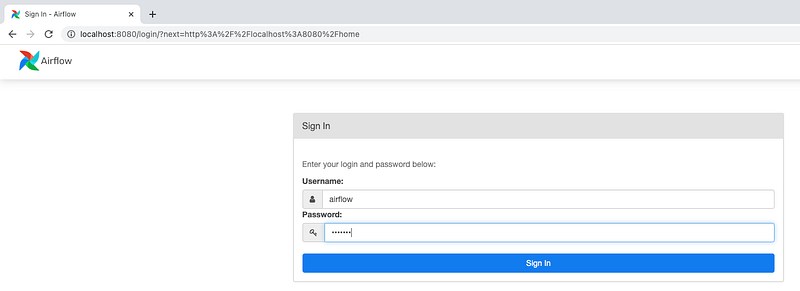
Let’s go to our web browser and see the localhost:8080
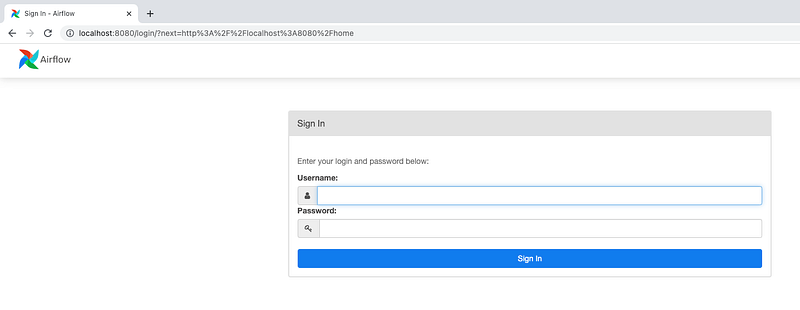
Airflow is up and running.
Let’s put the username and password.
Both of them are ‘airflow’.
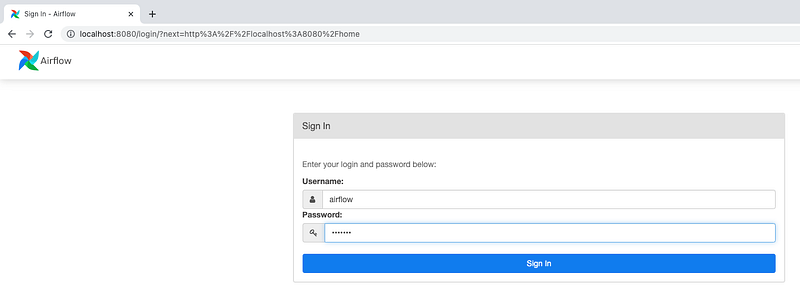
Voila
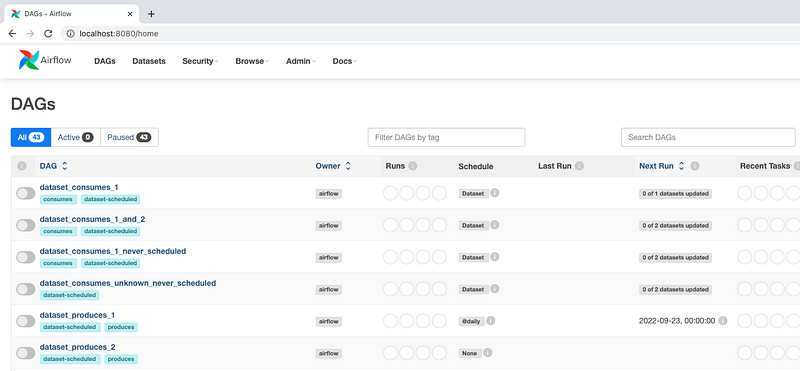
We have installed the airflow-full version in minutes with Docker.

Airflow Installation — Lite Version
We deployed multiple containers in the full-installation version of Airflow.
As expected, multiple containers require a lot of resources.
Even though we will need these containers in the production environment with services like Kubernetes, in the local environment, we don’t need to use all of these containers.
We need to modify the YAML file a little to save a lot of resources.
Let’s begin.
First, be sure that previously run containers stopped.
Then be sure that previously pulled Airflow related images were deleted.
We will make a new folder with the steps we followed in the full installation stage.
Let’s modify the YAML file.

First change the core executer from CeleryExecutor to LocalExecutor

And remove other Celery environment variables.
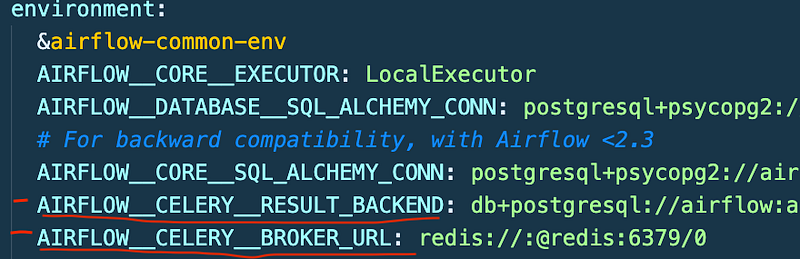
Then remove redis service.

And remove the redis condition from the depends-on part.

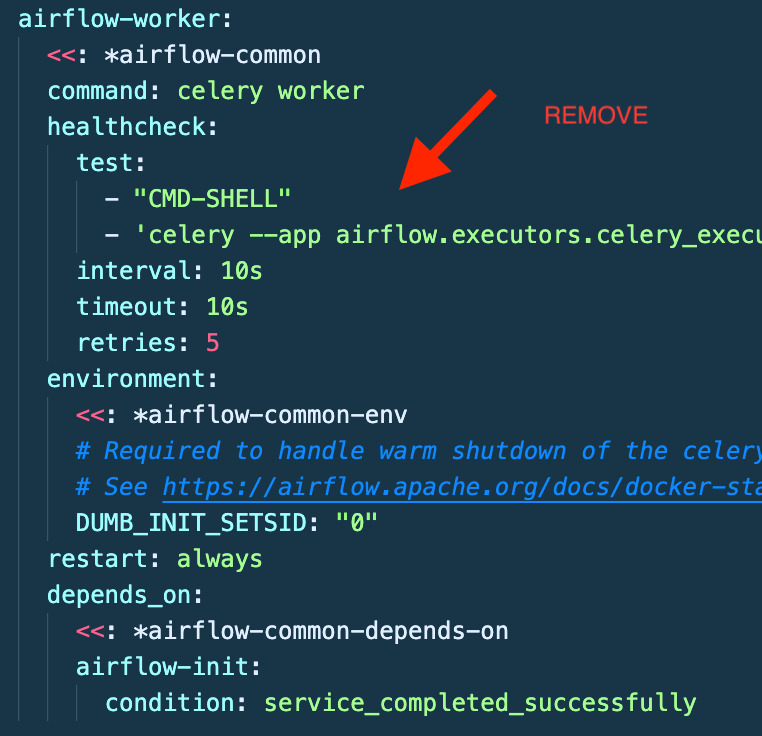
Remove the airflow-worker service
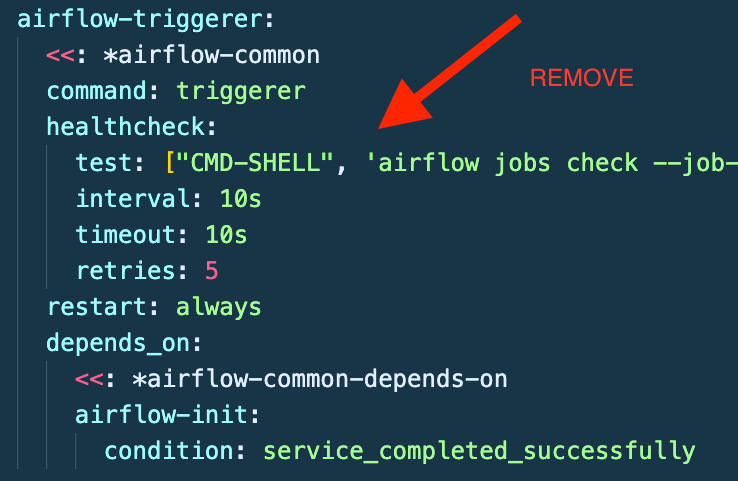
Also, remove the airflow-triggerer service.
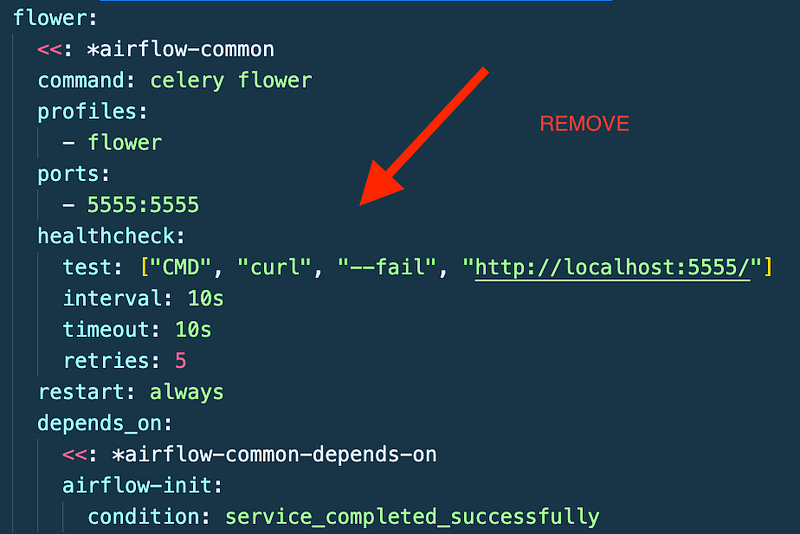
Finally, remove flower service.
OK. We have a lite version of the YAML file.
See the final version of YAML file below.
---
version: '3'
x-airflow-common:
  &airflow-common
  image: ${AIRFLOW_IMAGE_NAME:-apache/airflow:2.4.0}
  environment:
    &airflow-common-env
    AIRFLOW__CORE__EXECUTOR: LocalExecutor
    AIRFLOW__DATABASE__SQL_ALCHEMY_CONN: postgresql+psycopg2://airflow:airflow@postgres/airflow
    AIRFLOW__CORE__SQL_ALCHEMY_CONN: postgresql+psycopg2://airflow:airflow@postgres/airflow
    AIRFLOW__CORE__FERNET_KEY: ''
    AIRFLOW__CORE__DAGS_ARE_PAUSED_AT_CREATION: 'true'
    AIRFLOW__CORE__LOAD_EXAMPLES: 'true'
    AIRFLOW__API__AUTH_BACKENDS: 'airflow.api.auth.backend.basic_auth'
    _PIP_ADDITIONAL_REQUIREMENTS: ${_PIP_ADDITIONAL_REQUIREMENTS:-}
  volumes:
    - ./dags:/opt/airflow/dags
    - ./logs:/opt/airflow/logs
    - ./plugins:/opt/airflow/plugins
  user: "${AIRFLOW_UID:-50000}:0"
  depends_on:
    &airflow-common-depends-on
    postgres:
      condition: service_healthy


services:
  postgres:
    image: postgres:13
    environment:
      POSTGRES_USER: airflow
      POSTGRES_PASSWORD: airflow
      POSTGRES_DB: airflow
    volumes:
      - postgres-db-volume:/var/lib/postgresql/data
    healthcheck:
      test: ["CMD", "pg_isready", "-U", "airflow"]
      interval: 5s
      retries: 5
    restart: always


  airflow-webserver:
    <<: *airflow-common
    command: webserver
    ports:
      - 8080:8080
    healthcheck:
      test: ["CMD", "curl", "--fail", "http://localhost:8080/health"]
      interval: 10s
      timeout: 10s
      retries: 5
    restart: always
    depends_on:
      <<: *airflow-common-depends-on
      airflow-init:
        condition: service_completed_successfully

  airflow-scheduler:
    <<: *airflow-common
    command: scheduler
    healthcheck:
      test: ["CMD-SHELL", 'airflow jobs check --job-type SchedulerJob --hostname "$${HOSTNAME}"']
      interval: 10s
      timeout: 10s
      retries: 5
    restart: always
    depends_on:
      <<: *airflow-common-depends-on
      airflow-init:
        condition: service_completed_successfully

  airflow-init:
    <<: *airflow-common
    entrypoint: /bin/bash
    command:
      - -c
      - |
        function ver() {
          printf "%04d%04d%04d%04d" $${1//./ }
        }
        airflow_version=$$(AIRFLOW__LOGGING__LOGGING_LEVEL=INFO && gosu airflow airflow version)
        airflow_version_comparable=$$(ver $${airflow_version})
        min_airflow_version=2.2.0
        min_airflow_version_comparable=$$(ver $${min_airflow_version})
        if (( airflow_version_comparable < min_airflow_version_comparable )); then
          echo
          echo -e "\033[1;31mERROR!!!: Too old Airflow version $${airflow_version}!\e[0m"
          echo "The minimum Airflow version supported: $${min_airflow_version}. Only use this or higher!"
          echo
          exit 1
        fi
        if [[ -z "${AIRFLOW_UID}" ]]; then
          echo
          echo -e "\033[1;33mWARNING!!!: AIRFLOW_UID not set!\e[0m"
          echo "If you are on Linux, you SHOULD follow the instructions below to set "
          echo "AIRFLOW_UID environment variable, otherwise files will be owned by root."
          echo "For other operating systems you can get rid of the warning with manually created .env file:"
          echo "    See: https://airflow.apache.org/docs/apache-airflow/stable/howto/docker-compose/index.html#setting-the-right-airflow-user"
          echo
        fi
        one_meg=1048576
        mem_available=$$(($$(getconf _PHYS_PAGES) * $$(getconf PAGE_SIZE) / one_meg))
        cpus_available=$$(grep -cE 'cpu[0-9]+' /proc/stat)
        disk_available=$$(df / | tail -1 | awk '{print $$4}')
        warning_resources="false"
        if (( mem_available < 4000 )) ; then
          echo
          echo -e "\033[1;33mWARNING!!!: Not enough memory available for Docker.\e[0m"
          echo "At least 4GB of memory required. You have $$(numfmt --to iec $$((mem_available * one_meg)))"
          echo
          warning_resources="true"
        fi
        if (( cpus_available < 2 )); then
          echo
          echo -e "\033[1;33mWARNING!!!: Not enough CPUS available for Docker.\e[0m"
          echo "At least 2 CPUs recommended. You have $${cpus_available}"
          echo
          warning_resources="true"
        fi
        if (( disk_available < one_meg * 10 )); then
          echo
          echo -e "\033[1;33mWARNING!!!: Not enough Disk space available for Docker.\e[0m"
          echo "At least 10 GBs recommended. You have $$(numfmt --to iec $$((disk_available * 1024 )))"
          echo
          warning_resources="true"
        fi
        if [[ $${warning_resources} == "true" ]]; then
          echo
          echo -e "\033[1;33mWARNING!!!: You have not enough resources to run Airflow (see above)!\e[0m"
          echo "Please follow the instructions to increase amount of resources available:"
          echo "   https://airflow.apache.org/docs/apache-airflow/stable/howto/docker-compose/index.html#before-you-begin"
          echo
        fi
        mkdir -p /sources/logs /sources/dags /sources/plugins
        chown -R "${AIRFLOW_UID}:0" /sources/{logs,dags,plugins}
        exec /entrypoint airflow version

    environment:
      <<: *airflow-common-env
      _AIRFLOW_DB_UPGRADE: 'true'
      _AIRFLOW_WWW_USER_CREATE: 'true'
      _AIRFLOW_WWW_USER_USERNAME: ${_AIRFLOW_WWW_USER_USERNAME:-airflow}
      _AIRFLOW_WWW_USER_PASSWORD: ${_AIRFLOW_WWW_USER_PASSWORD:-airflow}
      _PIP_ADDITIONAL_REQUIREMENTS: ''
    user: "0:0"
    volumes:
      - .:/sources

  airflow-cli:
    <<: *airflow-common
    profiles:
      - debug
    environment:
      <<: *airflow-common-env
      CONNECTION_CHECK_MAX_COUNT: "0"
    command:
      - bash
      - -c
      - airflow


volumes:
  postgres-db-volume:
We need to be sure that permissions for volumes synchronization between the local environment and docker containers are the same.
For that, we need to define environment variables in our local environment.
We are ready to install the Airflow lite version.
First, initialize the Airflow.

And docker-compose up

Let’s see the containers.
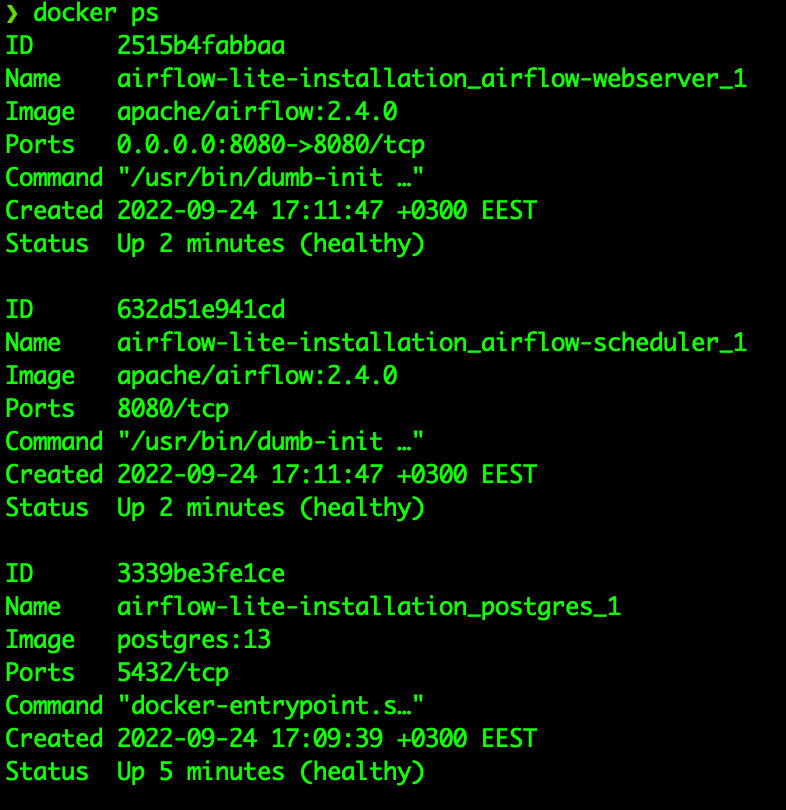
Containers are up and healthy.
Let’s move on to the web browser and open the localhost:8080
Enter the username and password as ‘airflow’ and sign in.
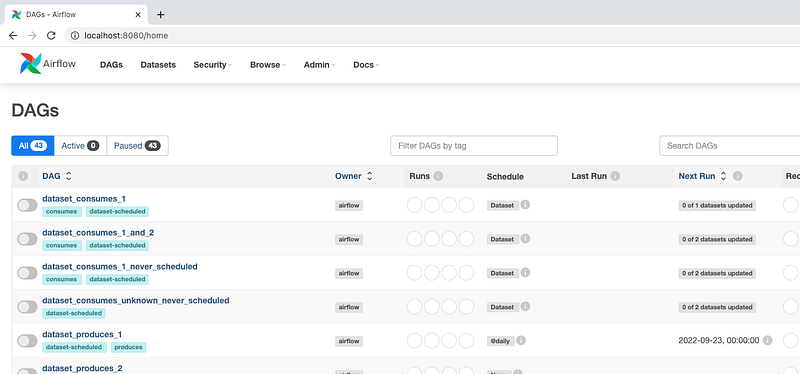
That’s it. We installed the Airflow lite version in minutes.

CONCLUSION
We have covered two different versions of the Airflow installation with Docker.
We installed the Airflow in two different installation options in minutes.
In the following article, we will discuss Airflow implementations on the local environment.
This article is a part of the Workflow Tools list. You can find the other articles on the series here.
I hope that it helps.
By the way, when you like the topic, you can show it by supporting 👏
Feel free to leave a comment. Thanks for your time.
All the best 🤘
If you enjoy reading my content, please consider following me. Also, you can support other writers and me by subscribing to Medium. Using my referral link will not cost you extra.


