
[Written in Chinese] Step-by-Step Chinese Word Cloud with Python
When I am going to generate a word cloud in Chinese, I found there is less resource that can be relied on in the Internet and they are not comprehensive at all for a programming beginner to start working with. I know because I am one of the beginners. =) That’s why I have an idea to create this post. Since this is for Chinese Word Cloud, I think using Chinese to explain would be better and easier. For those who wants a post for generating English Word Cloud, leave a comment and let me know.
Here is the Github repository.
You can also copy and run the code directly on Kaggle.
Step 1 - Data Source (Text)
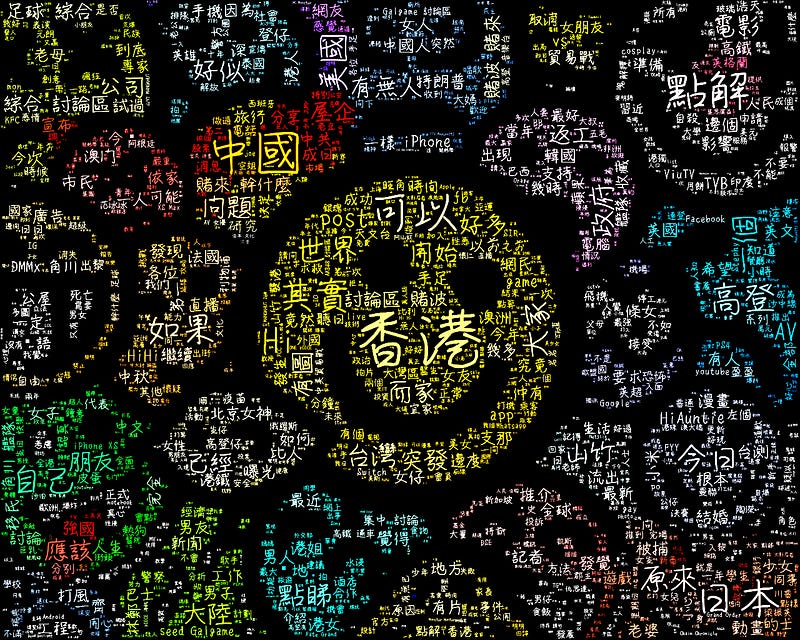
香港高登討論區 [ 高登 ](https://www.hkgolden.com/) 是香港一個著名而普及的網上論壇,不同年紀、性別或宗教的香港人也有人使用,高登所涉及的內容範圍很廣泛,上至財經資訊、時事消息,下至感情生活、娛樂新聞,籠統而言,高登就好像是香港的一個縮影。透過 word cloud 去分析高登上面的 posts,我們可以從中找出香港人最關心的時事議題、最喜愛的明星跟組合,最留意的股票動向,甚至是性方面的癖好等等。
這次教學並不是 website scraping,所以我不打算詳細講解怎樣從高登討論區把 post 的內容 scrape 下來,各位可以使用自己想用的文字檔即可。
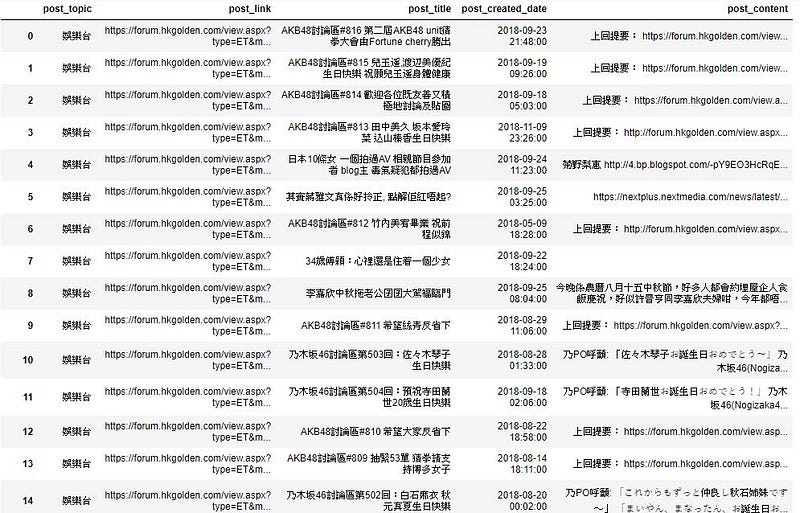
而我這次教學會使用感情台的 posts 作為我 word cloud 的數據。
# name the word cloud data source as variable text
text = open('text.txt', 'r',encoding= 'UTF-8-sig').read()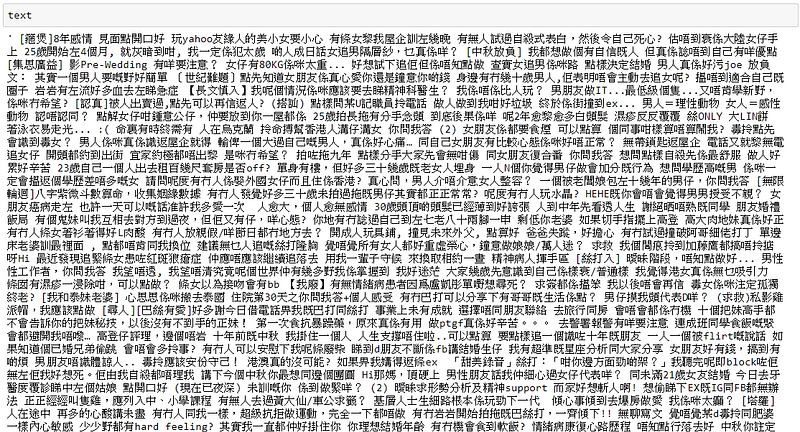
中文跟英文其中一個不一樣的地方就在於英文每個字中間會有空白格,但是中文並沒有,所以我們需要利用 jieba 的 tokenization 幫我們分詞。
import jieba
text = ' '.join(jieba.cut(text))
text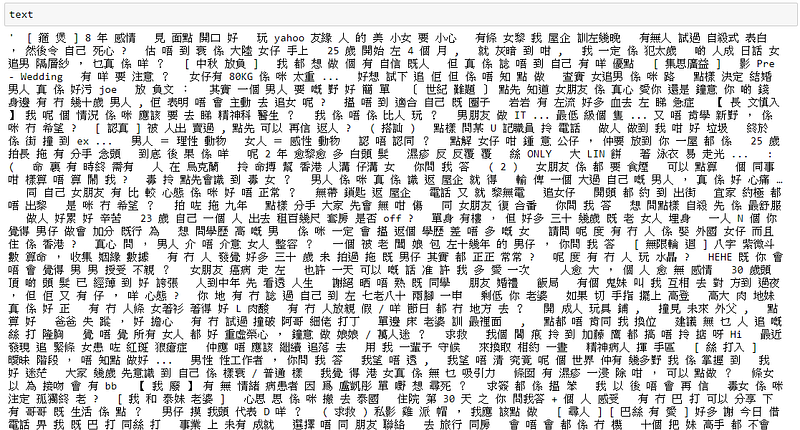
Step 2 - Word Cloud Design
處理好文字檔以後要做的就是構思想要的 word cloud design。簡單來說重點有三大方面 (形狀、顏色、字型 )。
- 形狀
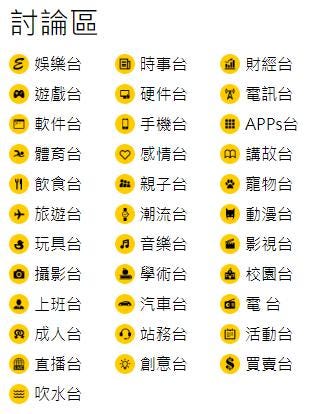
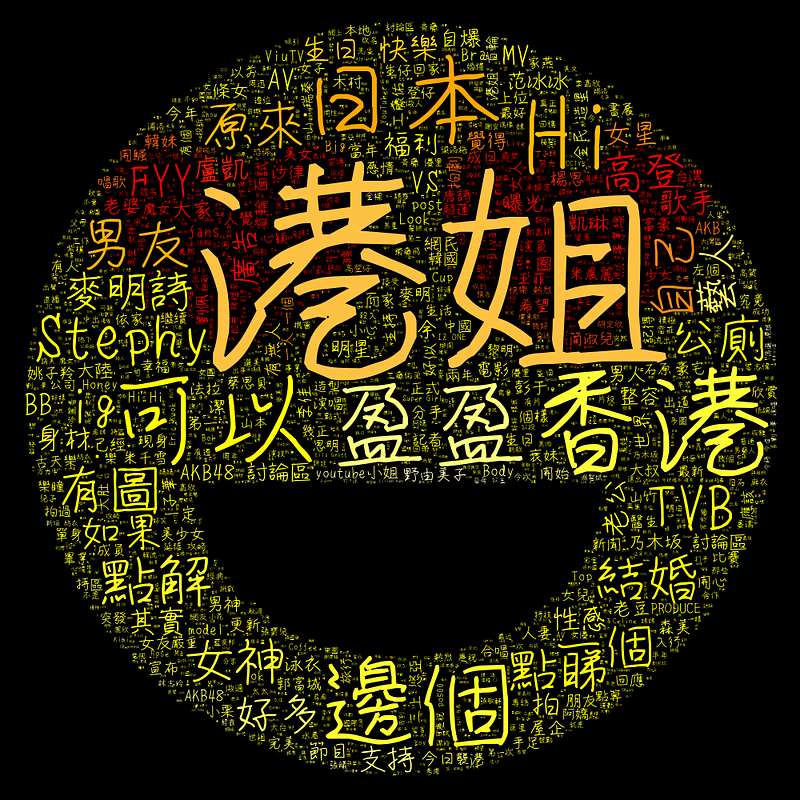
word cloud default 的形狀是長方形的,如果你想創作一個有趣形狀的 word cloud,你就需要準備一張圖片。例如我用了這張圖片:

溫馨提示,圖片是 PNG 檔,其中白色的部分是透明的。
from PIL import Image
import numpy as np
icon_path = 'icon.png'
icon = Image.open(icon_path)
mask = Image.new("RGB", icon.size, (255,255,255))
mask.paste(icon,icon)
mask = np.array(mask)- 顏色
文字顏色的選擇主要有三種: ( 三選一就行 )
i. 純色
def color_func(word, font_size, position, orientation, random_state=None, **kwargs):
    return tuple([255,255,255]) # RGB code of white color
ii. 根據 DIY 圖片本來的顏色
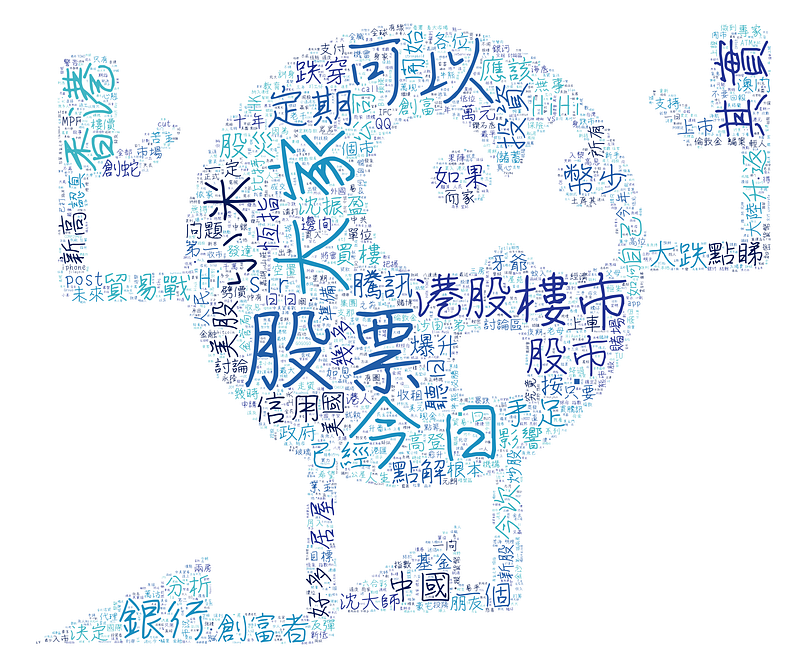
from wordcloud import ImageColorGenerator
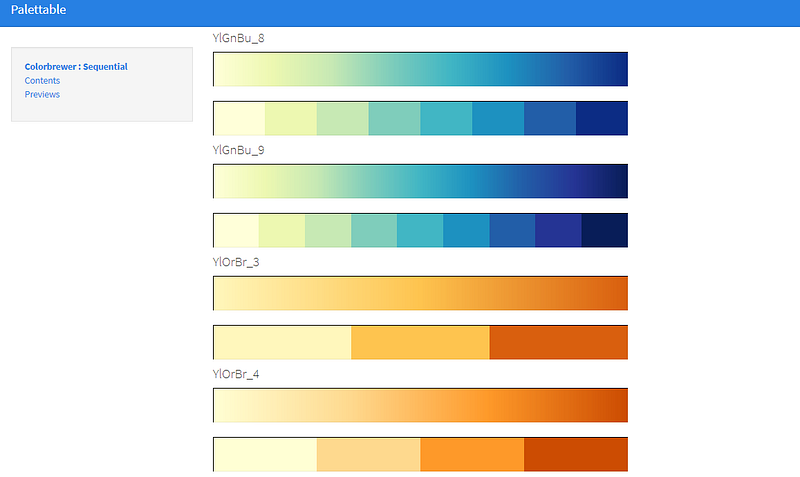
color_func = ImageColorGenerator(mask)iii. palettable.colorbrewer package 的 color set
先到 https://jiffyclub.github.io/palettable/colorbrewer/ 選擇想要的 color set ,總共有三組不同的類別,包括 diverging, qualitative 和 sequential ,例如我選取了sequential 組別當中的 YlGnBu_9。
import random
from palettable.colorbrewer.sequential import YlGnBu_9 # choose the color set you like
def color_func(word, font_size, position, orientation, random_state=None, **kwargs):
    return tuple(YlGnBu_9.colors[random.randint(0,8)]) # we got 9 colors, so we generate random number from 0 to 8
以下是不同選擇的效果圖:

- 字型
值得一提的是字型,因為這次我們使用的 wordcloud package default 所使用的字型只能夠顯示英文,所以如果希望 display 中文的話,就必需要,我重覆,是必需要準備一個能顯示中文的字型,而這次我所使用的是 SNsanafonGyou.ttf,各位也可以自行去找尋喜歡的中文字型。
如果沒有選取一個能顯示中文的字型,出來的 word cloud 就會全變成長方形,如下圖:
# indicate the font path that can display Chinese
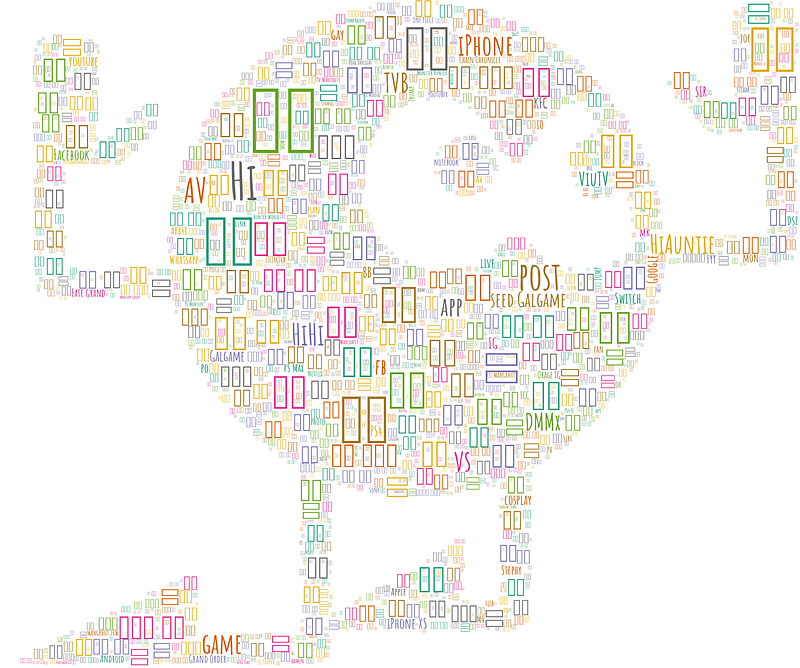
font_path = 'SNsanafonGyou.ttf'Step 3 - Generate the Word Cloud
準備好一切之後,我們就可以開始做一個獨一無二的 word cloud 了!
from wordcloud import WordCloud
import matplotlib.pyplot as plt
wc = WordCloud(font_path=font_path, background_color="black", max_words=2000, mask=mask, max_font_size=300, random_state=1)
wc.generate_from_text(text)
wc.recolor(color_func=color_func, random_state=2)
# save as png
output_path = 'wordcloud.png'
wc.to_file(output_path)# display the word cloud
plt.rcParams["figure.figsize"] = (25,25)
plt.imshow(wc)
plt.axis("off")
plt.show()


Conclusion
這是我第一次打這類型的教學文,用了頗長的時間,希望各位看完以後能掌握到如何做一個合自己心意的中文 word cloud,如果你覺得這篇文章真的能幫到你的話,請你分享給身邊的朋友,讓他們也能學會這種有用的技巧。 未來我們會出一系列的教學文章,歡迎隨追和拍個手支持一下!
另外,如果興趣知道更多這種小技巧或知識,可以瀏覽我的網站:https://cydalytics.blogspot.com/
LinkedIn:
Yeung Wong - https://www.linkedin.com/in/yeungwong/
Carrie Lo - https://www.linkedin.com/in/carrielsc/
Other Articles
- Making a Game for Kids to Learn English and Have Fun with Python
- Data Visualization Tips (Power BI) — Convert Categorical Variables to Dummy Variables
- Data Science Fundamentals (R): Import Data from Excel — readxl
- Data Science Fundamentals (R): Import Data from text files — textreadr & readtext
- Data Science Fundamentals (R): Import & Export Data in Excel — xlsx


