Windows WSL Introduction
What is WSL?
WSL stands for Windows Subsystem for Linux. It is a Linux virtual container that enables a Linux distribution, like Ubuntu, Debian, etc. to be installed and integrated with Windows. WSL is introduced since Windows 10 build 1904+. Since then, there is manual options provided for older build as well.

There are two versions of WSL: WSL and WSL2. At time of writing, WSL2 is the default version.
Install WSL
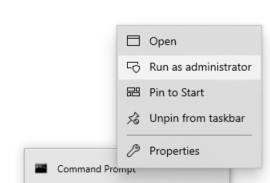
WSL is not installed by default. To install WSL, open a Windows Command Window(or Powershell command window) in administrator mode. To do so, right click on the Window Command Prompt and select “Run as administrator”.
By default, the installation command will install WSL and Ubuntu using below command:
wsl --update
WSL --install
If you want to install different Linux distribution, use below command to check all valid distributions:
C:\LocalFolder>wsl --list --online
The following is a list of valid distributions that can be installed.
Install using 'wsl --install -d <Distro>'.

NAME                                   FRIENDLY NAME
Ubuntu                                 Ubuntu
Debian                                 Debian GNU/Linux
kali-linux                             Kali Linux Rolling
Ubuntu-18.04                           Ubuntu 18.04 LTS
Ubuntu-20.04                           Ubuntu 20.04 LTS
Ubuntu-22.04                           Ubuntu 22.04 LTS
OracleLinux_8_5                        Oracle Linux 8.5
OracleLinux_7_9                        Oracle Linux 7.9
SUSE-Linux-Enterprise-Server-15-SP4    SUSE Linux Enterprise Server 15 SP4
openSUSE-Leap-15.4                     openSUSE Leap 15.4
openSUSE-Tumbleweed                    openSUSE Tumbleweed

C:\LocalFolder>
Then, use wsl — install -d <Distro> to install your preferred distribution. For example:
wsl --install -d Ubuntu
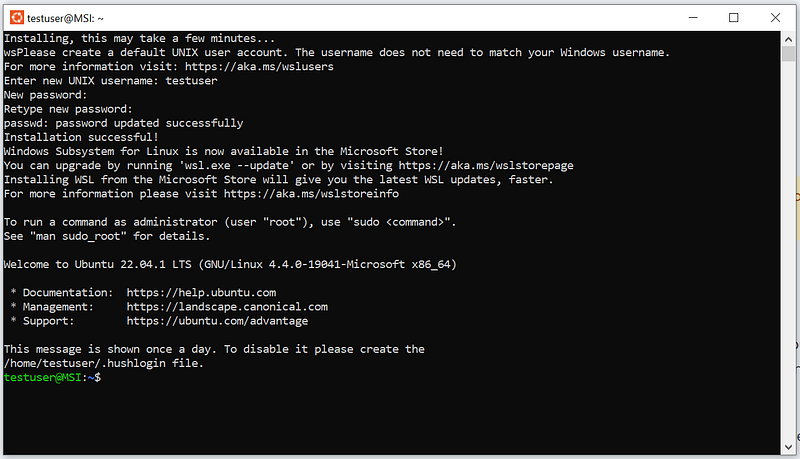
wsl --install -d openSUSE-Leap-15.4Depending on different Linux distribution, a installation window will be popped up for initial setup (like Linux user and password).
You could install multiple Linux distributions. To find installed distributions, use below command:
C:\LocalFolder>wsl --list --running
Windows Subsystem for Linux Distributions:
Ubuntu (Default)

C:\LocalFolder>
WSL Interactive Mode
WSL allows you to explore Linux installation in two modes: Interactive mode and command line mode. To use interactive mode, use below command without any parameters:
wsl
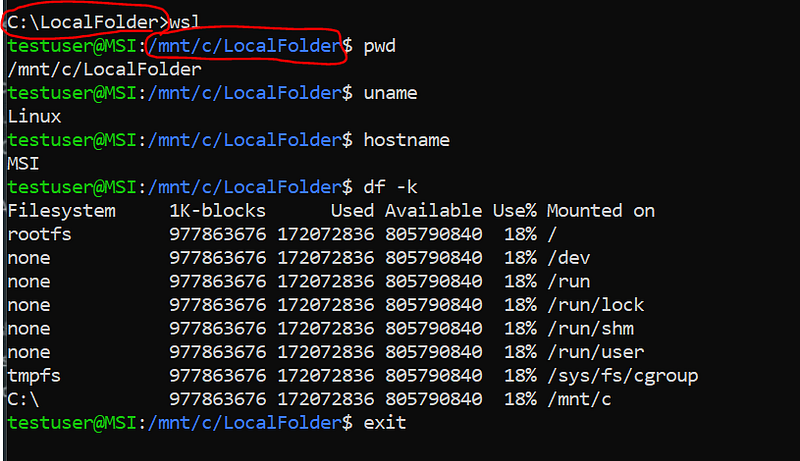
In interactive mode, the default directory after connect to WSL, is the Linux equivalent directory from where WSL is launched.
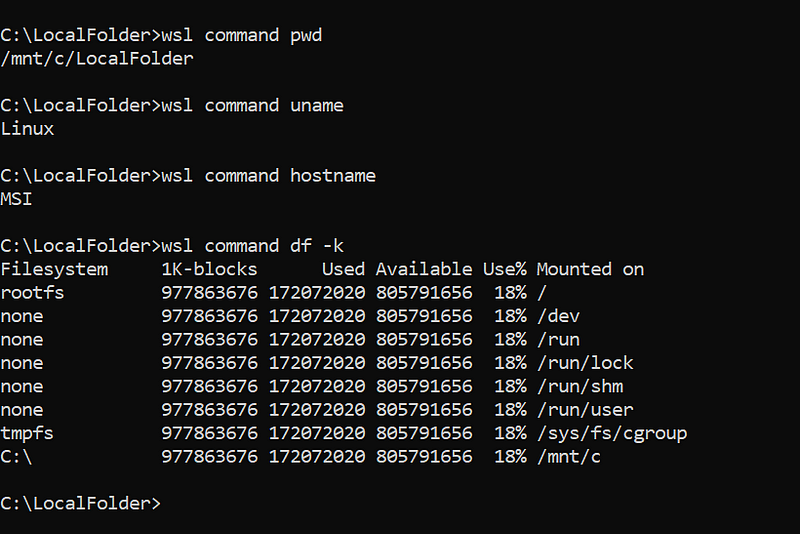
WSL Command Line Mode
The command line mode is executed from a DOS or Powershell command Window. It could be also included into DOS BAT/CMD script, or Powershell PS script. Use option command after WSL to run command:
File Shares between WSL and Windows Host
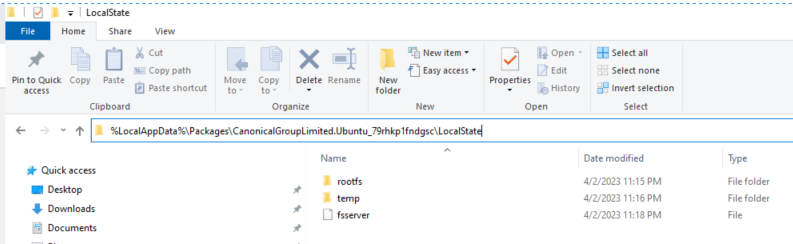
When a Linux distribution is installed, Windows will allocate a directory as file system for the Linux (Note, this is different from how Virtual Machine works on Windows). In the installed Linux, it normally provides mount directories to Windows drivers (C:, D:, etc.). Different Linux distribution might have different directory name and mount directory name. Since we installed Ubuntu from above, the Windows directory to allocate Ubuntu file system is located at %LocalAppData%\Packages\CanonicalGroupLimited.Ubuntu_79rhkp1fndgsc\LocalState.
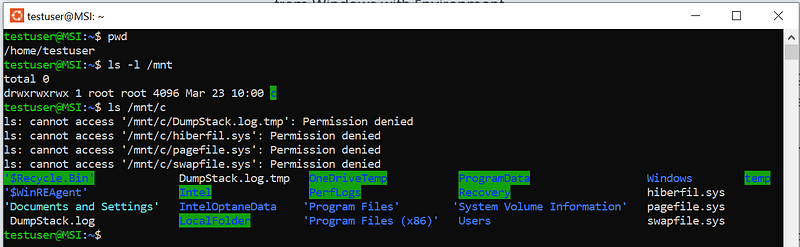
From Ubuntu, you could access Window drives from /mnt.
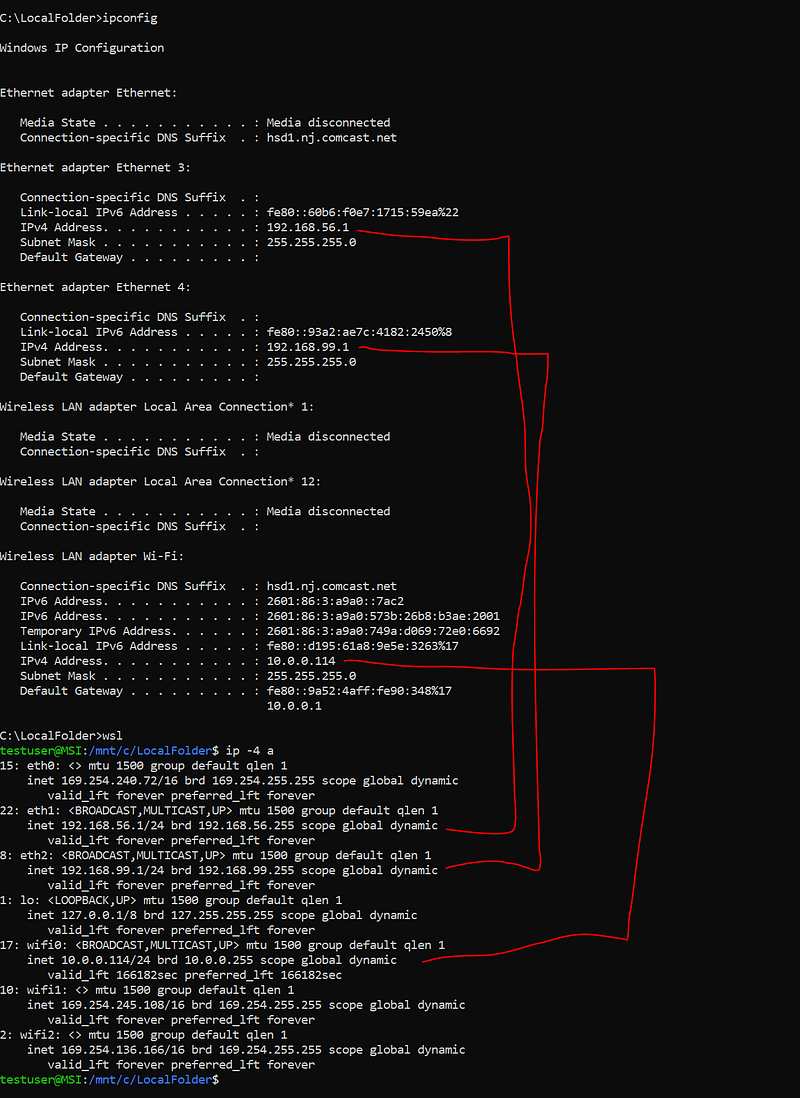
WSL Network
By default, the WSL network is a subnet to host’s network configuration. So, if you don’t do anything, the WSL Linux will just work with the network where the host sits in. For example:
Further Tips
First of all, WSL is not meant to host heavy application. Instead, use it for convenience reason or local development / test tasks.
If you want to setup automated configurations during WSL startup, take a look wsl.conf file. It could help you to:
- Automatically mount other network drives
- Setup Network settings from default, and generate resolv.conf and hosts file.
- Enable or disable Interop
If you need a quick Linux Desktop, you could install xface and xRDP for example. The installation is exactly same as regular Linux environment.
Last, always check Microsoft official websites for WSL on latest updates.


