
What Are Keyframe Animations in Swift 5?
How to chain multiple animations together

Today we will learn about keyframe animations in Swift. In short, they allow us to combine several UIView animations in one flow. This way, you can create a complex-looking animation with ease by breaking it into distinct, smaller steps.
We will quickly experiment with a keyframe animation in an Xcode Playground. This is what we are going to achieve:
The source code is available at the bottom of the article.
Let’s Start
We have a simple rounded UIView centered vertically in a UIViewController:
As we can see, we have references to two NSLayoutConstraints we will animate.
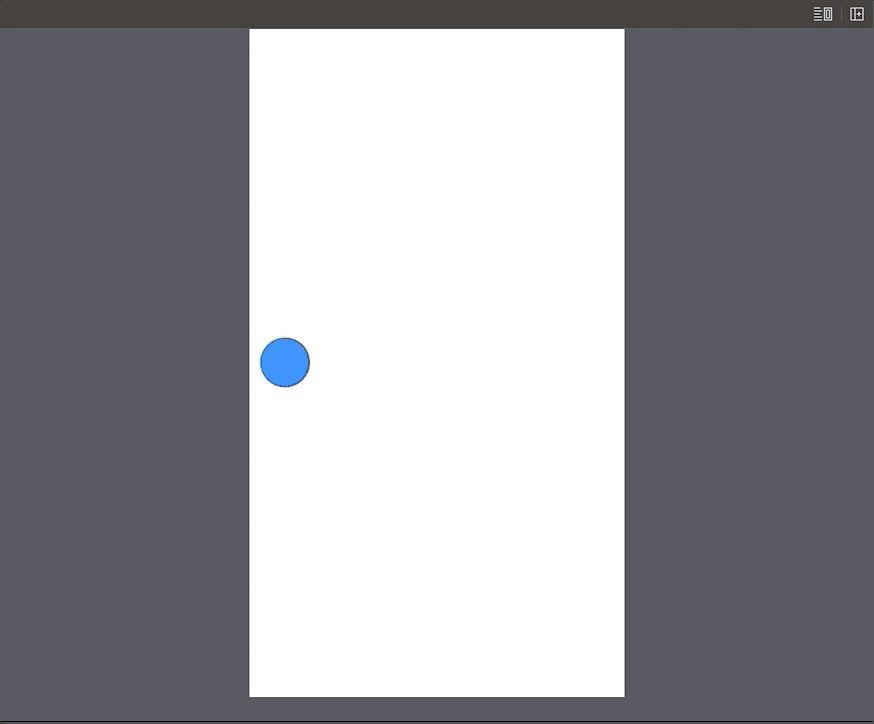
Currently, nothing happens and the circle stands still:
Let’s change that. Add the performAnimations() method and call it inside the viewDidAppear() method:
We implement the animateKeyframes method in which we will add all our animations. We give three seconds for the overall animation process to be completed.
Now it’s time to add individual animations. Create a new method called addKeyframes(count:) that will generate a number of keyframe animations that will alter the constant property of the constraints:
A few takeaways here:
- The
withRelativeStartTimeparameter takes aDoublevalue indicating a relative starting time for the keyframe animation. For example, if we pass 0 as a parameter, this particular animation will start first. - Similarly, the
relativeDurationparameter specifies the relative time the provided keyframe will take. In our case, we previously specified three seconds of time for the whole chain of animations. Therefore, as we passed the 0.1 value here, it means that this particular animation will take 0.3 seconds.
As we can see, we sequentially alter the centerXConstraint and centerYConstraint so that the circle moves in both x and y directions. For the actual constraint animation to happen, we run the layoutIfNeeded() method on the root view.
Now let’s call this method inside the performAnimations():
We pass in eight animations that will take 80% of the three seconds of animation time.
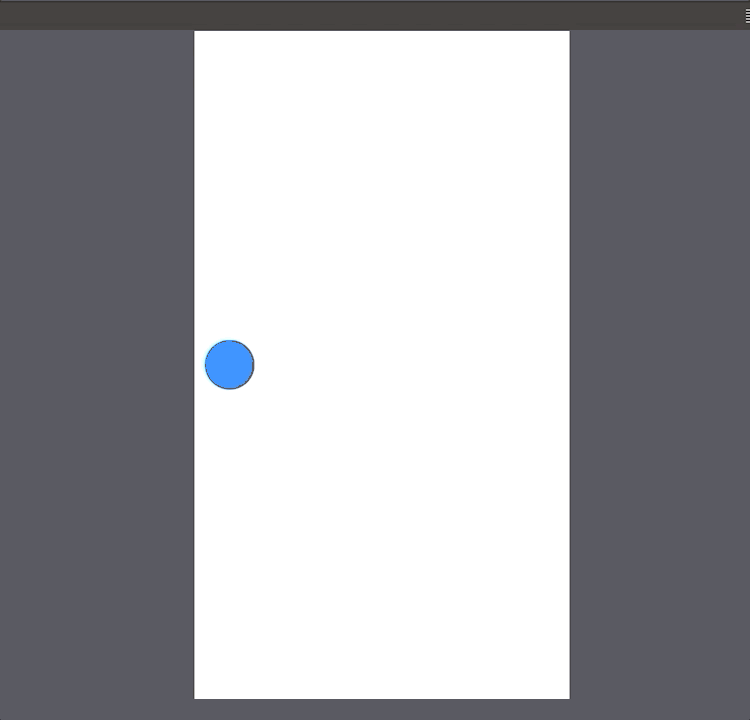
Now we can see the circle shifting to the right and rising to the top at the same time:
Let’s now add the remaining touches to our work.
We need the circle to fade out after it has risen to the top and then show up at the beginning of its route. We also want the animation to run infinitely. These animations will take the remaining 20% time of the total of 3 seconds.
Update the performAnimations() method like so:
We add two additional keyframes:
- One places the circle -20 points from the left and makes it transparent.
- Another brings it to +10 points from the left and makes it visible.
Note that we also recursively call the performAnimation() method inside the completion handler.
Finally, we have achieved our task:
Resources
The source code is available in a Gist.
Thanks for reading!


