
Using Gradle w/ Kotlin DSL to create a Kotlin project
A quick introduction to Gradle’s fundamental principles & creating your first Kotlin project, with a few notes about conflicting standards in Kotlin and Java
Have you heard about the Kotlin Primer? It’s an extensive, hands-on and detailed guide to the Kotlin language full of unique and original explanations, interactive exercises, and concrete recommendations based on experience. It will transform anyone who knows Java into a Kotlin expert within a matter of days. Check it out!
This is the second article in a series about creating a Kotlin project with Gradle configured using the Kotlin DSL. In the previous one, we discussed why I think it’s a good idea to use Gradle w/ the Kotlin DSL in the first place. In this article, we’ll cover some of the very basics of Gradle, install it, run gradle init and talk about the result.
Gradle fundamental principles
Before we start, it is necessary to be familiar with some of the fundamental terms & principles Gradle uses. Right now, I’ll only go over the stuff you’ll need in order to follow the rest of the article. Other fundamental things, such as dependency management, will be explained further on. However, this is by no means a comprehensive or in-depth exploration, for that, a good place to start is probably Gradle’s Build Script Basics.
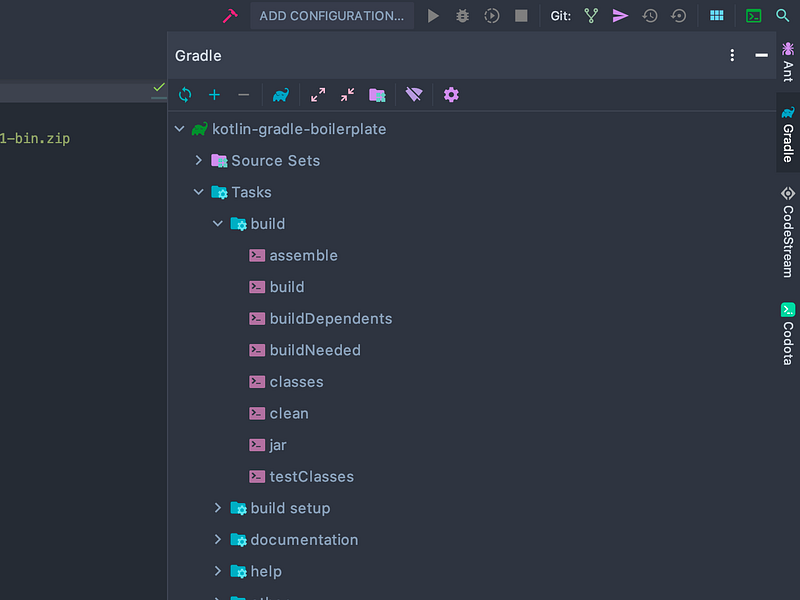
Simply put, a Gradle project consists of source files together with a Gradle Wrapper and files describing the build configuration. Most notable among these files is build.gradle.kts, which (among many other things) defines tasks.
Tasks “represent some atomic piece of work which a build performs”, i.e. generating Javadocs, .jars, running code analysis — you name it. Defining and running tasks is a major part of Gradle and together with defining dependencies, it pretty much covers most of the reasons you use Gradle for.
The Gradle wrapper is basically a .jar which ensures a consistent version of Gradle is being used when executing tasks. If the wrapper can’t find the prescribed distribution of Gradle, it downloads it before actually running the task. This “standardizes a project on a given Gradle version, leading to more reliable and robust builds”. This also means that if you update the Gradle distribution you have installed on your machine, the Gradle distribution your project uses won’t change — you have to upgrade the wrapper. That probably won’t happen any time soon, but it’s good to keep a mental note.
Included with the wrapper are scripts for Windows and Linux environments that abstract away the actual use of the .jar. In practice, it’s these scripts that you will be calling, with the task names as arguments, i.e. running ./gradlew a b c executes tasks a b and c task on a Linux machine (assuming such tasks are defined).
If all of this is abstract, don’t worry — you’ll see everything for yourself in the next section.
This should give you everything you need to roll your sleeves up and get to work.
Installing Gradle
First things first, you need to download & install Gradle. On a Mac, a simple brew install gradle will do the trick. The newest version at the time of writing is 6.0.1.
Once you have Gradle up and running, create a new folder for you project, cd into it and run gradle init. Much like git init, you have to run gradle init inside the project folder, Gradle won’t create it for you.
Gradle 6.0.1 will prompt you to select the type of project to generate, giving you the choice of Basic, Application, Library and Gradle plugin. The difference between them is that Basic generates a completely empty project with nothing preset but its name, while Application, Library and Gradle plugin will generate a simple build configuration tailored to that specific need, along with dummy source and test files.
We’ll be going over every line that’s generated anyway, so you could very well select Basic and do it from scratch, but since we eventually want to talk about publishing to MavenCentral, we might as well pretend we’re developing a library and go with Library. If you don’t know what MavenCentral is, no worries, we’ll talk about it soon.
After selecting the project type, select Kotlin as both your implementation language and build script DSL, after which you will get asked for a project name and source package. The project name is exactly what it sounds like, and it will be written to settings.gradle.kts (more on this file later). The source package is the package name which will be used in the sources. For those of you already familiar with MavenCentral parlance, this should be your GroupId (if you’re not, we’ll introduce the term in the next article).
What you enter as the source package has two effects: first, the dummy sources are created in a folder hierarchy corresponding to whatever you enter delimited by periods, so if you enter io.github.gabrielshanahan, the sources will be places in src/main/kotlin/io/github/gabrielshanahan/ and src/test/kotlin/io/github/gabrielshanahan/. Additionally, the dummy files will declare package io.github.gabrielshanahan at the top. This means that whatever you enter must be a valid package name.
If you’re developing something serious (and as good practice, even if you’re not), I strongly recommend using a reversed domain name as described in the Java language specification. If you don’t have a domain, see here how to use your GitHub account instead. Maven recommends that the GroupId follow Java package-naming rules, so if you plan on publishing to MavenCentral or similar, consider this practically mandatory. But you should observe this convention even if you don’t plan on publishing, or don’t know what MavenCenter is yet, unless there is a very good reason not to.
I’ll take this opportunity to mention something that caused me a lot of frustration: do not use any special characters, including dashes, underscores and spaces, in your package name. This implies the same for the name of your project, but also, if you plan on using GitHub as your domain, for your GitHub username, since it appears in the URL and therefore in the domain you will be using. This warning naturally applies to any domain that has your username as part of the URL, not GitHub exclusively.
The reason for this is that Java package-naming rules specify that special characters not allowed in identifiers should be replaced by underscores, but as of Dec 2019, that is in direct contradiction with the Kotlin Code Conventions, which explicitly forbid underscores in package names.
I asked JetBrains about this, and their response was to consider the Kotlin style buggy and ignore it. Be that as it may, tools such as detekt are designed to conform to Kotlin conventions, which means that even if you listen to JetBrains and decide to ignore them, your tools won’t. The result is you’ll have to deal with failing code analysis in every file of every project until this is fixed (and the change reflected by the tools you are using). Therefore, if you have the option, consider changing your username to avoid this kind of trouble later on.
For those of you familiar with detekt, an alternative way you could probably deal with this is by whitelisting the errors in a baseline file.
After inputting the project name and source package, you should be looking at a directory with roughly the following structure:
.
├── build.gradle.kts
├── gradle
│   └── wrapper
│       ├── gradle-wrapper.jar
│       └── gradle-wrapper.properties
├── gradlew
├── gradlew.bat
├── settings.gradle.kts
└── src
    ├── main
    │   ├── kotlin
    │   │   └── io
    │   │       └── github
    │   │           └── gabrielshanahan
    │   │               └── Library.kt
    │   └── resources
    └── test
        ├── kotlin
        │   └── io
        │       └── github
        │           └── gabrielshanahan
        │               └── LibraryTest.kt
        └── resources
You might recognize that gradle/wrapper/ contains the Gradle wrapper we were talking about earlier. The gradlew and gradlew.bat files are the scripts which are used to call the wrapper (and through it, execute tasks passed in as arguments).
The src/ folder contains dummy sources and accompanying tests. If you’re interested, Gradle has a page describing the files/folders in (slightly) more detail.
A default .gitignore is also created (not shown), with the folders .gradle/ (a cache directory) and build/ (the default place to put all generated artifacts) ignored by default. Since these articles aim to be IDE independent and I’m using IDEA, I added .idea/ as well, so my settings don’t get tracked.
Currently, settings.gradle.kts contains only the project name and unless you’re planning on authoring multi-project builds, that’s probably the way it will stay for a very long time. At some point, it might be useful to know that you should always include it and that this file is executed before any build.gradle.kts file.
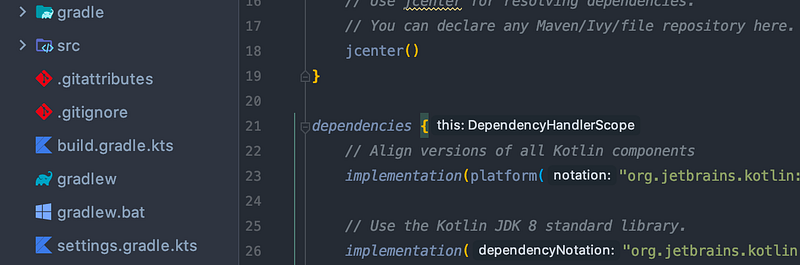
The most interesting file, and the one you’ll be interacting with the most, is build.gradle.kts. This is where all the magic happens, and we’ll be taking a look at it in the next article.
Congratulations, you just created your first project using Gradle. If you want, you can take a look at the source code here.


