
Use TypeScript to Create a CRUD API using NodeJS and MongoDB
TypeScript plays an important role in creating large and enterprise applications. TypeScript provides interfaces, class, static, and more important types.
In this article, we are going to build NodeJS CRUD(Create, Read, Update, and Delete) API. We are using TypeScript and its feature to build an application. We will also learn how to set up the initial skeleton of the project. After setting up the project we will create webpack loader. Also, learn how to build endpoints for the API.

Software Required
Before creating NodeJS API we need the following software should be installed.
- NodeJS
- Postman
- Visual Code
- MongoDB
Following is the node and npm version I am using for this project. It may change in the future however overall implementation will be similar.
CID@COMP ProductAPI % node -vv10.16.3CID@COMP ProductAPI % npm -v6.13.4CID@COMP ProductAPI %Setting up the project
The first step goes to your workspace open terminal or command line. Create a directory and navigate to the directory. In my case, I am creating a ProductAPI folder for my CRUD API. Once inside the ProductAPI. Create a package.json file. Package.json file will hold all the projects related to dependencies.
npm init -ynpm init will create a package.json file like this:
{“name”: “product-api-demo”,“version”: “1.0.0”,“description”: “”,“main”: “index.js”,“scripts”: {“test”: “echo \”Error: no test specified\” && exit 1"},
“keywords”: [],“author”: “codingInDepth”,“license”: “ISC”}
Once package.json is created we are good to install project-related dependencies. We are using the following dependencies:
npm i express dotenv cors helmet mongooseexpress: Superfast lean framework to create APIs. Express is used to bootstrap API and create a router module. Router is used for authentication and helps to build Microservices.
dotenv: Create .env file to manage variable for the NodeJS application. These variables can be accessed using process.env.
cors: To allow cors to read the origin of the request. It can be used to block application access.
helmet: Helmet is a collection middle-ware functions that set HTTP response headers. Running app.use(helmet()) will allow using HTTP requests and responses.
mongoose: Mongoose provides a very easy data modeling of MongoDB. It also provides a bunch of methods that help in CRUD operations.
TypeScript and NodeJS A beautiful combination
Since we are developing this project using typescript. Install typescript dependencies. The benefits of using Typescript is to create generics and strong types of data models. It helps manifolds when the application is getting large.
npm i -D typescriptSince typescript efficiently works with types! To install type for each package that we installed above.
npm i -D @types/node @types/express @types/dotenv @types/cors @types/helmet @types/mongooseTo compile the NodeJS app using TypeScript, install the tsconfig file. Use command npx tsc - init to create tsconfig.
npx tsc — initMake sure tsconfig.json the file is in the root directory of the application. tsconfig.jsonin the root directory indicate that the project is configured for the typescript.
Setting up .env Environment variables:
Environment variables are required across the project. To avoid hardcoding in each place, it's better practice to move all the environment-related variables in the .env file. .env file is accessible across the project using process.env.
touch .env //<= Create .env filePORT=8080MONGO=”mongodb://mongo/codeindepth”Creating a NodeJS app with TypeScript
Create a src folder in the root directory of the application. This folder will be a collection folder and files related to the CRUD API. In index.ts file import all the dependencies that we have installed. In index.tsfile import cors, express, .env, and mongoose. To initial .envfile write dotenv.config()
Now environment variables are available to access using process.env.<varName>
import cors from ‘cors’;import express from ‘express’;import * as dotenv from “dotenv”;import mongoose from ‘mongoose’;import helmet from “helmet”;dotenv.config();if (!process.env.PORT) {console.log(`Error to get ports`);process.exit(1);}
const PORT: number = parseInt(process.env.PORT as string, 10);Next line is to create an app using express and initialize
const app = express();app.use(helmet());app.use(cors());app.use(express.json());Complete index.ts look like this:
Creating Hot Module Replacement aka HMR
The next step is to implement hot module replacement. Check the webpack link to check more about webpack loader. HMR provide auto compile feature. Whenever there is any change in the code within the scope of the root directory. HMR automatically runs and compile the code and generate the code in the dist folder. Install the webpack dependencies, check the official documentation for more insight.
npm i -D ts-loader webpack webpack-cli webpack-node-externalsCreate a webpack.config.ts file for the webpack configuration. Check the below file and copy-paste it.
Interesting three-point in webpack.tsconfig is:
- Resolve file type with extension .ts,.tsx,.js
- Entry point for the app is ./src/index.ts
- Compile the code to the destination folder. You can check after compile it will create a dist folder.
Check more interesting facts about webpack in the documentation.
Now open the terminal and run the webpack in one terminal under the root directory and in other terminal run the application. Follow the sequence of running the command.
npm run webpack npm startOnce run if you put a default get function like this, you can see the Node server is up and running.
app.get(‘/’, (req, res) => res.send(‘Hello World with Express’));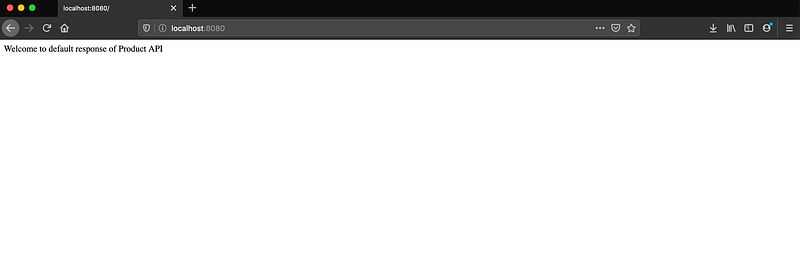
Playing with Local Store-Creating Product Interface and product data
The next step is to create a data model for the table. Here we are creating a Product interface. Product interface consists of id, name as mandatory field and product description, and product rating as an optional parameter. Then next we are creating product data which is a type of Product array.
touch src/product.tstouch src/product-crud.service.tsNow create a crud service which is responsible for all the CRUD operations. Import Product interface and products in-memory data.
Now we write getAllProducts which is the type of Promise. Create products is pretty simple. just push the product data with the type of Product. For the update check, the index in the index is matching then update the product details.
let index = products.findIndex(d => d.id === product[‘id’]);if(index >0 || index==0){//update the data}
Delete operation is similar to the update find the id and delete the product.
let index = products.findIndex(d => d.id === id);console.log(`In delete product index is ${index}`)if(index >0 || index==0)products.splice(index, 1);Complete service looks like this.
Now create a router file product-crud.ts. It holds all the request-response. It just a layer for the request-response.
Now finally update the index.ts file. We have to import product-crud in index.ts file.
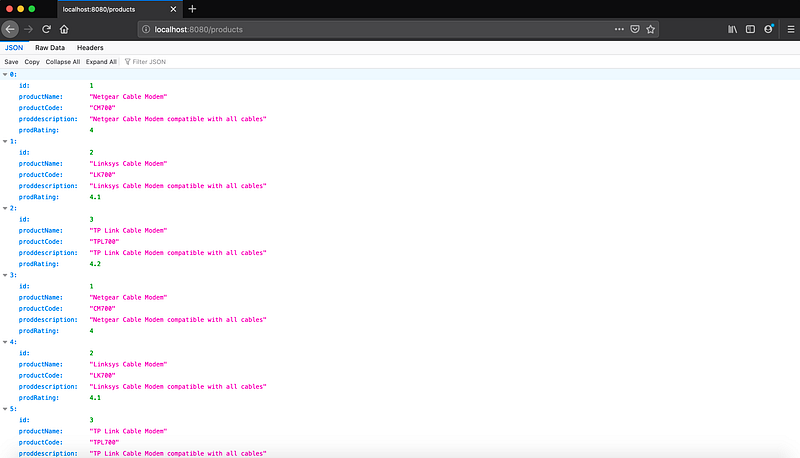
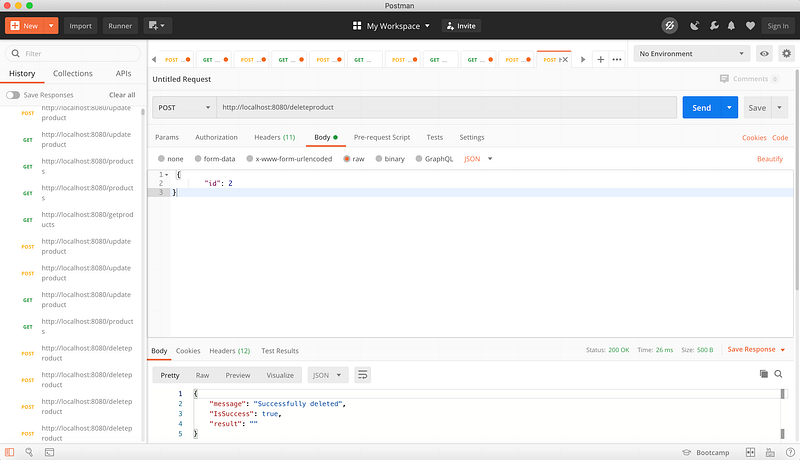
import * as productCRUD from ‘./product-crud’;app.get(‘/products’, productCRUD.getProductList);app.post(‘/products’,productCRUD.createProduct);app.post(‘/updateproduct’,productCRUD.updateroduct);app.post(‘/deleteproduct’,productCRUD.deleteproduct);
whoa APIs are ready to test.
Connecting to MongoDB:
In the above example, we were playing with in-memory data. But once the application is shut down all the records added will be flushed. So we need a persistent store to add all the product data. This can be done by using MongoDB. So now time to connect with the Mongo database. Download MongoDB and create a local server. Go to the mongodb/bin and check the file MongoDB. Now open the terminal in the bin folder and run the following command. MongoDB is the command to bootstrap the application and -dbpath is to set the path of your local folder.
./mongod — dbpath /Users/codeindepth/data/dbImport mongoose and call the connect method to connect with the database.
import mongoose from ‘mongoose’;const uri: string = process.env.database;mongoose.connect(uri, (err: any) => {if (err) {console.log(err.message);} else {console.log(`Connecting to MONGO`);}
});Now the next step is to create a data model using mongoose. Now create a product-schema file that will hold schema related to the product.
touch src/product-schema.tsImport mongoose and define the schema. Now here we are using id as generate in code and nonmandatory. Map the products with the product model and export it. Since we have only one schema let it import it as default export.
const products = mongoose.model(“products”, Product);export default products;complete file looks like this.
Now create a product-crud-mongo.ts file. Here we will define request-response which will communicate with product-schema.ts file.
touch src/product-crud-mongo.tsCreate product record:
Import products from product schema here. Now create createProduct and create a new instance of the product. Pass the request in the new products.
const request: Product = req.body;let prod = new products(request);prod.save((err,result)=>{ //callback here
})Read or Get all products:
Similarly define getProductList method and call find method to get all product list.
products.find((err: any, result: any) => {//callback here}
Update or Update product record by id:
For update use findOneAndUpdate. This takes several parameters-
- take request-id which record needs to be updated
- upsert and new which is very important. upsert will check if a record does not exist, then the record will be inserted. new, if you want a response as an updated record then always use this parameter.
- request to update
- request and response callback.
products.findOneAndUpdate({ _id: request.id },{ upsert: true, new: true, },
request,(err, res) => {
//Callback response}
Delete or delete record by id:
Delete is always simple. you can use deleteOne or deleteAll. Since we do not have duplicate records. We are using deleteOne.
products.deleteOne({ _id: request.id }, (error, res) => {
//Callback response
}
The complete file looks like this.
Now update the productCRUD in index.ts to point to ./product-crud-mongo
// import * as productCRUD from ‘./product-crud’; //<= Comment this lineimport * as productCRUD from ‘./product-crud-mongo’; //<= Add this linewhoa, now APIs is connected with MongoDB and is ready to test.
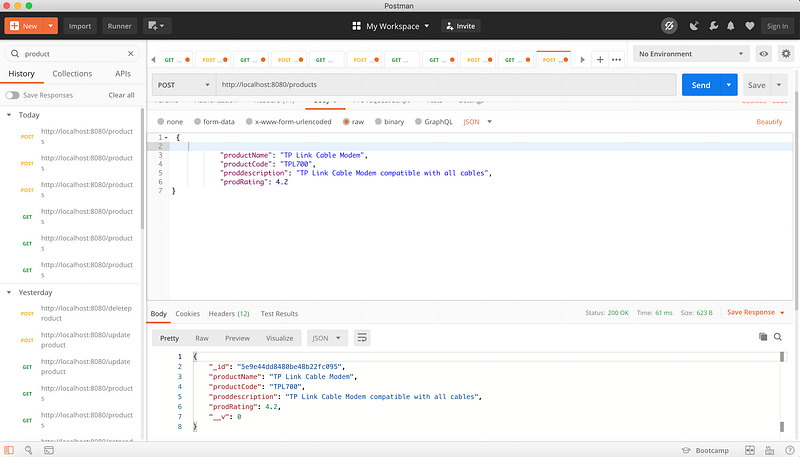
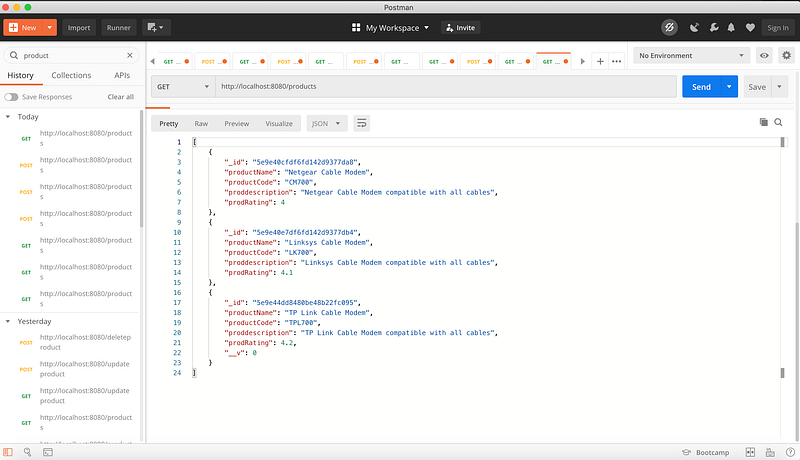
One important thing to notice here we have _id is generated instead of local storage that we define as 1,2,3… But that's fine because the id is generated by MongoDB and it is unique. Similarly, we can do an update and delete API.
Conclusion
So we are summing up long writing. We started with prerequisites for the project and then deep dive on HMR, typescript. We played with a local data store and then adding MongoDB as a persistent database. I have given step by step codes for API. I am attaching the GitHub product API link below. Please do check and respond if any issues.
You can download and play with the project. Here is the git link.


