
How to Unity
Unity UI Button Navigation Explained
Learn how and why to implement the button navigation
Within Unity’s UI system, buttons can be accessed and interacted with in three ways:
- click them with the mouse
- tap them on a touchscreen
- pressing a key (gamepad or keyboard) when they are selected.
To set the button navigation for a UI button in Unity, you can use the Navigation panel in the Inspector window.
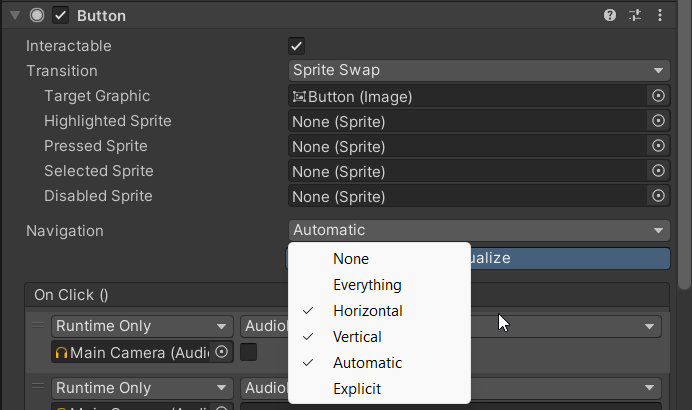
There are six button navigation options that determine the order in which buttons are selected when the user navigates the UI using a keyboard or gamepad:
- None: the buttons cannot be selected using the keyboard or gamepad navigation.
- Horizontal: the buttons will be navigated from left to right or vice-versa. When the user reaches the end of a row, they will move to the next one.
- Vertical: the buttons will be navigated from top to bottom or vice-versa. When the user reaches the end of a column, they will move to the next one.
- Explicit: the order in which the buttons are selected is explicitly defined by the developer. The developer can specify the order in the Navigation panel of each button’s Inspector, using the “Up”, “Down”, “Left”, and “Right” fields to define the next button in each direction.
- Automatic: Unity calculates the next selectable element based on the UI layout.
- Everything: allows navigation between different UI elements, for example from buttons to also text inputs, drop-down menus…
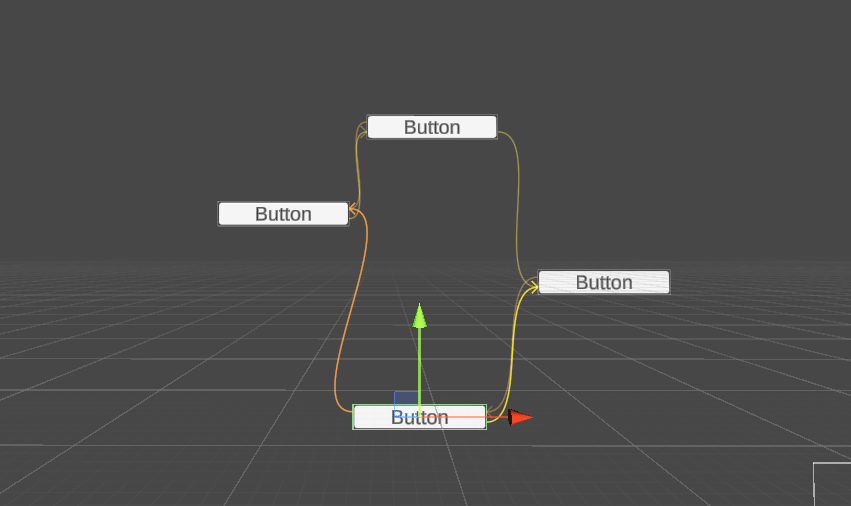
Clicking on the Visualize button will make appear arrows connecting the buttons, showing the available navigation paths according to the chosen option.
To improve the user’s experience, it is crucial to understand the differences between the navigation options and choose the most appropriate one for each UI element. For instance, horizontal navigation may be suitable for a menu bar, while vertical navigation might be better for a main menu.
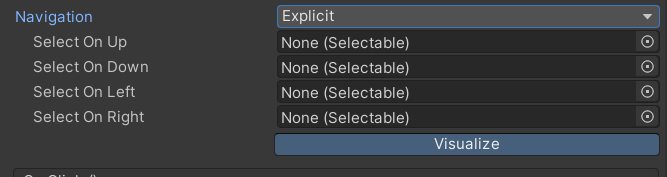
Explicit navigation is the most flexible option, allowing developers to define the order of buttons precisely. This is especially important for complex UIs. You just need to drag and drop the next item onto the “Select On [Up/Down/Left/Right]”… and, of course, do it for every other button!
When Automatic navigation is chosen, Unity will look for other elements right, down, left, and then up, in that order, to define the best path. This option can be useful for simple UIs with consistent and predictable layouts. However, in more complex UIs or ones with irregular layouts, the automatic navigation may only sometimes result in the desired order.
It’s also important to note that automatic navigation only works for elements that share the same parent.
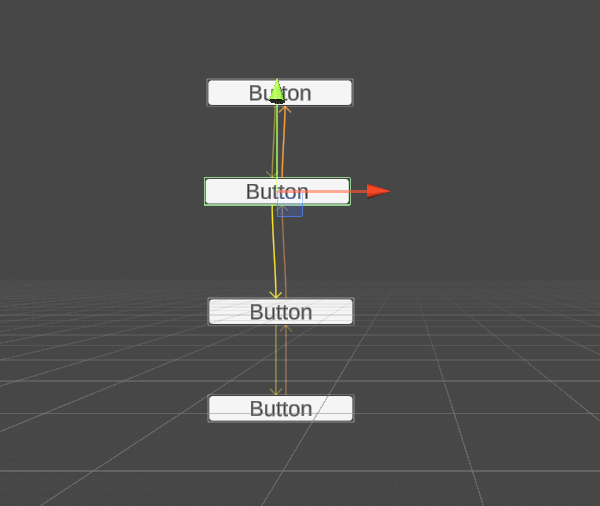
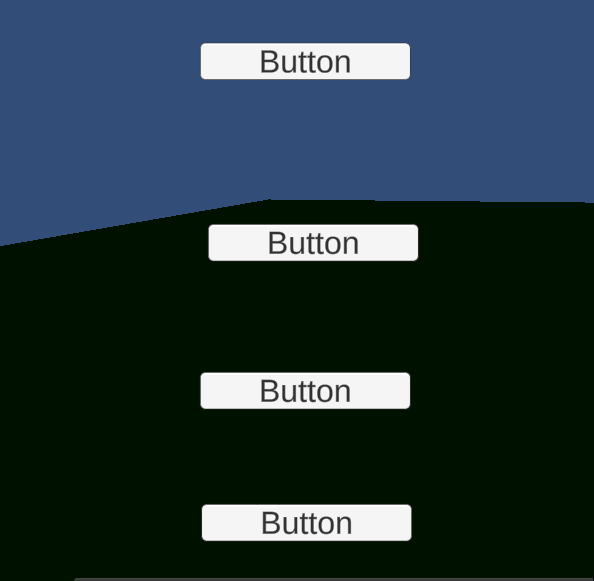
Here is how the (vertical) navigation appears in-game, for visibility, selected buttons are red.
Did you notice that I needed to click the first button in order to select it and move on with the keys?
See here to learn how to navigate without having to press a button first.
If you liked the article, please clap to it and share it! Also, take a look at my games!

Get access to my stories and those of other Medium writers for just $5 a month. With no additional cost to you, I will receive half of your payments as a commission: it’s a great way to support me!
Join my newsletter and receive regular notifications when I post.


