TypeScript Part 2 -Building a Basic Form with Typescript, Form Data and useState React App (Beginner Guide)



Building a Basic Form with Typescript , Form Data and useState React App
In this article , we’ll explore building a basic form with TypeScript, Form Data and use State React App (Beginner Guide) and TypeScript’s powerful features in combination with React, focusing on form event handling.
Creating a form with TypeScript in a React application involves several steps.
Understanding Form Events in TypeScript with React
In React, forms are managed components that allow users to input data and interact with the application. Form elements like <input>, <select>, and <textarea> come with their own set of events to handle user interactions. TypeScript provides type safety and helps catch errors during development.
Common Form Events
- onChange: This event occurs when the value of an input element changes. It’s commonly used to capture user input.
- onSubmit: This event occurs when a form is submitted, usually triggered by clicking a submit button. It’s used to handle form submission.
- onBlur: This event occurs when an input element loses focus. It’s commonly used for validation or to trigger certain actions when the user finishes inputting data.
- onFocus: This event occurs when an input element gains focus. It’s used for various purposes, such as showing hints or providing assistance to users.
Handling Form Events in TypeScript
When working with form events in TypeScript and React, it’s essential to define event handlers with proper types to ensure type safety.
Follow below
Part 1 Article — Cheat Book definition to understand the below code example
Below is a step-by-step guide to create a simple form using TypeScript with React
Prerequisites :
Download tools :
- Node — https://nodejs.org/en/download/ —
- Visual Studio or any editor for coding —
- Chrome browser
- React version → > 16.8
INSTALLATION
STEP 1: Setup React App
Make sure you have Node.js and npm (or yarn) installed on your machine. You can create a new React app using Create React App.
Open your terminal and run the following command:
npx create-react-app my-ts-form-app --template typescriptThis command creates a new React app with TypeScript template.
STEP 2 — Create New React Component — Registration.tsx
import React,{ useState } from 'react';

// Form data Interface
interface FormData {
 firstname: string ,
 lastname: string ,
 email:string
}
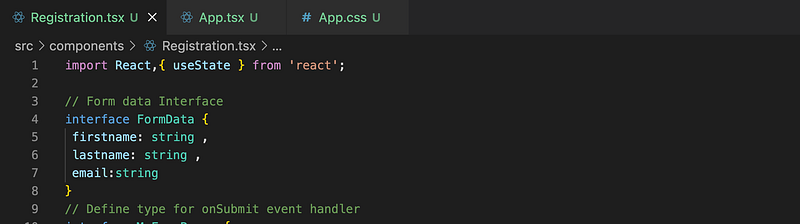
We define an interface FormData to represent the structure of form data containing email, first name, and last name.
STEP 3
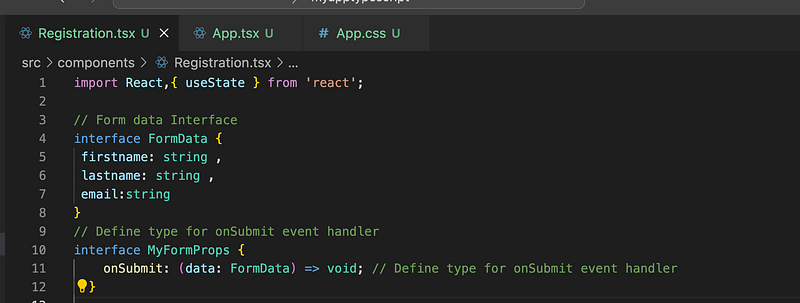
We define an interface MyFormProps with a property onSubmit, which is a function that takes FormData as an argument and returns void.
// Define type for onSubmit event handler
interface MyFormProps {
    onSubmit: (data: FormData) => void; // Define type for onSubmit event handler
  }
STEP 4
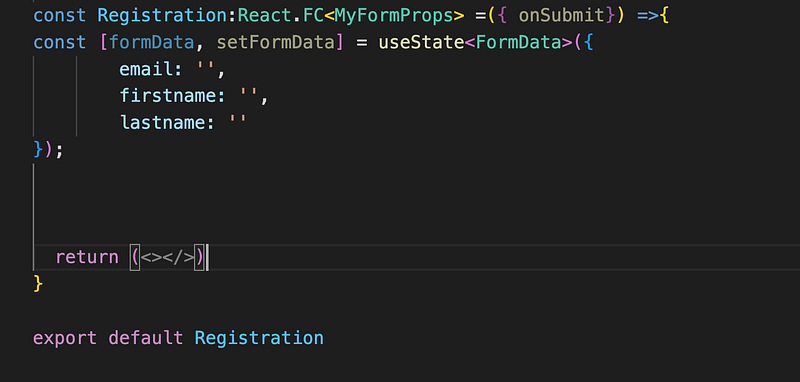
Inside the component, we use useState hook to manage form data and empty function component
const Registration:React.FC<MyFormProps> =({ onSubmit}) =>{
const [formData, setFormData] = useState<FormData>({
        email: '',
        firstname: '',
        lastname: ''
});


  return (<></>)
}
STEP 5
Now add Form Tag and Input fields for our form
const Registration:React.FC<MyFormProps> =({ onSubmit}) =>{
const [formData, setFormData] = useState<FormData>({
        email: '',
        firstname: '',
        lastname: ''
});


  return (<form className="container"  >
  <h1>Registration </h1>
 <div className="row">
   <label htmlFor="firstName">First Name :</label>
   <input
     type="text"
     id="firstname"
     name="firstname"
     value={formData.firstname}

     required
 />
 </div>
 <div className="row">
   <label htmlFor="lastName">Last Name : </label>
   <input
     type="text"
     id="lastname"
     name="lastname"
     value={formData.lastname}

   />
 </div>
 <div className="row">
  <label htmlFor="email">Email:</label>
  <input
     type="email"
     id="email"
     name="email"
     value={formData.email}

     required
  />
 </div>

 <div className="row">
  <button name="submit">Submit </button>
 </div>
</form>)
}
STEP 6
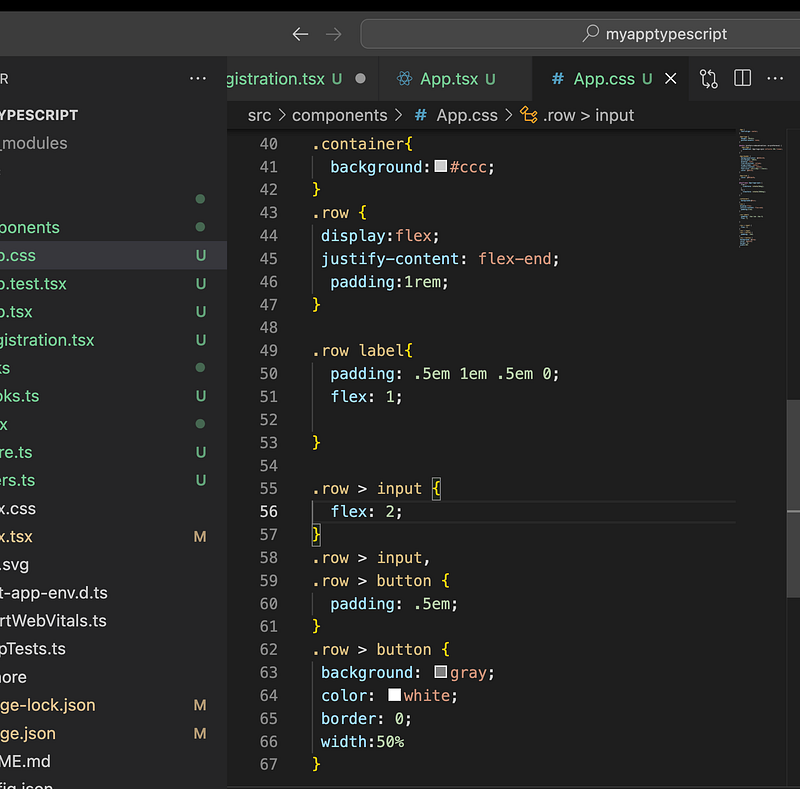
Add CSS for Form in your any common CSS
We have added in our App.css
.container{
  background:#ccc;
}
.row {
 display:flex;
 justify-content: flex-end;
  padding:1rem;
}

.row label{
  padding: .5em 1em .5em 0;
  flex: 1;

}

.row > input {
  flex: 2;
}
.row > input,
.row > button {
  padding: .5em;
}
.row > button {
 background: gray;
 color: white;
 border: 0;
 width:50%
}
STEP 7
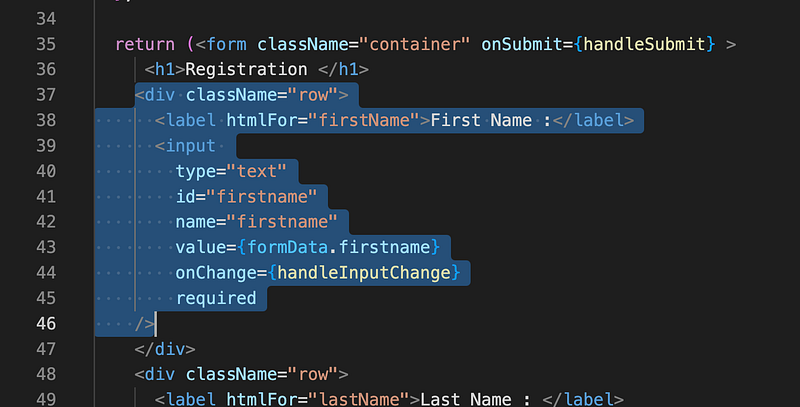
We have a handleInputChange function to update the form data state when the user types into the input fields.
const handleInputChange= (e: React.ChangeEvent<HTMLInputElement>) =>{
    const { name, value } = e.target;
    setFormData(prevState => ({
        ...prevState,
        [name]: value
    }));
}

// Update each input with onchange
<div className="row">
      <label htmlFor="firstName">First Name :</label>
      <input
        type="text"
        id="firstname"
        name="firstname"
        value={formData.firstname}
        onChange={handleInputChange} // here is sample added
        required
    />
In this component:
- We’re using React’s
useStatehook to manage form data state. - handleInputChange function updates the form data state when input values change.
handleSubmitfunction logs the form data when the form is submitted.
Full Code of all Input Tags —
<h1>Registration </h1>
    <div className="row">
      <label htmlFor="firstName">First Name :</label>
      <input
        type="text"
        id="firstname"
        name="firstname"
        value={formData.firstname}
        onChange={handleInputChange}
        required
    />
    </div>
    <div className="row">
      <label htmlFor="lastName">Last Name : </label>
      <input
        type="text"
        id="lastname"
        name="lastname"
        value={formData.lastname}
        onChange={handleInputChange}
      />
    </div>
    <div className="row">
     <label htmlFor="email">Email:</label>
     <input
        type="email"
        id="email"
        name="email"
        value={formData.email}
        onChange={handleInputChange}
        required
     />
    </div>

    <div className="row">
     <button name="submit">Submit </button>
    </div>STEP 5
STEP 8
We have a handleSubmit function to handle form submission. It prevents the default form submission behaviour, calls the onSubmit function provided via props, and passes the form data.
  const handleSubmit = (event: React.FormEvent<HTMLFormElement>) => {
    event.preventDefault(); // Prevent default form submission behavior
    console.log(formData)
    onSubmit(formData); // Call onSubmit function with form data
  };
STEP 9
We attach handleSubmit function to the onSubmit event of the form element.
<form className="container" onSubmit={handleSubmit} >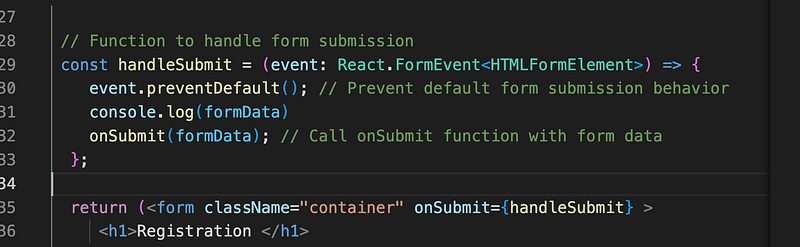
Full Code of Registration file
import React,{ useState } from 'react';
// Form data Interface
interface FormData {
 firstname: string ,
 lastname: string ,
 email:string
}
// Define type for onSubmit event handler
interface MyFormProps {
    onSubmit: (data: FormData) => void; // Define type for onSubmit event handler
  }

const Registration:React.FC<MyFormProps> =({ onSubmit}) =>{
const [formData, setFormData] = useState<FormData>({
        email: '',
        firstname: '',
        lastname: ''
});

const handleInputChange= (e: React.ChangeEvent<HTMLInputElement>) =>{
    const { name, value } = e.target;
    setFormData(prevState => ({
        ...prevState,
        [name]: value
    }));
}

 // Function to handle form submission
 const handleSubmit = (event: React.FormEvent<HTMLFormElement>) => {
    event.preventDefault(); // Prevent default form submission behavior
    console.log(formData)
    onSubmit(formData); // Call onSubmit function with form data
  };

  return (<form className="container" onSubmit={handleSubmit} >
     <h1>Registration </h1>
    <div className="row">
      <label htmlFor="firstName">First Name :</label>
      <input
        type="text"
        id="firstname"
        name="firstname"
        value={formData.firstname}
        onChange={handleInputChange}
        required
    />
    </div>
    <div className="row">
      <label htmlFor="lastName">Last Name : </label>
      <input
        type="text"
        id="lastname"
        name="lastname"
        value={formData.lastname}
        onChange={handleInputChange}
      />
    </div>
    <div className="row">
     <label htmlFor="email">Email:</label>
     <input
        type="email"
        id="email"
        name="email"
        value={formData.email}
        onChange={handleInputChange}
        required
     />
    </div>

    <div className="row">
     <button name="submit">Submit </button>
    </div>
 </form>)
}

export default Registration
The form contains input fields for email, first name, and last name, with appropriate attributes and event handlers.
STEP 10
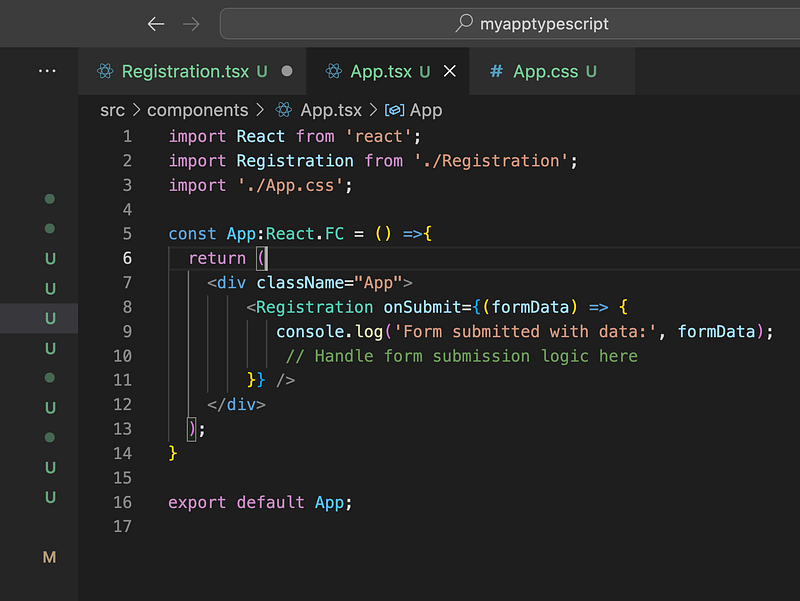
When you use Registration, we would pass the required onSubmit event handler like so:
import React from 'react';
import Registration from './Registration';
import './App.css';

const App:React.FC = () =>{
  return (
    <div className="App">
        <Registration onSubmit={(formData) => {
           console.log('Form submitted with data:', formData);
            // Handle form submission logic here
        }} />
    </div>
  );
}

export default App;
This way, TypeScript ensures type safety for form data and event handlers, helping to catch potential errors at compile time.
STEP 11 :
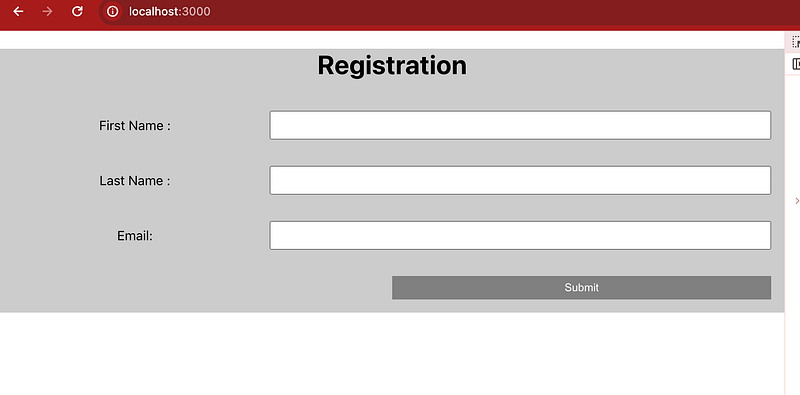
Run the Application
Finally, start your application by running the following command in your terminal:
npm startThis command starts the development server, and you can view your form in the browser at http://localhost:3000.
That’s it! You’ve created a simple form using TypeScript with React.
You can expand upon this example by adding form validation, handling form submission to a server, etc., based on your requirements.
If you find my blogs helpful, then please subscribe ,Claps and follow to support me in GitHub too
Thank You, enjoy your Journey !!!
Kind is cool !!! Share knowledge to gain knowledge !!!! Be kind and treat people with respect !!! If you find my videos helpful, then please subscribe , Claps and follow to support
Cheers,
Kirti Kaushal
Other Articles