
Are you suffering from difficulty in creating UI for your ML application?
Turn your Colab or Jupyter Notebook into a Web App Easily
Colab / Jupyter Notebook into a web app
As Data scientists / ML engineers, we will need to demonstrate our research to users in a much more enlightened way. To achieve this, we tend to implement a web app along with our research.
Undoubtedly, Flask and Django are the best frameworks to develop Python web apps. However, it’s important to note that there is a learning curve associated with adapting to these frameworks.
So if the time to research is very limited, most of us do not tend to use (unless it’s essential) a web app to demonstrate our research. Instead, we prefer to use the inbuilt Jupyter Notebook functionality to demonstrate results and run a live demo.
But when it comes to user evaluation or some public demonstrations, we can’t present our findings like that. It should be interactive and eye-catching.
Also if you are an IT undergraduate, you will definitely have a final-year research project that needs to be evaluated by a review panel.
So for all these cases, it would be great if we could have a web app along with our Jupyter Notebook.
Good news: Bringing you Anvil works!
Anvil is a free Python-based drag-and-drop web app builder.
This is a really easy and incredibly quick web app maker which specially can be used to convert your Colab / Jupyter notebook into a web app in a few minutes.
You will be surprised by how minimal programming skills are needed to create this app.
The world is generally moving to no-code applications as they can save thousands of man-hours.
Here are some examples of that. (no code projects)
- Bubble/Webflow — Build nearly any website
- Glide — No-code mobile app builder
- FlutterFlow — Creating apps for multiple platforms
- Voiceflow — AI voice app development
- Parabola — Integrating data into automation and connecting apps
Likewise, with Anvil, you can create your dream web app without any hustle. This can turn your Colab or any Jupyter Notebook into a web app in minutes.
As I mentioned earlier, it will be greatly helpful for the researchers who need to demonstrate their work.
Disclaimer: This article was not sponsored by anyone and not bound to. Sharing as a personal experience for educational and research purposes.
I’ll walk you through step by step and this will be really exciting!
1. Create your ML Model in Colab Or Jupyter Notebook
As the first thing, you will have to create your machine learning model using Colab or Jupyter Notebook. If you have an existing model, you can use it.
I have created a sample ML model to classify cats and dogs using Colab notebook for this demonstration. I’m not going to explain my Python model line by line. Hope you have a sound knowledge to understand it.
Here is the link to my notebook — Cats vs Dogs Classification.ipynb

2. Create a new Project in Anvil App
As the next thing, you will have to create a new project in Anvil.
You need to sign in and create a new app. There are multiple plans that you can select.
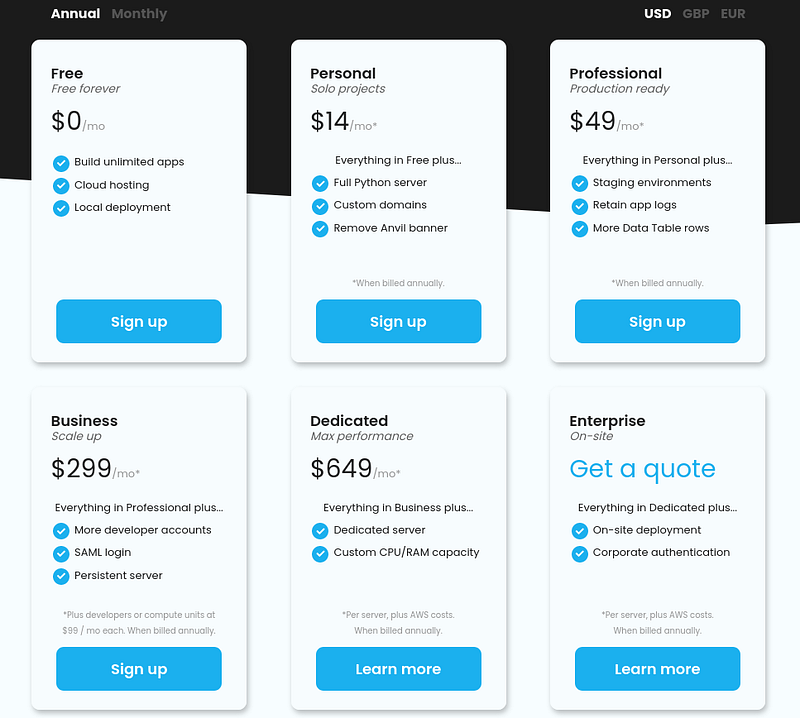
I selected free plan for this demonstration. After signing up you can see the Anvil Dashboard.
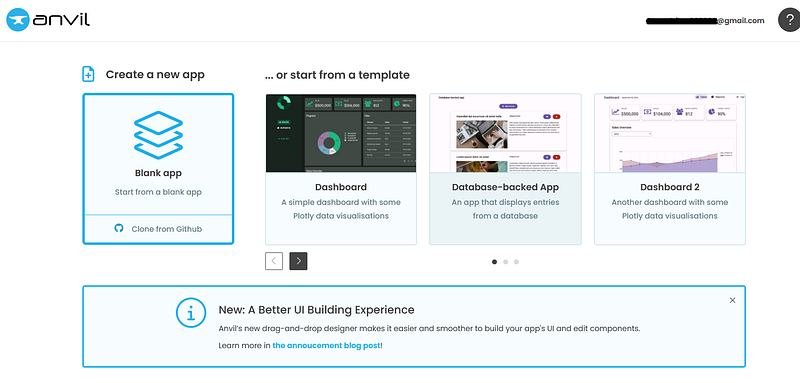
You can start creating a new app from scratch. I have selected the material UI for my project.
3. Making the UI
Creating the User Interface is really easy in the Anvil app. You just need to drag and drop the elements into the canvas.
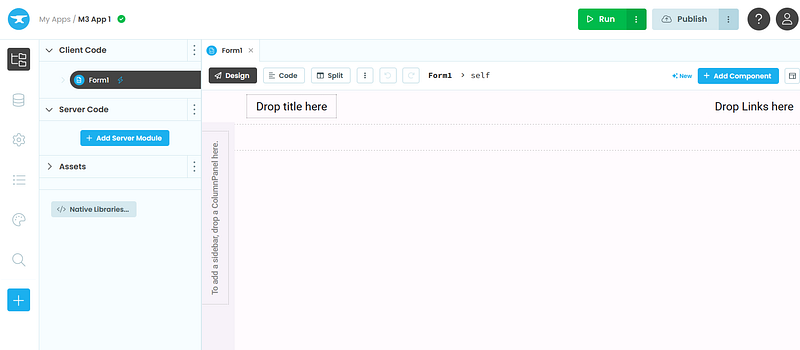
You can add components by clicking the +Add Component button on the top right corner. There is a massive collection of pre-build components you can use to create your application.
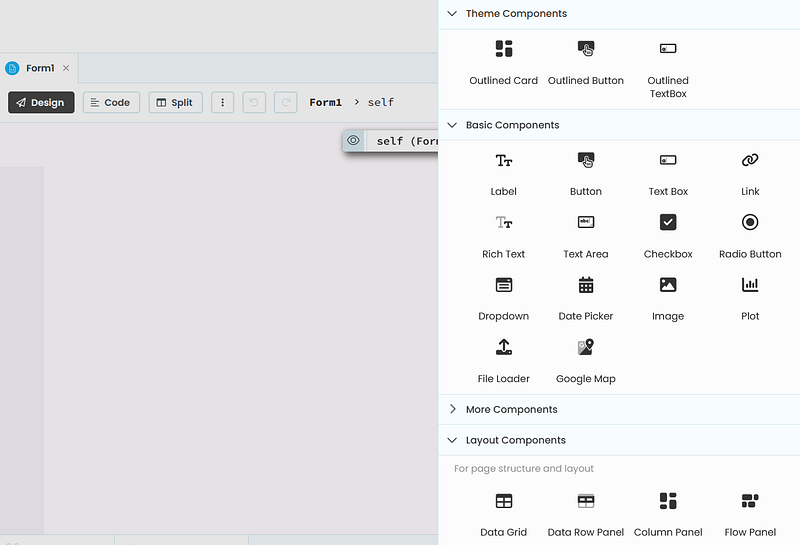
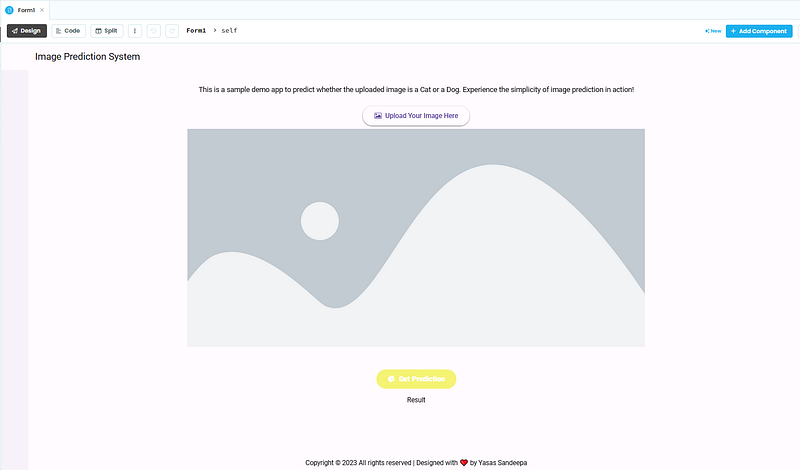
This is the final UI which I have created. It took me just 5 minutes to design this. I added some text, File Loader, an image with a placeholder (can provide an image URL) and a button to get the prediction.
4. Coding
Alright! Let’s move into the coding part. Every element you add to the canvas has a unique ID to identify the element. You can write functions using that id’s to get the desired output.
Let’s write the code to show the image once we click on file upload. Click on the upload image button and you will see a text called on change event in the tool-tip window.
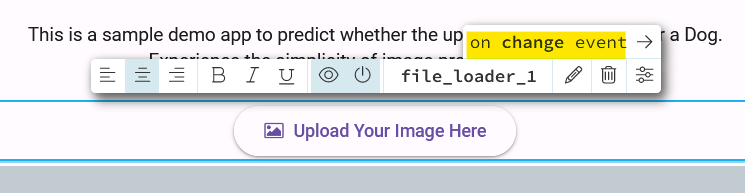
Click the left arrow and you will navigate to a code editor. Let’s code to show the image in the image view.
def file_loader_1_change(self, file, **event_args):
   self.image_1.source = file
This is the single line we need to display the image once we upload the image. Here image_1 is our image component. See, it’s super easy.
Also, we need to write another function to get the results. Click on Get Prediction button and write the below code.
def button_1_click(self, **event_args):
  result = anvil.server.call('classify_image', self.file_loader_1.file)
  print(result)
  self.result_lbl.content = f"It is a {result}"
Here we are communicating with our Jupyter Notebook. In the notebook, we have to write a function called classify_image that accepts a file. Then it should return the result. (just a string mentioning it’s a cat or a dog)
After we get the result, we can assign it to our result label which has the id result_lbl
To call this function, we have to create a Uplink. Click on the Add button in the left navigation and click Uplink.
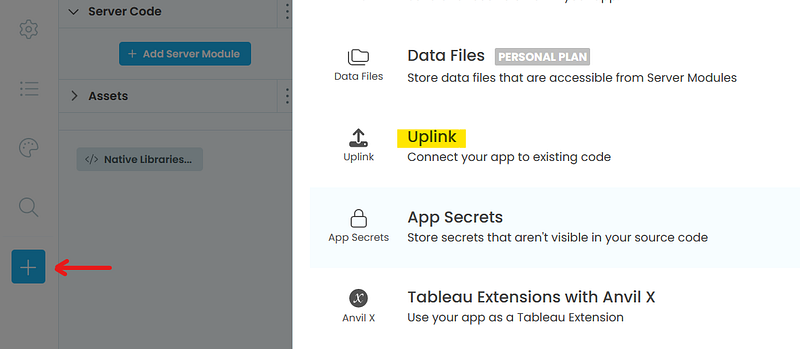
After you can see a popup like this.
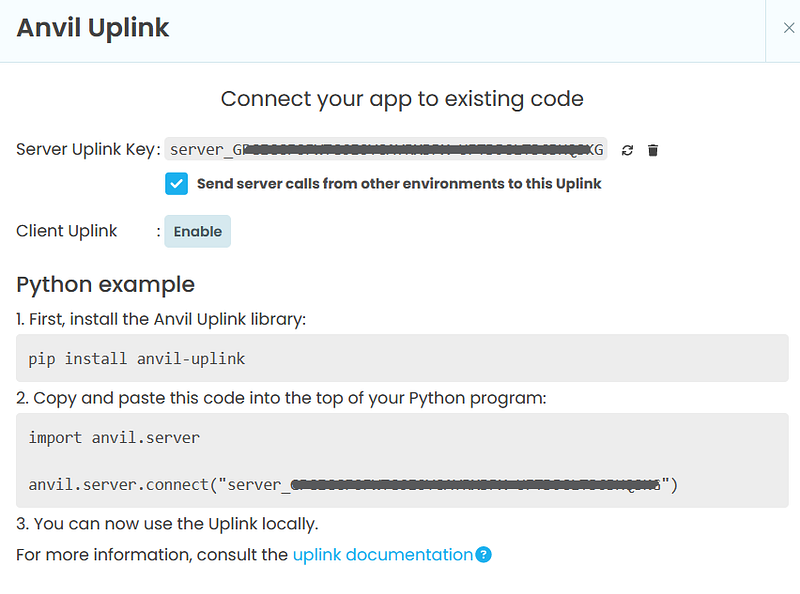
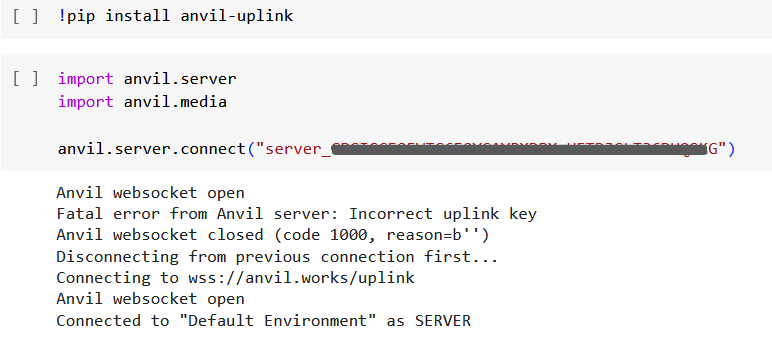
Let’s do this in our Jupyter/Colab notebook.
Alright. Now we just need to implement the function. Make sure to annotate the function as @anvil.server.callable
from keras.preprocessing import image

@anvil.server.callable
def classify_image(file):
  with anvil.media.TempFile(file) as f:
    imageLoaded = image.load_img(f,target_size=(150, 150))

  x = image.img_to_array(imageLoaded)
  x = np.expand_dims(x, axis=0)

  images = np.vstack([x])
  classes = model.predict(images, batch_size=10)

  if classes[0]>0.5:
    return "Dog"
  else:
    return "Cat"
Here, we take the image as a parameter, predict whether it’s a cat or a dog using our trained model, and finally return the result as text.
That’s it. Let’s run our application and see the results.
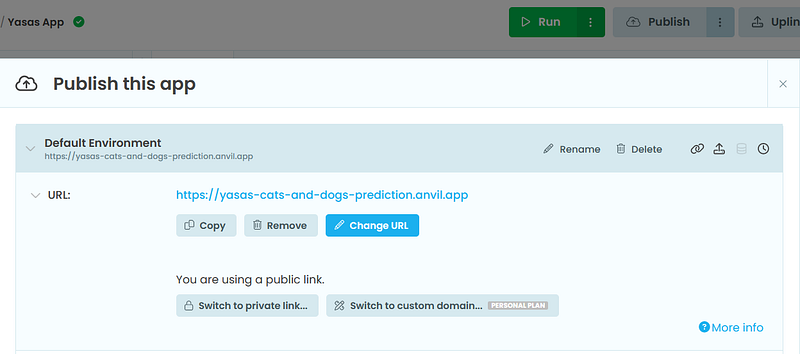
Also, you can publish your app on the web and get a URL for completely free.
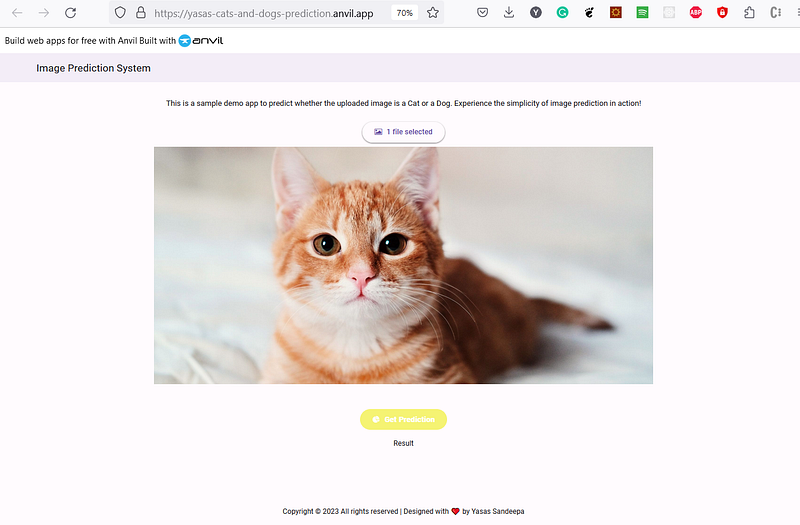
This is the final demonstration of my application.
You can demonstrate this for a limited time until the Colab runtime gets disconnected. However, there is no need to worry because you can easily host your Colab Python code on a virtual machine, allowing you to maintain an unlimited connection. There are no restrictions from the anvil side.
Today, we learned how to effortlessly create a UI for our machine learning models, transitioning from the familiar Colab/Jupyter environment to the powerful Anvil platform. I hope you found valuable information in this article and are now equipped with the knowledge to tackle more extensive projects. Remember, your imagination is the only limitation.
If you have any questions or thoughts, please feel free to share them in the comments below. Thank you for reading, and as always, Happy Coding!❤️
Stackademic
Thank you for reading until the end. Before you go:
- Please consider clapping and following the writer! 👏
- Follow us on Twitter(X), LinkedIn, and YouTube.
- Visit Stackademic.com to find out more about how we are democratizing free programming education around the world.


