

Butterflies, Insects, Nature, and Macro Photography
Try Macro Photography to Capture Beauty Up Close
An introduction to close-up photography
While growing up, my brothers and I anxiously awaited fishing trips with our dad. On each trip, after we launched the boat, dad motored it to the other side of the lake. As an adult, I follow a similar pattern with photography by traveling miles, sometimes thousands of miles, to get good shots. But often, interesting subjects are close to home. Sometimes, they are beneath our noses, too. That’s where macro photography comes in.
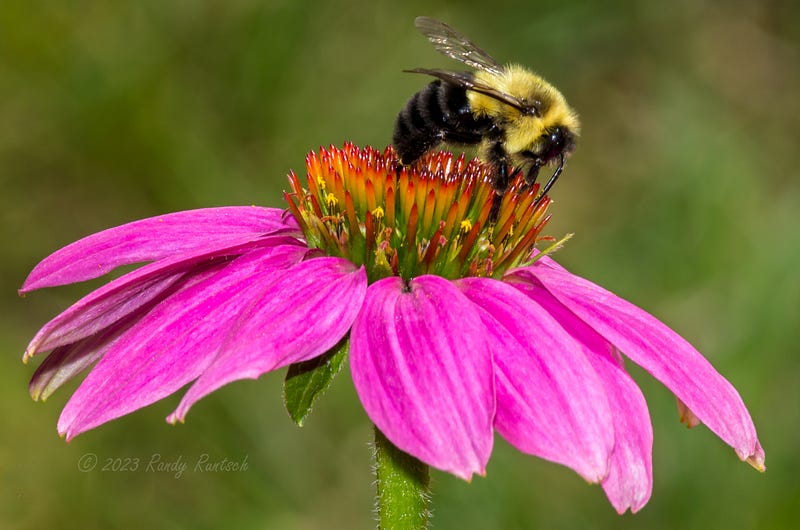
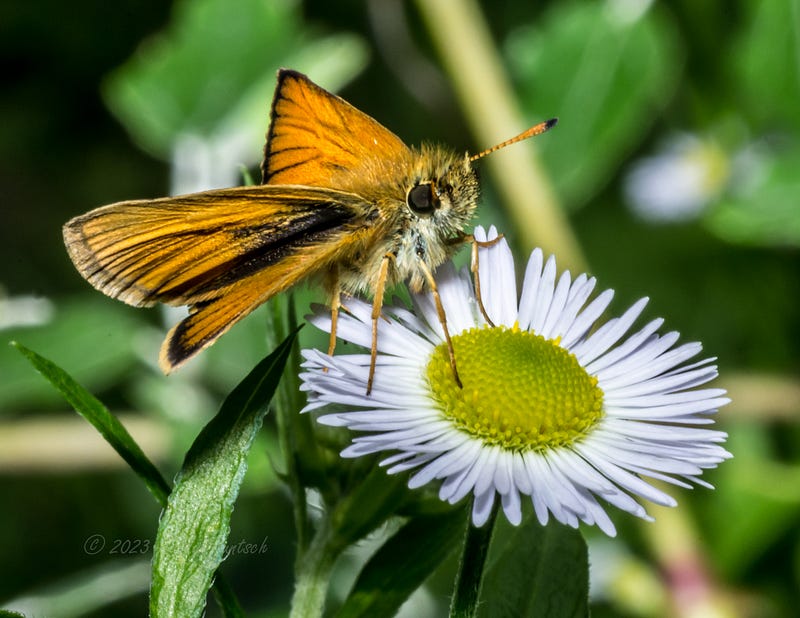
Take flowers and insects, for instance. For many of us, these colorful or lively subjects thrive in our yards and gardens, or within a short walk from home.
The following sections provide some tips for getting started in the fascinating world of macro photography. The practice is sometimes called close-up photography, too.
Camera Choice
I use an interchangeable lens (ILC) camera body for macro photography. Currently, I use a mirrorless Nikon Z6 II body, but I used digital single lens reflex (DSLR) cameras from Nikon and Pentax in the past. Any ILC camera produced within the past ten years or so should serve as a suitable device for close-up photography when paired with a macro or telephoto lens.
Some bridge cameras, such as the Nikon Coolpix P1000, with its hyper-telephoto zoom lens, work well for macro photography, too. Recent smartphone models, such as those in the Apple iPhone 13 Pro and 14 Pro ranges, feature macro capabilities as well.
An important camera feature for close-up photography is a viewfinder. DSLRs have optical viewfinders, which enable you to view the image as the camera will capture it on the image sensor. Some ILCs have a rear display only (typically, about 3 inches across diagonally), while more advanced and expensive models have an electronic viewfinder (EVF) in addition to the rear display. For close-up work and other types of outdoor photography, I recommend a camera with an OVF or EVF. Rear displays can be difficult to use in bright conditions. In my experience, a viewfinder also makes it easier to frame and compose the image than on a rear display.
Lens Choice
This section focuses on photographers who use an ILC, whether mirrorless or DSLR. If you are using a bridge camera or a smartphone for macro photography, feel free to skip this section.
Photographers often use macro lenses for close-up photography. These are specialized optical instruments designed for the subject to be placed as close as about six to eighteen inches from the front objective of the lens. Macro lenses can also be used for distant subjects since most of them focus to infinity.
Most true macro lenses reproduce the image of the subject on the camera’s image sensor (or film) at its life size (a 1:1 ratio or 1x maximum magnification) or larger. In this example, the value of 1:1 is called the lens’s reproduction ratio.
But macro lenses are not required for close-up photography. Some telephoto lenses (including zooms), of about 180 mm and longer, can be used as well. While I often use a 105 mm macro lens for close-ups, I also use a 200–500 mm telephoto zoom lens and have used a 300mm lens in the past.
A macro lens can be placed near a subject so that it fills as much of the frame as possible. But since a telephoto lens usually cannot focus up close, photographers using one are less likely to scare insects and other small animals away. The minimum focus distance on the 200–500 mm f/5.6 lens, for example, is 7.1 feet (2.2 meters). So, when using it, I am less likely to frighten an animal than with a true macro lens.
Lenses like the Nikon Z 70–180 mm f/2.8 should be useful for close-up photography, too. This model has a minimum focus distance of 10.6 inches (27 cm) and features a maximum magnification of 0.48x.
When looking for a lens for close-up photography work, consider these features:
- Maximum magnification approaching 1x or a reproduction ratio approaching 1:1. Note that these values may be near 1x or 1:1 only for a true macro lens. But the values are useful for comparing the magnification of various lens models.
- Adequate aperture range. As described in the “Aperture Choice” section below, setting a smaller aperture (higher f-stop value) results in a wider depth of field. The Nikon Z 24–70mm f/4 lens I use for general-purpose photography has a maximum aperture of f/4 and a minimum aperture of f/22. Contrast that with the Nikon Z 105mm f/2.8 macro lens. Its aperture values range from f/2.8 to f/32.
- Focal length. If choosing a true macro lens, note that the minimum focus distance, which is the location needed to achieve maximum magnification, will decrease as the lens’s focal length decreases. For example, the Nikon Z MC f/2.8 macro lens has a minimum focus 6.3 inches (16 cm), the Nikon Z MC 105mm f/2.8 macro lens has a minimum focus distance of 11.4 inches (29 cm). Thus, insects are more likely to be frightened when using the 50mm lens. In addition, the lens barrel and hood may block some light from falling on the subject. But downsides of the longer 105 mm lens are its additional cost, weight, and size.
Focus Mode Choice
Some macro photographers prefer to focus manually. But for subjects that frequently move, such as flowers blowing the wind or insects, I prefer to use autofocus. Terminology varies by camera brand, but for my Nikon camera, I prefer to shoot in “S” mode (single-focus mode). This allows me to press the shutter button halfway to focus. When the camera emits a beep and the focus square in the viewfinder turns red, the lens is in focus.
Continuous focus is also useful. When the camera is set to this mode, the shutter button is pressed halfway down, and the subject (such as an insect’s eye) is within the viewfinder’s focus square, the camera will attempt to keep the subject in focus, even if it or the camera moves within a reasonable amount.
Camera brands and models vary in how they focus on subjects. For the best results, read your camera’s manual and experiment with various settings.
Focus on Animals’ Eyes
When looking at an animal, most people focus on its eyes. Unless you have a specific reason to focus elsewhere, focus on an animal’s eyes.
Exposure Mode
When shooting close-ups, I prefer to shoot in aperture priority mode with ISO (sensitivity) set to auto. This allows me to set the desired aperture. The lens will then remain at that aperture while it automatically adjusts ISO as needed to get a good exposure.
Also, in aperture priority mode, the camera sets the shutter speed to the value nearest the reciprocal of the lens’s focal length. For example, with a 105 mm macro lens mounted on the camera, it will automatically set the shutter speed to 1/150th second, which is the nearest available value, rounded up, to the reciprocal value of 1/105.
As with focus mode, some macro photographers prefer to set exposure to manual mode. This gives them total control over the aperture, shutter speed, and ISO values.
Aperture Choice
When using a macro lens, to increase the depth of field, I typically stop the lens’s aperture down to f/16 or smaller. Depth of field is defined as the distance between the nearest and farthest parts of the subject(s) that are in focus when captured by the camera.
When using a telephoto lens, a larger aperture, such as f/8, may produce acceptable results. That’s because the depth of field increases with focal length.
Note that while setting a smaller aperture will widen the depth of field, setting it to an excessively small size, such as f/32, will cause diffraction. I won’t get into the details of diffraction here, but briefly, the result will be a softened image with less detail.
Optical Image Stabilization
Most camera and lens manufacturers incorporate some sort of optical image stabilization (OIS) within their cameras, lenses, or both. This technology, called VR (vibration reduction) on Nikon equipment, improves the ability to handhold a camera and lens without introducing blurriness due to camera shake.
Unless you are using a tripod or setting the camera on a solid surface, I suggest shooting with optical image stabilization turned on. Note that using this feature when the camera is supported might introduce camera shake and thus blurry photos.
Tripods and Monopods
These days, because of the effectiveness of OIS in cameras and lenses, I avoid using tripods or monopods unless shooting time exposures (long exposures of about 1/4 second or longer for photographing waterfalls, dark building interiors, or the night sky, for example). But if your camera and lenses lack OIS, or if your subjects are stationary, using a tripod or monopod may help you to get sharp images, since they will eliminate camera shake.
If you use a tripod and your camera or lenses feature OIS, be sure to turn it off. However, when using a monopod, the consensus is that OIS can be enabled. But I recommend consulting the manuals for your equipment and experimenting with various settings.
Auxiliary Lighting
Sometimes, natural sunlight is not enough to adequately light a subject or illuminate it evenly. In these cases, or in low light conditions, you can use a light modifier, such as these, to improve the light that falls on the subject:
- Reflectors — Portable folding reflectors can be used to reflect light onto the subject. They are usually made of lightweight fabric and are foldable and portable. Reflectors may have white, silver, or gold surfaces.
- Flashes — One or more flash units can be used to illuminate or fill in the shadows of a subject. Conventional flashes can be used. Ring lights, which provide even light around a lens’s circumference, can also be used.
- Continuous Lighting — Continuous lighting (light that’s always on) offers an advantage over flash lighting. As with a reflector, you can see the effects of the light on the subject while composing an image. With a flash, you can see the results only on the camera’s display or viewfinder, or later when editing the photo on a computer monitor.
Don’t Be Afraid to Crop Images
Some photographers impose rules upon themselves when performing their craft. For example, some do whatever they can to avoid having to crop images during post-processing (editing on a computer). While it’s admirable to want to use as much of the image sensor as possible, for small subjects, such as insects, flowers, and birds, I have found it to be rare to eliminate the need to crop images altogether.
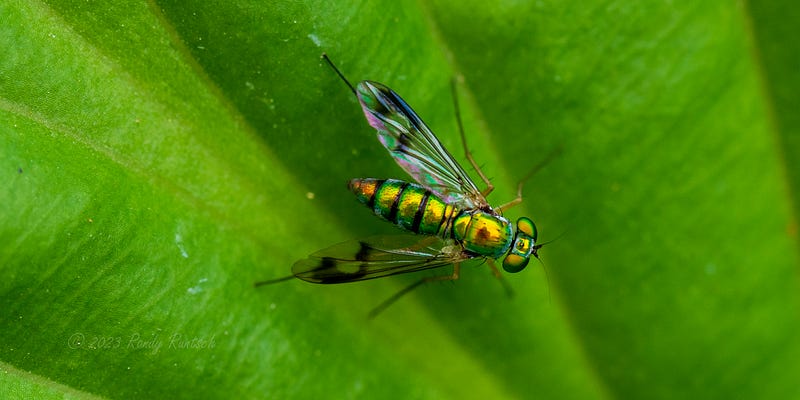
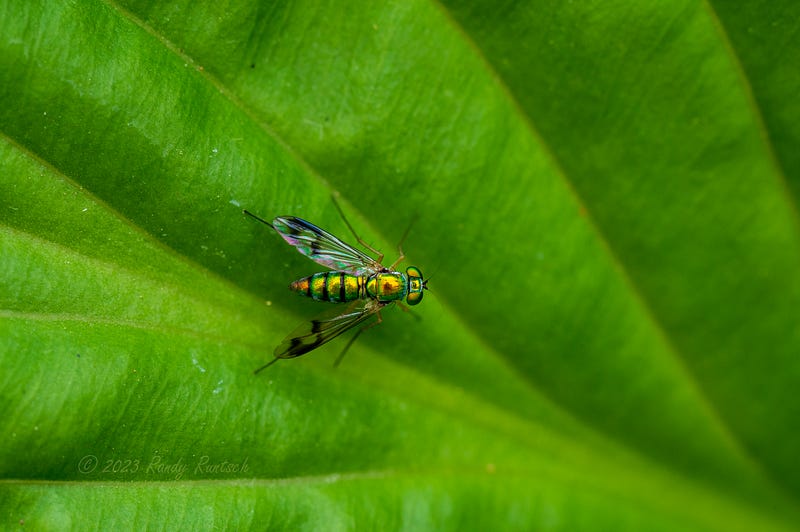
Take the green metallic fly as shown in the photos below, for example. The actual fly measured about one-third of an inch (8.5 millimeters) in length. The original photo on the left measures 24.3 megapixels (6048 by 4024 pixels). In contrast, the cropped and rotated photo on the right measures 8.4 megapixels (4098 by 2049 pixels). I took the picture with a Nikon AF-S 105mm f/2.8 macro lens as close as possible to the fly. So, I had no choice except to crop the image into what I believe to be a better image.
Know Your Equipment
In addition to being excellent optical instruments, modern cameras and lenses are sophisticated electronic devices. Camera bodies have multitudes of settings, too. So, become familiar with how to use your equipment by studying their user manuals.
Manuals are not the only source of information about cameras and lenses. Additional sources to learn how to set up and use your specific camera and lens models include YouTube video tutorials, photography websites, and books.
Experiment and Practice, Practice, Practice
Anybody can make screeching sounds on a violin. But only a dedicated musician who studies and practices regularly, usually for years, can make beautiful music with the instrument. Photography is no different. Developing skills as a photographer who creates desirable images takes various levels of time, study, and practice.
I do not consider myself an expert in any type of photography, even though I practice daily. Yes, others have complemented me on some of my work, and I am grateful to them. But becoming a skilled photographer is a journey, and I have a long way to go. So, it’s time to study and practice repeatedly.
I hope this introduction to macro photography was helpful to you. If you have any questions, please ask. Or, if I have missed anything, please let me know.
Thank you to Rodrigo S-C, Duvy McGirr, and kasey sparks for making Full Frame an enjoyable place to be. Thanks, also, to the growing group of readers and writers who are transforming into a community of photographers.