Triangle of Death — My notorious Toyota Prius
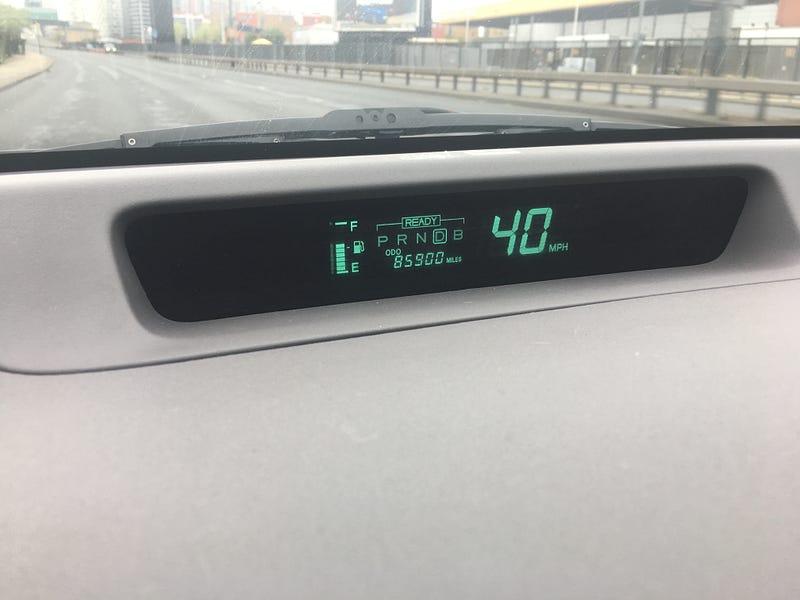
My car is a first-generation Prius; as it is a millennium product, which made the price inexpensive. Although it is well-known for its traction battery problem (the battery drives the vehicle), I still brought it after checking the battery was in good condition.
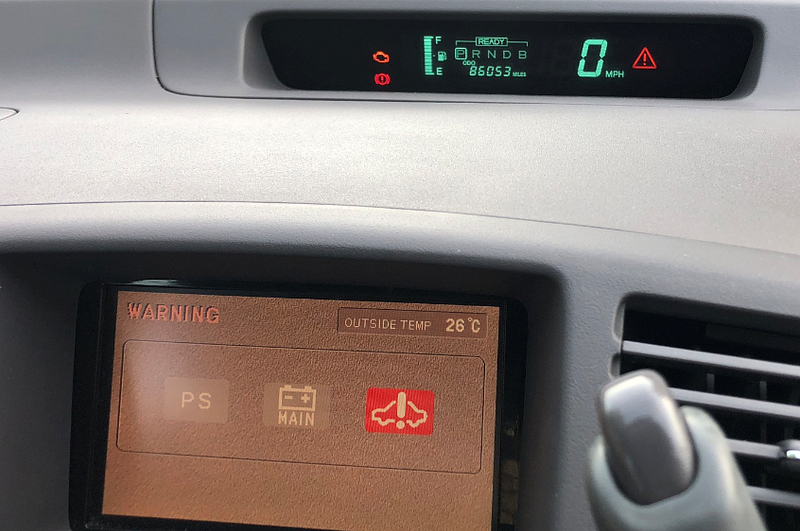
Like all electronics, appliances can die without any warning. The engine warning light and the red triangle first appeared after 9 months after I brought it. The car had got a pass in the Toyota hybrid battery test 3 months before the warning alarm. There were 2 options, 1)replace the car or 2)fix it. Obviously, I chose the latter.
I am not a car mechanic or engineer, I learned and tried and succeed. Here is the walkthrough, I listed out some product links so you can find them, some of the links are affiliate link which will generate a commission but no cost to you.
WARNING! If you are not familiar with batteries, leave it to professionals! I studied for a long period before hands on. And insured I wore the protection during the repair.
Tools I recommended: ODBII Haynes for most of the model (2001–2012) DEWALT® Small Mechanics Set, 50 Piece Charger and Discharger
Firstly — find the root cause:
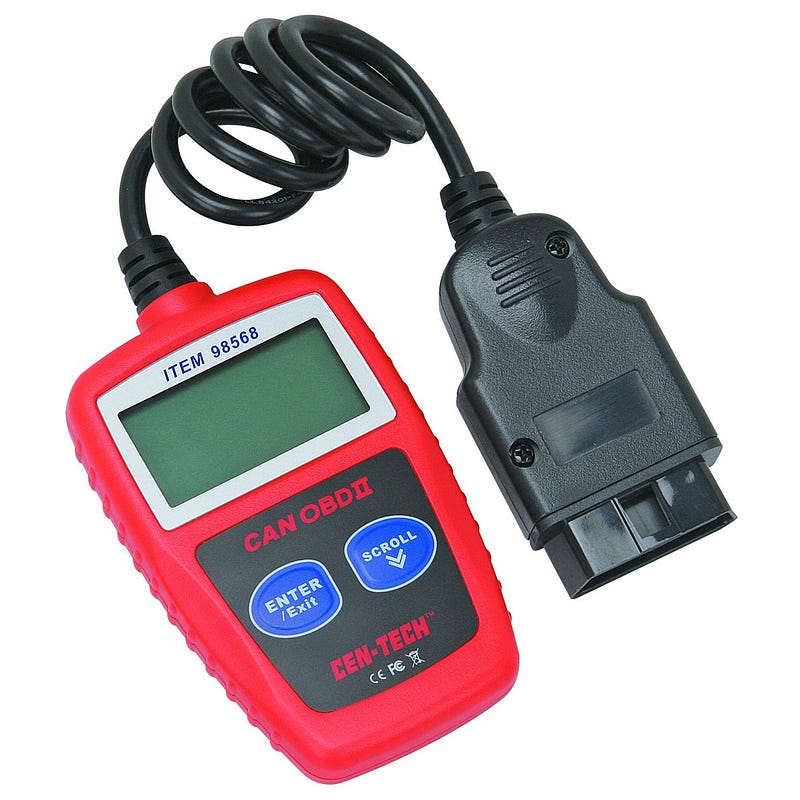
I brought an inexpensive ODBII device to read the error code from the car control units. If you wish to have more details, you can buy Toyota Techsteam software with ODBII cable and license. I also brought this software after I fixed the car and I found it is more comprehensive for Toyota Cars. The software requires a Windows laptop with a USB port (ODBII port connection).
The ODBII port for my car is located under the control wheel. My Prius ODBII port does not have a lid covering the port, so it was easy to find. I started the engine and connected the ODBII device. The error code showed P3006 — traction battery problem.
Secondly — eliminate the root cause (traction battery):
I check with my best friend — Google, there are many people who tried to save their batteries themselves and succeed. I referenced their videos of traction battery removal and still found something was missing, I needed a repair manual to help me.
I grabbed a repair manual from Toyota, it took some time but was worth it. Another easy way to get a manual is from Haynes for most of the model (2001–2012) or Chilton for older models (2001–2008). Toyota handbooks were written for the professional technicians, and it can be difficult to understand. If I had known that, I would have brought the Haynes or Chilton, which are lower in price and more generic for different Prius, especially Haynes one (applicable to 3 generations).
Thirdly —Get your hands dirty
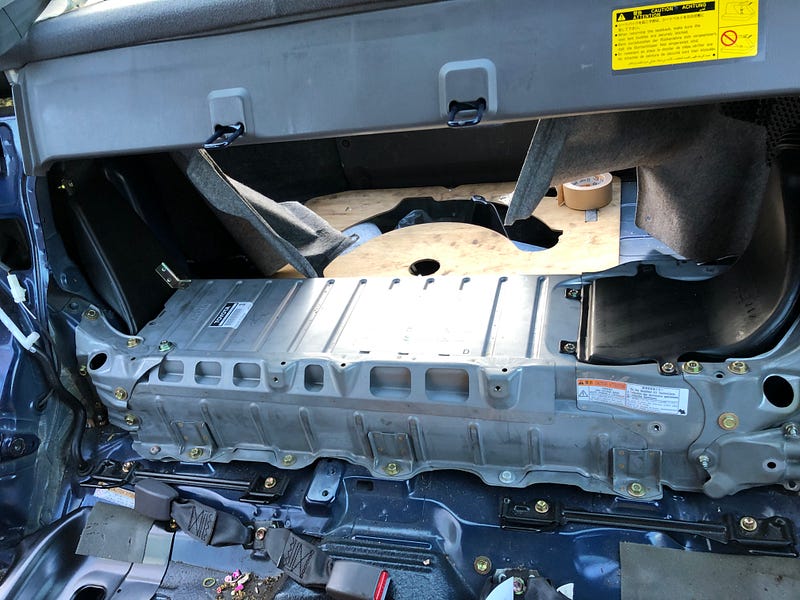
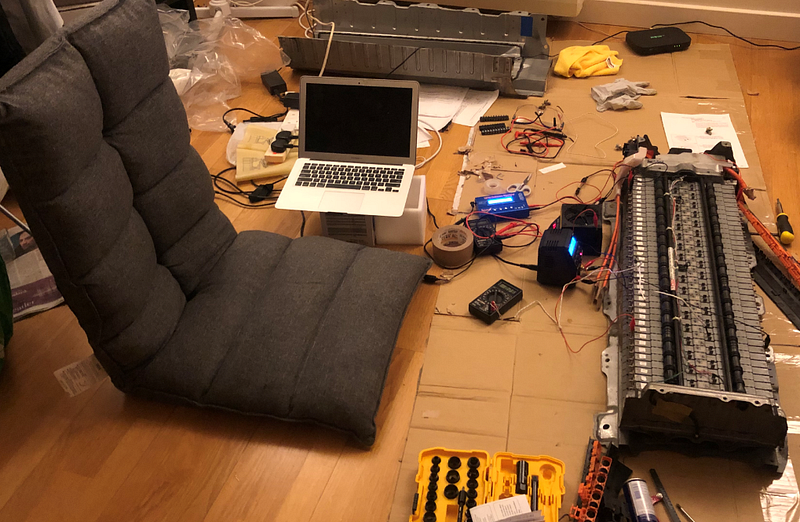
I disconnected the 12volt starter battery of my car, then switched off the traction battery output by unplugging those power cables. As a precaution, I waited for 30 minutes to let the electronic current ran out. It was a very dangerous task as the traction battery has 228–320 volts, the highest one in the Prius series. That voltage is enough to cause fatality.
I removed the traction battery according to the instructions in the manual. The battery was so heavy (around 100kgs). I borrowed a trolley and pushed it to my home. As an amateur, it took me 2 hours to get the battery out of the car!
My car is an old guy who is the only saloon in the Prius series; except zero generation which is exclusive to the Japanese market. Therefore, there was just enough space to move the battery from the rear passenger doors. I believe this is the reason the successors were designed as hatchbacks.
It was easy to identify the weakest link of the whole battery. The battery consisted of 38 modules to form a huge battery. I used my multimeter to check the voltage of each module. I found one has only less than 7 volts. So, just order one battery module and throw away the mal-function module? Not that easy, there are a lot of works to do to enable modules to co-operate smoothly.
Fourthly — Battery re-conditioning
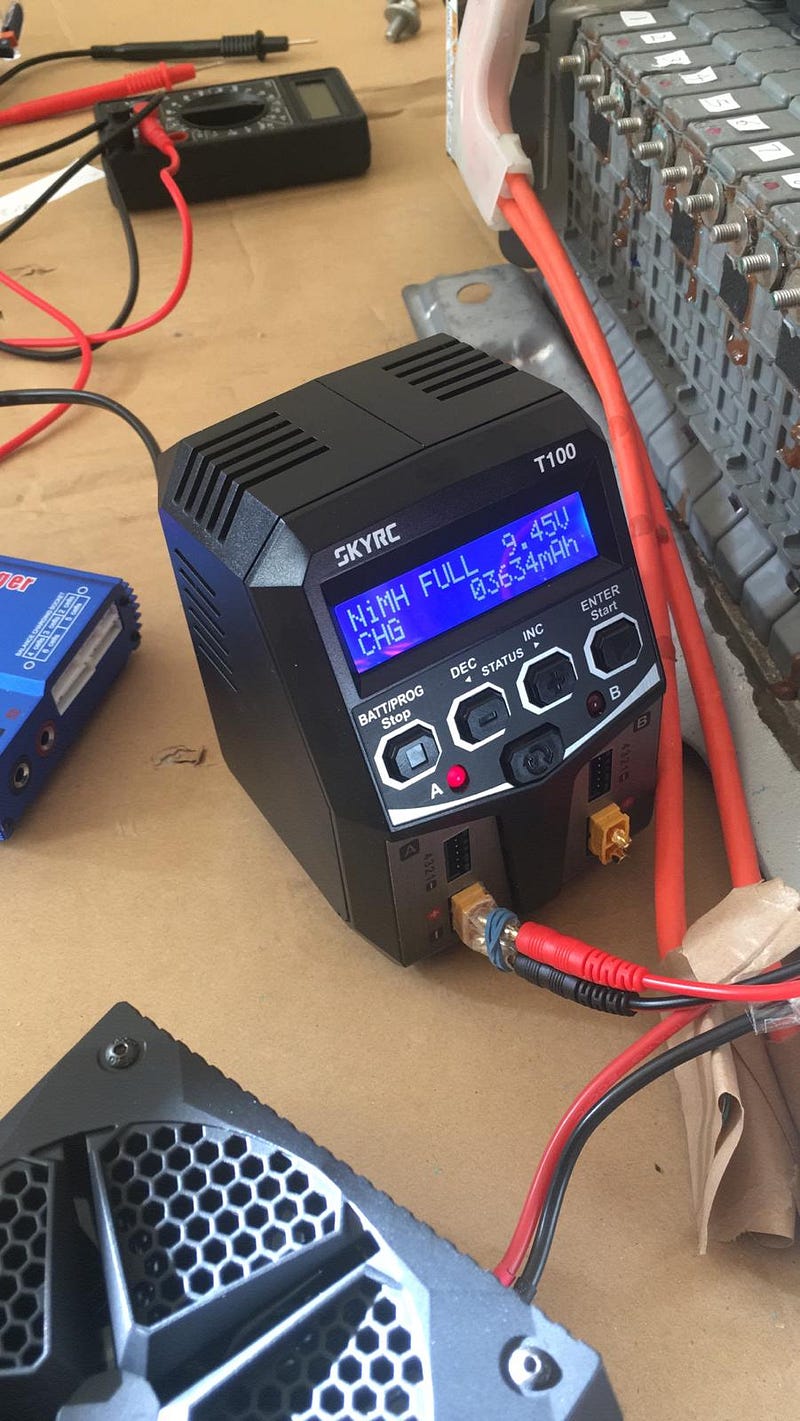
In fact, each module is a ‘standalone’ battery. I brought a couple of hobby NiHM battery chargers that are designed for charging model batteries. Yes, a toy charger is good enough. In order to keep the electric car cost down, I chose a model toy charger. Of cause, car batteries are high-quality battery that can tolerate high pressure and extreme conditions inside a car. Whatever, one battery module is a NiMH battery like others inside a toy.
Those toy chargers have a function similar to let the battery do exercise and reach it’s best condition, it is called ‘-re-condition’. Toyota never charges and discharges the battery to the limit, although it keeps the battery well, the battery also become ‘lazy’ after ages of usage. The re-condition is charge and discharge a couple of times as an exercise. Here is what I had set for my charger:
Discharge to: 6 volts Safety limited on charge: 7200mah Repeat: 3 times
I did it for all 38 batteries, it took almost 3 weeks to complete the task with 2 chargers and 1 discharger. My criteria for a battery replacement is 50% of the original capacity. Luckily, I have all the rest modules reaching 50% — 90% capacity after re-condition.
Fifthly — Re-organise the battery modules and balance
All the re-conditioning data has been recorded. As the module works in pair, I need to pair them up by their conditions. All modules are sorted according to their capacity and internal resistance. Finally, I wired all the modules up to make their electricity level balanced naturally. Alternatively, you can use the toy charger to adjust all modules to the same voltage if you don’t have time.
After that, all done and ready to put the giant battery back to the position.
Lastly — The first drive
It had been a month since I parked the car for repairs. It was wonderful to drive my Prius again. I first try to run 2 miles on 20-mile limited roads, then 30 miles on 50-mile limited roads. The result was fascinated!