
Train XGBoost Models in Amazon SageMaker in 4 Simple Steps
How to train & deploy XGBoost models as endpoints using SageMaker

Getting started with Amazon SageMaker can be challenging as there are many tricks that AWS just expects you to know… In return once you get a handle on them, you can significantly speed up the deployment of your ML models without having to worry about Docker and setting up compute resources.
The goal of this post is to simplify getting started with SageMaker as much as possible and give you a quick walkthrough of what it takes to deploy an XGBoost Classifier, as you typically would in an industry setup. Most tutorials are direct recitation of AWS documentation and not very applicable if you want to tailor your models to a realistic problem. For example, using the sample XGBoost Customer Churn Notebook only works for predicting probability of a class and not the individual classes (0 or 1) themselves.
What we are going to build
If you’re like me and would love to get a puppy, but due to space limitations just can’t at the moment, we can at least do projects that involve them, right? Let’s build a simple XGBoost model that tells people whether they should get a Beagle or a German Shepherd based on how big their home is.
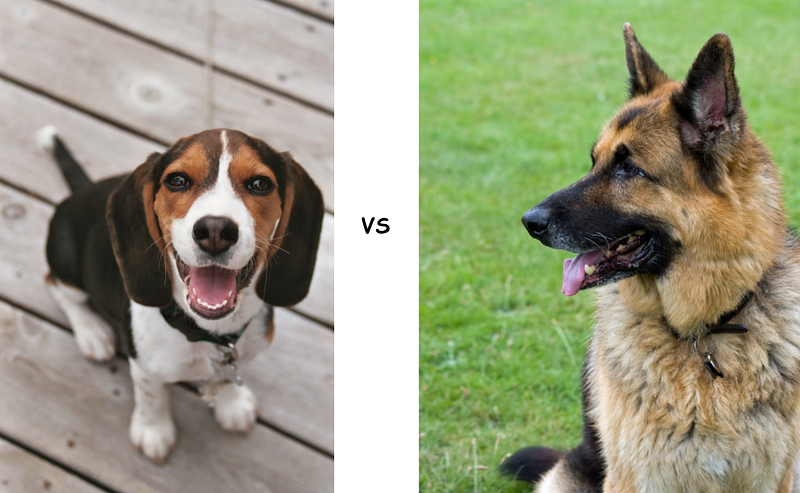
More specifically, we’re going to use a dummy dataset which consists of X variable representing the house area in square feet and y target variable being 0 (Beagle) or 1 (German Shepherd). For simplicity, we’ve set Beagle to be most suitable for homes smaller than 500 sq.ft and German Shepherd for those that are larger than 500 sq.ft.

Before we dive in, you might be wondering how much will this SageMaker learning cost me? According to AWS Pricing Page and assuming you’ll be working in the US East 1 Region, and it takes you about 4hrs to write the training script, 0.5hr of model training and 1hr of testing the endpoint, it would end up being less than a $1!
On-demand Notebook Instance
(ml.t2.medium): $0.0464/hr * 4hr  = $0.2
Training Instance
(ml.m4.xlarge): $0.24/hr * 0.5hr = $0.12Real-time Inference
(ml.m4.xlarge): $0.24/hr * 1hr = $0.24Total <$1Another funny thing is that majority of the SageMaker tutorials expect you to magically know how their infrastructure is set up. To mitigate that, here is a simplified version of the general workflow and how it’ll be applied to our project:

👉 Steps
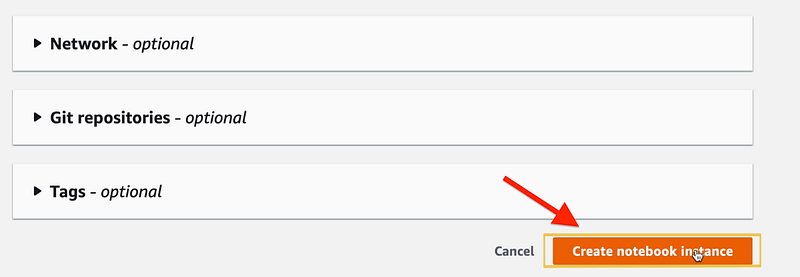
- Need to provision the Notebook Instance
- Store the training/validation data inside the S3 bucket
- Train & Output ML model artifact to the S3 bucket
- Deploy & Test SageMaker Inference Endpoint
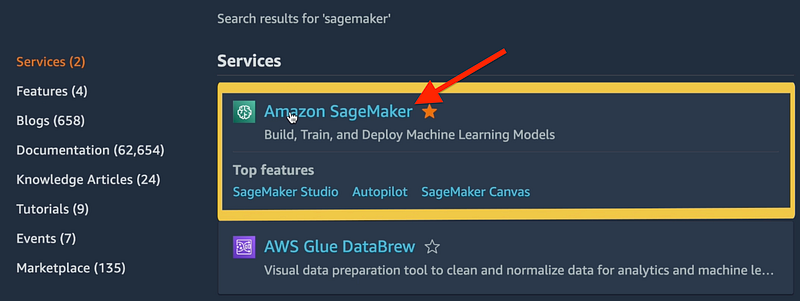
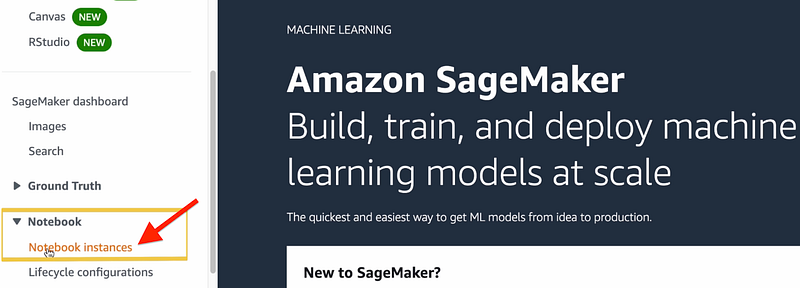
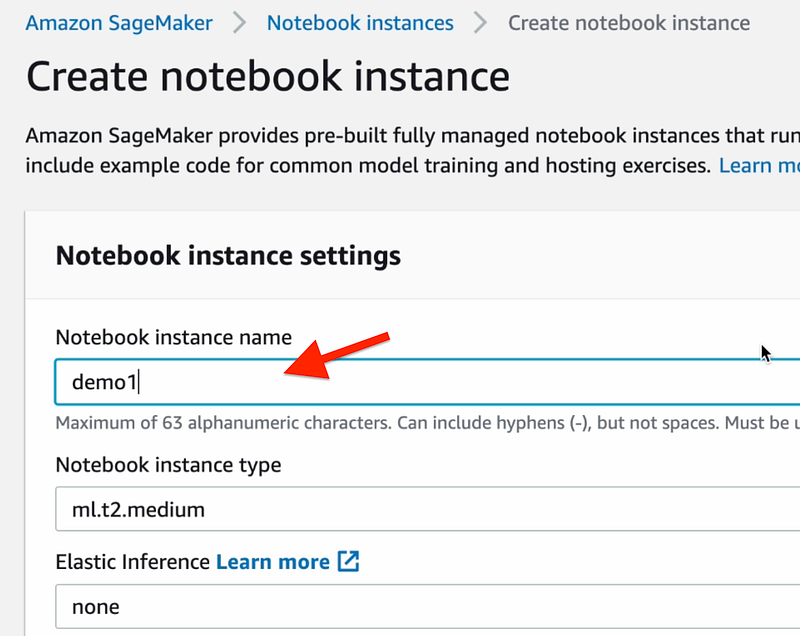
1. Create SageMaker (SM) Jupyter Notebook Instance
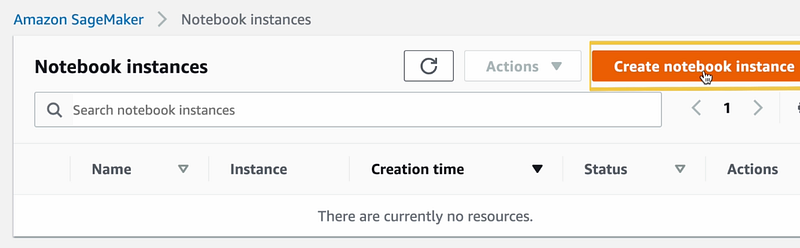
Give it a name:
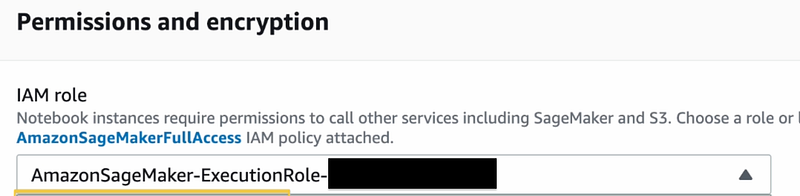
You can leave the default IAM role to allow SM to access your S3 buckets:
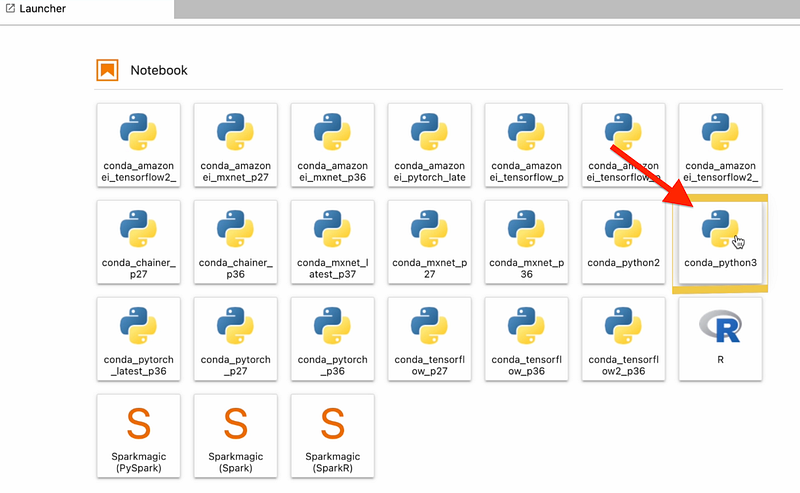
Once the Notebook Instance is provisioned, you can then start the Jupyter Lab & launch a Conda Python 3 Environment.
Side Note (if life was only this easy)
How we’d typically train an XGBoost locally
However, this won’t work in SageMaker since they want us to use their own Estimator Class instead of importing XGBoost library directly and must store our training and testing datasets inside the S3 as part of the SageMaker workflow. But do run the above code snippet inside the notebook to see the output.
2. Store Data in S3
For this step, we’ll reuse our df_train & df_test (from above) and store it inside the default S3 bucket that will be tied to our notebook instance.
Let’s go to our S3 bucket to make sure our training & validation datasets have been properly stored:
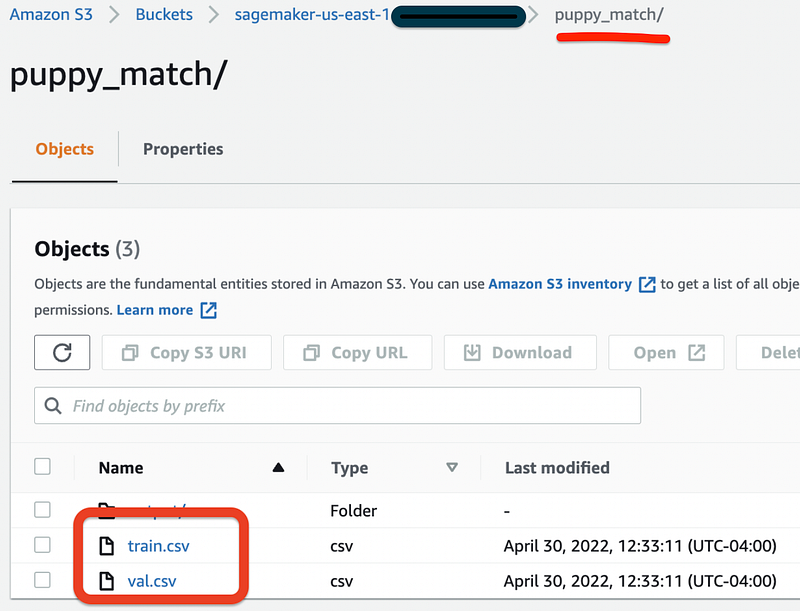
Awesome, datasets have been successfully loaded into S3 and we’re ready for the next step.
3. Train & store ML Model artifact
We can retrieve preconfigured SageMaker containers that have XGBoost baked into them (instead of importing XGBoost directly) and load the datasets using TrainingInput class.
In hyperparameters we must use objective function “multi:softmax” instead of “binary:logistic” as that one only produces probabilities, and not the binary values themselves (0 or 1).
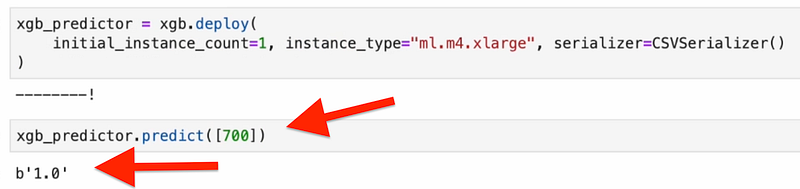
4. Deploy & Test Endpoint
We’re ready to deploy our XGBoost model as an endpoint which can then make predictions.
If everything was successful, should see output like this:
You can find entire Jupyter Notebook Code here.
Final Words
Deploying ML models like this is pretty great, but how do we now enable everyone on the internet to invoke that endpoint and figure out what the perfect puppy is for their specific house?
Short answer: using Lambda & API Gateway.
If you want to find out more, please go to my next article where we’ll go into detail on how to write the Lambda function to process the input requests (i.e. house area) and create a REST API using API Gateway to accept requests from the Client Side.
But if you just wanted to test out SageMaker please follow the cleanup steps below.
Cleanup to stop incurring Costs!
1. Delete the deployed endpoint by running
xgb_predictor.delete_endpoint()2. Stop the SageMaker Notebook Instance
Want more useful articles on ML Engineering?
Subscribe for free to get notified when I publish a new story.
Become a Medium member to read more stories from me and thousands of other writers. You can support me by using my referral link when you sign up. I’ll receive a commission at no extra cost to you.
And make sure to hit that Follow button! Always much appreciated.
Image Sources
[1] https://commons.wikimedia.org/wiki/File:Beagle_puppy_Cadet.jpg


