
Top 10 things to make your linux terminal more productive
10 Tools to make terminal more productive
With the mindset of writing software, that integrates easily with others, we (software guys) have to spend more time on using terminal. Here are the top 10 things that you can add to your Linux terminal to make it more productive and fancy.
At the end of post, find link to github repo that contains shell functions to install these tools in a easy way.
1. Install the Zsh
The zsh shell is an alternative to bash shell and comes with lot of themes, and plugins). Installation of zsh is very easy and straight. With the package manager, you can install it by running below command:
$ sudo apt install zshOnce installed, it’s recommended to set it as your default shell.
2. Install oh-my-zsh
oh-my-zsh is zsh framework, and it makes the shell more powerful. With oh-my-zsh, you can easily manage your shell configuration. To install oh-my-zsh, use below command:
$ sh -c "$(curl -fsSL https://raw.githubusercontent.com/ohmyzsh/ohmyzsh/master/tools/install.sh)"More details can be found here.
Bonus:
- There is a new shell (not stable version released)
nushelland can be downloaded from here. Current version as of 29th May 2023, is v0.80.0.
2. Starship: The minimal, blazing-fast, and infinitely customizable prompt for any shell!

Download the FiraCode Nerd font from HERE.
And, install it for your shell using the guide from HERE.

This will give you the folder name, branch name, project language, and battery %age. The starship can be configured to do more powerful things also.
3. The fuzzyfinder (fzf)
Make your ctrl+r (backward search) more amazing, by installing fzf. It can be installed using below command.
$ sudo apt install fzfOnce installed, it will look like this:
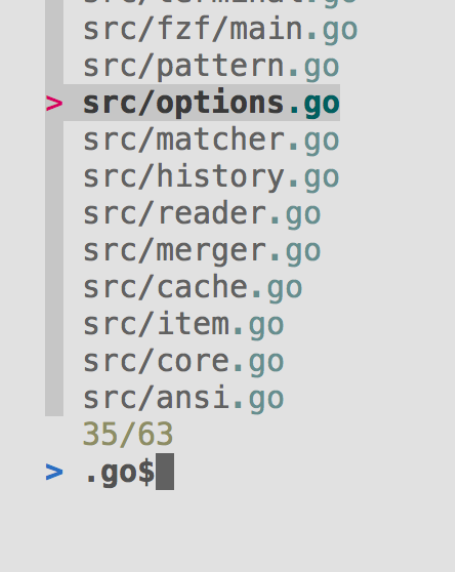
Searching all the files, ending with .go extension. Dollar symbol represents end here. More details about the fuzzyfinder is present on the github page.
4. autojump
A cd command that learns — easily navigate directories from the command line. Installation can be done using below command. More details are available on their github.
$ sh -c "$(curl -fsSL https://raw.githubusercontent.com/ohmyzsh/ohmyzsh/master/tools/install.sh)"Bonus: (Credits: Hella Fast changing directory)
alias g="new_loc=\$(cat ~/.local/share/autojump/autojump.txt | sort -n | grep -Po '^[^\s]+\s+(\K.*)' | fzf +s -e) && cd \"\$new_loc\""This requires both autojump and fzf to be installed. Autojump’s job here is to keep track of your most visited directories. It saves these entries at ~/.local/share/autojump/autojump.txt
5. jq and fx
JSON data download from mozilla network, and can be found here.
Most of our time, we spent on analyzing json output. These 2 tools, will make your life. You can easily install both of them using below commands:
fx
Save the data into the file named data.json and try to run the below command:
$ go install github.com/antonmedv/fx@latest
$ cat data.json | fx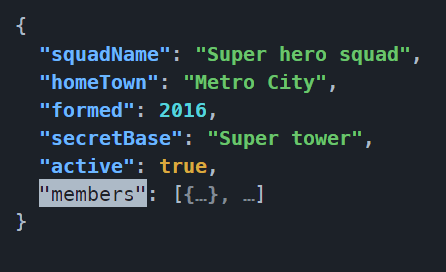
On running the above command, it will open the json in interactive format. The reducers function can also be implemented with fx, and details can be found on documentation of the project.
./jq
is a command line json parser, and installation instructions are present on their homepage:
jq (stedolan.github.io). It filters to format the output. Installation can be done using the package manager.
$ sudo apt install jq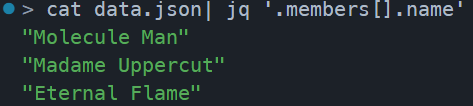
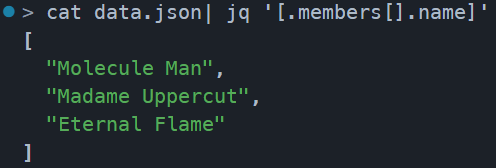
To get the output in list
A very nice tutorial on jq can be found on this link by Adam Gordon Bell.
6. Colorizing Cat or Bat
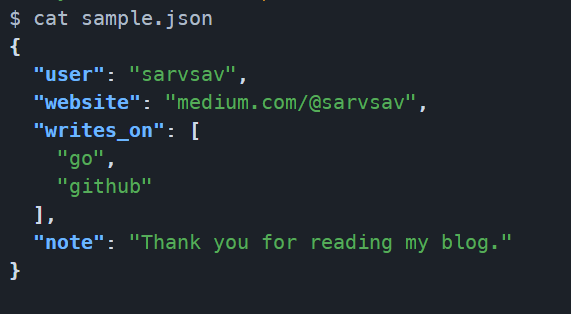
BAT (written in rust)
It can be downloaded from here: https://github.com/sharkdp/bat/releases and just add it to the path. On running below command:
bat sample.json

CCAT (written in go)
It is so boring to use the cat command, and difficulty to read the files on remote server. The ccat utility will highlight the syntax for you while reading the file.
From boring output:
To fancy output:

It can be installed using go and once installed can be set as an alias for cat command. Use the below command to download and for alias.
$ go install github.com/owenthereal/ccatMore details and information about the options can be found on the repo homepage.
Combining ccat with jq or fx , will make it more powerful. Add the below function in your .zshrc or .bashrc file.
function catme {
 filename=$(basename -- "$1")
 extension="${filename##*.}"
 filename="${filename%.*}"

 case "$extension" in
  "json")
   ccat "$1" | jq -C
   ;;
  "md")
   glow "$1"
   ;;
  "csv")
    result=$(gum table < "$1")
    ;;
  *)
   bat "$1"
   ;;
 esac
}

alias cat=catme
The above function can be extended to support multiple extensions.
Without ccat

With ccat

With alias and below function (It prints pretty with colors):
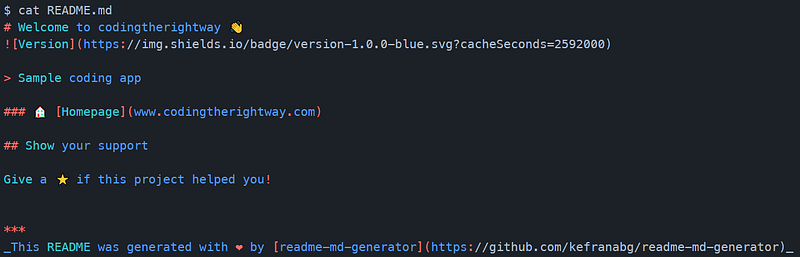
7. glow from charmbracelet
The above function can be extended to handle parsing of README files on terminal. The glow can be added as a file check to it. To install glow on your machine, run the below command:
go install github.com/charmbracelet/glow@latest
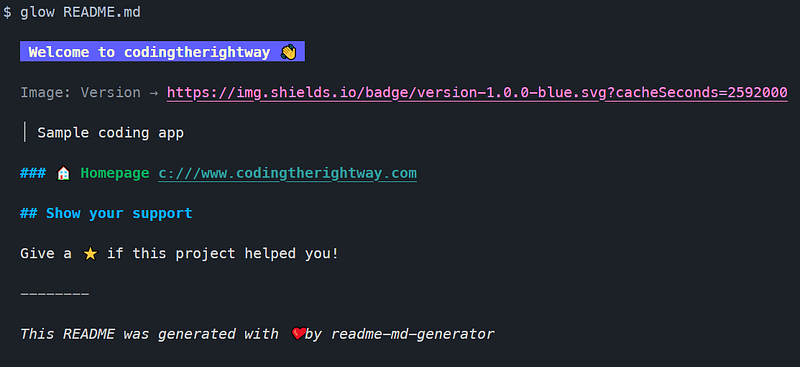
I am using a sample readme file to demonstrate the power of glow.
Without glow:
With glow:
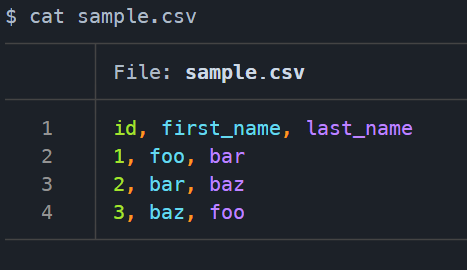
8. gum — Improve your shell scripts
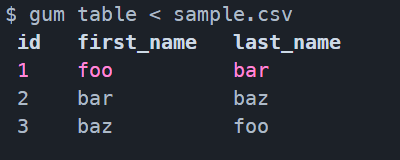
gum is mostly used to write better shell scripts, however I am using it for better reading the csv files in tabular format. It can be installed using below command:
go install github.com/charmbracelet/gum@latest
csv file without gum
csv file with gum
Update the catme function in your .rc file to use gum .
9. carbon-cli
carbon-now is a very popular website to take screenshots of your code. Now, it can be done using command line too. Install it with below command.
$ npm i -g carbon-now-cliAnd, the screenshots can be taken like this:
$ carbon-now filename.jsResult:
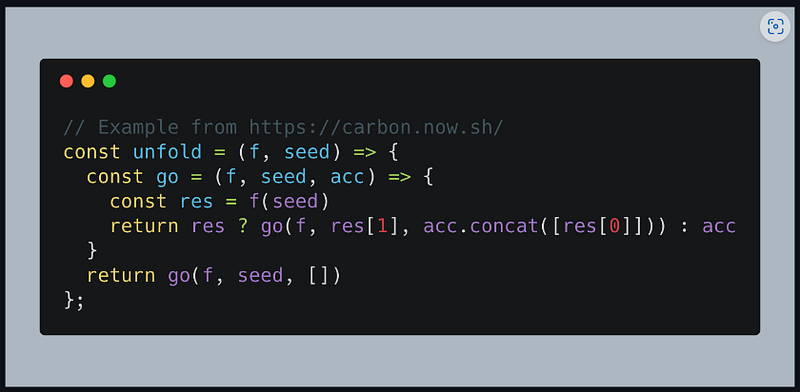
More information can be found on the project page.
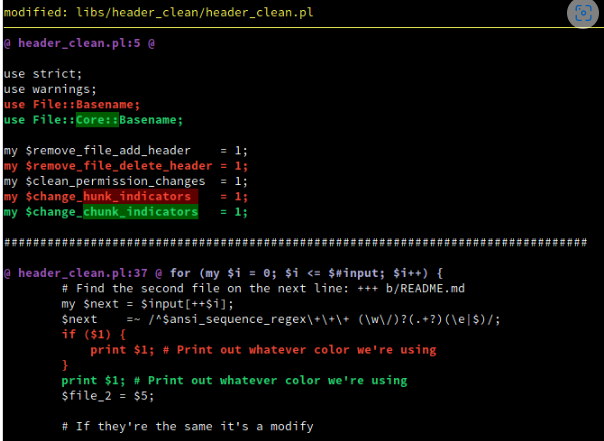
10. diff-so-fancy
It feels so difficult to understand the diff between any two files. Not anymore, with usage of diff-so-fancy, reading diff becomes very easy. Installation is as simple as cloning this repo and then putting the diff-so-fancy script in to your $PATH. The lib/ directory will need to be kept relative to the core script.
Repo link: so-fancy/diff-so-fancy: Good-lookin’ diffs. Actually… nah… The best-lookin’ diffs. (github.com)
11. duf or gdu
duf
A fancy way of listing disk usage and free. It can be installed using below command.
$ go install github.com/muesli/duf@latest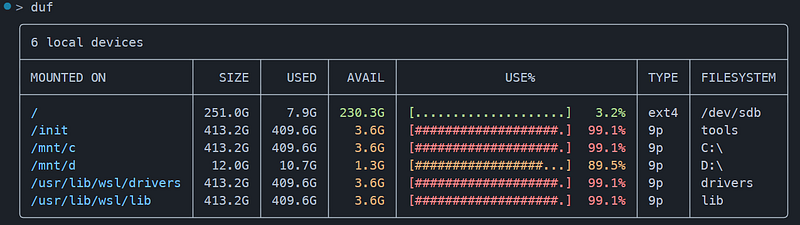
gdu
du is a disk usage command, and very popular among linux administrator. However, with missing features like no updates on progress, it is difficult to use. To make the output for fancy, there is a tool written in go named gdu can be used. The installation is very simple, and can be done using below command.
$ go install github.com/dundee/gdu/v5/cmd/gdu@latestAnd, now the output will look like this.

Link to the repo page: https://github.com/dundee/gdu
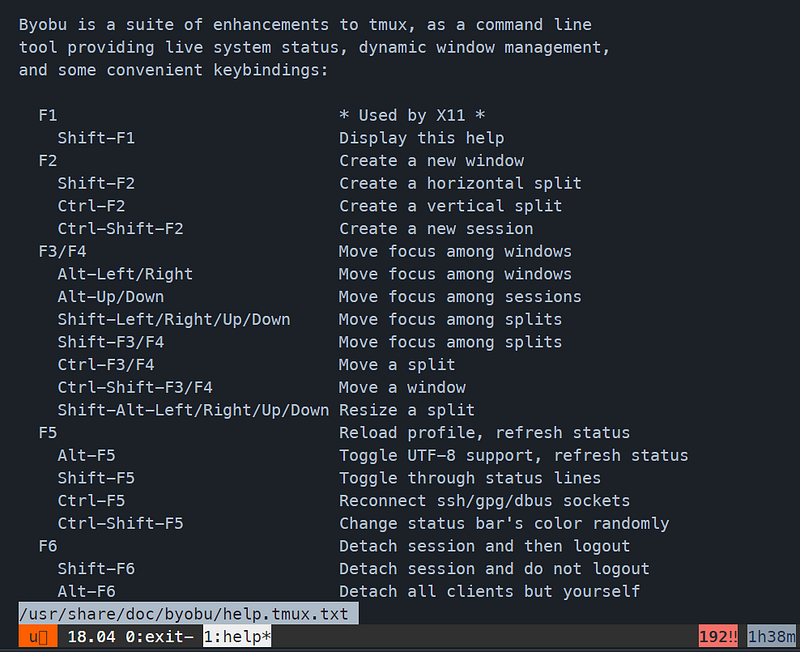
12. Byobu (Terminal Multiplexer)
Byobu is simple to install, yet very powerful to use. The installation will be done like below. There is no external ppa required for ubuntu.
$ sudo apt install byobuIt needs to be added to list of available shells, using command which byobu | tee -a /etc/shells .
In the terminal preferences, it is also need to set the “/usr/bin/byobu” as executable.
Link to shell functions:
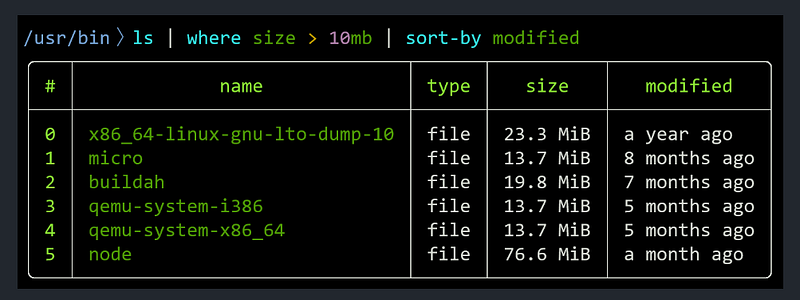
13. lsd — next gen ls command
It adds icon, colors, and in-built support of tree to your default ls command. It can be installed by downloading from HERE and adding it to your PATH variable.
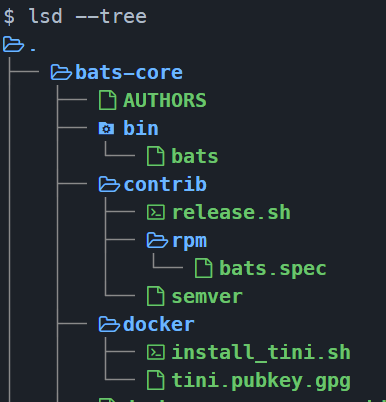

My default alias:
alias ls="lsd -al"
alias lt="lsd --tree"
14. Zoxide
Remember your paths in terminal. The installation instructions can be found here: https://github.com/ajeetdsouza/zoxide#installation
z foo              # cd into highest ranked directory matching foo
z foo bar          # cd into highest ranked directory matching foo and bar
z foo /            # cd into a subdirectory starting with foo

z ~/foo            # z also works like a regular cd command
z foo/             # cd into relative path
z ..               # cd one level up
z -                # cd into previous directory

zi foo             # cd with interactive selection (using fzf)

z foo<SPACE><TAB>  # show interactive completions (zoxide v0.8.0+, bash 4.4+/fish/zsh only)
And, I alias it to cd command.
15. RipGrep
Written in rust and while used fzf, it gives out of the box results. You can see the results in preview window with fzf and highlight text. Installation instructions can be found here: https://github.com/BurntSushi/ripgrep#installation
Add below code to your .rc file and then use the search command to search for a keyword. It will list all the files with the keyword with a preview and you can filter the files by entering the name.
function findme {
     rg --line-number --no-heading --color=always --smart-case "$1" | fzf -d ':' -n 2.. --ansi --no-sort --preview-window 'right:30%:+{2}' --       │ preview 'bat --style=numbers --color=always --highlight-line {2} {1}'
}

alias search=findme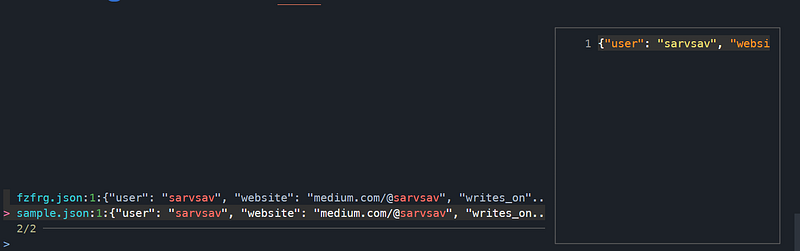
Left box allows me to filter the files, and right box is showing the preview.
Shell Script to install above tools: I have written a shell script to quickly setup your ubuntu, and can be found here. You have to run the main.bash script and it will setup most of the things for you. (Beta state)
Bonus:
1. The shell theme used is materialshell.
2. autocomplete only for mac users. withfig/autocomplete: IDE-style autocomplete for your existing terminal & shell (github.com)
3. A readme generator for your project kefranabg/readme-md-generator: 📄 CLI that generates beautiful README.md files (github.com)
Hope you find it useful. :)
Shower your love by claps and shares ❤
Clap guide in summary:
1–2 Claps — An average article
3–10 Claps — Very good article
11–20 Claps — Very helpful and value addition
21+ Claps — Supporting your efforts :)