
Tips for Fungi Photography
Enjoy capturing the colour and texture of fungi
It’s Autumn in Australia, which means it’s one of my favourite photographing seasons, and not just because of the change of colour. It’s fungi photography time!
I thought I’d write down some of my favourite tips for photographing mushrooms, toadstools and other fungi.
While I’m writing down photography tips, I won’t get into camera settings for this story. There are too many variables from what time of day you’re photographing, to the weather and depending on where you are, how much light you have to work with.
Here are my more general tips to make sure you’re prepared to have a productive and fun day.
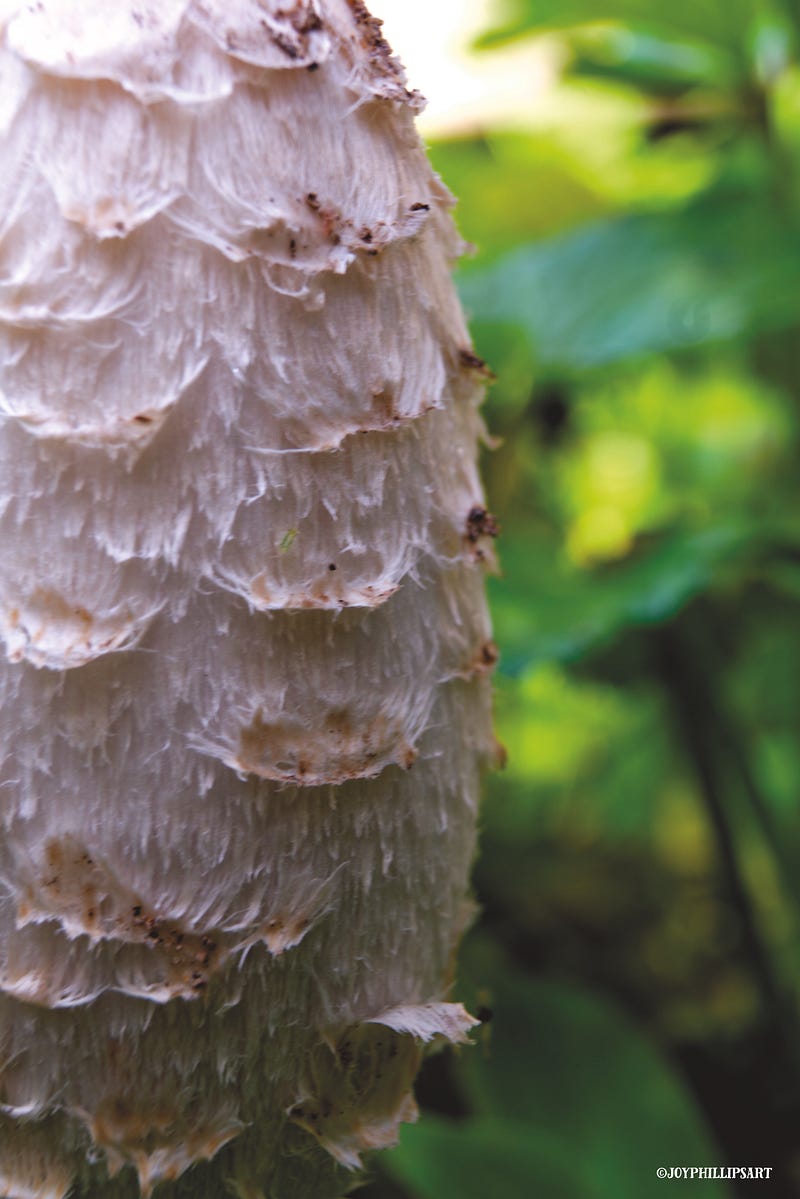
Get in close
There will be times when you want the whole scene where the mushroom or toadstool is located, but most of the time you’ll want to get as close as possible to get as much colour and texture detail of your subject as you can.
Use a macro lens, fungi can be small
Of course, getting close means giving your macro lens or macro extension tube a workout. Especially as a lot of species are tiny, smaller than your thumb.
But take your kit lens, fungi can be big
Don’t just take your macro lens, or you may have regrets. A lot of fungi can be large and you won’t fit a whole toadstool in the frame.
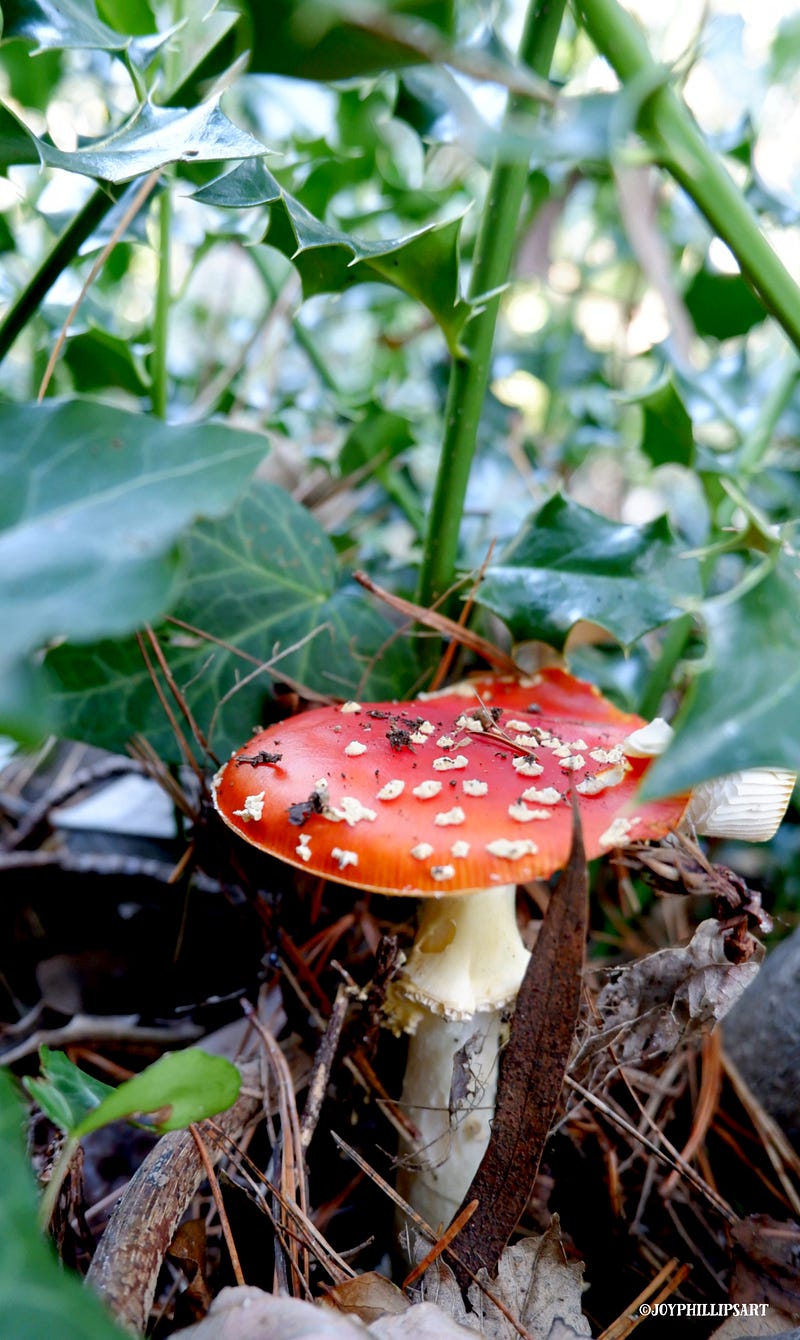
Take the Fly Agaric (Amanita Muscaria), for example. That’s the red one with white dots, commonly seen creating fairy circles in the forest. When its cap is fully opened it is 20 cm across, and can grow to 30 cm tall.
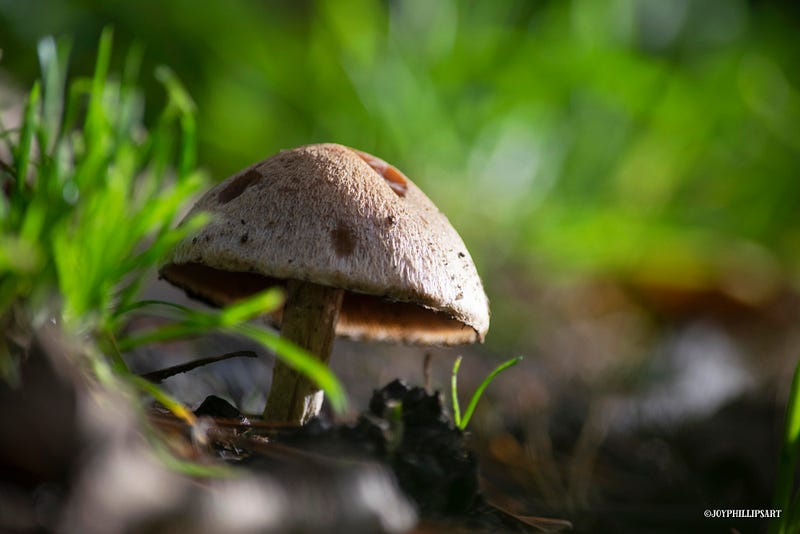
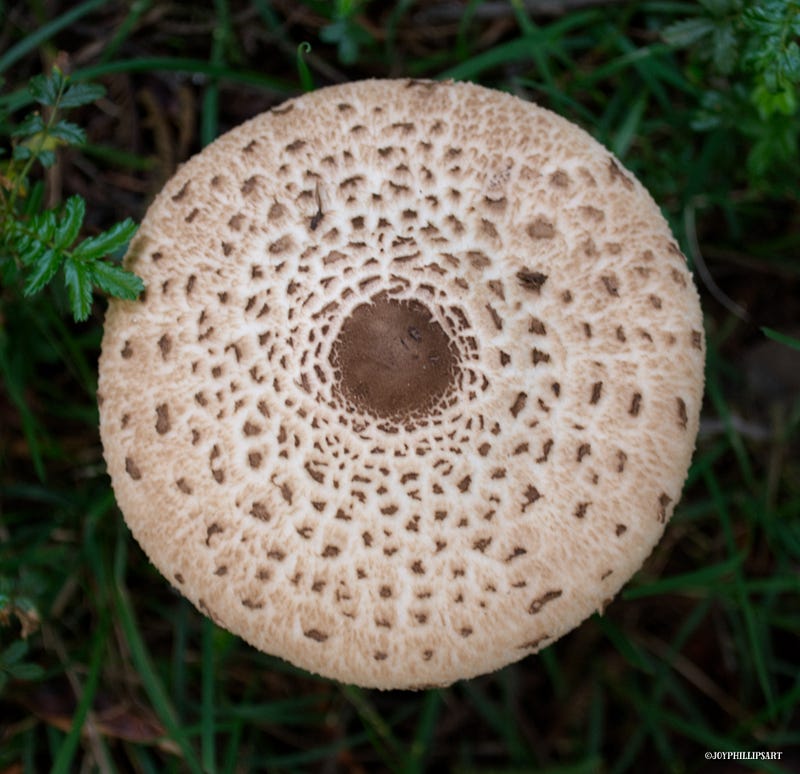
Shoot from above, shoot from the ground
The caps of mushrooms and toadstools look amazing and you can spend so much time taking photos of them. But you can also get some great photos of the gills underneath, and don’t forget the different shapes and textures of the stalk, and ring or skirt that some toadstools have. Try different angles to get a great photo.
Small tripod
A full-size tripod or monopod isn’t going to be very useful in this situation. I usually go without any stability support because even a mini tripod is too tall for a lot of the fungi I’m photographing. But for sure there will be some on top of fallen logs, or on a slope where I can’t sit the camera on the ground at the right height. I generally regret not taking something when I get back home to see a lot of blurry photos from balancing in some awkward pose and holding the camera out at arm's length.
I need to take my own advice and remember to take my mini tripod.
Using your phone as a light source
Occasionally you’ll find a tiny mushroom inside a decaying log, or when it’s almost dark, and wish you had a bit more light. Using the flashlight on your phone as a backlight or bouncing off something nearby can help give you enough light to get your perfect shot.
Don’t be scared of some rain
Fungi love it when it’s wet, which means you get to learn to love it too.
However, If you are shooting in the rain, protect your camera
Fungi love it, and you can love it, but unfortunately, your camera doesn’t and won’t.
If you are going somewhere particularly wet, it’s a good idea to use a rain cover of some sort to save yourself an expensive trip.
Watch your background
Try to get your background a different colour to your fungi so it stands out. I have a lot of early shots where I took photos of a white mushroom from the ground when there’s an overcast sky. Needless to say, the mushroom gets lost in the background and doesn’t make a very good photo.
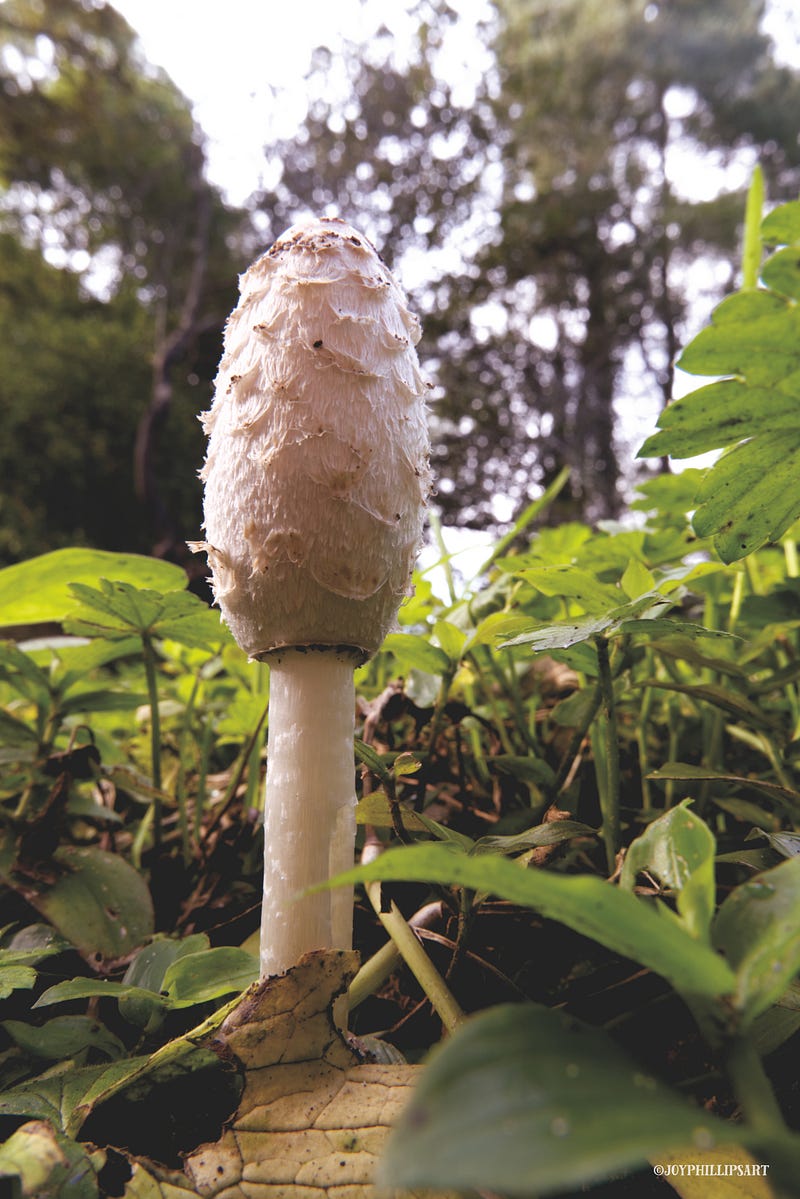
Don’t delay
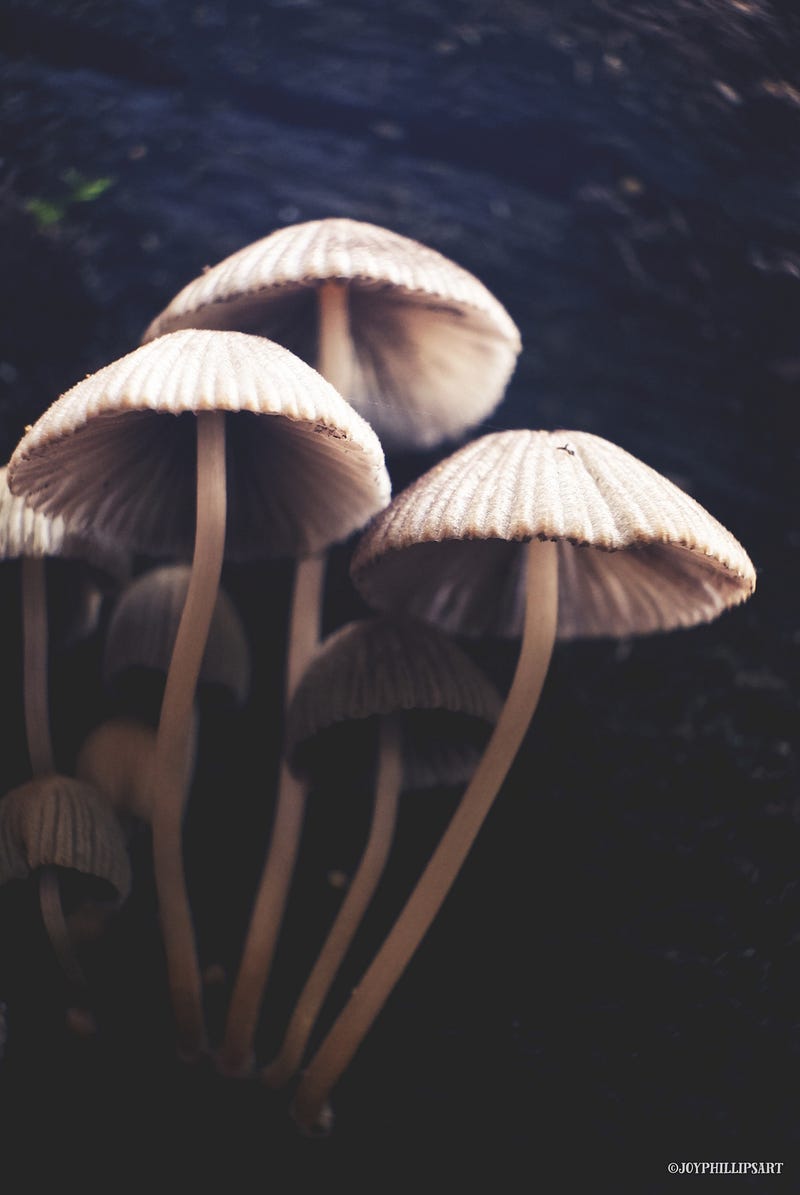
Fungi can open and die down fast. Originally I wanted to take photos of each stage of the Shaggy Inkcap photos in this post. They had been sitting in their closed positions for 4 days, and I luckily took their closed state on the fourth day.
That night it rained heavily and by the time I got to them mid-morning on day 5 one had already completely opened and the second had almost fully died away. Within a few hours, the first had gone as well.
So if you see fungi that might make an interesting photo, don’t make a mental note to come back later. Take that photo now, and come back later to see if it’s still there if you want more.
Bioluminescent
Did you know some fungi glow in the dark?
If you know some in your area do, or suspect they do, it’s definitely worth going back at night to get that photo.
Take a lot of photos
The beauty of digital photography is you can just keep taking photos. You’re there, the fungus is looking its best and possibly won’t be there for much longer, so click away!
Sometimes blur happens because it’s in a difficult spot to access, the wind moves it, or other elements out of your control happen.
Take lots of photos, and lots of angles if possible. If nothing else they may end up being a great reference for mycologists or artists (both these people will love you forever).
Be respectful of the ecosystem around you
I have to say it. If you’re out in nature, try not to disrupt it. Don’t pull plants out to get them out of your shot, watch where you step, and if you move something for a photo, please put it back.
You’re entering a place where there is a huge amount of life, and protecting it while you’re there allows it to be there for your next photo trip.
Don’t touch the fungus, it might be deadly
My last tip is a serious one: Photography OH&S.
A lot of fungi can be deadly. And the ones that aren’t are usually difficult to tell apart from the ones that are. So don’t risk it, just don’t touch it.
When you’ve finished your fungi photography trip, wash your hands to make sure you haven’t accidentally touched any while moving around to get that perfect shot.
About Me Hi! My name is Joy, it’s nice to meet you. I’m an Aussie who loves all things creative and the environment. I also love writing about my experiments, whether they be with cameras, painting, or a computer.


