
Just to talk about…
The Voice of the Wood
Story of passion, vinyl glue, abrasive paper and a lot of patience
I’ve always thought that there was a kind of magic in looking at a piece of raw wood and being able to imagine the shape it would have at the end of a craftsmanship process, and when I was able to pull out even its voice for the first time, I was fascinated forever.
I would like to take this opportunity to introduce myself: my name is Gianfranco and first of all, I would like to point out that I am not a professional luthier.
As Dr Jekyll left his normal life to give way to his cumbersome alter ego Mr Hyde, I work in a multinational company and usually I spend all my day between computers, projects to manage and data to analyse… But when night falls I give vent to my passions, mainly music and writing and the occasional woodworking.
My father also had a passion for woodworking and for years, when I was young, I helped while observing him and handing him tools while he made furniture until one day, being a musician, I decided to try to build my own musical instrument from scratch.
I remember the excitement the first time the set of seasoned raw wood blocks I had bought to build my first guitar arrived at my house.
I was looking at those wooden blocks like a child, trying to place them one on top of the other while I already imagining the finished instrument and the moment when I would have held it in my hands and heard its sweet voice … and at the same time the questioning glance of my wife looking at me like looks at a madman.
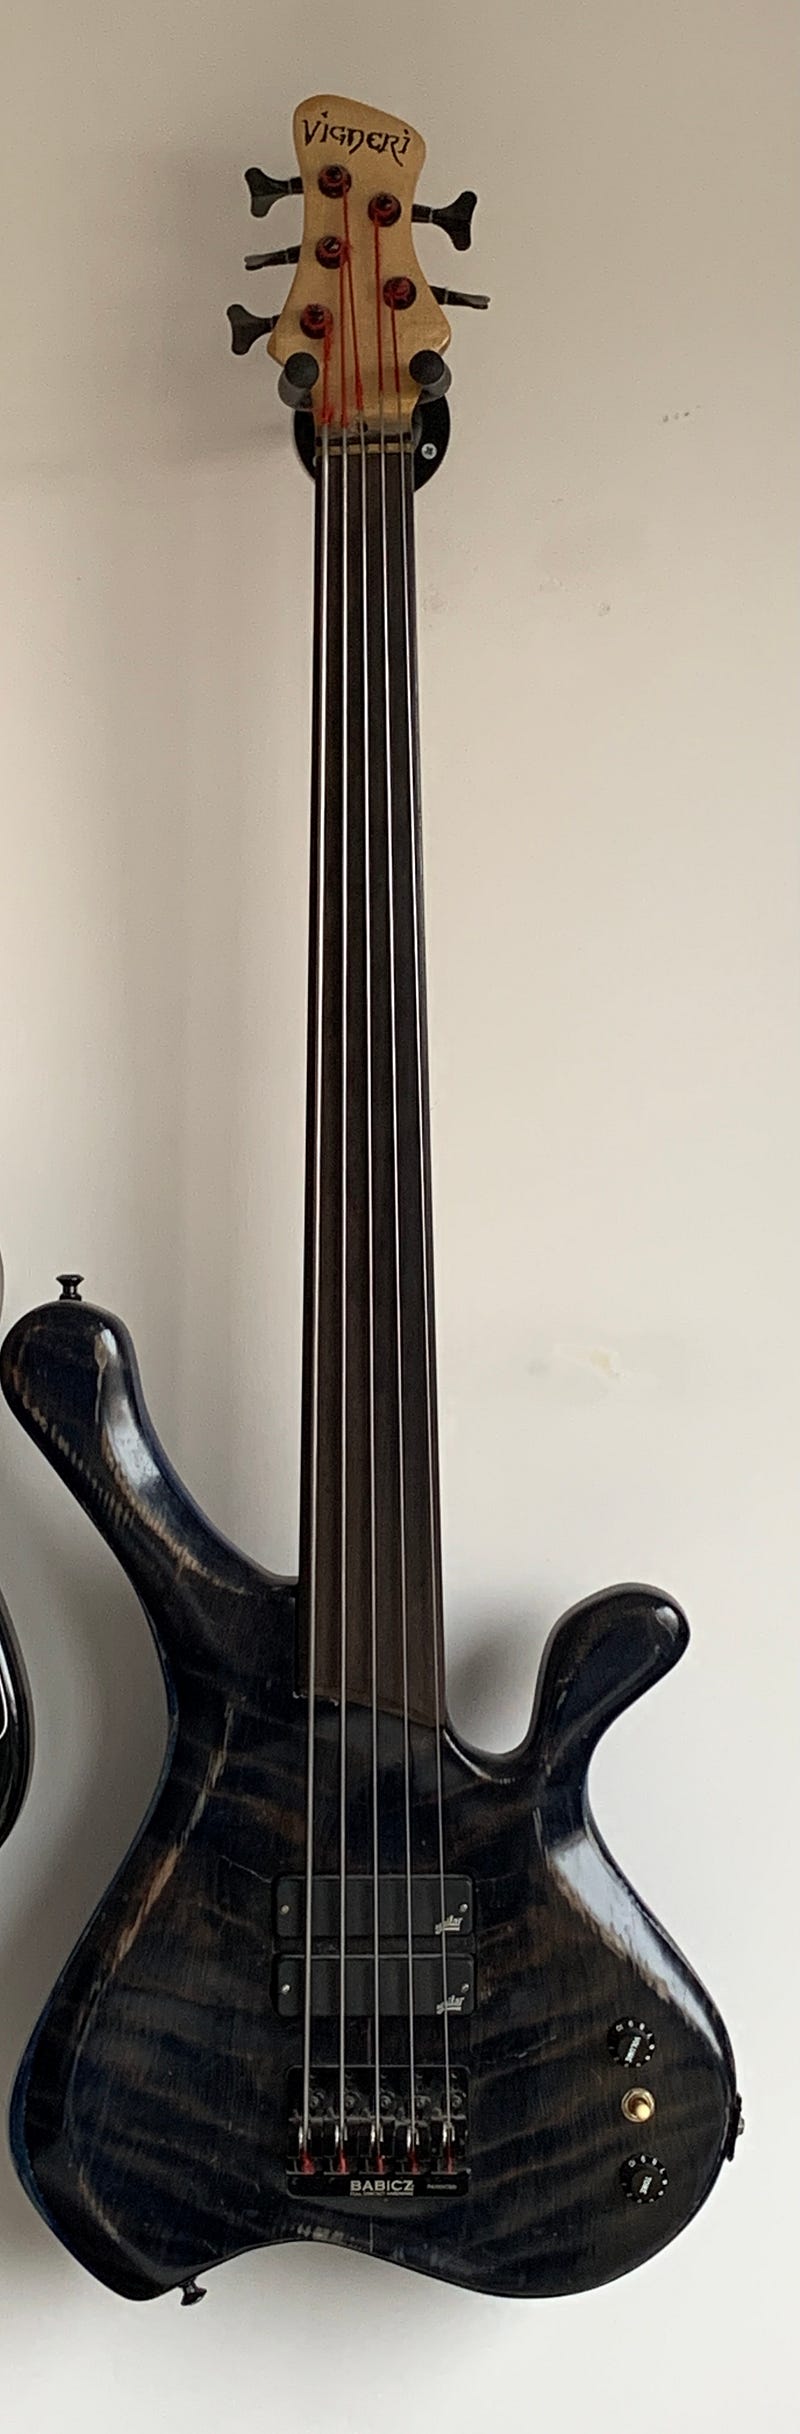
A lot of summers has passed since that moment and today, to inaugurate my presence in this fantastic group, I decided to publish a few photos and a few words about one of the works which I am most proud of: my Fretless Bass.
He was not of course always as you see in the picture. When he came into my life, although it was clear from the start in my mind how he was going to appear to the world, he definitely had rougher features and his curves so sinuous and soft was definitely not perceptible to the human eye.
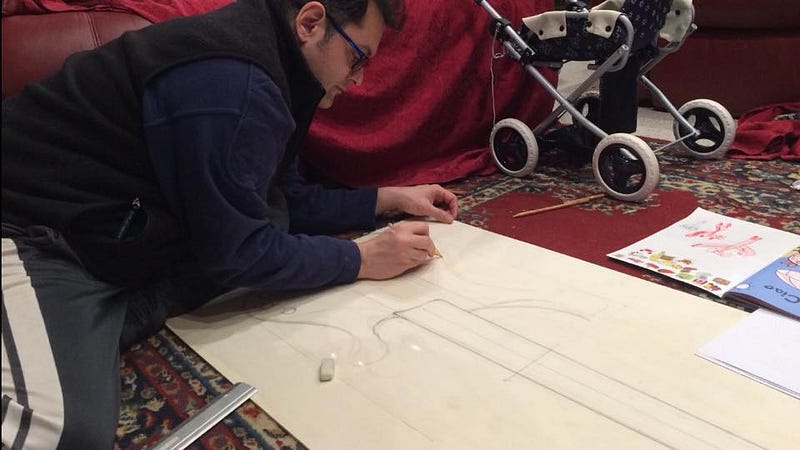
Let’s say that it’s necessary to be able to work with a lot of imagination to get from this …

…this result
At the very beginning, it was necessary to choose the right type of wood. Every wood has its own characteristics, the timbre, the attack, the sustain, everything related of course to the density and to the hardness of the wood itself.
It’s important also to specify that we are talking about special cuts of wood that are also dried for years in a natural way, or sometimes more quickly by industrial processes.
In order to make an instrument, the wood must already resonate in this raw form, and by placing a tuning fork on it we must be able to hear the 440 Hz of the “A” produced by the tuning fork flowing and enriching as it vibrates through the wood fibres.
A good quality electric instrument sounds even when switched off.
To have a bass with a very deep voice but also balanced with a good attack and sustain, I decided to opt for a maple body and neck, the maple has a brilliant voice and a good attack, while for the top I chose a flamed redwood board (the eye also needs its share) and for the fingerboard I chose the density and hardness of black ebony.
I also decide, in order to have a more deep and sustained sound, to use a 36" extra-long scale and to enrich the sound I made a couple of tone chambers inside the body, this usually help the generation of harmonics and make the body more resonant.
My father, great teacher in life and master carpenter for pleasure, with his experience was a great help and let’s say that the main purpose of this work for me was not so much to have an extra bass, after all I have a considerable number of them at home considering that I only have two hands, but it was an excuse to work together with him and build something that I will always keep with me and that will remind me of those days.
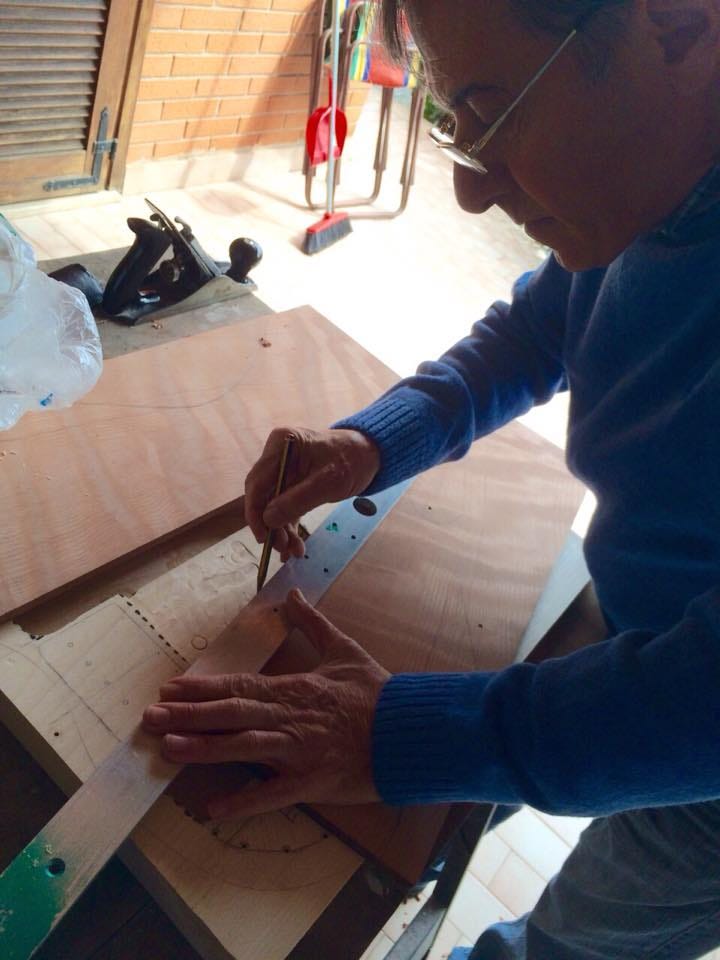
Anyway, thanks to the template drawn on a plywood board, I was able to reproduce the shape I had chosen, on the body and top before assembly.
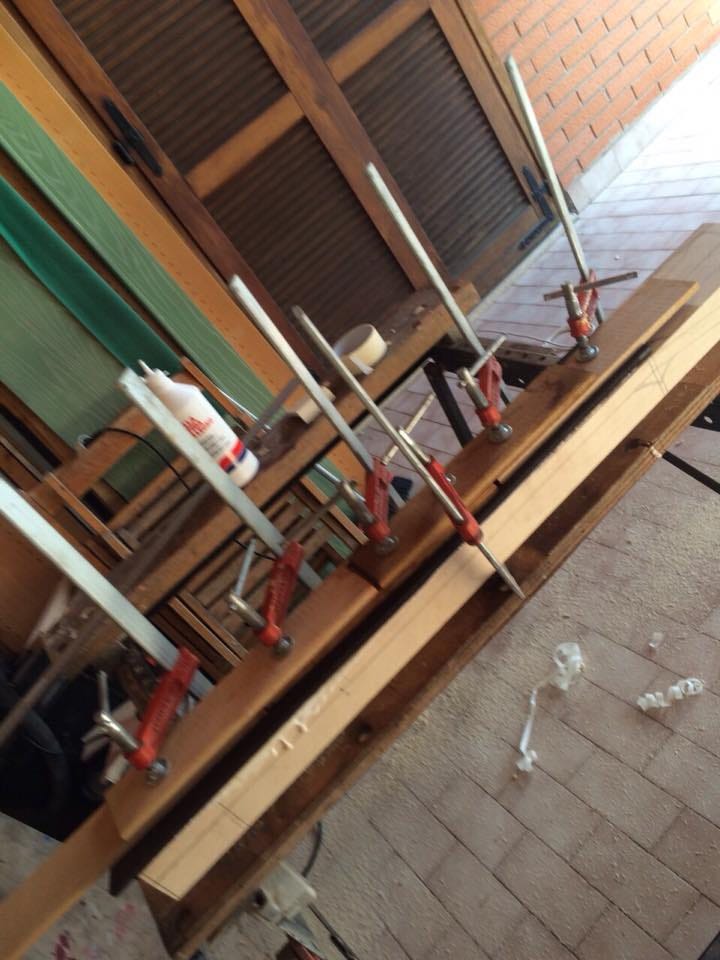
Observing the grain of the top, once we were satisfied with the design that came out of the coupling of the two halves, we moved on to the glueing phase with vinyl glue and a large number of bench clamps.
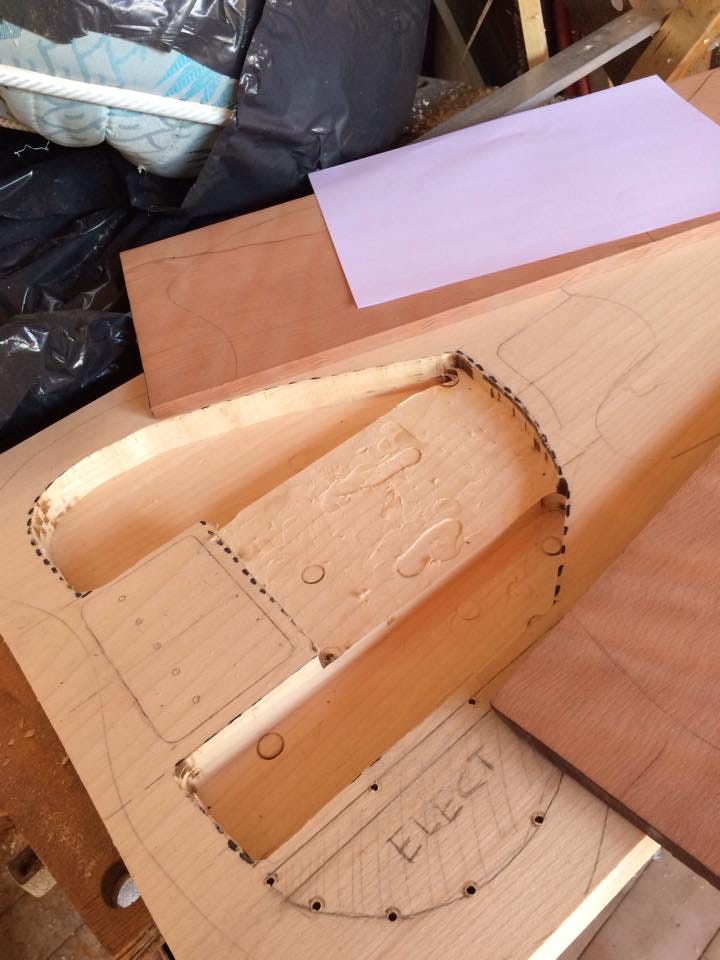
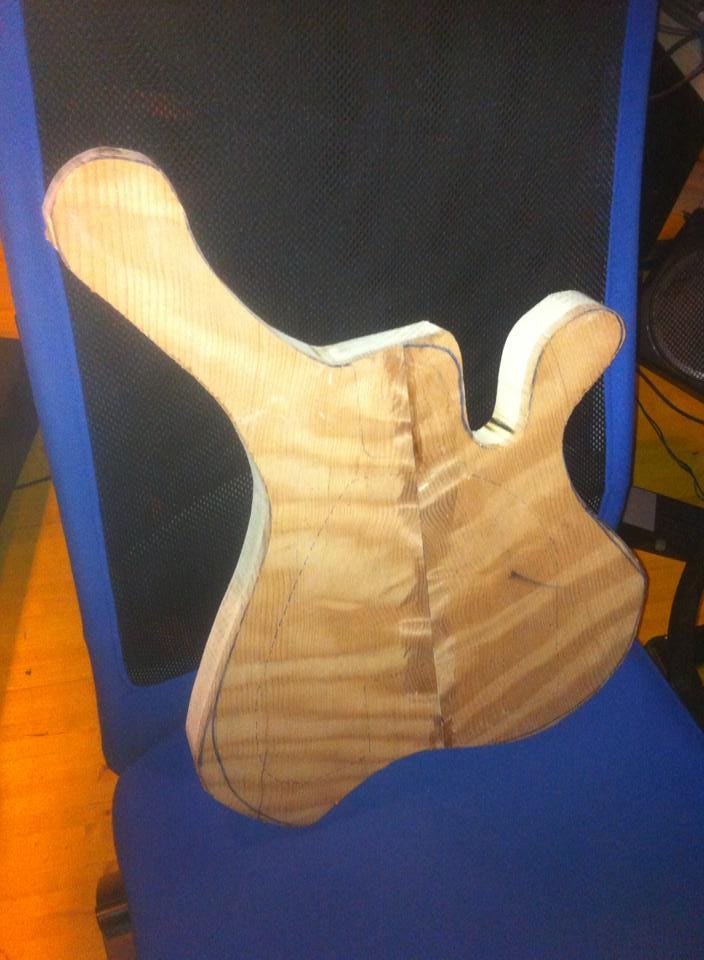
After glueing the sections we moved on to cutting the silhouette of the body. In the following picture, you can see the still rough shape of the body.
Many strokes of the file and sanding to various degrees of scaling as well as a lot of elbow grease were needed to achieve the final result from this point.
One of the most difficult and critical parts in lutherie processing is definitely the neck. Three quarters of the strings rest on the neck and this is practically where the sound is generated.
Enormous precision must be used in sculpting the joint with the body, the great risk, if the neck does not fully touch the body, is to lose most of the sound and have a dull instrument.
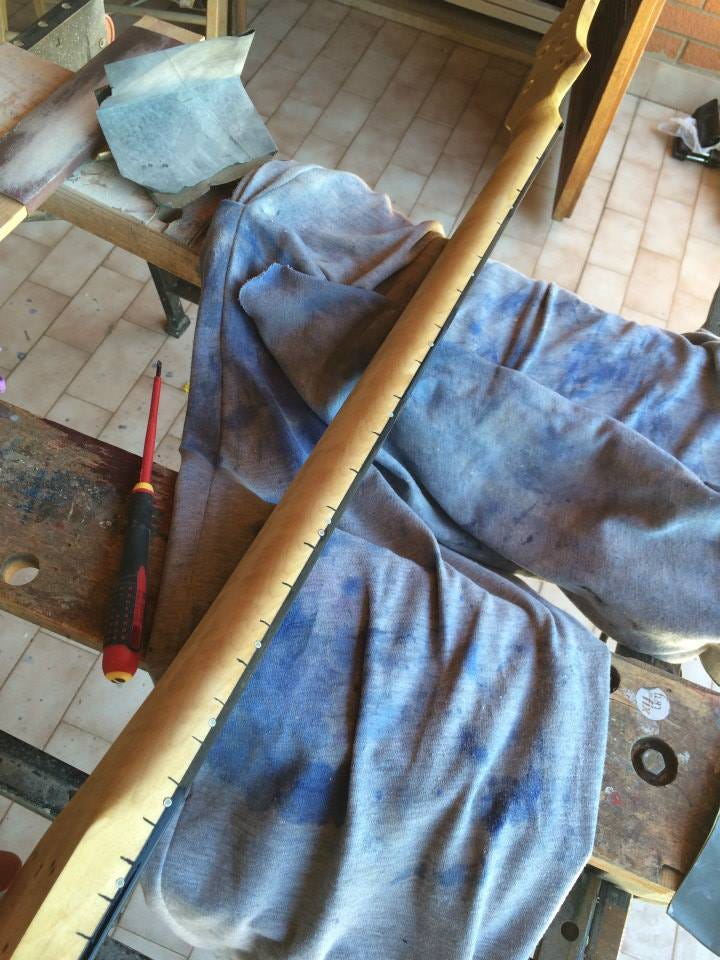
Obviously, it’s also necessary to carefully shaping the back of the neck and the fingerboard so that it has no bumps or dips and is even along its entire length.
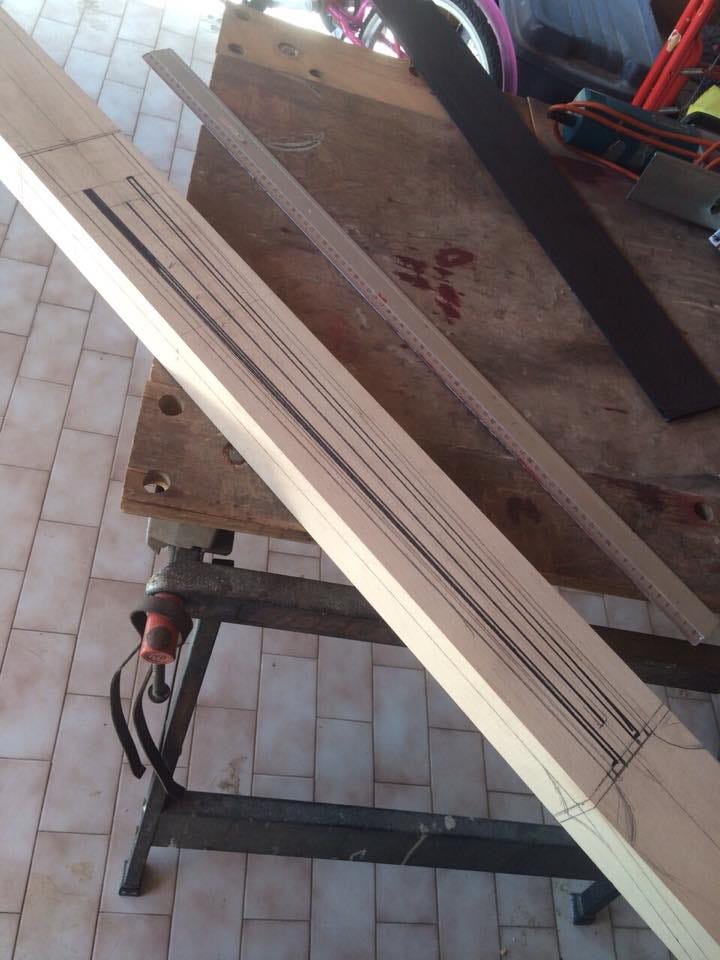
To avoid excessive bending and torsion, considering the strong pull of the strings, an adjustable truss-rod is applied in a recess in the centre and two graphite reinforcement bars at the side.
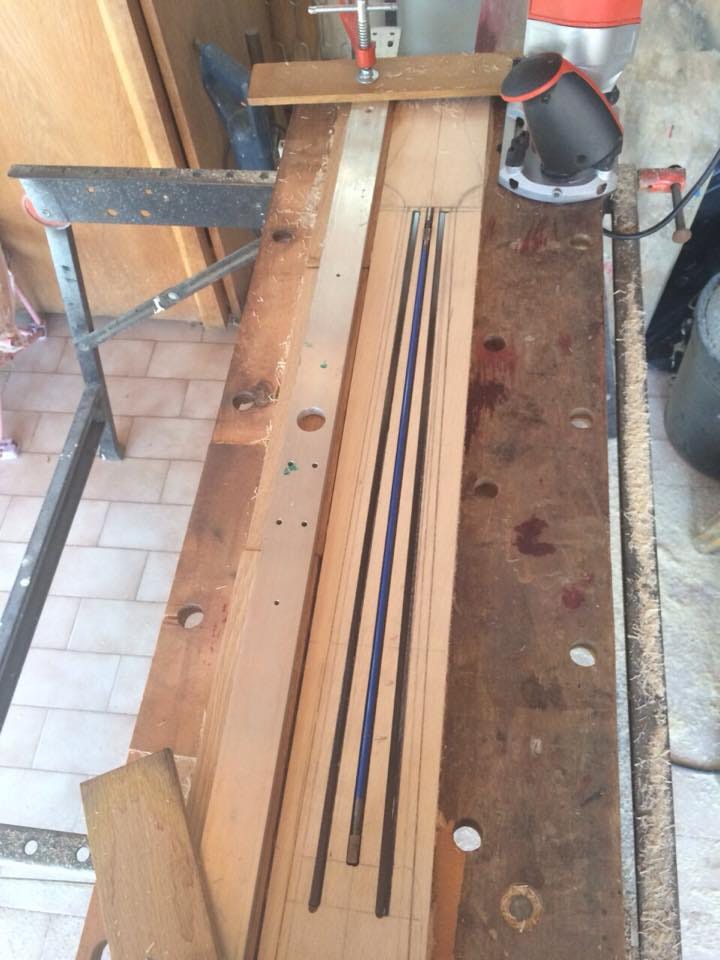
Once the truss rods are in place, we proceed with gluing the fingerboard, making sure that the entire surface was perfectly glued, the neck and fingerboard must become a single body.
It is very important when reducing the thickness of the neck to remember the depth of the bars to avoid bringing them back to the surface, which would be the equivalent of throwing away the whole neck.
I have personally sanded the handle to adapt it to the shape of my hand and I can say that in the end, it is one of the instruments with which my hand tires the least.
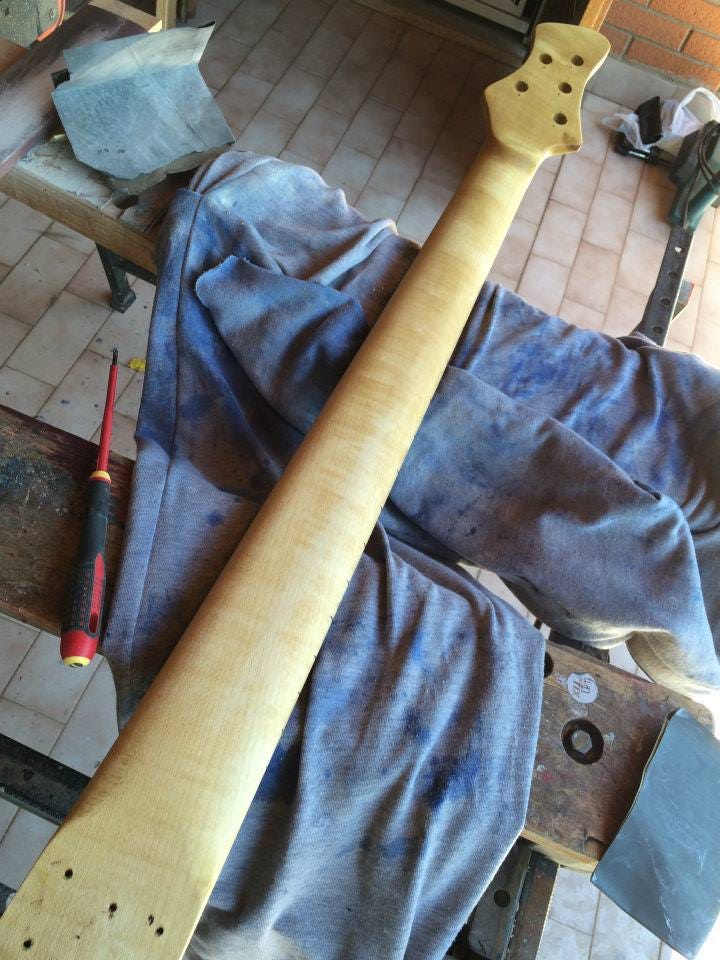
Working this type of wood cut with these curves brings out wonderful grains as can be seen in the photo.
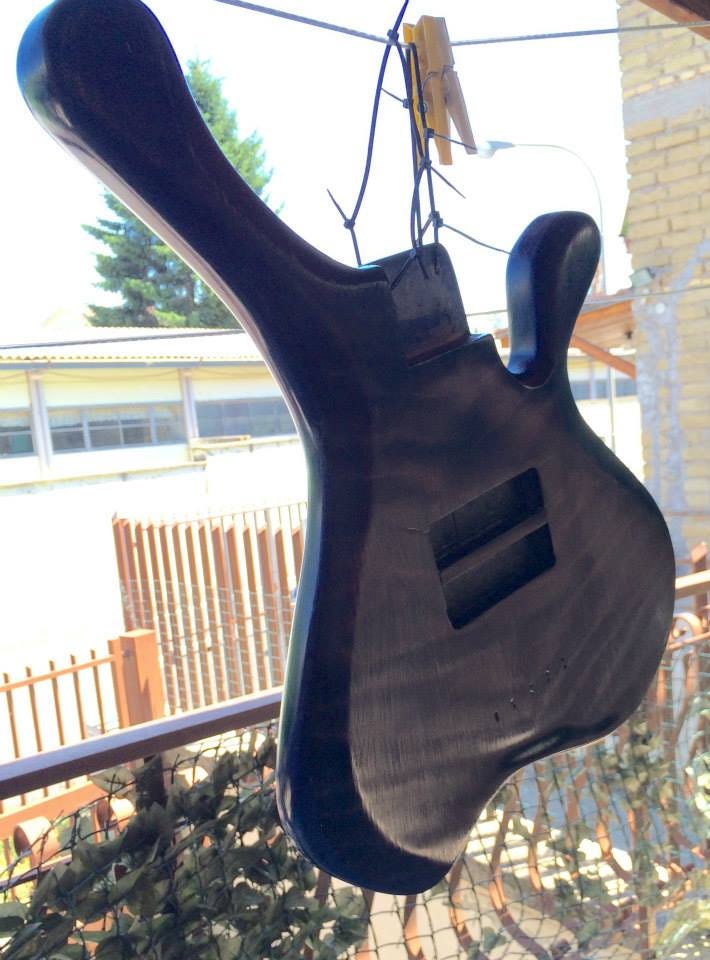
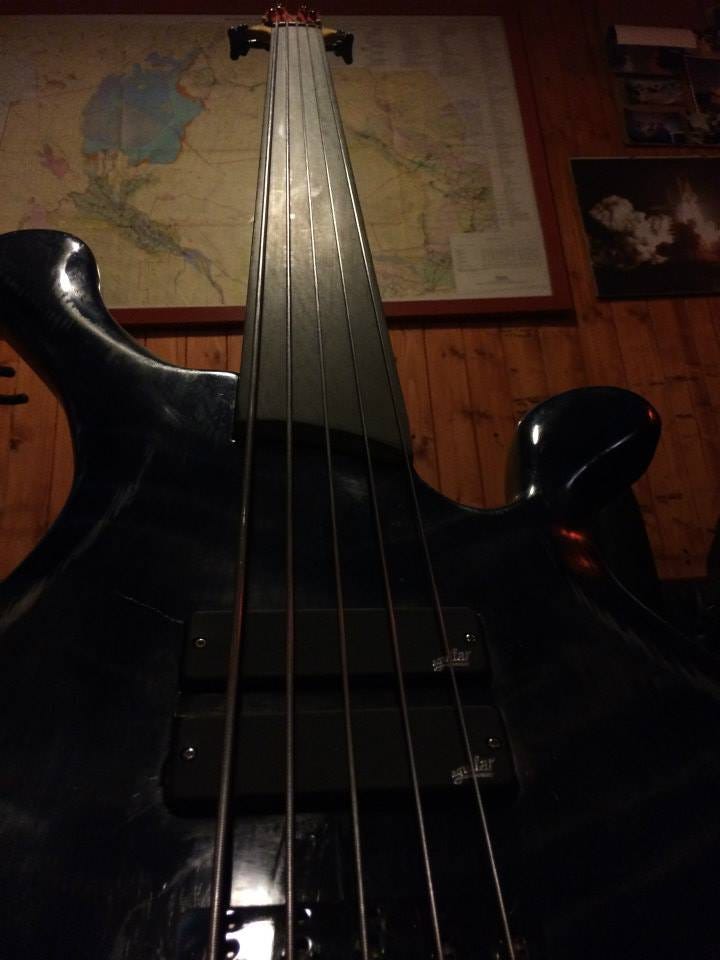
The “anomalous” positioning of the magnets also played a key role in the construction of the sound of this bass. In fact, as you can see from the following picture, they are positioned very close together, normally they are further apart.
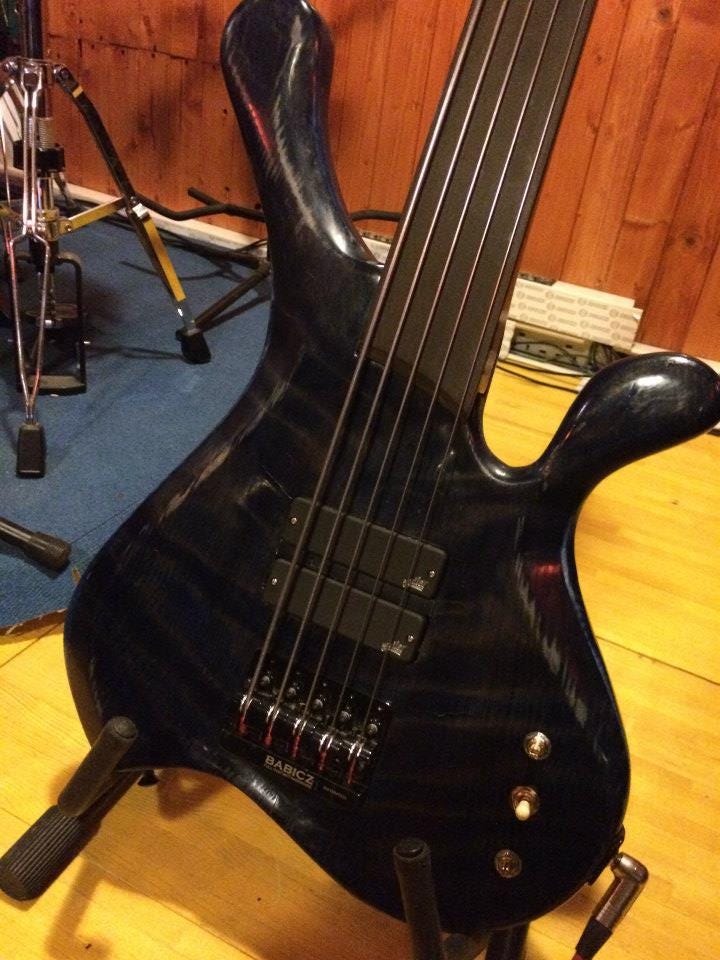
The aim was to place them at precise points of the sound wave curve so that all the three combinations ( On-Off, On-On, Off-On) would sound very specific and particular.
To achieve this, I chose the position by ear, moving the magnets up and down in a pre-assembly before making the cuts in the body.
As you may have guessed, I could talk about this subject for hours.
Those who, like me, adore this type of manual work know how attention to every single detail leads to the highest levels of satisfaction, and in this case too, every single step has been studied and chosen down to the smallest detail, and I can assure you that each one has contributed to nourishing that feeling of profound joy that I felt when, finally, at the end of all the work, I stretched the strings and, pressing on the fingerboard, I made it emit its first sound.
A warm, decisive sound that vibrates throughout its body, warming the heart and soul of the listener.
Gianfranco Vigneri © 2021
If you enjoyed this text, you might also want to read:
or some of the lyrics I write for my songs


