The Trusty Gardener-Transplanting Heirloom Tomatoes
One Step Closer to the Garden
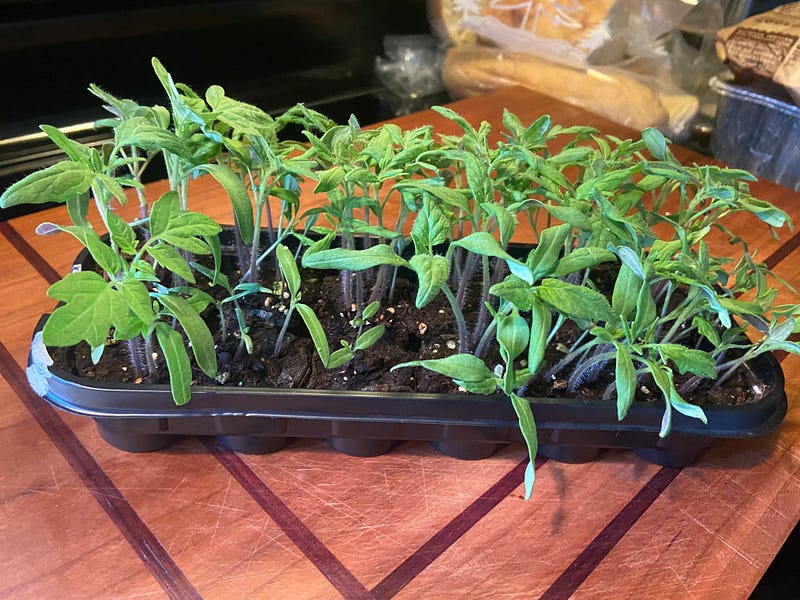
Are you longing for fresh tomatoes from the garden? I can almost taste them, even though the plants are still tiny. They hold much promise of producing delicious heirloom tomatoes, some of which will be a surprise as to what variety I get. In about 7 weeks they should be ready for the garden, and then the real fun begins.
In early April I wrote a story about planting heirloom tomato seeds. I planted them on March 20th, which normally works out for them to be transplanted into individual peat pots in early April, and finally planted in the garden in late May. It’s a process that has been successful for me.
Also helpful for me is having a portable greenhouse. This really makes a difference as the plants are given conditions inside the greenhouse that allows them to thrive. I have had less success in the past trying to keep the plants indoors prior to planting in the garden; they tend to get too tall and spindly.
So how do you know when tomatoes are ready for transplanting? My Mom always said when they get the second set of leaves it is time. By then the plants are usually about 2 to 3 inches high. Transplanting is an important step in the hardening-off process. It also allows them to grow adequately since they are in individual pots.

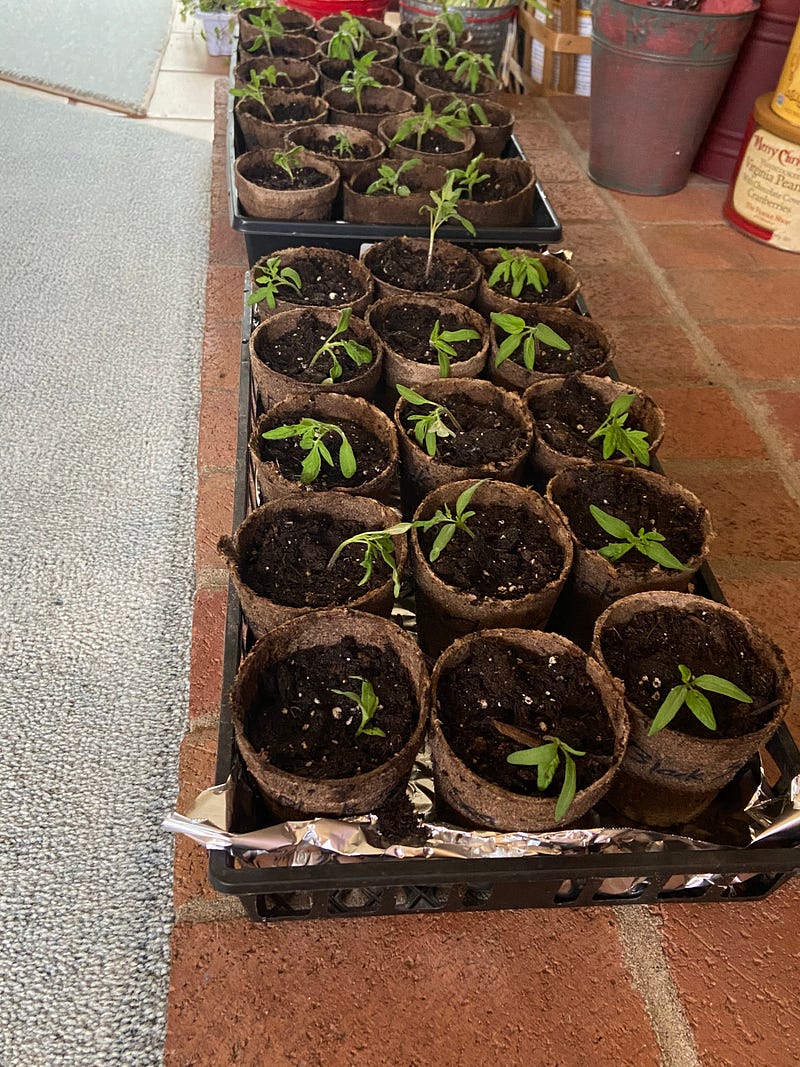
I use 3-inch peat pots for transplanting the tomato plants. They are widely available in stores. I have had good success with these. They are inexpensive, natural, and make it easy when planting the tomatoes into the garden. The entire peat pot can be placed in the garden as they decompose over time. Sometimes I break off the bottoms of the pots to expose the roots but it’s not necessary. The roots will grow through the pots.
In fact, when planting the pots in the garden, care must be taken as by then, the peat pots are becoming less rigid. Overall they are excellent for transplants. I will use them also for the pepper plants which will be transplanted soon.
The transplanting process is quite simple. Just be sure to use a good quality potting soil such as Miracle-Gro®, which already has plant food in the mix. One less step, as the soil already provides the necessary nutrients for the plants until they are planted in the garden in late May. As always, be sure to label the pots as to the variety of tomatoes. Nothing is worse than not knowing what is what.
One important step after transplanting is to let the plants acclimate for a few days inside, out of the sun. Since transplanting is a shock to the plants, I let them “rest” a couple of days, then back in the greenhouse they go. If you look closely at the tomato plants below, you can see the plants looks a little droopy at first until they acclimate. They will recover and thrive in the greenhouse.
This year I planted an heirloom tomato mix, which will provide sort of a surprise as to what I get. The mixture contains 18 different heirloom varieties, some of which I have never tried. We will see what I get.
In addition, I also transplanted Brandywine, Costoluto Genovese, Cherokee Purple, Black Sea Man, Mortgage Lifter, and Black Krim.
The Matt’s Wild Cherry variety was late germinating, so they are not yet ready to transplant. In the meantime, I planted some additional seeds thinking the original ones wouldn’t sprout. So I will have some of these wonderful tiny tomatoes after all. I featured this wonderful cherry tomato in a previous story.
Stay tuned for the progress of the tomatoes, as they grow and get ready to be planted into the garden.