
The Three Pillars of Flutter UI: Understanding Widget, Element, and Render Object Trees
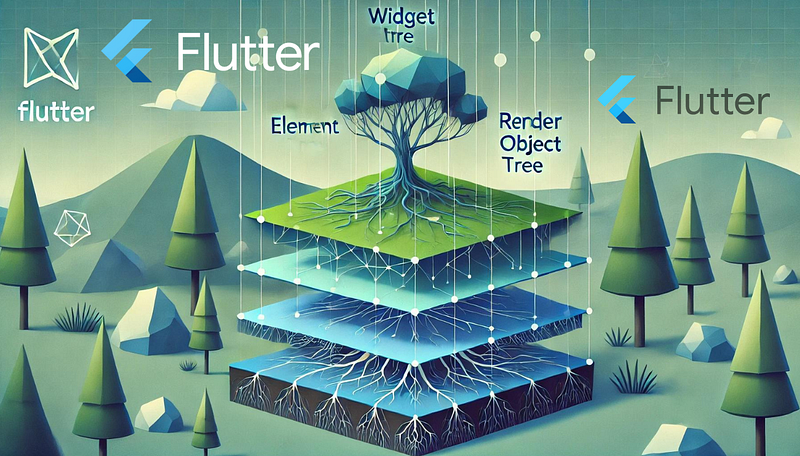
Flutter is a powerful UI toolkit that has revolutionized mobile app development with its expressive and flexible UI. However, beneath its simplicity lies a complex architecture that involves multiple layers of trees, each playing a crucial role in rendering the UI. In this article, we will explore the three core trees in Flutter: the Widget tree, the Element tree, and the Render Object tree. We will break down each tree with explanations, examples, and insights into how they work together to create seamless user interfaces.
Introduction to Flutter Trees
In Flutter, the UI is built using a series of widgets that describe how the interface should look and behave. These widgets form the Widget tree, which is the first layer of Flutter’s tree-based architecture. However, the Widget tree is just the beginning. To understand how Flutter actually renders these widgets on the screen, we need to dive deeper into the Element tree and the Render Object tree.
The Widget Tree
What is the Widget Tree?
The Widget tree is the blueprint of the UI. It’s a lightweight, immutable tree structure where each node is a Widget, describing a part of the interface. The Widget tree is purely declarative — it defines what should be displayed but not how it should be rendered.
Example:
Let’s start with a simple example — a Flutter app with a Column containing a Text widget and a RaisedButton:
class MyApp extends StatelessWidget {
  @override
  Widget build(BuildContext context) {
    return MaterialApp(
      home: Scaffold(
        appBar: AppBar(title: Text('Flutter Trees')),
        body: Column(
          children: [
            Text('Hello, Flutter!'),
            RaisedButton(onPressed: () {}, child: Text('Click Me')),
          ],
        ),
      ),
    );
  }
}
In this example, the Widget tree looks like this:
MyApp
 └─ MaterialApp
     └─ Scaffold
         ├─ AppBar
         │   └─ Text
         └─ Column
             ├─ Text
             └─ RaisedButton
The Widget tree is built every time the build method is called. However, these widgets are not the actual UI elements—they are just the configuration.
The Element Tree
What is the Element Tree?
The Element tree is the bridge between the Widget tree and the Render Object tree. It is the tree that Flutter uses to manage the lifecycle of widgets. While the Widget tree is rebuilt every time the UI needs to change, the Element tree is preserved between builds, allowing Flutter to efficiently update the UI.
Elements are created from widgets and hold references to the corresponding widgets and render objects. They are responsible for managing the relationship between the Widget tree and the Render Object tree.
Example:
Using the same example, the Element tree might look like this:
MyApp (StatelessElement)
 └─ MaterialApp (StatelessElement)
     └─ Scaffold (StatelessElement)
         ├─ AppBar (StatelessElement)
         │   └─ Text (StatelessElement)
         └─ Column (MultiChildRenderObjectElement)
             ├─ Text (StatelessElement)
             └─ RaisedButton (StatelessElement)
Each widget in the Widget tree has a corresponding element in the Element tree. The Element tree persists across widget rebuilds, maintaining the state and the relationship between widgets and their corresponding render objects.
The Render Object Tree
What is the Render Object Tree?
The Render Object tree is where the rubber meets the road. This tree is responsible for painting the UI on the screen. Each node in the Render Object tree is a Render Object, which handles the layout, painting, and hit-testing of its associated widget.
The Render Object tree is highly optimized for performance and is tightly coupled with the Flutter engine. It manages how each widget is drawn and how it responds to user interactions.
Example:
Continuing with our example, the Render Object tree might look like this:
RenderView
 └─ RenderObject for MaterialApp
     └─ RenderObject for Scaffold
         ├─ RenderObject for AppBar
         │   └─ RenderObject for Text
         └─ RenderObject for Column
             ├─ RenderObject for Text
             └─ RenderObject for RaisedButton
The Render Object tree is what ultimately gets drawn to the screen. Each render object is responsible for calculating its own size, position, and for painting itself.
Connecting the Trees
How the Trees Interact
The Widget tree, Element tree, and Render Object tree work together to efficiently render the UI. When a widget is built, it creates an element in the Element tree. The element then either updates an existing render object or creates a new one in the Render Object tree.
Here’s how the trees interact:
- The Widget tree defines the UI structure.
- The Element tree maintains the state and links widgets to render objects.
- The Render Object tree handles the actual drawing and layout.
When a widget rebuilds, Flutter updates the Element tree, which in turn updates the Render Object tree, minimizing the number of operations needed to update the UI.
Real-world Use Cases
Understanding Flutter trees is crucial for:
- Debugging: Knowing how the trees work can help you pinpoint where issues occur in the UI.
- Performance Optimization: Efficiently managing widget rebuilds can reduce the workload on the Element and Render Object trees.
- Custom Widgets: When creating custom widgets, understanding the Render Object tree can help you optimize their rendering.
Common Mistakes and Best Practices
- Overusing setState: Rebuilding too much of the Widget tree can cause unnecessary updates in the Element and Render Object trees. Use
setStatewisely. - Avoiding Repaint Boundaries: Not using
RepaintBoundarywidgets in complex layouts can lead to performance issues. - Understanding Keys: Keys are essential in ensuring that Flutter correctly identifies widgets in the Element tree. Misusing keys can lead to unexpected behavior.
Conclusion
Flutter’s architecture, with its three core trees, allows for highly efficient and flexible UI rendering. By understanding how the Widget, Element, and Render Object trees interact, you can write more efficient, bug-free, and optimized Flutter applications.
Further Reading
By mastering the intricacies of Flutter’s tree structure, you’ll be well-equipped to tackle any UI challenge that comes your way. Happy coding!
Thank you for reading this article
If I missed something or made an error, please let me know in the comments. I’m always eager to learn and improve.
Give a clap 👏 if you found this article helpful.


