
GIFT GIVING
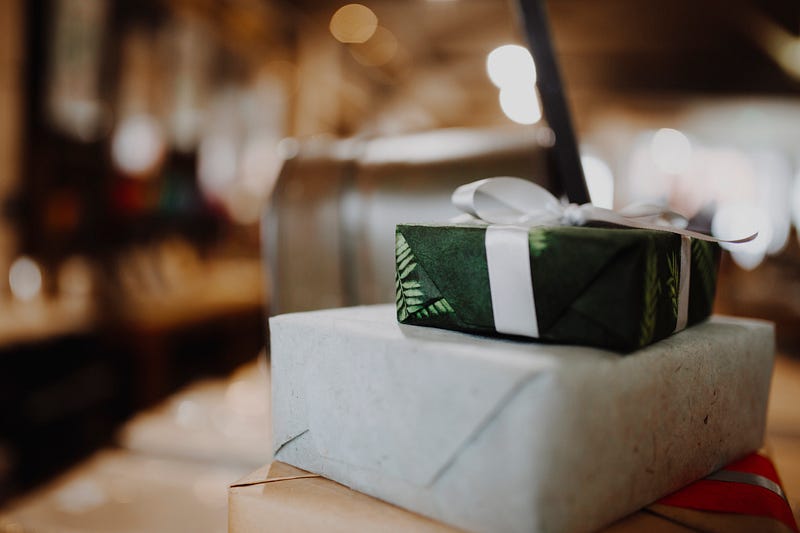
The Key to Wrapping Beautiful Gifts
It’s easy…once you know two things that make the difference
My mom is the queen of gift wrapping. Nearly every present we received in childhood featured original, hand-drawn artwork — shepherds and angels for Christmas, clowns and balloons for birthdays — artfully affixed to plain white tissue wrapping. For years, we tore through her beautiful artwork until we realized how unique and beautiful it was.
For her, the wrapping, an act of love, is part of the gift.
Now we keep her creations. And understand the effort that goes into them.
I did not inherit her drawing ability, but I picked up a few tips that have helped me improve my wrapping game, which I’m happy to share.
Keep it tight
Wrapping gifts is not difficult. Cut some paper slightly larger than the item, gather up the sides, tape, and voila! But to make your gift more appealing, you’ll want to put in a little effort.
First, you’ll want to be sure you start out straight. If you’re wrapping a box, be sure to align the paper horizontally to the edge so that your paper remains straight and tape it in place.
Roll the box forward in paper and watch to be sure that the paper remains straight. If not, go back and re-tape the horizontal edge (you’ll never regret doing this).
Here’s the most important part, so please take note if you remember nothing else: keep the paper tight. Ninety-percent of the time, the difference between a well-wrapped present and a sloppily wrapped one is…tension. To achieve a sleek look for your gifts, pull that paper tight. Almost to the point of tearing it (which I’ve done a time or two). Have your tape ready to secure it once you’ve pulled it taut.
Your gift will look more finished without slack in the paper.
Crease is the word
Now you need to deal with the flaps on the sides. Hopefully, you’ve cut the sides to be approximately half the height of the box…and if you haven’t, now’s the time to trim the side paper so you don’t end up with excess.
You know how to finish the sides: tuck in the edges to create a top “tab” and a bottom “tab,” then tuck one under the other so that the second tab points toward the bottom of the package.
But before you begin tucking, here’s a trick to add finesse to your packages: crease the “tab” folds flat against the hard surface you’re working on. Then, as you did with the main part of the package, pull these tabs tight to eliminate any slack or bubbles.
Once the sides are completed, here’s another pro tip: crease EVERY edge of the package. For a square or rectangular package, that’s 12 edges: around the top, the bottom, and the vertical edges. This draws up any slack and adds a crisp visual border to your work of art.
Add your own frosting
Whether you use stick-on bows, fancy ribbons, twine, dried flowers, or hand-made drawings…that’s up to you. That’s the frosting that reflects your personality and style. That’s beyond my pay grade…I’m just here to give tips for the basic wrapping job.
This year for Christmas, our family decided to suspend individual gifts to each other in favor of helping families in need. My brother teaches homeless and near-homeless kids in a Southwest Detroit high school. Without trying very hard, he identified five families who would benefit from assistance, and we banded together to buy gifts.
The question arose: do we wrap them or let the parents wrap the gifts for their kids? Wrapping paper is a luxury they may not have.
For me, the answer was easy: parents would want to see the gifts in advance to be sure they were appropriate and to have an active role in the “giving.” In the bags of toys and goodies for the family assigned to me, I included two rolls of paper and a roll of tape.
Because the act of wrapping is part of the gift. And, as we all know, no matter how beautiful or plain it looks, the gift itself is perfect if it’s given in love.
© Tina L. Smith, 2020