
The chicken dish I spent a lifetime searching for…
I finally reveal one of my most requested recipes!
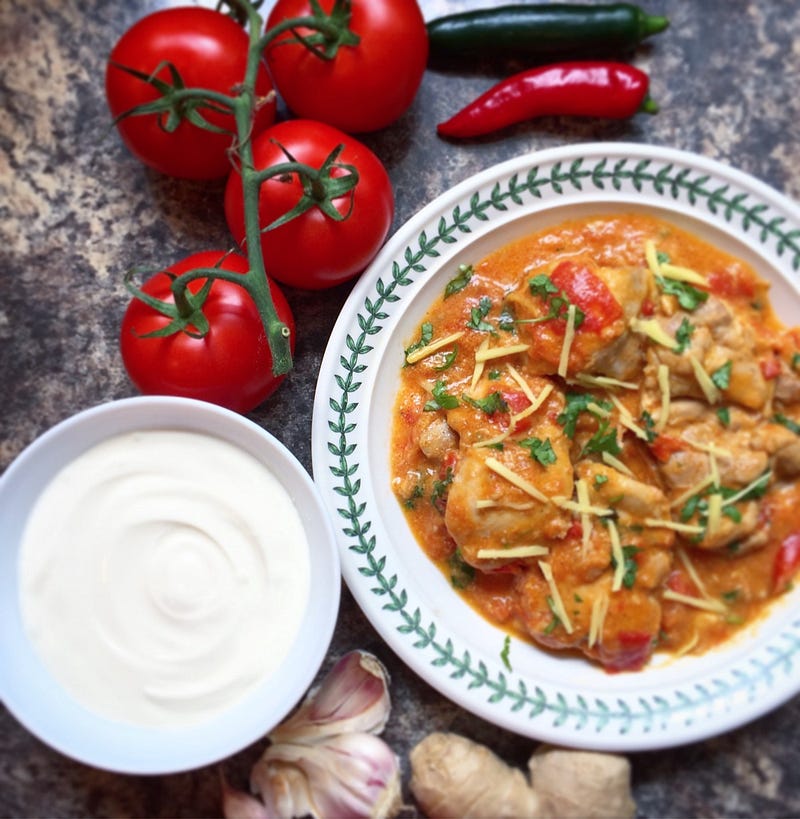
It is not often that one is asked to share a recipe by so many. I feel I have waited too long and disappointed quite a few of my readers but I hope that this article will end the mystery surrounding my beloved dish of Chicken Karahi. It’s a dish that my aunt passed on to me and one that I fell in love with as a child. The story of how I never tasted it again for about twenty years has been recounted in my previous article — please do have a read if you’re interested in the full backstory.
The dish itself
Chicken Karahi (or kadhai as some people spell it), takes its name from the type of dish that it’s cooked in — a ‘karahi’ pot. This is a rounded pot that has a shape not dissimilar to that of a wok. Most karahi pots have two handles instead of one, while the ones that you’ll find in restaurants usually have none!
I don’t have a karahi and one is not necessary for preparing this dish. We are going to make this in a typical stainless steel pot that most people will have at home.
The world of chicken karahi recipes
I have searched for chicken karahi recipes online but never came across one that was quite the same as my aunt’s. Once in a while, I’ll see one that comes very close but there will still be one or two things missing or added.
For example, a lot of recipes add coriander powder and most don’t use cumin powder. It’s hard to find ones that use yoghurt; a few of them use cream. Some add a garnish of julienned ginger; others don’t.
My aunt’s recipe
So here’s her recipe in full. I have shared this with a few friends and various places online but this is the first article where I’ve published it.
Ingredients
- 1kg chicken thighs (skin removed)
- 4–5 tablespoons flavourless oil
- 1 tin chopped tomatoes (400g) or 5–6 fresh tomatoes
- 1 heaped tablespoon ginger paste
- 1 heaped tablespoon of garlic paste
- 2–3 green chillies
- 1/2 cup slightly older yoghurt
- 1/2 tsp salt
- lemon juice (if needed)
Powdered spices:
- 1/2 teaspoon of ground black pepper
- 1/4 teaspoon of chilli powder
- 1 heaped tablespoon of cumin powder
Garnish:
- 1/4 teaspoon chilli flakes
- lots of freshly julienned ginger
- big handful of freshly chopped coriander (cilantro) leaves
Notes on ingredients
- please don’t use olive or extra-virgin olive oil. Olive oil has a strong flavour of its own and can sometimes be slightly acidic. This can affect the flavour of the dish.
- instead of the chopped tomatoes, you can also use 5–6 fresh tomatoes that you’ve chopped yourself
- prick your green chillies with a knife or fork. This allows the flavour of the chilli to infuse into the dish without adding too much heat.
- we need the yoghurt to be extra tangy if possible. This can be easily accomplished by leaving it open in the fridge for a few days. If your yoghurt is fresh, you can use lemon juice at the end of the cooking process to make the dish tangier. Greek yoghurt is fine but I tend to use non-greek these days
- if you want more heat, you can add the chilli flakes. I usually omit them.
- you definitely need lots of freshly julienned ginger! The final dish needs to have a gingery “kick” to it
Instructions
Set a 30-minute timer
Here in the UK, chicken thighs tend to cook pretty quickly so I always make a note of the time when I start cooking this. 30 minutes is usually the amount of time I aim for, but in your case, it may vary.
You need to make sure that none of your chicken remains uncooked or pink when you’ve finished. Adjust your times accordingly.
Let’s start with some prep
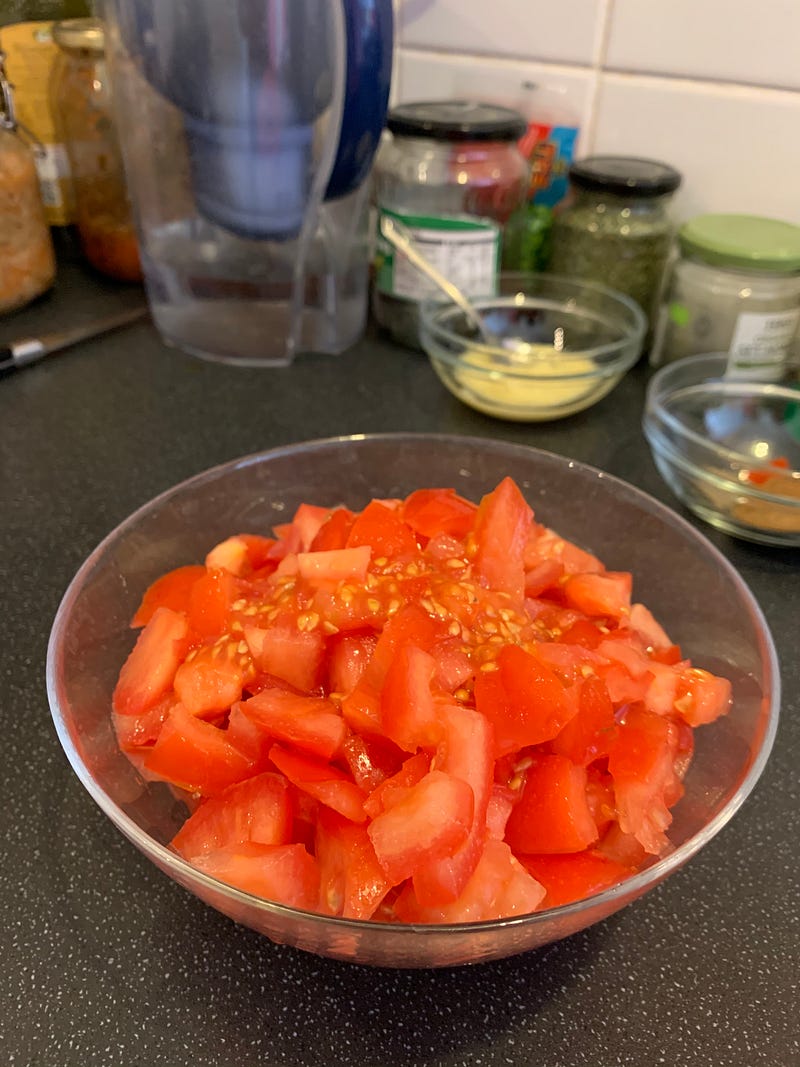
This dish requires a lot of tomatoes. Nowadays I prefer to use a can of good-quality chopped tomatoes. These are canned when fully ripe. Alternatively, you can also chop 5–6 fresh tomatoes and set them aside in a bowl.
Go ahead and prepare your ginger and garlic paste as well.
Frying the chicken
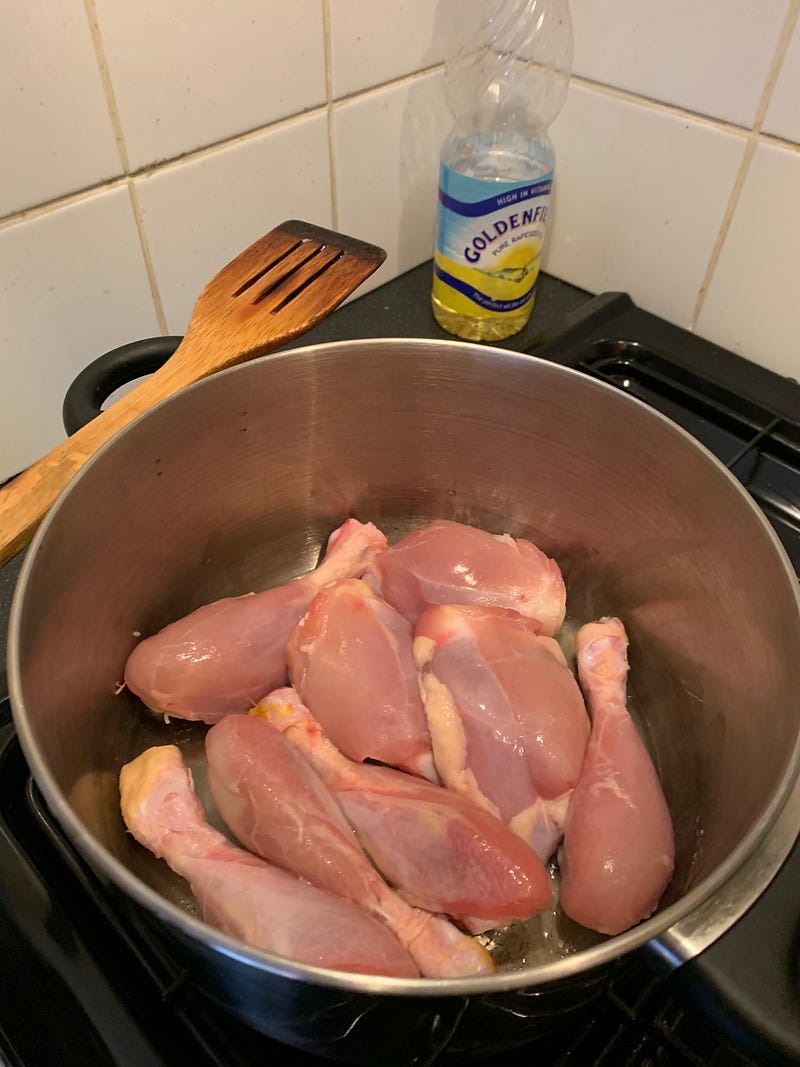
Starting by adding the oil to your pot and turning the heat to medium. Add the chicken and fry until the flesh turns opaque (it should not be pink). You can brown the chicken slightly at this point but there’s no need to go too far with this.
Cooking the garlic and ginger
Add the minced ginger and garlic paste and continue frying for a minute or so until the raw smell of the mixture subsides.
The frying stages — also known as bhunning
I’ll break down the next part of the cooking process into a few stages. After each stage, we must ensure that oil is released on the edges and the bottom of the pan. The word for this is bhun — which means to fry, and this helps to develop a lot of flavour in our sauce. If you skip this, your curry will not taste nice because the flavours won’t have fully developed. I use this technique in a lot of my curry dishes, another example of this is my mum’s famous chicken curry which has slowly become a firm favourite amongst friends.
If you are worried about the amount of oil you will need to do this properly, here’s one tip: Use the amount stated in the recipe. If you find there isn’t enough, add a little bit more oil until you have enough to fry things properly.
Stage 1 — spices:

Mix the powdered spices and salt into a little water and it in. Adding a little bit of water to the spices helps prevent them from burning just in case the temperature is too high. You are of course adding water to hot oil here so please be careful and turn the heat down if necessary.
Cook the spices until the water has evaporated and the oil starts to release.
Stage 2 — tomatoes:
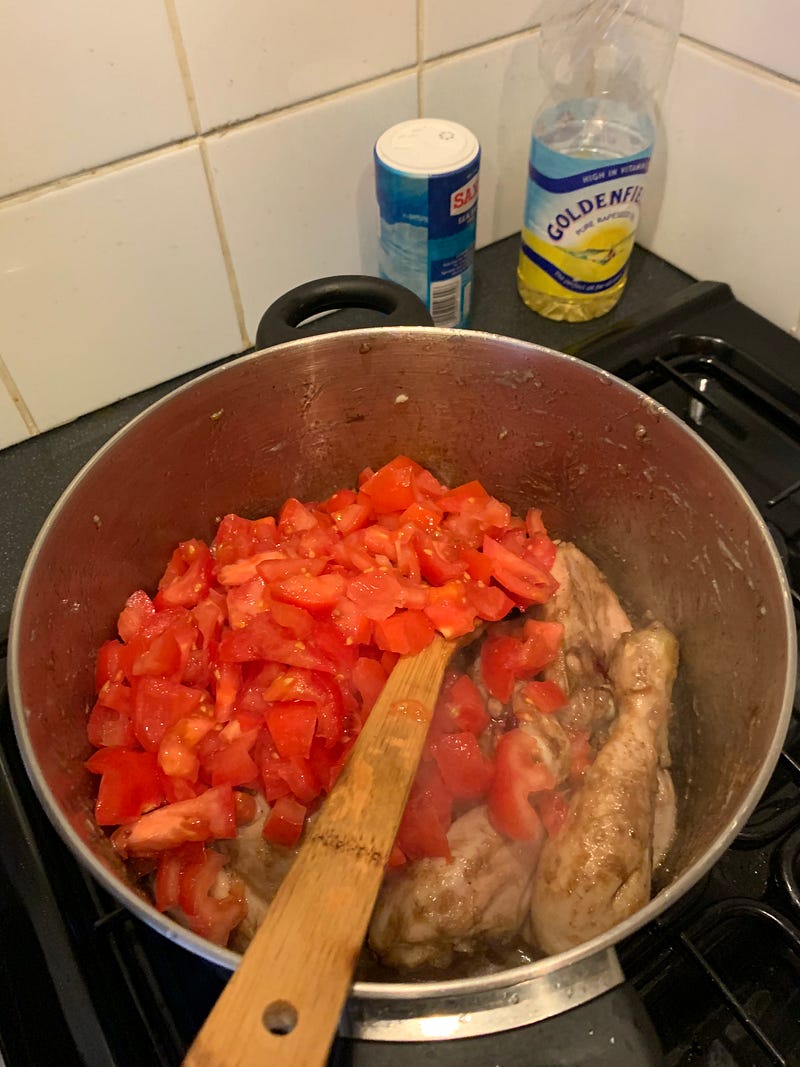
Now add the tomatoes and cook them down until the oil starts to release again.
At this stage, I usually add the pricked green chillies as well.
If you are using fresh tomatoes, they will need more time to cook down until all the water evaporates. This is one reason I prefer to use a can of chopped tomatoes these days. It helps to cut down the cooking time.
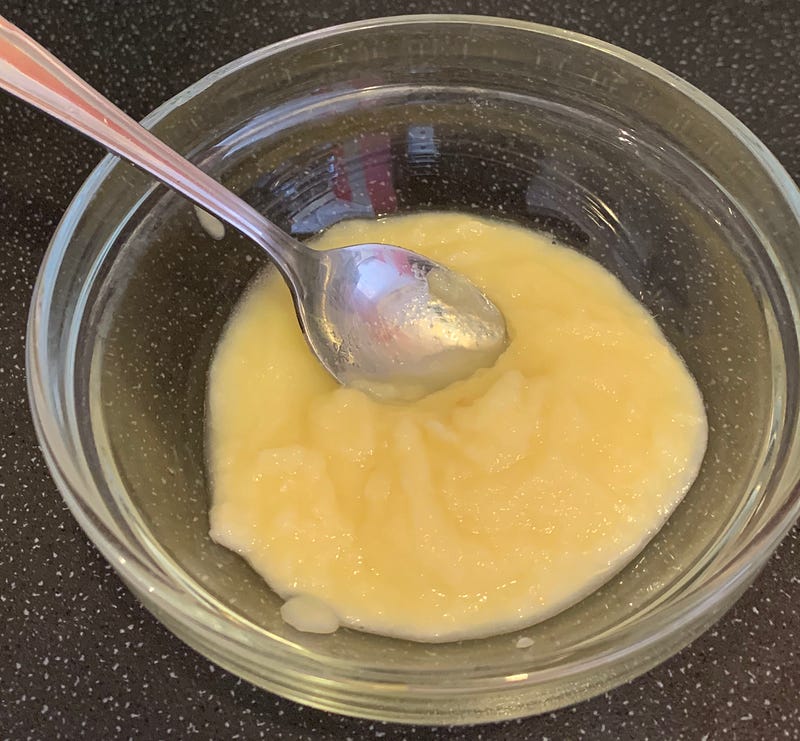
Stage 3 — yoghurt:
The final stage is the yoghurt but we cannot add it in all at once! Yoghurt tends to split or curdle when it hits a hot pan. So there are a few things I do to ensure this doesn’t happen:
- Bring the yoghurt to room temperature by either leaving it out for a while or heating it gently in a microwave
- Whip the yoghurt using a spoon or a fork
- Add it in smaller batches to the pot
I do all 3 of these things for extra insurance but depending on your situation you may only need to do the last two.
As you add the yoghurt, keep stirring and wait until it comes up to temperature. Once it’s all added in, we need to cook it down until the oil gets released for the last time.
The final stages — seasoning and garnishing
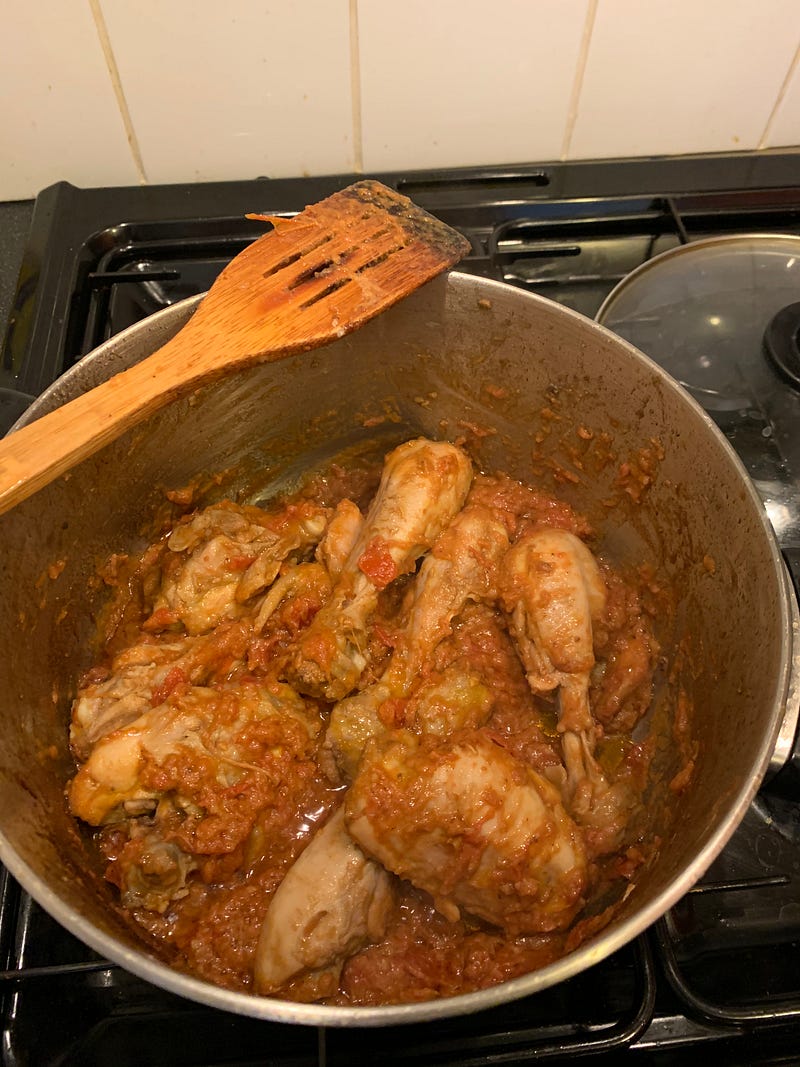
Our karahi is almost ready! We just need to pay close attention to a final few details before we can declare it as “Done”.
Adjusting the tanginess
One of the most important flavour profiles of this curry is the distinct “tang” that you taste as soon as you take a bite. I usually achieve this by using slightly “old” yoghurt which develops its tanginess naturally.
If your yoghurt is fresh, one way to add tanginess is by using lemon juice. Add it in small quantities until your karahi develops that slight “edge” of a tang. The idea is not to make it overly tangy; it needs to be there, but not too prominently.
Adding the appropriate amount of ginger
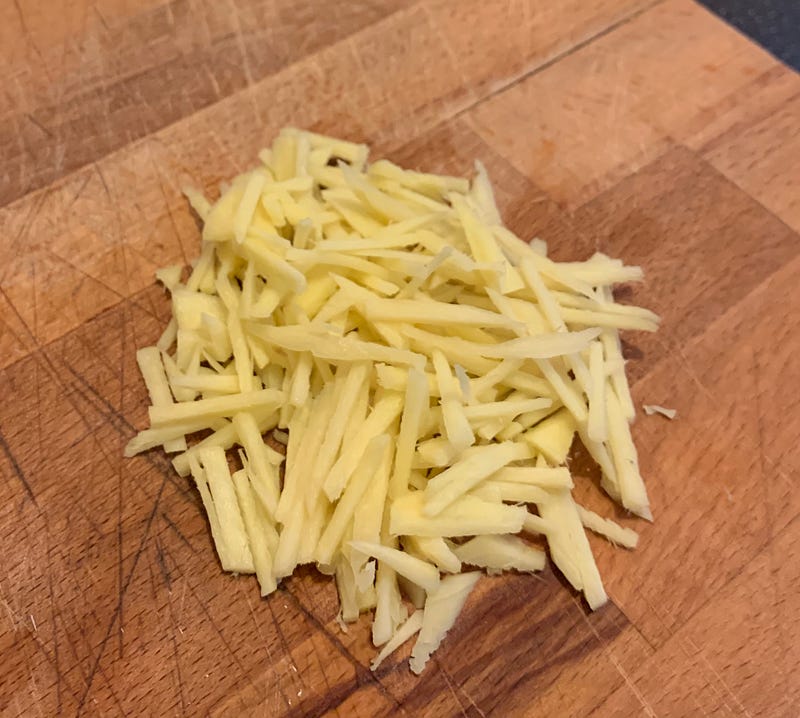
We need to add a good amount of gingery heat and kick to elevate this to the next level. Please don’t skip this, otherwise, your karahi will not taste as good as it could. Hold back on the ginger if you like, but please don’t skip it.
Garnishing

Finally, we can end with a generous garnish of coriander or cilantro as some people know it. Again, some people may want to skip this but the taste of the coriander as well as the dish changes slightly after you’ve added it so I highly recommend it.
And there we are! It’s taken me a while to find the time to give this recipe the attention to detail it deserves. Lots of people have been asking for it, so I hope you try it and enjoy it as much as I do. Let me know how it goes!
Khusro Jaleel is a technology professional based in the U.K. who loves cooking and somehow accidentally ends up hosting too many dinner parties! He doesn’t consider himself a foodie because he rarely eats out. He is a huge advocate of home-cooked meals, made with love, presence, and attention.