
Telemetry Analysis for F1 Enthusiasts | Chapter I: Introduction
Chapter I: Introduction
- Requirements: we’ll describe the easiest way to use FastF1, a powerful python library designed for working with Formula 1 telemetry data.
- Overview of the FastF1 library: In this section, we’ll introduce the FastF1 library and explain what it is, why it’s useful, and how it works.
- Installation and setup: Here, we’ll cover the steps required to install the FastF1 library and get it up and running on your local machine.
- Overview of F1 telemetry data: We’ll explain what F1 telemetry data is, why it’s valuable, and how it’s collected and processed.
Requirements
The easiest way to work with FastF1 python library is using Google Colab.
Google Colab is a cloud-based platform that allows users to write and run Python code directly from their web browser. Colab is built on top of Jupyter notebooks and provides users with free access to high-performance computing resources, including GPUs and TPUs, which can be used to train machine learning models and run data analysis workflows.
One of the key benefits of Colab is that it allows users to collaborate on notebooks in real-time, making it a powerful tool for data science teams working together on projects. Colab also includes a variety of pre-installed libraries and tools commonly used in data science, such as NumPy, Pandas, Matplotlib, and Scikit-Learn.
Colab is especially popular among researchers and students, as it provides a free and easy-to-use platform for running experiments and sharing results. With its powerful computing resources and collaborative features, Colab is a valuable tool for anyone working with Python and data science.
Overview
FastF1 is a powerful Python library designed for working with Formula 1 telemetry data. With its easy-to-use interface and high-quality telemetry data, FastF1 is an invaluable tool for engineers, data analysts, and racing enthusiasts alike. This library allows users to access and analyze telemetry data from F1 cars, providing a detailed view of each car’s performance on the track. In this article, we’ll explore the key features of FastF1 and how it can be used to analyze and understand the performance of F1 cars and drivers. Whether you’re a seasoned F1 expert or just starting out, FastF1 is a must-have tool for anyone looking to gain deeper insights into the world of Formula 1 racing.
Telemetry data is a crucial aspect of Formula One (F1) racing, providing teams with detailed information on the performance of their cars and drivers. F1 telemetry data is collected from a variety of sensors on the car, including sensors for speed, acceleration, braking, tire temperature and pressure, and engine performance, among others.
Telemetry data is typically collected at a rate of hundreds of times per second, providing teams with a detailed view of the car’s performance throughout a race. This data is transmitted to the team’s garage in real-time, allowing them to make adjustments to the car and develop strategies during the race.
Telemetry data is also used extensively for post-race analysis, providing teams with a wealth of information on their car’s performance and the performance of their drivers. This data is often analyzed using specialized software, such as the FastF1 library, which can process and visualize large amounts of telemetry data quickly and efficiently.
One of the most important uses of telemetry data in F1 racing is for driver performance analysis. Telemetry data provides detailed information on a driver’s lap times, speed, acceleration, and braking performance, allowing teams to identify areas where a driver can improve their performance and develop strategies for future races.
Telemetry data is also used for car development and testing, allowing teams to evaluate new components and configurations in a controlled environment before implementing them in a race.
Overall, telemetry data is a vital component of F1 racing, providing teams with a detailed view of their car’s performance and the performance of their drivers. The analysis of telemetry data has become increasingly sophisticated in recent years, with tools like the FastF1 library enabling teams and analysts to quickly and efficiently process and visualize large amounts of data.
Installation and setup:
The FastF1 library is available on PyPI and can be installed using pip, the Python package manager. To install FastF1, follow these steps:
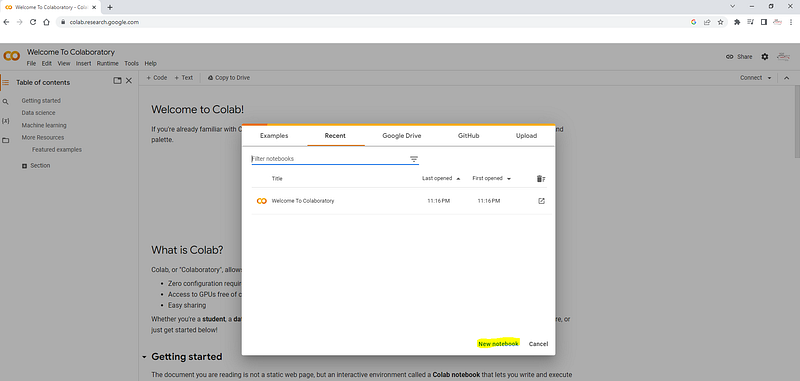
- Create a in a new notebook of Google Colab.
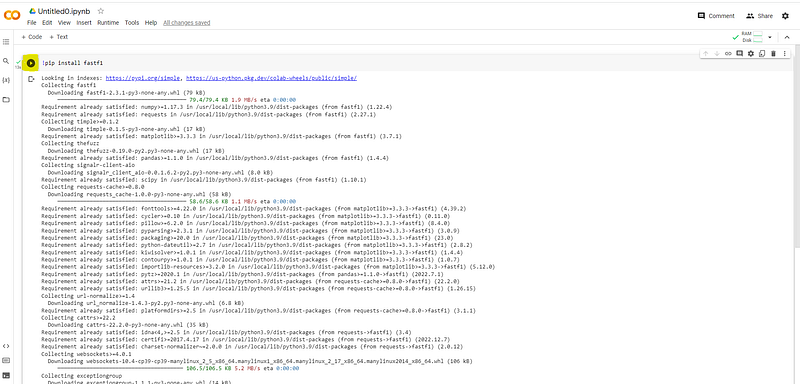
2. Introduce the following command in the first line of the notebook and click in the Run cell icon or press Ctrl + F9, in order to execute the python command.
!pip install fastf1
3. We need to add a new code line clicking in the following icon (+ Code):

4. In the new line write the following command (lowercase letters), to enable all the functions available in FastF1 library to use them, and click in the run cell icon or press Ctrl + F9, to execute the command.
import fastf1 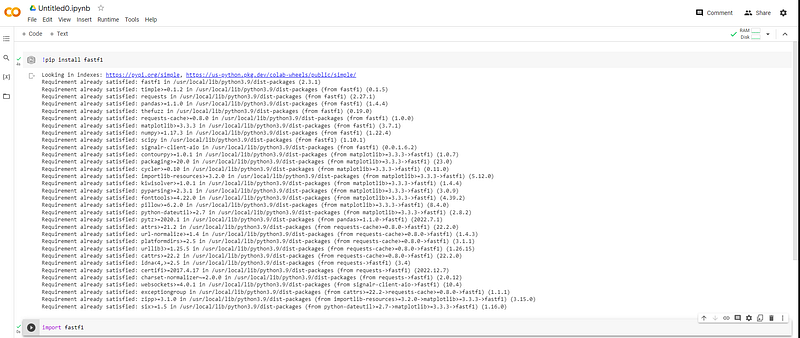
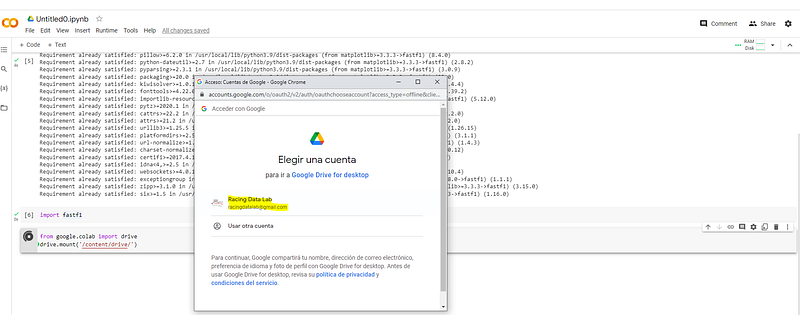
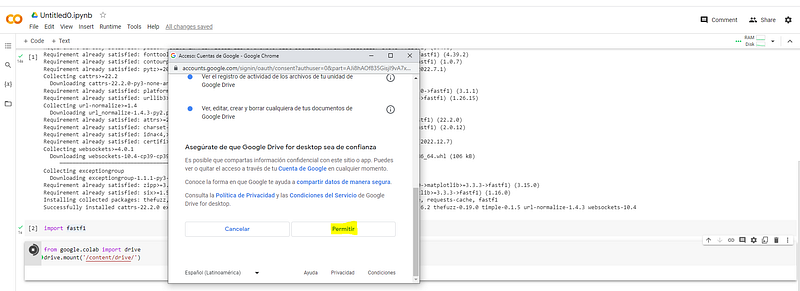
5. The FastF1library requires a temporal directory called “Cache” to download the telemetry data, so we need to provide access to our Google Colab notebook to our Google Drive. To do that we need to add a new code line in our Google Colab notebook, introduce the following command and execute it (Ctrl+F9 or run cell icon). Important: when we execute the command Google Drive ask for permission to allow access to the Google Colab notebook we need to confirm it the access.
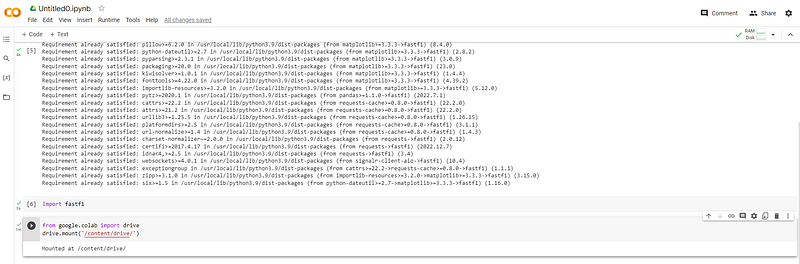
from google.colab import drive
drive.mount('/content/drive/')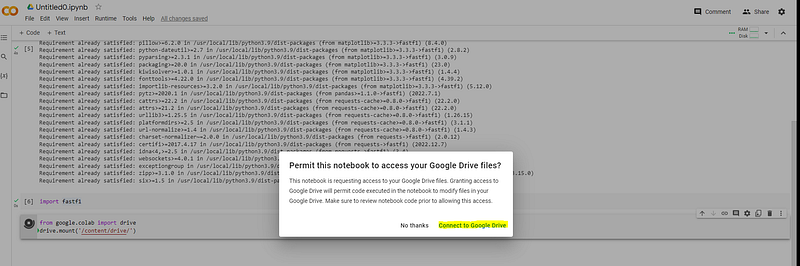
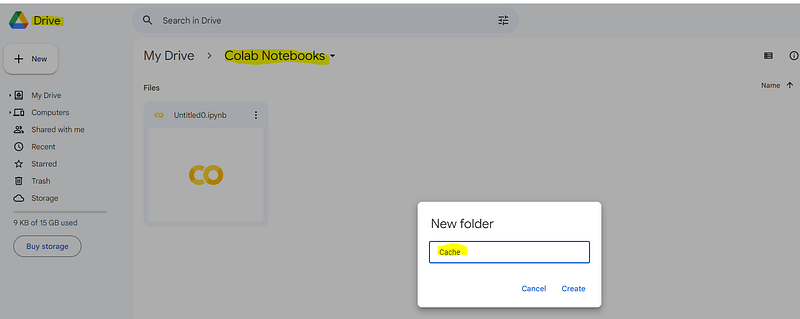
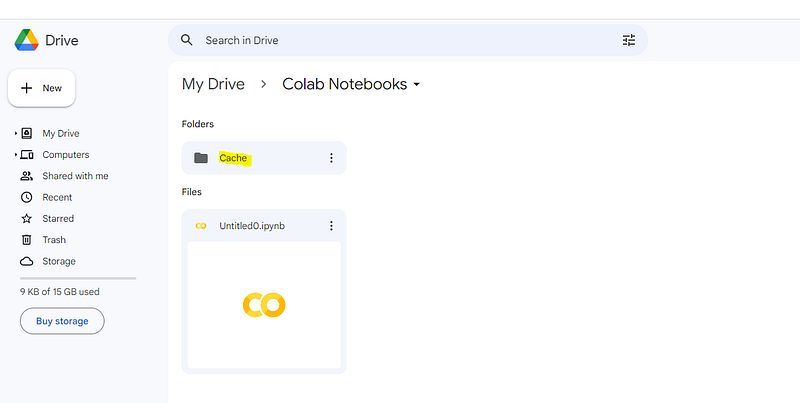
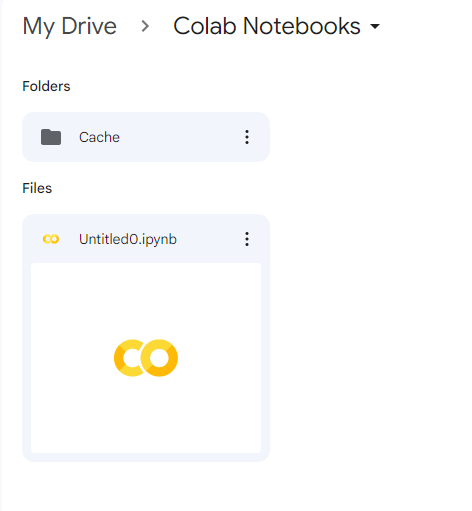
6. Now we need to create a folder in Google Drive called Cache, this folder must be created inside Colab Folder as is shown in the following picture.
7. We return to our Google Colab notebook, create a new code line (+Code icon), introduce the following command to access to the “Cache” folder created in the previous step, and execute the command (Ctrl+F9 or run cell icon).
%cd '/content/drive/MyDrive/Colab Notebooks/'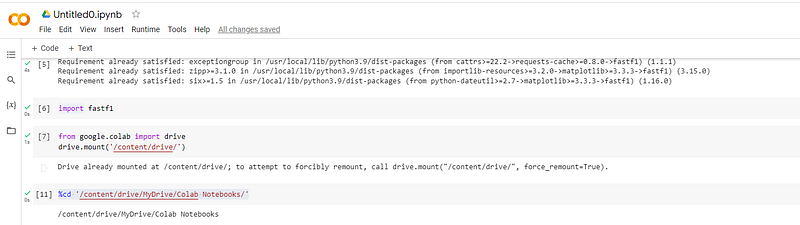
8. Create a new code line (+Code icon), introduce the following command to enable the cache by providing the name of the “Cache” folder, and execute the command (Ctrl+F9 or run cell icon).
fastf1.Cache.enable_cache('Cache')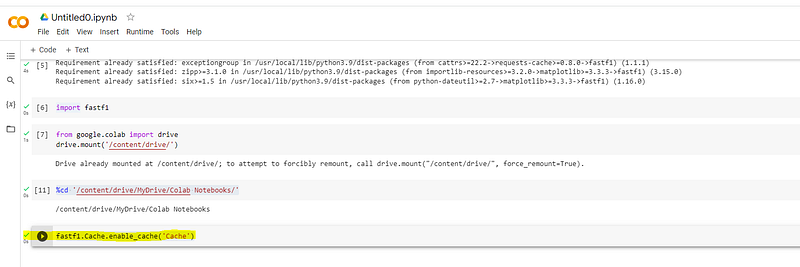
Overview of F1 telemetry data
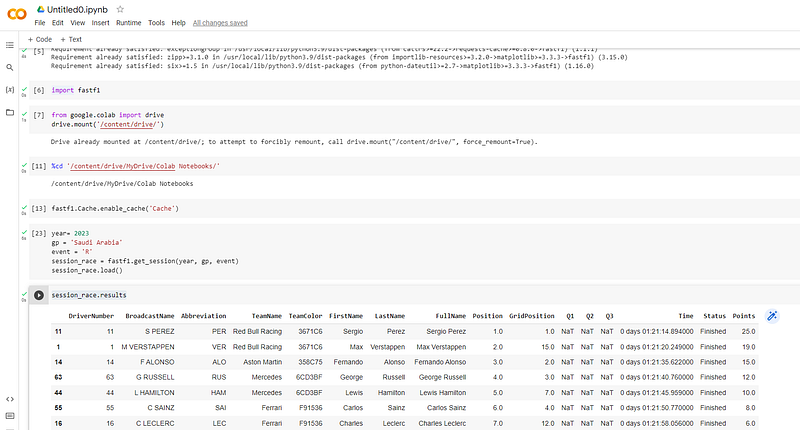
9. Now we’ll introduce the following commands to have access to the race result (event = ‘R’ ),of the “Saudi Arabia” Grand prix of “2023”. as we have done in the previous steps, you need to create a new code line (+Code icon) and execute the command (Ctrl+F9 or run cell icon).
year= 2023
gp = 'Saudi Arabia'
event = 'R'
session_race = fastf1.get_session(year, gp, event)
session_race.load()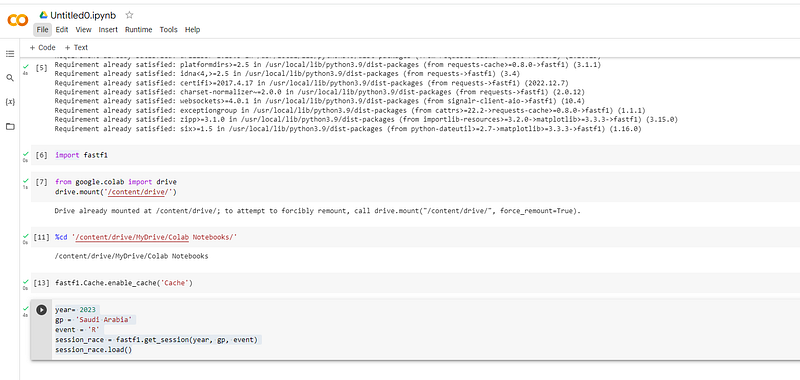
If you want to get the data from the Qualifying, Practice 1, Practice 2 or Practice 3, you must change the value of the variable event as follows:
event = ‘Q’
event = ‘Practice 1’
event = ‘Practice 2’
event = ‘Practice 3’
10. The final step of this chapter is to display de information that we obtain with the previous command. To do that you need to create a new code line (+Code icon), introduce the following command to display the results, and execute the command (Ctrl+F9 or run cell icon).
session_race.results
Also if you want the data of other Formula 1 grand prix, you need to change the name in the variable gp and if you want to review the results of other year, you must change the value in te variable year, for example: Singapore 2022, Race event. You can try, adding a new code line, introduce the following command and execute.
year= 2022
gp = 'Singapore'
event = 'R'
session_race = fastf1.get_session(year, gp, event)
session_race.load()
session_race.results
Final recomendations
- If the legend “Incomplete data” appears you must execute again the commands (Ctrl + F9).
- If you want to rename the Google Colab notebook file, please give a double click in the name of the file.

- Google Colab save automatically the notebooks inside Google Drive in the following path: My Drive/Colab Notebooks.
The notebook is available in the following Github link:
For more information, please visit RacingDataLab Website:
Follow me in my Social Networks:


