
Take Control of Your Midjourney Image Creations
How you can use customizable parameters to achieve the results you want.
If you’re new to Midjourney AI, it’s natural to feel overwhelmed by the various parameters and values used in prompts. Midjourney offers a plethora of options for changing, varying, altering, and creating images from just one prompt. You can generate countless different AI images by experimenting with different parameter combinations, image sizes, and variations. While this may seem daunting at first, I’m here to guide you through the process and help you understand how each tool and feature can impact the final result of your AI-generated image.
Let’s break this down one step at a time and help you create the best AI image art possible!
Beginning with how these parameters will look. If you are using Midjourney through discord they will look something like this: — ar 2:3 — stylize 115, or — ar 2:3 — chaos 15 — stylize 115.
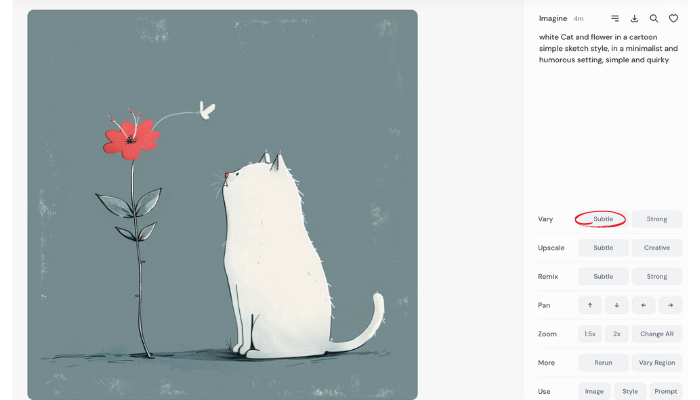
If you’re on the alpha Midjourney page available to those who have generated 1000 images, your options will look like the image below:

So, what exactly do these different parameters do to change an image? Should you be using them for your images? It really depends a lot on your concept and what you’re trying to create with your prompt. For a brief overview that you may find helpful to grasp some of the basics involving these additional tools, I recommend reading Midjourney’s guide: https://docs.midjourney.com/docs/variations.
There are sections on specifically how variations work and also stylizations, and chaos. Here’s a quick shorthand explanation from their website:
— chaos controls how diverse the initial grid images are from each other. — stylize controls how strongly Midjourney’s default aesthetic is applied. — weird controls how unusual an image is compared to previous Midjourney images.
For this post we’re going to focus on image variation options and stylization. What do these mean to you and how it will impact your AI text to image prompt?
Variation
Let’s take a look at some examples to help get a better understanding of when and how to use the variation tool in Midjourney.
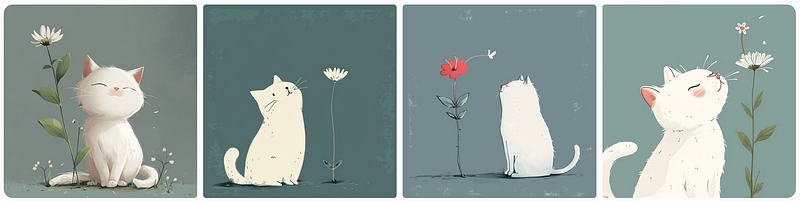
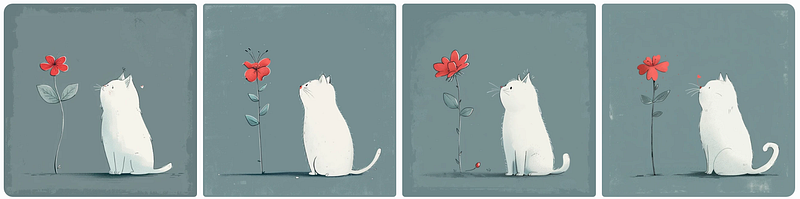
I’m going to start with this simple prompt that is set to the default settings of chaos 0, stylize 100, weird 0: white Cat and flower in a cartoon simple sketch style, in a minimalist and humorous setting, simple and quirky
Here are the images produced from that prompt with those settings:
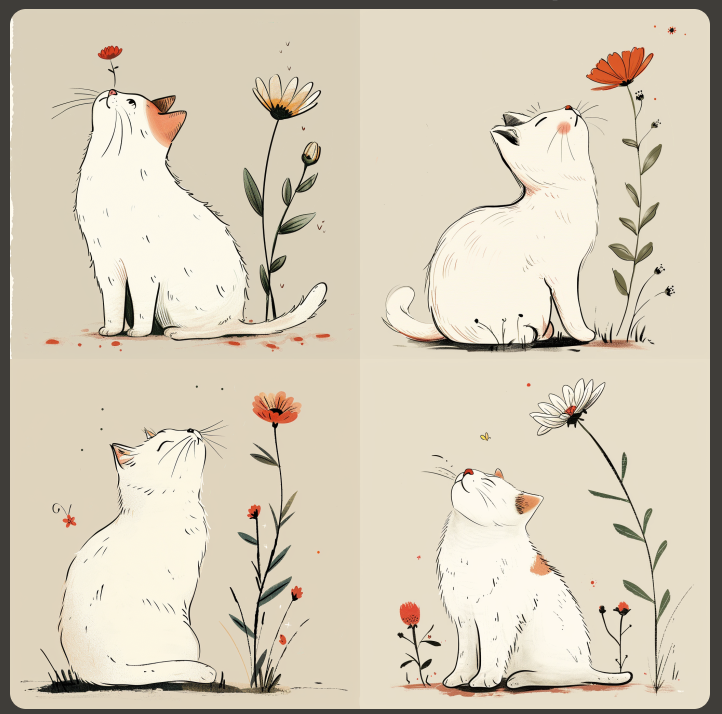
After reviewing the results, I like the third image from the right. However, I would like to see some variations of this image that are subtly different. To do so, I will select the image and then click on the “subtle” button:
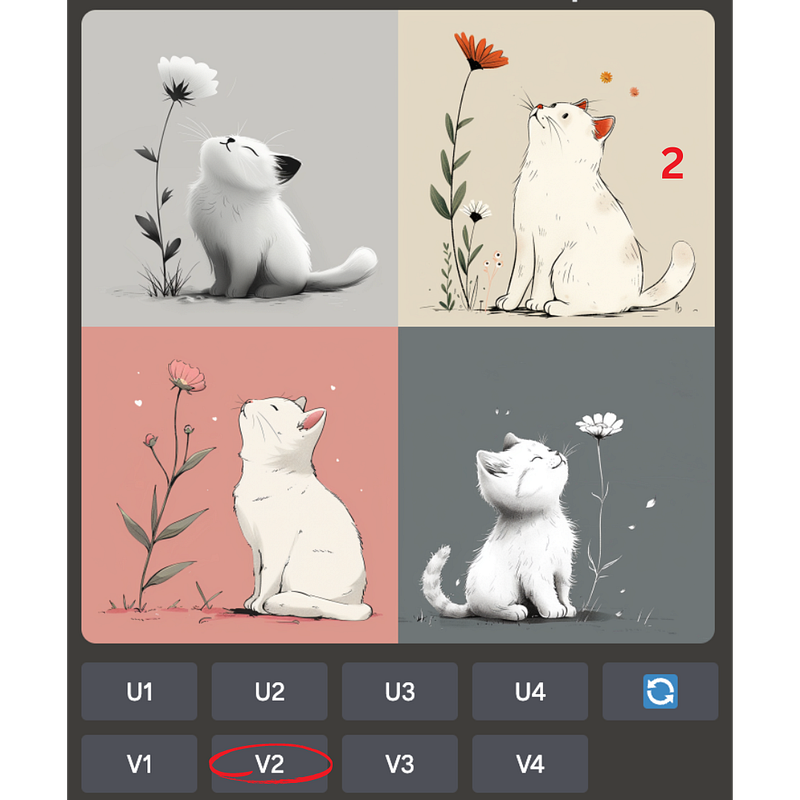
If you’re using discord you would select the V (vary) button for the corresponding image that you want to vary.
To add slight variations to the image, simply repeat the process for the same image. You can also choose to make stronger variations on the Alpha website by picking the “strong” option. If you’re working in discord then choose vary again and you can edit the prompt to change it however you would like as well.
Varying an image that you like is a great tool if you liked the results from your prompt and just want to see some changes or different variations of that image. I mostly use it when I like the original image, but want to see some additional choices.
Stylization:
Midjourney default sets this parameter to 100 on alpha, and on the low stylization setting in discord to 50, you can adjust it however you want in your discord prompt with the following format just add a number after stylize between 0 and 100 for example: — stylize 275
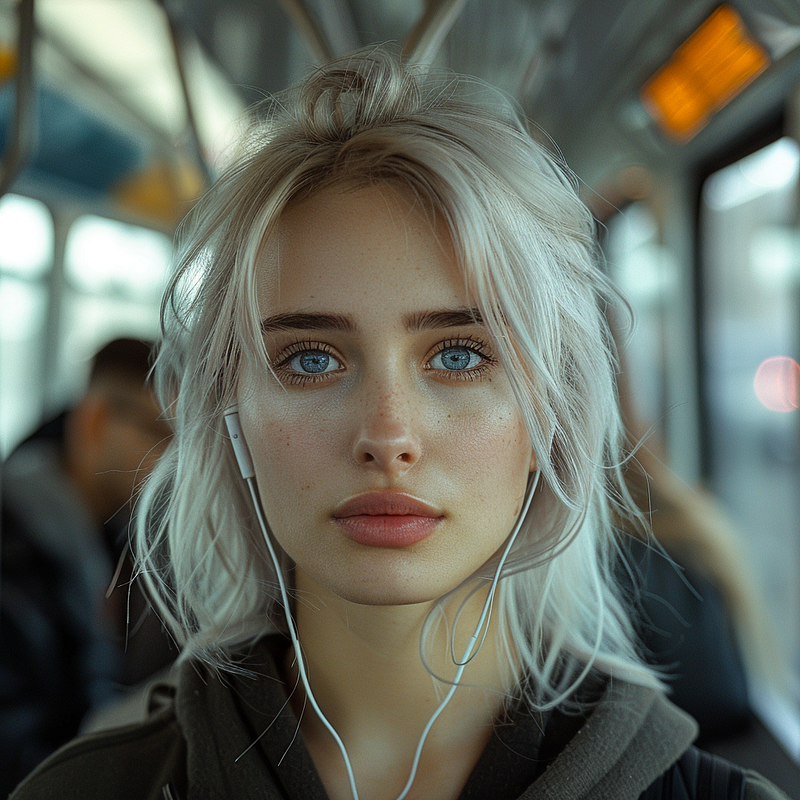
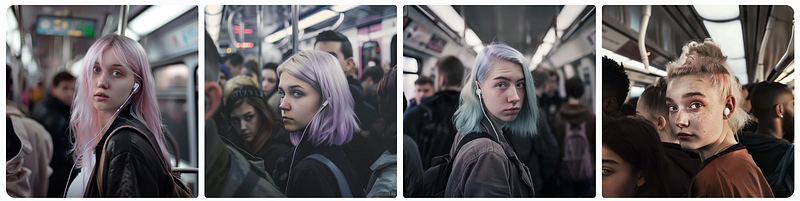
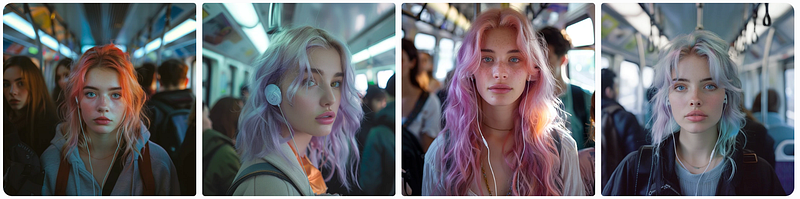
Let’s start with a prompt again: photo of an attractive woman standing in the crowd on a train, with pale skin and pastel hair color, looking at the camera, wearing Wireless Bluetooth earphones, shot in the style of canon eos
Here’s the generated AI images for this prompt with all of our parameters at 0, chaos 0, stylize 0, weird 0. We end up with a pretty bland and flat looking set of images. So, I recommend always leaving stylize at 50–100 to start.
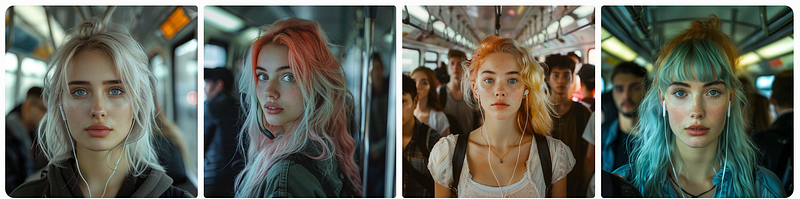
Here are the AI text to images created with stylize 100:
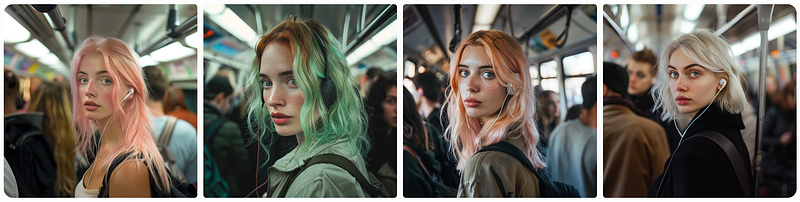
The AI images are more vibrate and natural looking, so this is a great setting for most AI art prompt you want to try out.
Here’s the result with stylize 200:
And one more with stylize 300:
I like the results from stylize 200 and 300 the best out of these AI generated images. This one is my favorite:
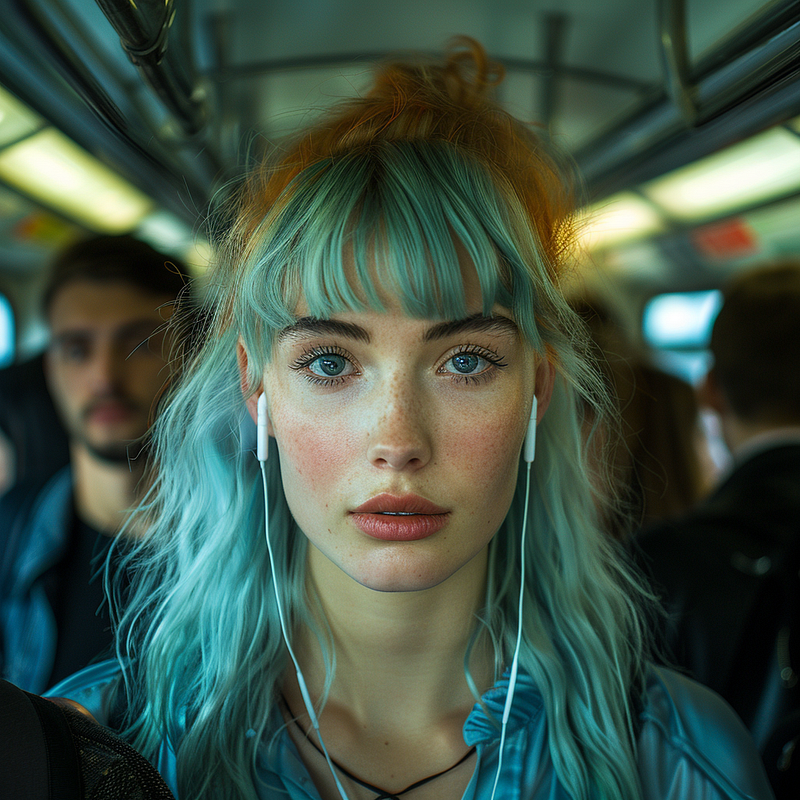
There are definitely some subtle differences between all four of these, and you can of course continue to experiment to see more unique results for your prompt.
As you explore the different variations options, from delicate and nuanced to bold, you’ll discover the remarkable impact they have on transforming a single prompt into an array of unique results. And with each stylization change you can infuse more vivid details and splashes of color into your visual creations, creating many new and vibrant images. I trust this guide has equipped you with a deeper understanding of how to effectively utilize these Midjourney AI image generator tools in your creative endeavors.
You might also like these articles: