SwiftUI Accessibility Size

Certainly! iOS accessibility features are designed to make Apple devices more inclusive and user-friendly for individuals with various needs and preferences. And sometimes our app designs need to manipulate the layout to make our app more friendly, such as changing from landscape view to portrait view when the user selects a very large font size.
In this story, we’ll take a look at how to manage accessibility scale in SwiftUI and create components that are easier to implement in your application. Let’s begin 😄
What is accessibility scale
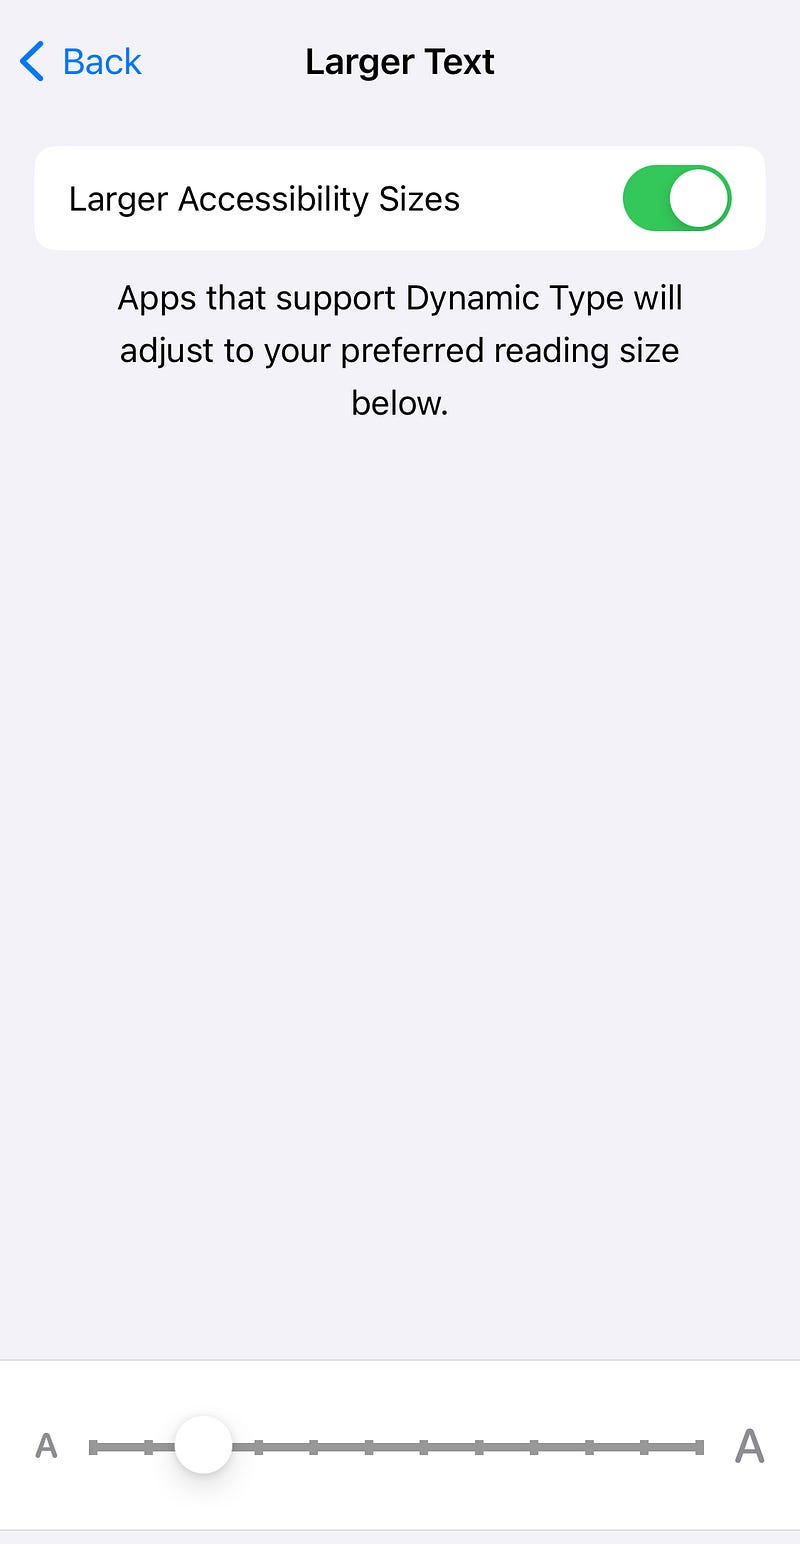
In iOS, Apple provides a “Display and Text Size” setting to users, which allows them to adjust the font size of apps on their devices. To make it more convenient when using the app.
For now we have 12 scales, 7 normals size (XS-XXXL) and 5 accessibility scale (ACMedium-ACXXXL)
Accessibility Scale in SwiftUI
In swiftUI, we have a dynamicTypeSize environment object which will represent an accessibility scale in DynamicTypeSize. Which we can just check this object and use it in our view.
@Environment(\.dynamicTypeSize) var dynamicTypeSize: DynamicTypeSizeFirstly, let have some example how to use it. Let first create our example View. This view will simple have icon, title and detail.
struct ContentView: View {
    var body: some View {
        HStack {
            iconView
            VStack(alignment: .leading) {
                titleView
                detailView
            }
        }.padding()
    }

    private var iconView: some View {
        Image(systemName: "globe")
            .imageScale(.large)
            .foregroundStyle(.tint)
    }

    private var titleView: some View {
        Text("Example").bold()
    }

    private var detailView: some View {
        Text("Hello, this is example of swiftUI Accessibility")
    }
}
In your Xcode Canvas, select Dynamic Type Variants. It will preview your view at all possible sizes.

What we will do next is change the icon position in the accessibility scale. We will display the icon and title on the same line and have the details displayed full width. Then use DynamicTypeSize to check this value and change the layout in the Accessibility category. Start by reading the values.
@Environment(\.dynamicTypeSize) var dynamicTypeSize: DynamicTypeSizeThen check the condition and change the layout.
if dynamicTypeSize.isAccessibilitySize {
    VStack(alignment: .leading) {
        HStack {
            iconView
            titleView
        }
        detailView
    }.padding()
} else {
    HStack {
        iconView
        VStack(alignment: .leading) {
            titleView
            detailView
        }
    }.padding()
}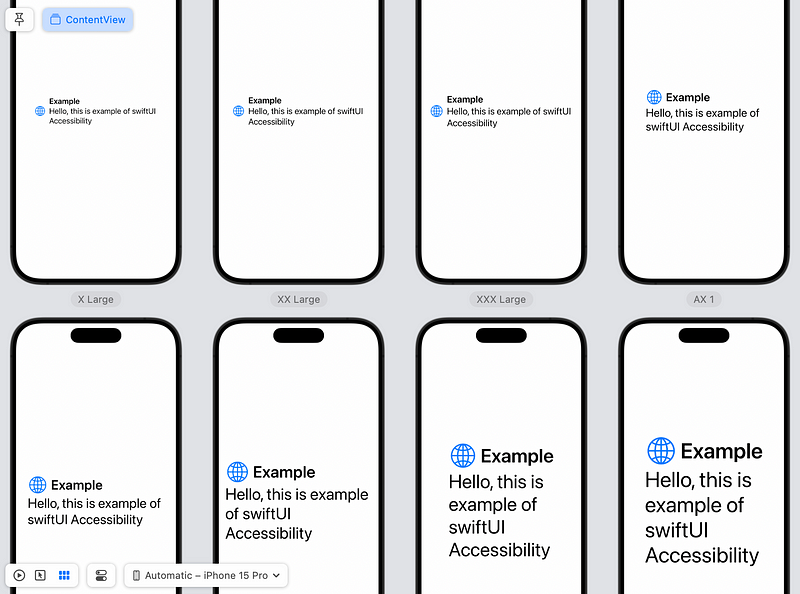
Finally, our view begins to change layout when sized to accessibility dimensions. Also known as AX 1–5. Easy, right?!
Make it a component
Now the final path or this story, make it a component which after this you can easily implement this without adding DynamicTypeSize in every View.
Let’s start by creating a new SwiftUI view named AccessibilityView. Then let this view accept two contents, one as normal content and the other as accessible content.
struct AccessibilityView<NormalContent:View, AccessibilityContent: View>: View {
    private let normalContent: () -> NormalContent
    private let accessibilityContent: () -> AccessibilityContent

    init(normalContent: @escaping () -> NormalContent, accessibilityContent: @escaping () -> AccessibilityContent) {
        self.normalContent = normalContent
        self.accessibilityContent = accessibilityContent
    }

    var body: some View {
        normalContent()
    }
}
Then add the Dynamic Type Size parameter and display the content according to its value.
struct AccessibilityView<NormalContent:View, AccessibilityContent: View>: View {
    private let normalContent: () -> NormalContent
    private let accessibilityContent: () -> AccessibilityContent

    @Environment(\.dynamicTypeSize) var dynamicTypeSize: DynamicTypeSize

    init(normalContent: @escaping () -> NormalContent, accessibilityContent: @escaping () -> AccessibilityContent) {
        self.normalContent = normalContent
        self.accessibilityContent = accessibilityContent
    }

    var body: some View {
        if dynamicTypeSize.isAccessibilitySize {
            accessibilityContent()
        } else {
            normalContent()
        }
    }
}
Finally, test it!! Try replace this component in our sample view.
var body: some View {
    AccessibilityView {
        HStack {
            iconView
            VStack(alignment: .leading) {
                titleView
                detailView
            }
        }.padding()
    } accessibilityContent: {
        VStack(alignment: .leading) {
            HStack {
                iconView
                titleView
            }
            detailView
        }.padding()
    }
}
End of this story
In summary, I think this story will help you to more easily manage view layouts with accessibility sizes. However, I’m just checking for isAccessibility from DynamicTypeSize. You can explore it for more flexibility in your views, such as dynamic layouts for very small sizes.
Thanks for reading and I hope you guys enjoy this story. We will continue our journey with SwiftUI in the next story. Leave a comment and tell me what stories you would like to read. 😃


