
Streamlit Tricks — Application Reruns on Every Widget Click? Here's What-To-Do
If you have been using Streamlit to build your data science or machine learning web application, probably you are already aware, that whenever any interactive change is invoked through applications’s widgets, Streamlit web application reruns from the very top to the bottom of your python script.
Not a medium member? Use the friend link and read this article for free!

In this article, I’ll try to highlight those possible workarounds with code snippets and use cases, that certainly will help to overcome this intrinsic behaviour of Streamlit web application.
👨🏾💻 GitHub ⭐️| 🐦 Twitter | 📹 YouTube | ☕️ BuyMeaCoffee | Ko-fi💜
Default behaviour of any Streamlit Web App (The Linear flow)
Let's write a very simple Streamlit application, plotting your fruits lists 🍌 🍎 🥭 and demonstrate a default, linear flow ⏬ behaviour, of any Streamlit Web Application.
# ---- Modules -------
import streamlit as st
import pandas as pd
import plotly.express as pxst.header("Fruits List")# ---- Creating Dictionary ----
_dic = { 'Name': ['Mango', 'Apple', 'Banana'],
'Quantity': [45, 38, 90]}load = st.button('Load Data')if load:
_df = pd.DataFrame(_dic)
st.write(_df)
# ---- Plot types -------
opt = st.radio('Plot type :',['Bar', 'Pie']) if opt == 'Bar':
fig = px.bar(_df, x= 'Name',
y = 'Quantity',title ='Bar Chart')
st.plotly_chart(fig)
else:
fig = px.pie(_df,names = 'Name',
values = 'Quantity',title ='Pie Chart')
st.plotly_chart(fig)
If we observe the behaviour in the above web application, as soon as one of the radio button was triggered i.e.,here, "Pie" radio button, we don't see our expected result i.e. our Pie plots. This is because the"Load Data" button is in an inactive state as the script reruns 🔄 due to the radio button trigger.
How can this be fixed and what are the possible workarounds?
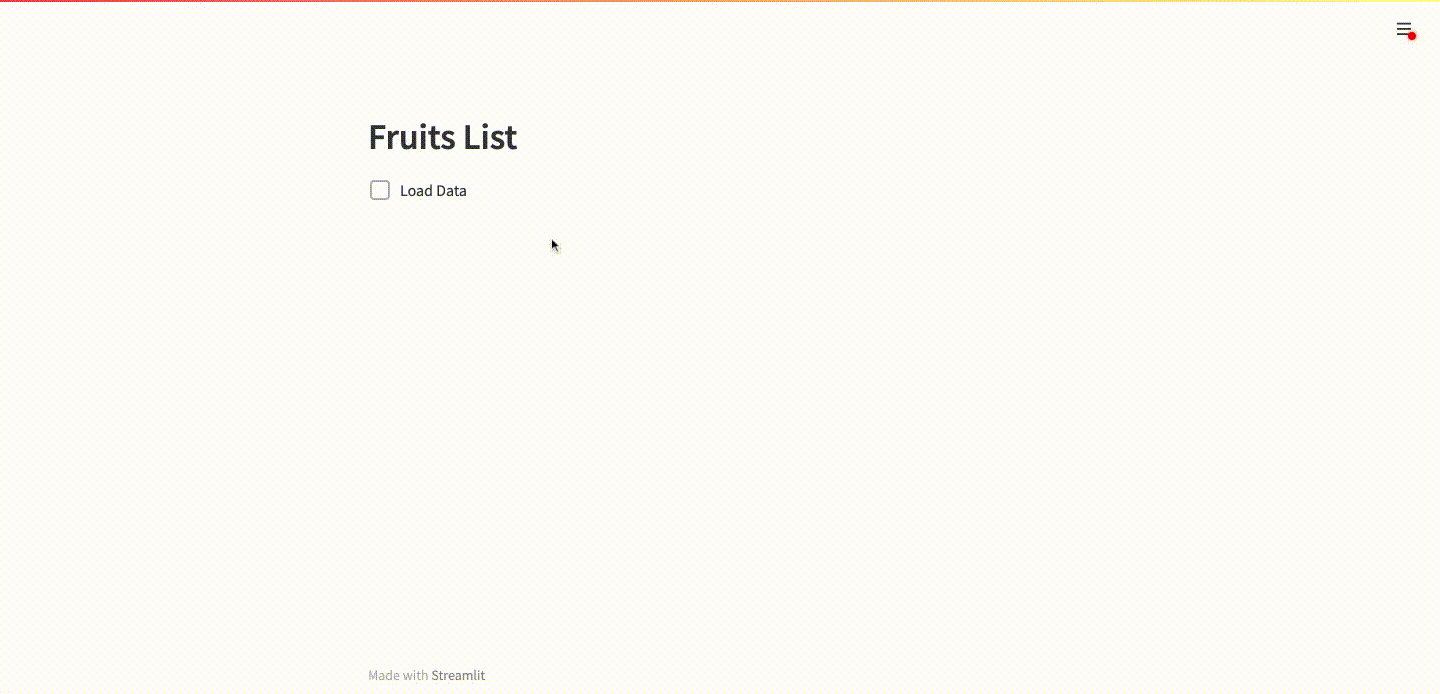
Usage of Streamlit checkbox widget ☑️
An easy quick fix (not ideal from the user interface perspective!) would be, to swap your "Load Data" button widget to a checkbox widget using st.checkbox syntax. This enables an activate state of the subsequent script for the application. What does this mean ? Let me demonstrate that.

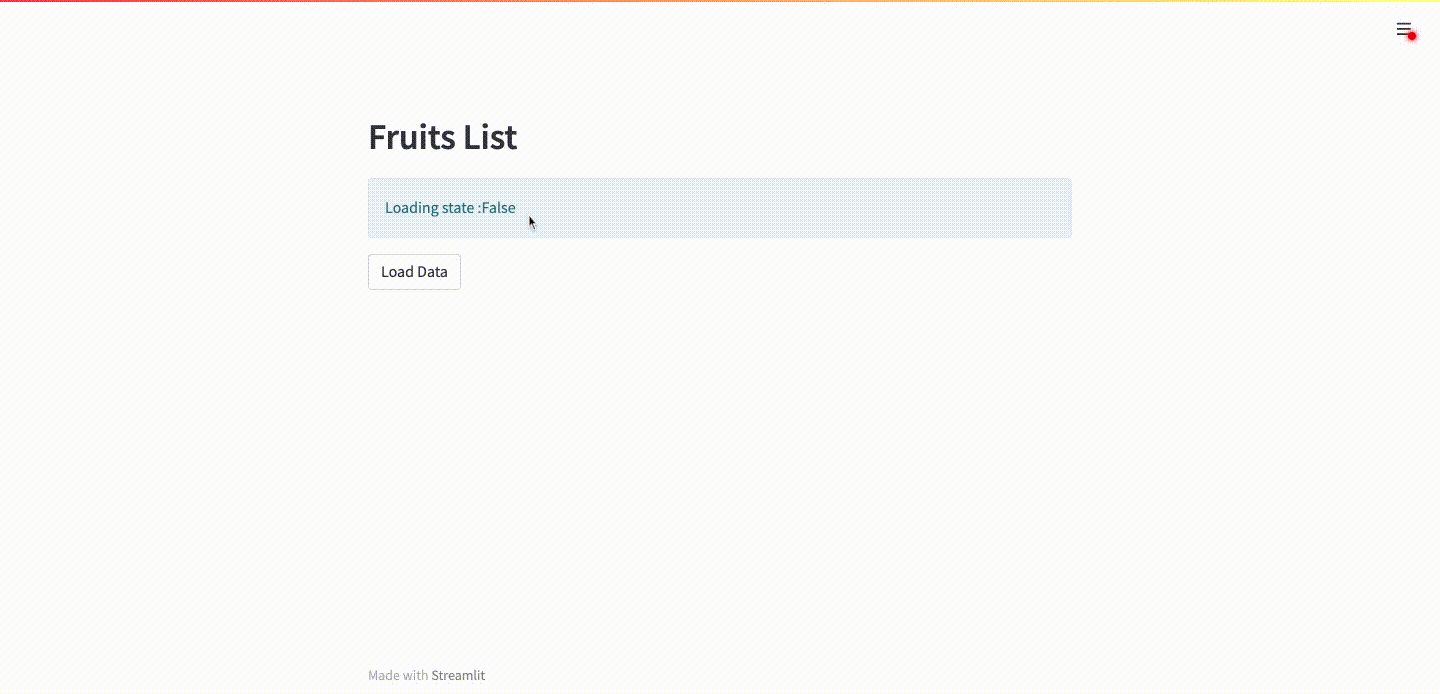
Controlling Streamlit button ⏹ widget using SessionState
The other workaround, is the combination of button widget along with SessionState,st.session_state.In order to control the state of the button"Load Data" , we will be using SessionState,st.session_state .This will maintain the active state of the button despite the trigger from the change in radio button option.
Curious about the changes in the code ? let's look into it ,

st.session_stateAlso, let's not forget to initialise, st.session_state .
# --- Initialising SessionState ---
if "load_state" not in st.session_state:
     st.session_state.load_state = False
...
...
Wrapping up your code within a function
At times, you don't want your computational part to rerun on every widget changes , right ? Wrapping up the computing part of your code, within a single function will do the trick, alongside the usage of st.experimental_memo or st.cache syntax. Do refer to the official doc , as well.
Let's manipulate the code and wrap it within a single function.

Thus, the above few workarounds, will certainly help in tweaking with Streamlit's linear workflow and assist in maintainig desired state of the web application based on needs.
Here's my video related to this article -
Hey! I'm Avra, and I enjoy writing and sharing codes with everyone. There are few Streamlit related videos I made,which may be interesting for you as well. Please check them out and feel free to share your feedbacks !
👨🏾💻 GitHub ⭐️| 🐦 Twitter | 📹 YouTube | ☕️ BuyMeaCoffee | Ko-fi💜
Here's another Streamlit-Python Tricks video which I made,


