

So, You Want To Shave Your Head. Here’s How To Do It Right.
Bald is beautiful.
People shave their heads for a lot of reasons. I won’t even begin to go into the many reasons as I’m sure to miss some.
Instead, I’ll reveal that after a lifetime of having long hair (yes, even as a little kid), my hair was starting to thin — especially on top. In the right (or wrong) light, you could pretty much see my scalp barely covered by a few strands of weak, tired strands of hair.
After 50 years, my hair did its duty admirably, but it was time to stop kidding myself.
It was time to shave my head properly and be done with it.
Haven’t regretted it for one moment. The look is neater and easier to maintain Plus, I feel and look sexier (photographic evidence below).
But it can be a little daunting at first. It’s a significant change. Full of mystery.
What’s a good, reliable way to shave your own head?
I did some research, applied it, and have a pretty good rundown to share with others looking to join the hairless horde.
Welcome.

Step 1: Prep work
First things first.
Let’s get all that growth out of the way.
What hair that hadn’t thinned away on me, I cut with a nice, sharp pair of kitchen scissors. I went as short as I felt I could go without cutting myself. You might want to have a friend or trusted loved one help. There was no need to be artful about it. Step 1 to Step 1 is getting rid of the bulk.
Then take a pair of electric clippers and run them over your head until you’re just about down to the scalp.
Depending on how well you’ve taken care of your hair up to this point, you may or may not have to deal with a layer or three of dead skin and dandruff. It’s nothing to be ashamed of. Everyone’s hair is different, and people respond to shampoos and conditioners differently. But a layer of scalp-debris is going to look a little unsightly.
At this point, it’s time to hit the showers and give your stubble-heavy head a good and thorough scrubbing with a hot, soapy washcloth. If you have dandruff or dead skin still on your head when it’s time for the final shave, you’re going to get uneven results and even risk getting nicked.
Another reason for getting under a nice hot shower is that this will also soften up the remaining hairs, making the final shave easier. Speaking of which…
Step 2: Applying the razor
Now you’re ready to bring the razor into it. Once you’ve softened the remaining bits of hair on your head, apply either some shaving cream or shave butter to the entire scalp. (When I started keeping my head shaved, I used a foaming gel. Now I use shave butter, which I find works and feels better. Individual results may vary)
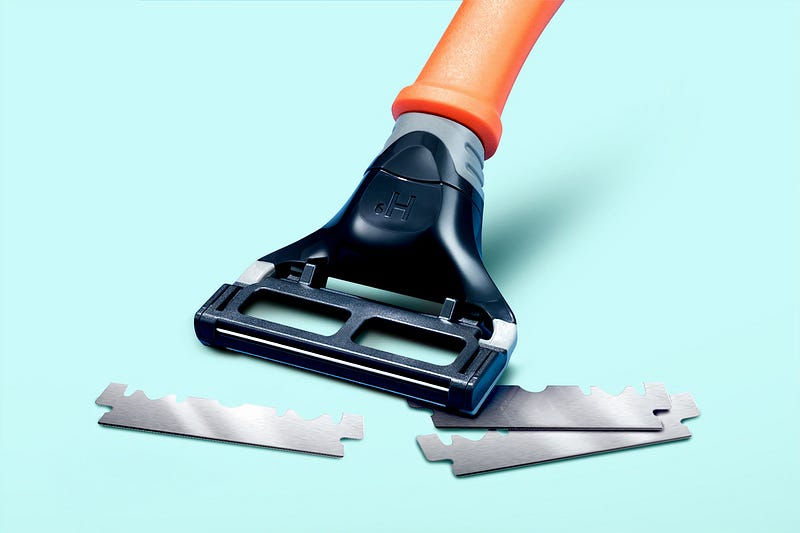
Next, take out a new razor — preferably with a pivoting head — wet it, and get to scraping. Begin by reaching behind you and scraping upward along where the neck and head meet and continue moving forward — against the grain, so to speak. Repeat until you’ve gone over the entire scalp. Then do it again, but from front to back. Then sideways — left to right, then right to left. You’ll likely have gotten most of it in these four passes. Take some particular time to get the areas around, behind, and beneath your ears. These seem to be the hardest to clear.
Take your time. It’s not a race. Purposeful, steady sweeps of the razor will work fine. Remember to let the razor do most of the work. If you have unusually thick or stubborn hair, and this is your first head-shave, you may want to switch to a new razor if you feel the current one has gone too dull.
Some people like to shave in the shower. I find this an enormous waste of water. Instead, I keep a bowl of warm water by the bathroom sink and rinse the razor in that, then give it a quick, careful wipe with a damp washcloth, followed by a fresh dip in the water. You could also use the bathroom sink tap to rinse off your razor — only turning it on when needed.
Final tips: Warm water is better than cold. Don’t worry about using a mirror. That will just distract you and lead to possible nicks. Feel the razor move, and periodically check your progress by running your fingers over your scalp.
Step 3: Rinse, check, clean up
When you’ve finished running your razor repeatedly over your head, rinse under the showerhead or run a wet cloth over everything to get up any loose hair and bits of shaving cream.
Finally, run your hand over your bare scalp in search of any rough patches you may have missed. Touch up and re-scrape any bits you find until you get a reasonably uniform smoothness all over your head. Again, make sure to check around and behind the ears. No matter how thorough a job you think you’ve done, I can almost guarantee you’re going to find some stubborn hairs back there.
Sneaky little buggers.

Step 4: The hot towel explained
Ever deal with ingrown hair? Unpleasant, isn’t it?
Ingrown hairs can happen on heads where they’re going to be both annoying and visibly unattractive.
To stop ingrown hairs before they can start, after shaving your head, drape a hot, wet towel over your head and let it sit for a few minutes. I find that a dish towel is a good size. Doing this will soften the ends of the newly-shaven hairs and prevent them from curling back under the skin.
Step 5: Maintaining a healthy-looking head
The frequency with which you shave the stubble off your head after will depend on how fast they grow back and what your personal tolerance is. I don’t mind a short bit of fuzz, but the more you let the hair grow, the more work you’ll have to put into getting it smooth again. Most touch up their heads every couple of days.
Other than that, you may want to consider regular applications of a skin moisturizer to keep things smooth and soft. And you’ll definitely want to remember sunscreen when you go out on certain days.
Or you could wear a hat. Come colder months, you’ll want to look at some hats anyway.
Step 6: Profit!
Okay… maybe not profit in the monetary sense. But profit in the sense that you’ve now joined the legion of those whose bare pate amplifies an aura of confidence and throbbing sex appeal.
It’s a big responsibility, but the rewards are worth it.
Thank you for reading. I’d love to share more with you via my Bi-Weekly Word Roundup newsletter sent to subscribers every other Sunday. It will feature news, productivity tips, life hacks, and links to top stories making the rounds on the Internet. You can unsubscribe at any time.