
Setup Jupyter Notebook with EMR to run spark job in 5 minutes
Often we like to do ad-hoc data analysis using spark. This tutorial guides us to quickly get started with Jupyter notebook with EMR to run spark jobs

Let’s look briefly what Jupyter notebook,apache spark and AWS EMR are :
The Jupyter Notebook App is a server-client application that allows editing and running notebook documents via a web browser. The Jupyter Notebook App can be executed on a local desktop requiring no internet access (as described in this document) or can be installed on a remote server and accessed through the internet
Apache Spark™ is a multi-language engine for executing data engineering, data science, and machine learning on single-node machines or clusters.
Amazon EMR (previously known as Amazon Elastic MapReduce) is an Amazon Web Services (AWS) tool for big data processing and analysis. Amazon markets EMR as an expandable, low-configuration service that provides an alternative to running on-premises cluster computing.
Together ,Jupyter notebook, apache spark and AWS EMR provides users a efficient and quick way to do data analysis and run data science workloads.
Let’s get started:
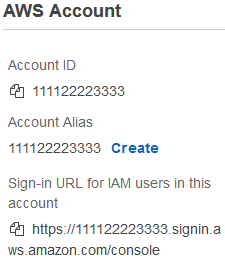
- Open the login page for IAM user.
The url is as below:
https://<<account-ID-or-alias>>.signin.aws.amazon.com/consoleYou can find the sign-in URL for an account on the Dashboard page in the IAM console.
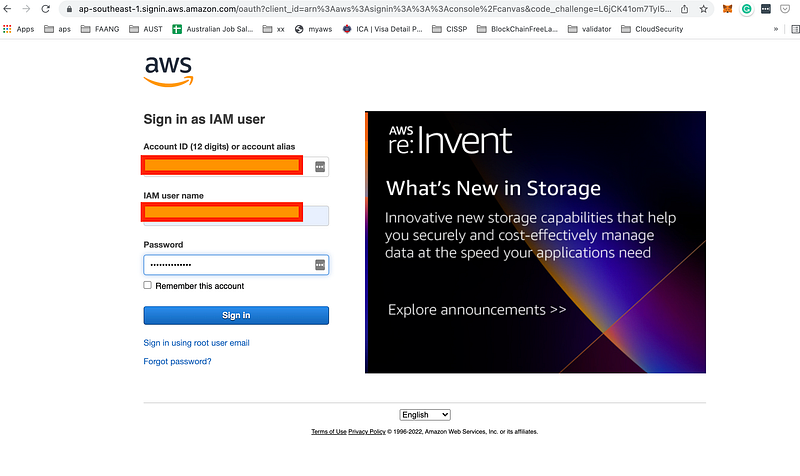
We need to follow below steps with IAM user and not root account
You can follow steps in below link in case you have not already created IAM user for your account : https://docs.aws.amazon.com/IAM/latest/UserGuide/getting-started_create-admin-group.html
2.Log in
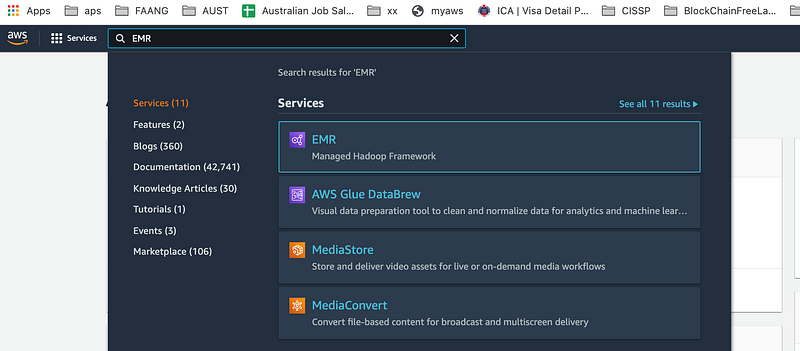
3.Search EMR from top left search bar:
4.Navigate to Notebooks and Create notebook:
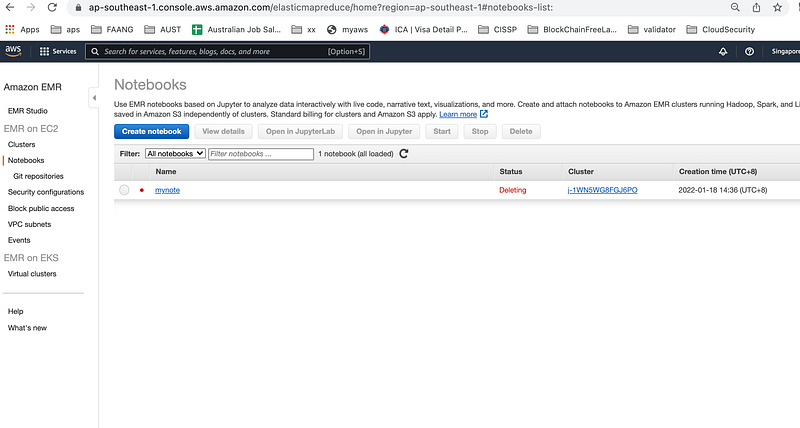
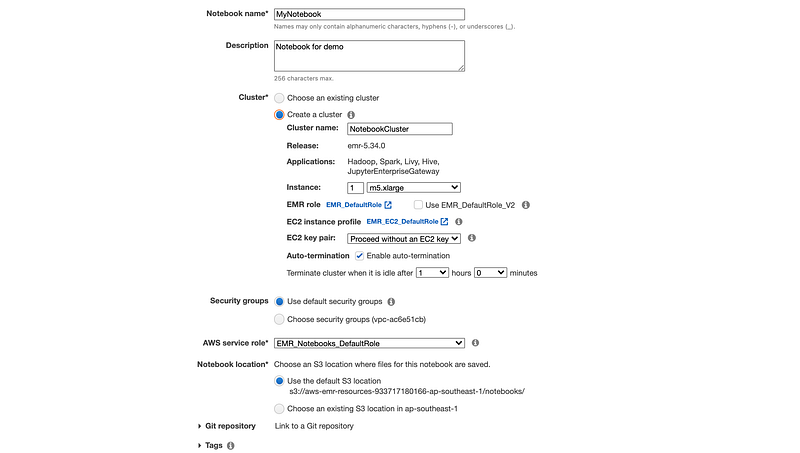
5.Fill below properties:
Name: Any name you wish
Cluster:Choose Create a cluster and select default options
Press Create button
6.Now your notebook and underlying EMR cluster are getting ready.

7.Once ready, click on “Open in JupyterLab”.You will brand new Notebook.
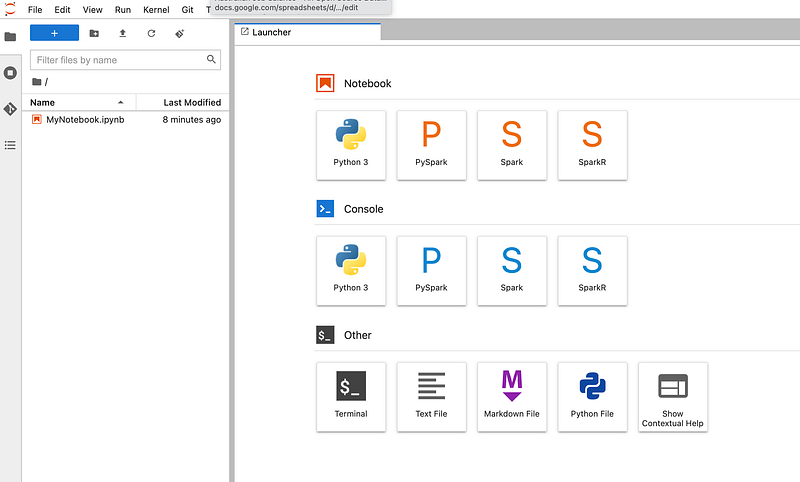
8.Double click on <
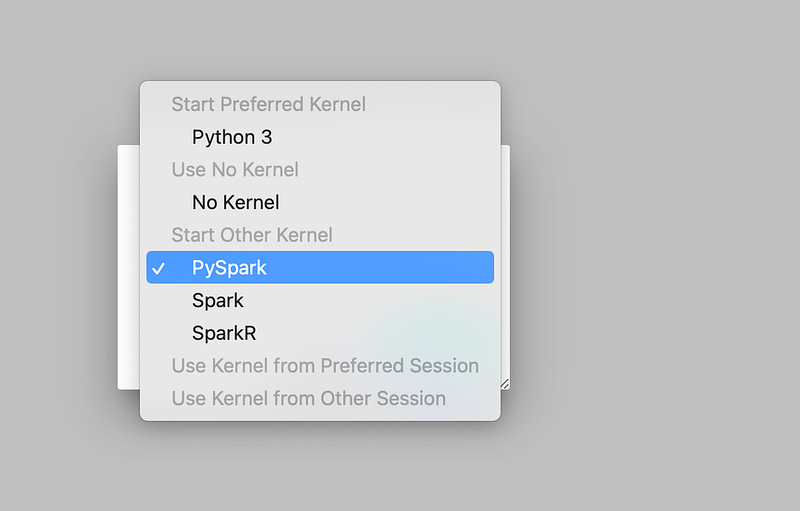
9.Note book is ready to use
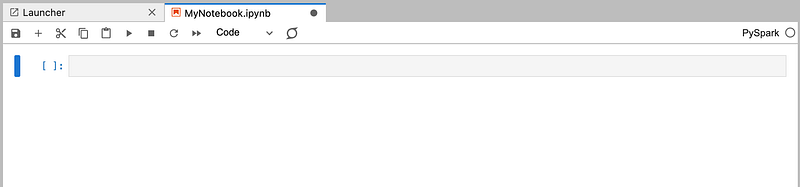
10. Let's run our first spark program on this :
Below is code for calculating pi:
import sys
from random import random
from operator import add
"""
Usage: pi [partitions]
"""partitions = 1
n = 100000 * partitionsdef f(_):
x = random() * 2 - 1
y = random() * 2 - 1
return 1 if x ** 2 + y ** 2 <= 1 else 0count = spark.sparkContext.parallelize(range(1, n + 1), partitions).map(f).reduce(add)
print("Pi is roughly %f" % (4.0 * count/n))Copy paste on the notebook and run it.
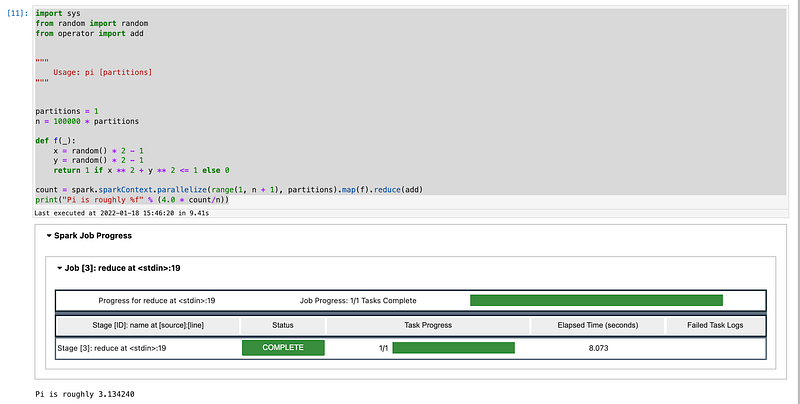
Voila ! We just successfully ran our first program on notebook.


