
Setup a CI/CD Pipeline for React Apps with Google Cloud Build and Google Cloud Run
An automated pipeline that triggers on every Github commit.
Let’s first look at what the pipeline looks like after everything is set up.
What Developers Do (Manual):
Push a commit to your Github repository.
What Happens (Automatic):
- Google Cloud Build sees that you pushed a new commit to Github.
- Google Cloud Build builds a container based on the new changes.
- Google Cloud Build stores this container in Google Cloud’s container registry.
- Google Cloud Run immediately pushes this updated container to production and points your website to the newest version.
So, after setting everything up, all the developers have to worry about is pushing commits to master like normal. There should theoretically be no changes to the developer experience.
My ideal of DevOps is lowering the complexity of deployment without sacrificing developer velocity. No additional overheads.
Let’s get to it.
Link to final website:
Link to repository:
https://github.com/thoughtstile/cra-cloud-run
Step 1: Create-React-App
Let’s first create a barebones react application.
npx create-react-app clientNow to verify the installation, run these commands:
cd client &&
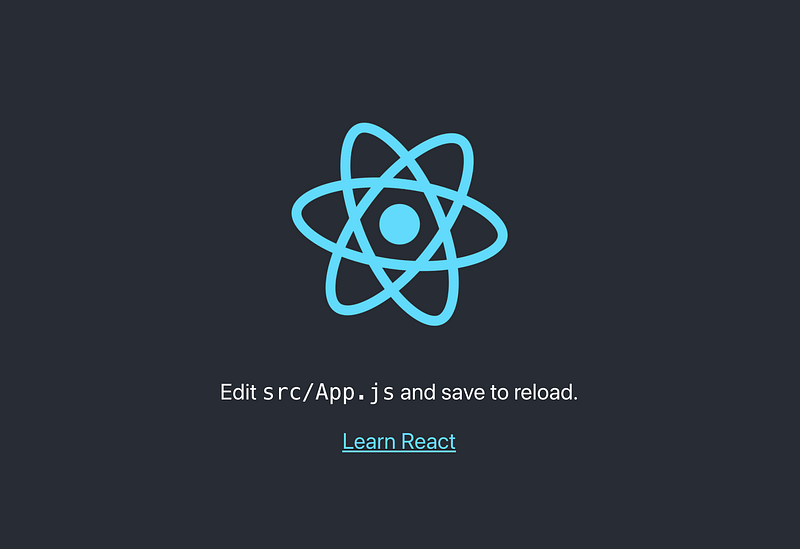
npm startYou should see something similar to this:
Step 2: Containerization and Networking
Now that we have our basic app running, we need to include additional instructions for Containerization and Networking.
To do this, we will create a Dockerfile and a nginx.conf file inside our project directory. In my case, these files will live inside the client directory from earlier.
Let’s create those files:
touch ./client/Dockerfile &&
touch ./client/nginx.conf
After creating the files, put this code inside:
./client/Dockerfile
./client/nginx.conf
Now most of the setup is ready.
We just need one additional file.
Instructions for the build process.
Step 3: Instructions for Google Cloud Build
When Google Cloud Build looks at a commit from Github, it first looks for something called a cloudbuild.yaml file. This file tells Google Cloud Build where your application (create-react-app) is located, where the Dockerfile is located, and where store and deploy the final container.
Basically, it contains all the steps for deployment in a neat little file.
Create a cloudbuild.yaml at the root of your project (NOT inside the client directory).

touch cloudbuild.yamlNow, put this code in it:
./cloudbuild.yaml
In this case, the container will be deployed in the us-central-1 region.
We no longer need to create any more code. However, there is additional configuration necessary on Google Cloud.
Step 4: Set Up a Google Cloud Project
First, you will need to have a Google Cloud account with billing enabled. New accounts receive a $300 credit that expires after a year. For our purposes, this small-scale project should sit extremely comfortably in the free tier.
Assuming you now have an account, we now need to create a new Project on Google Cloud Console.
Step 4.1: Click on the 3 hex looking icon in the banner.
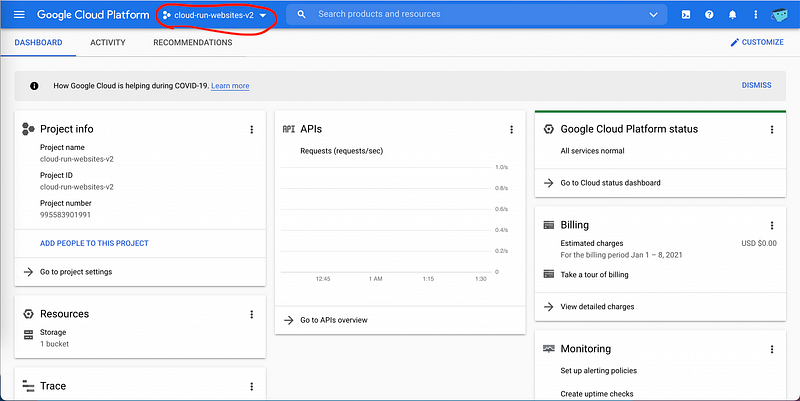
Step 4.2: A pop up menu should appear. Click on the ‘New Project’ button.

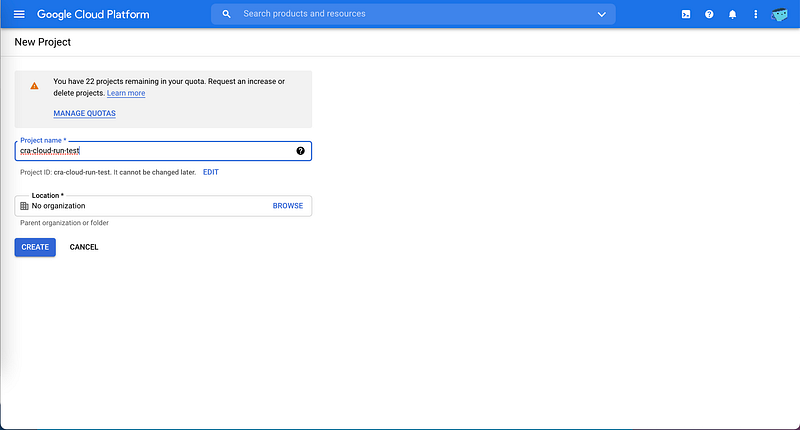
Step 4.3: Create a new project with a unique name.
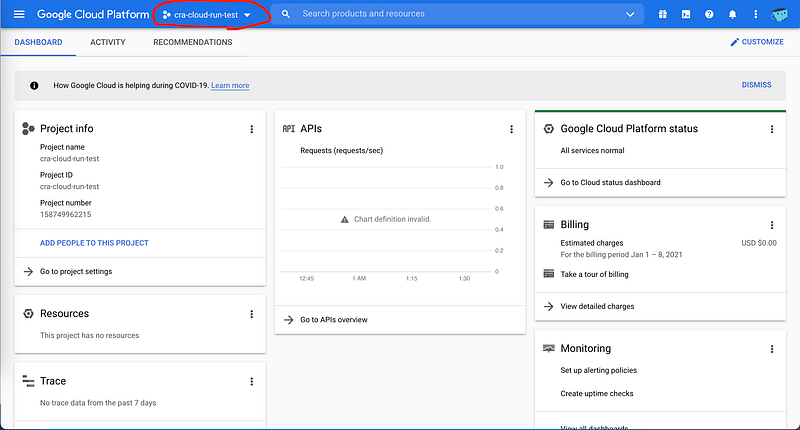
Step 4.4: Make sure to select the new project as the current active project.
Okay, now we have to do some additional configuration.
Step 5: Enable the Necessary APIs
Google Cloud organizes everything into individual Projects. That’s what you created in Step 4.
Each Project has its own sandboxed permissions. That means we now have to manually enable the permissions we will need for our CI/CD pipeline to work.
The two permissions we will need are:
- Cloud Run API
- Cloud Build API
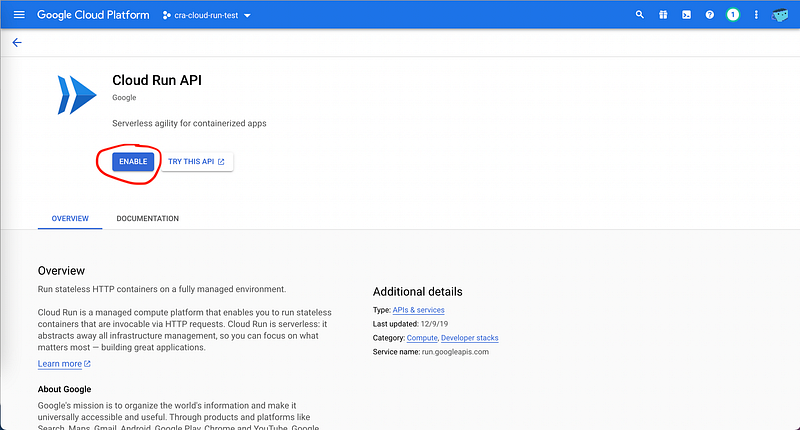
Step 5.1: Enable the Cloud Run API
Use the search bar in the header to find the Cloud Run API service.
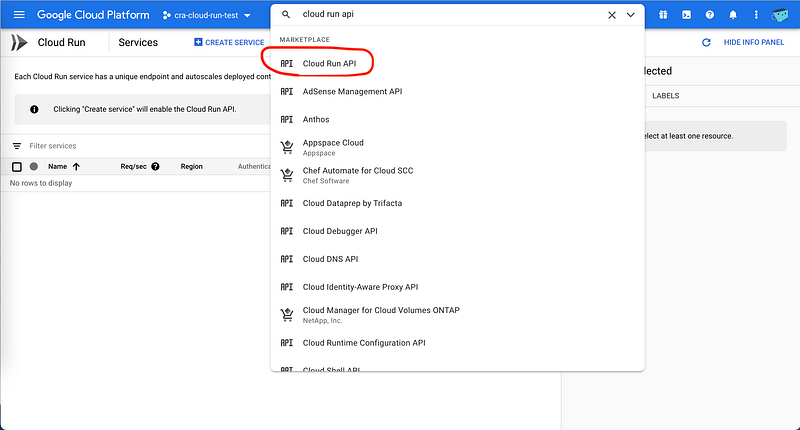
Then, enable the API.
Step 5.1: Activate the Cloud Build API
Use the search bar in the header to find the Cloud Build service.
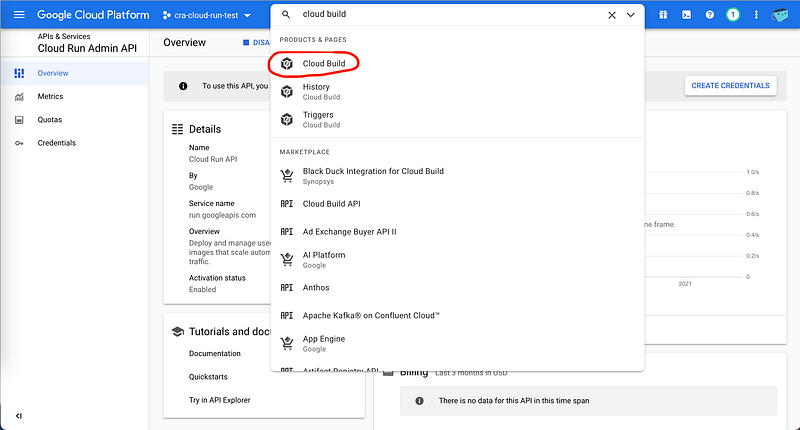
Then, enable the API.

We have now enabled all APIs that will be necessary for our project.
All that is left to do now is to connect our Github project to Google Cloud Build.
Step 6: Connect the Github repository to Google Cloud Build
Now, we need to actually connect our Github project repository to Google Cloud Build. This will also make new builds trigger on every commit.
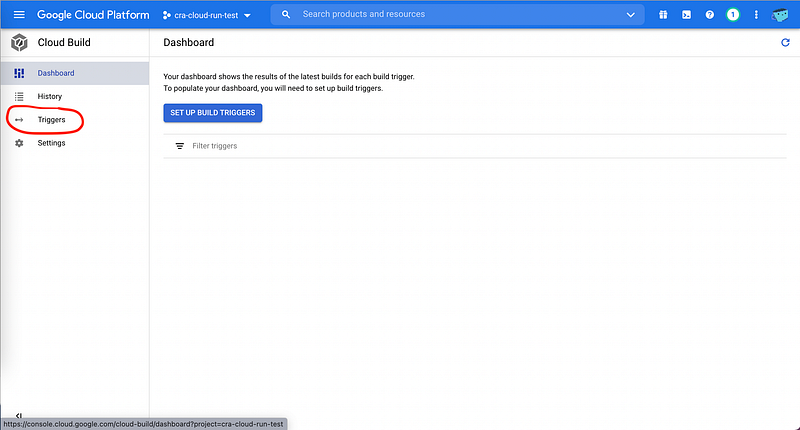
In the Cloud Build page, you should now see a dashboard that looks similar to this.
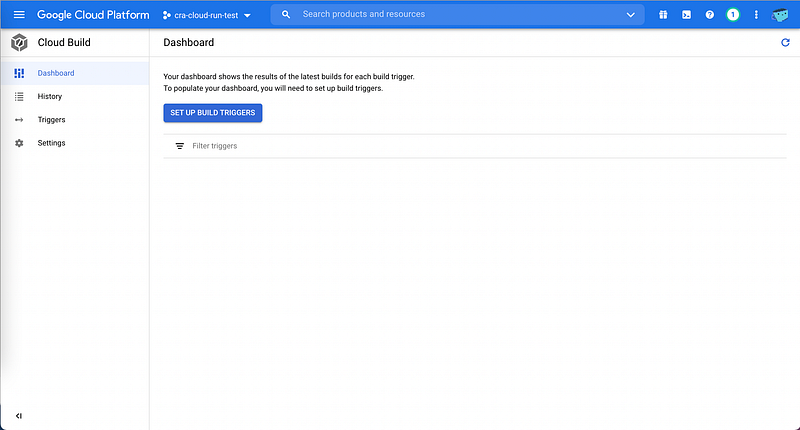
Click on the Triggers tab. We will be making a new build trigger here.
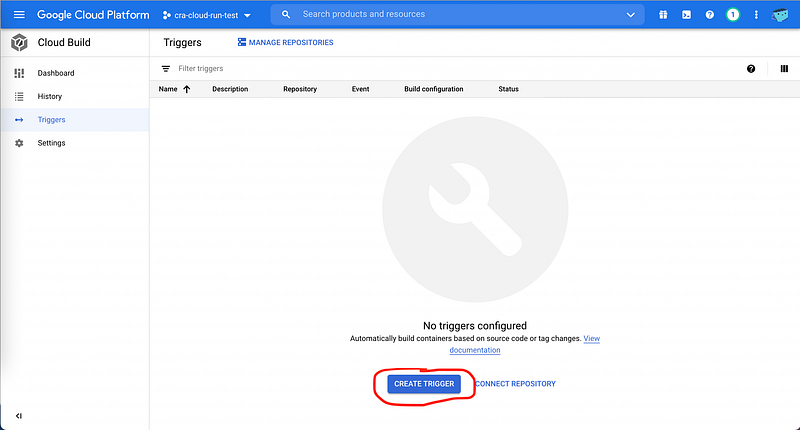
Now, click on the Create Trigger button.
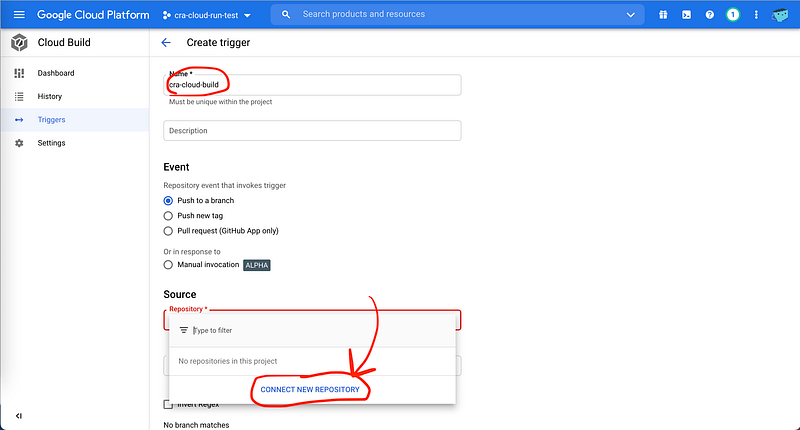
First, fill in a generic name for the name of the trigger.
Then, click on the Repository tag and click on the Connect New Repository button.
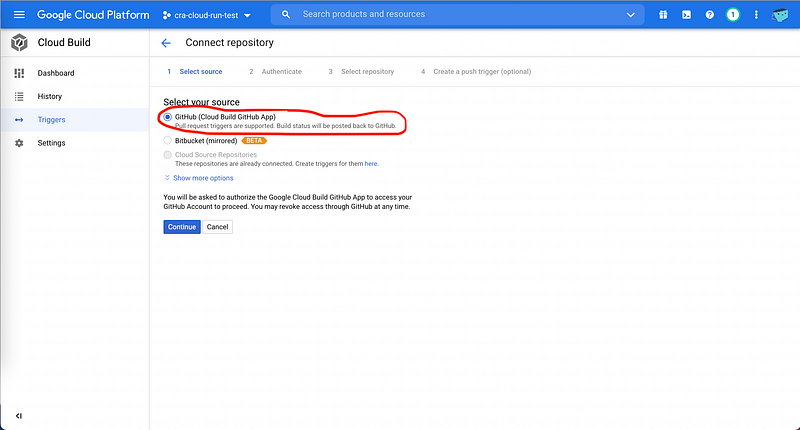
Select Github from the list of options and click continue.
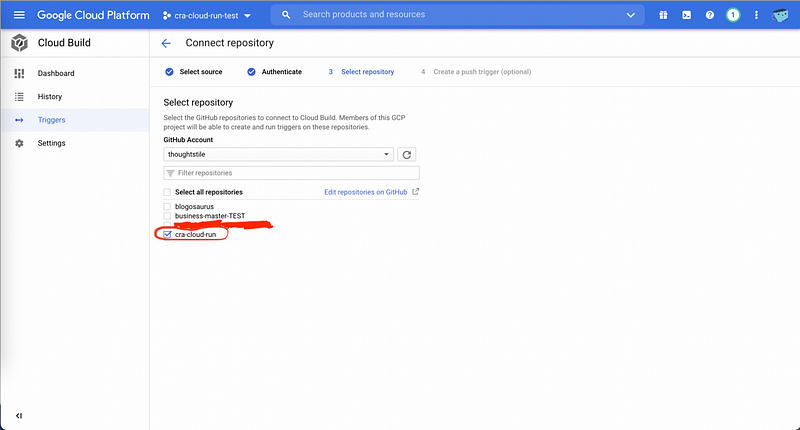
Connect the relevant Github repository. In my case, I named my project as cra-cloud-run .
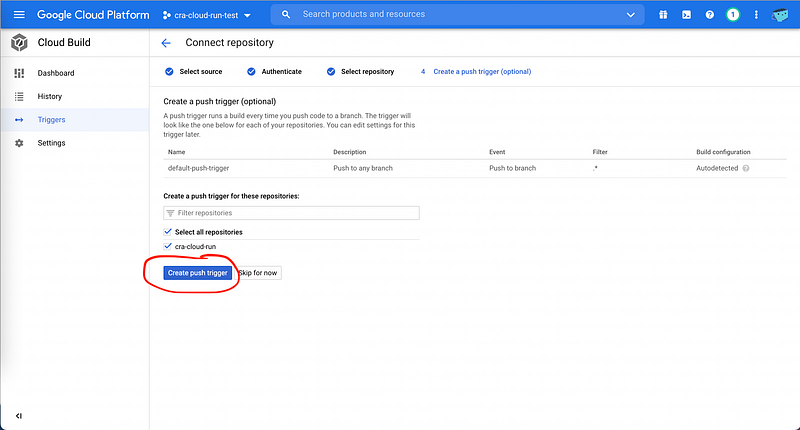
Now, create the push trigger. This will give Google Cloud Build permission to access changes to the Github repository as they are updated.
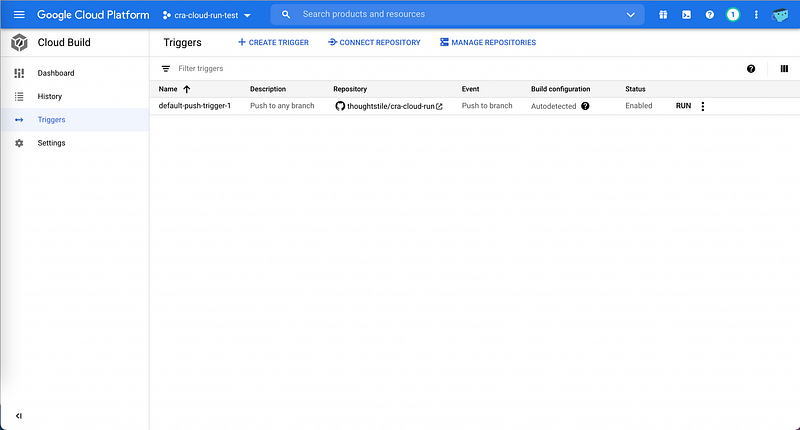
Now, if you look at the Triggers section in Cloud Build , you should see a screen that looks something like this:
One step remains.
Step 7: Give Google Cloud Build Permissions to Deploy to Google Cloud Run
Now our Github repository is connected to Google Cloud Build. However, we still need to give Google Cloud Build the necessary permissions if we want Google Cloud Build to automatically deploy on Google Cloud Run.
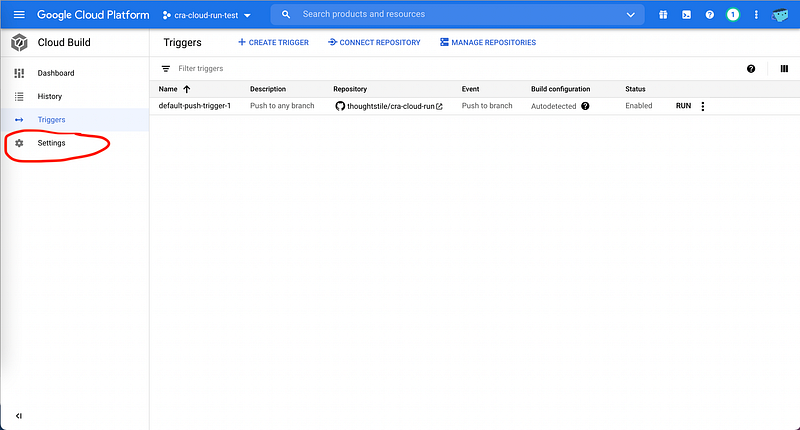
So, let’s take another look at the Cloud Build dashboard.
Click on the Settings tab.
Now, enable the Cloud Run service.
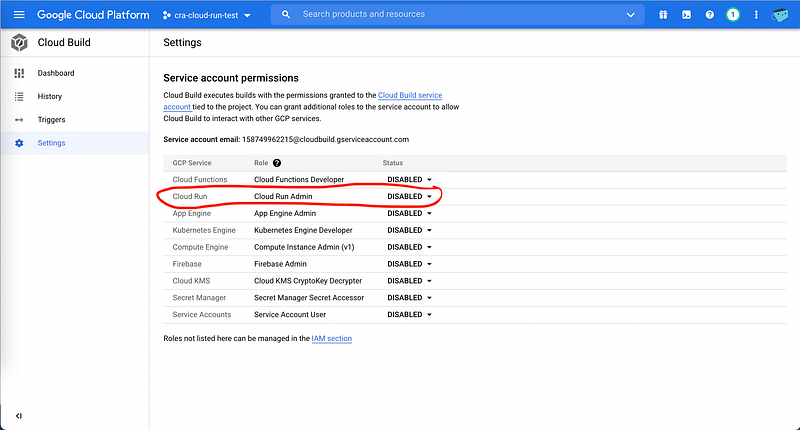
Then grant Cloud Build the necessary permissions.
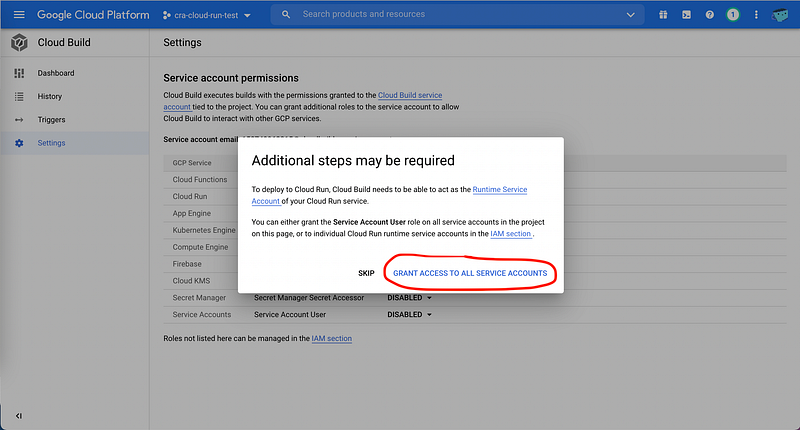
Finally, all the set up should now be complete.
Let’s now test the results.
Step 8: Push the initial Commit
Everything should be ready now.
All that now remains is to test the pipeline by committing a minor change.
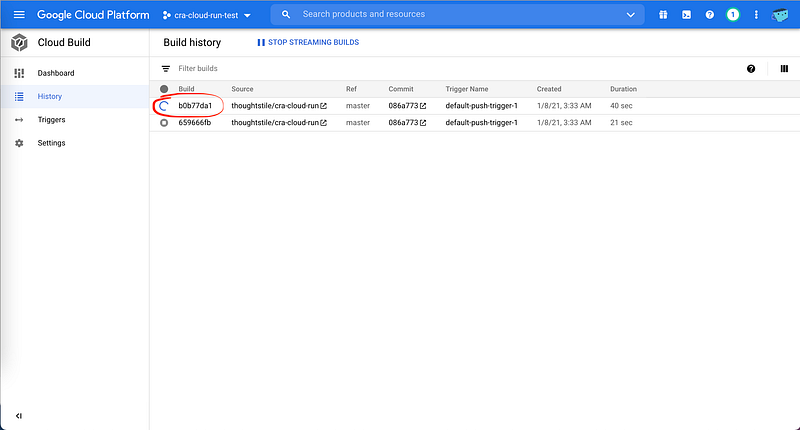
Push the commit to master.
You should immediately see the container being built in Google Cloud Build in the History section. If you click on the Build label, it will show some more information.
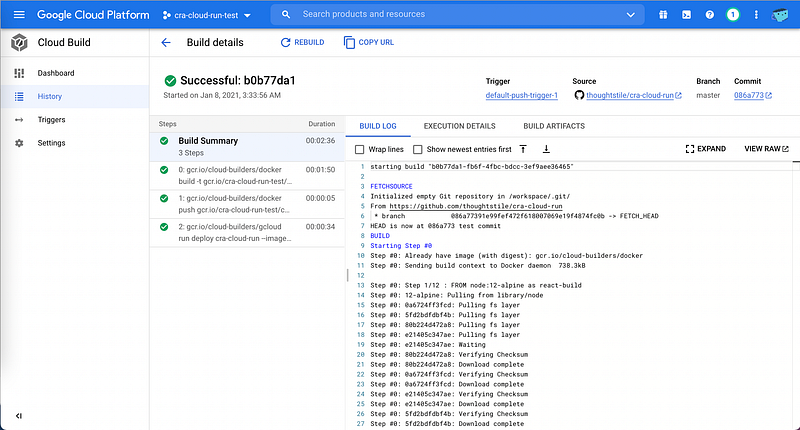
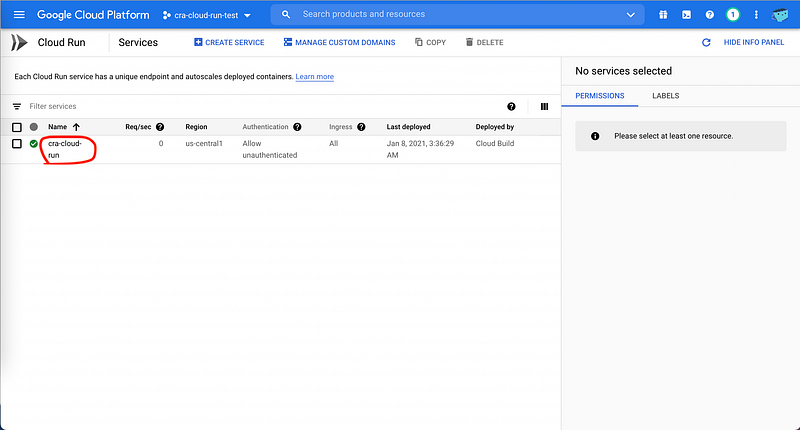
After seeing that it’s successful, go to your Google Cloud Run main page.
Then, click on the relevant project.
Now, here at the top, you automatically have a generated URL for your project! That means you can immediately share it to whoever you wish. It is also possible to change this default domain to one of your choosing. This will require more configuration, however.
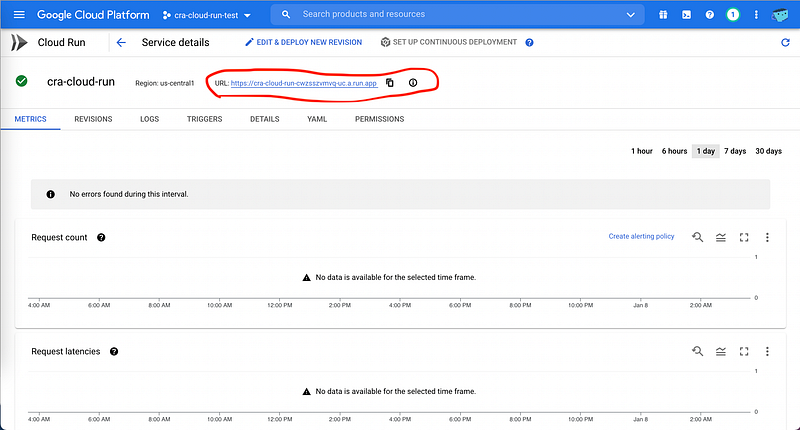
In my case, the autogenerated URL was:
https://cra-cloud-run-cwzsszvmvq-uc.a.run.app/
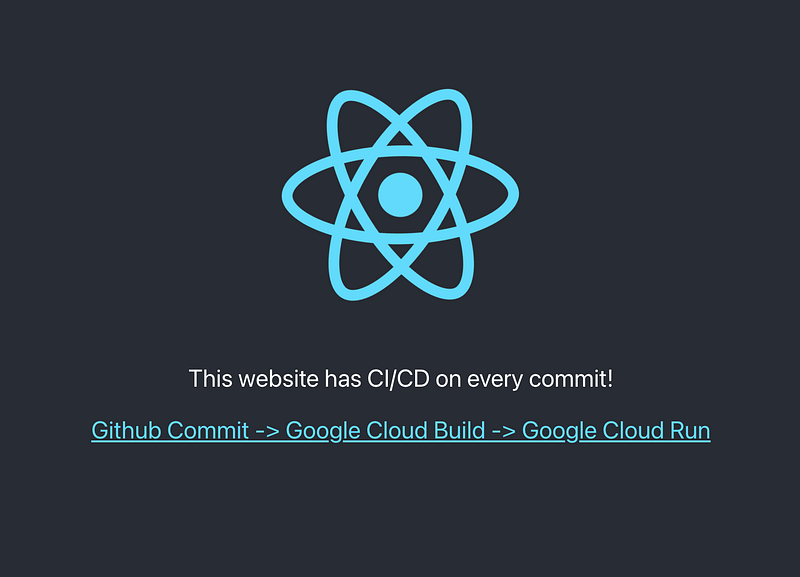
You can check out the final result.
Our website is live and ready for primetime.
Let’s push another minor commit to the master branch and see if our CI/CD is working automatically as we intended.
At this point, every commit to master should build a new container and redeploy your website to the newest version.
Currently, the app should look like this:
In ./client/src/App.js , let’s try making a minor change.
./client/src/App.js
Commit the change and push it to master.
After waiting a couple of minutes for the build to finish, the website should now automatically update and look something like this:
The pipeline is finally complete.
Nice.
Link to final website:
https://cra-cloud-run-cwzsszvmvq-uc.a.run.app/
Link to repository:
https://github.com/thoughtstile/cra-cloud-run
I hope you found this helpful.
Socials: https://linktr.ee/thoughtstile


