Setting up your Jenkins machine to execute Robot Framework automation tests
Jenkins Machine Configuration
- Login into the machine with Jenkins user
- Follow the same steps mentioned in my article Setting up your local machine to execute Robot Framework automation tests and make sure robot tests can be successfully executed on the Jenkins box
- Install Robot Framework Jenkins Plugin http://wiki.jenkins-ci.org/display/JENKINS/Robot+Framework+Plugin on Jenkins Server
- Run the below script on Jenkins Console(Can open via Manage Jenkins — Script Console)
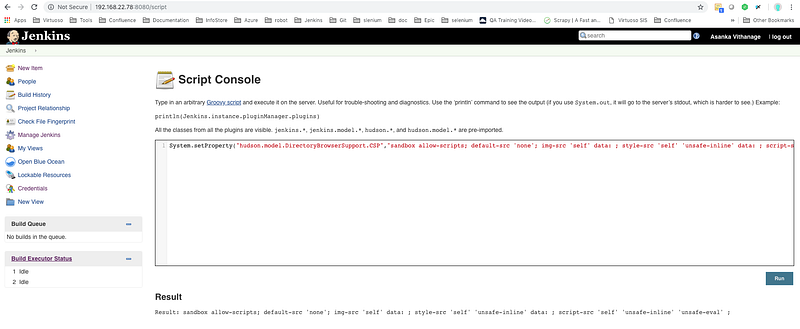
Note: Running above code required to view the Robot HTML reports on Jenkins Server
Jenkins Job Configuration
- Login to Jenkins Web application
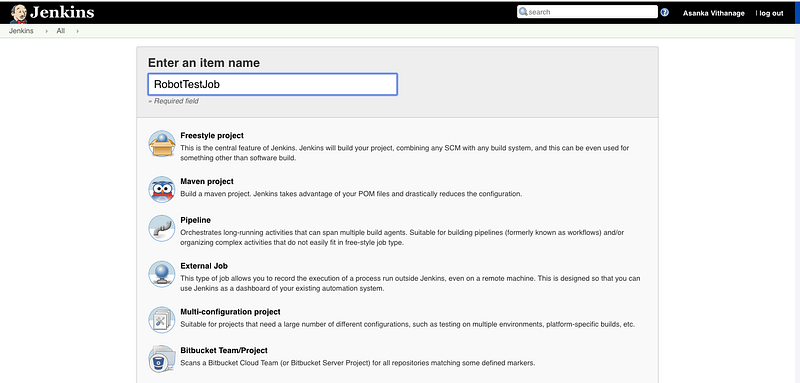
- Click New Item, Enter your job Name and Select Freestyle Project Type
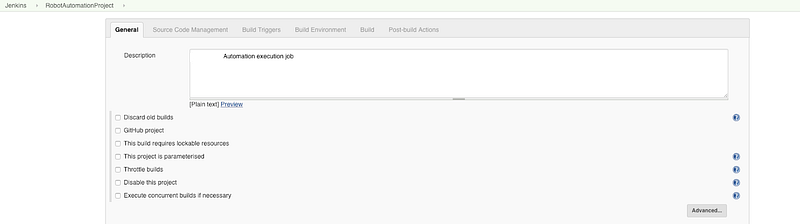
3. Add a description to your project
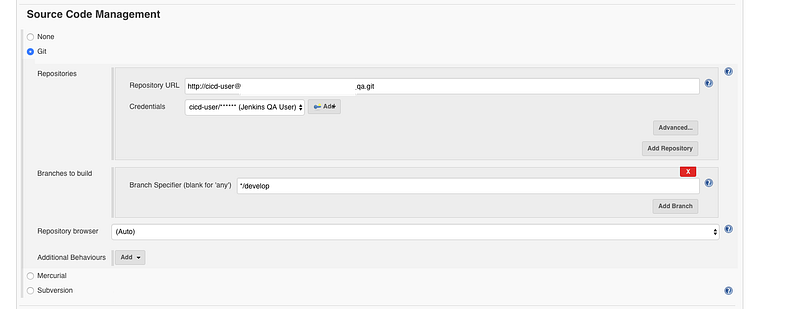
4. Configure git to pull your automation code repository
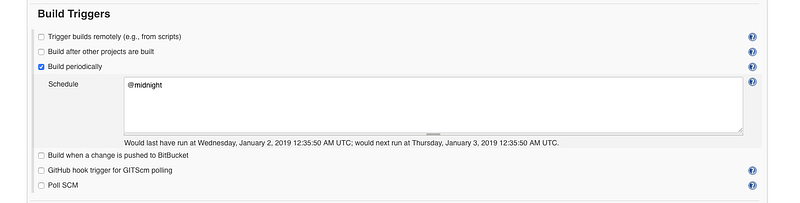
5. Configure build trigger as per your requirement
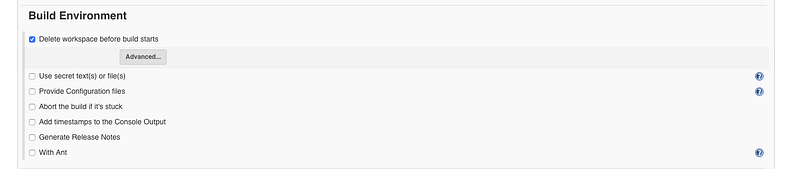
6. Configure how the build environment should be set up before the build
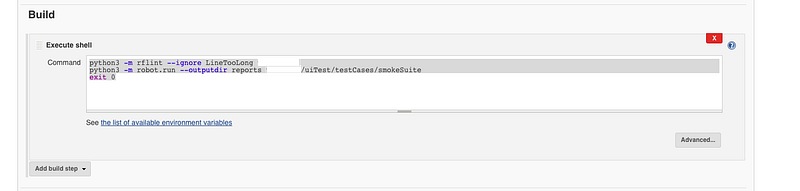
7. Configure to execute Robot test scripts via Shell scripts with below commands
python3 -m rflint — ignore LineTooLong [Project Root]
python3 -m robot.run — outputdir [report Location] [Test Location]
exit 0
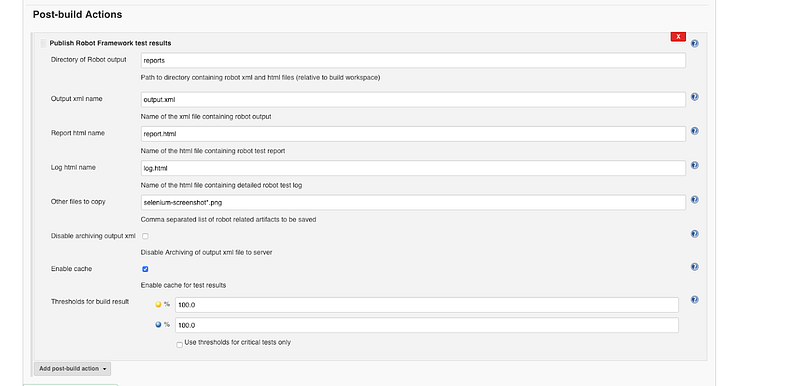
8. Finally, configure robot framework test result analysis for executed tests, Use Robot Framework Plugin as Post Build Action
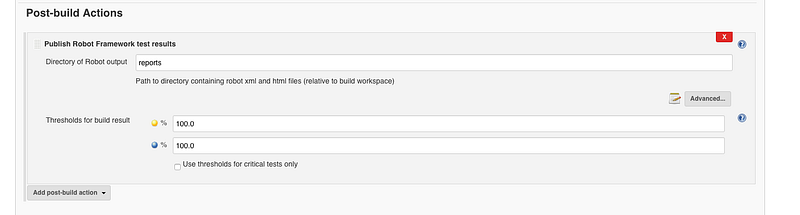
Click the Advanced button to get Advanced configuration view
Execute Tests
Now you can execute your tests via above created Jenkins job by triggering a build, Now if everything successful, you should able to see result details as in below screenshot
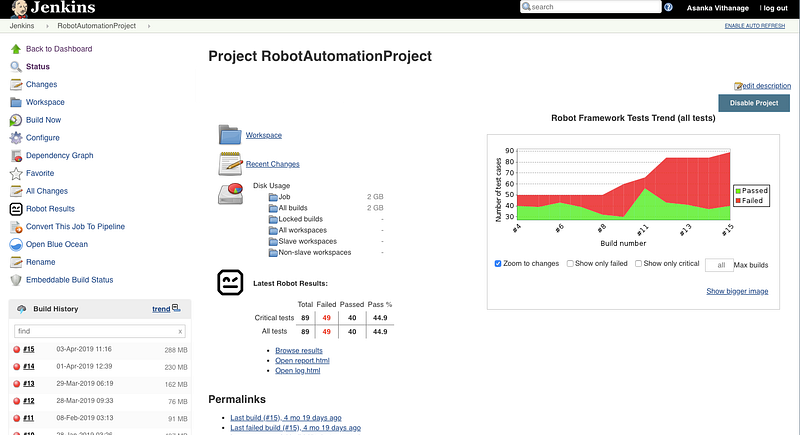
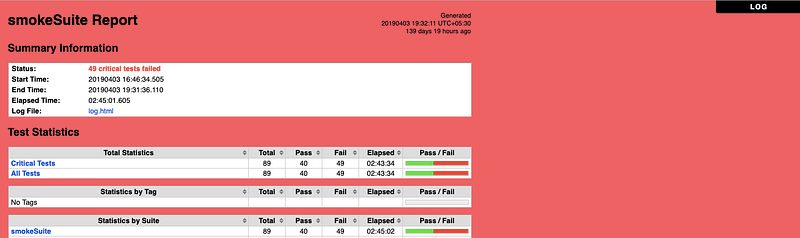
Further, you can access the Robot Report, Robot Log files as HTML reports within Jenkins itself and figure out exactly what happens with your tests.


Follow us on Twitter 🐦 and Facebook 👥 and join our Facebook Group 💬.
To join our community Slack 🗣️ and read our weekly Faun topics 🗞️, click here⬇
