
Setting up Laravel/Docker on the new MacBook: Apple Chip (M1/M2)
We’re going to pretend that you just bought a new Mac and are trying to get up and running as quickly as possible. There are going to be a couple of things that you’ll need to get started, such as brew, composer, and Docker.
If you don’t need to pull a Laravel project from GitHub, and this is your first time installing a Laravel project on your computer, you can skip the Brew and Composer installation steps. Make sure that you have Docker installed and run the Laravel install command.
If you do have a Laravel project, and want to clone it, the simplest method that I found was to have composer installed locally so that you can install the vendor files, sail specifically, and create the docker container with sail.
Read this article and others on my website:
Brew
The simplest way to install composer is with brew. Open your terminal and type in brew. If you don’t get zsh: command not found: brew, you don’t have it installed. Luckily, installing it is one line away.
/bin/bash -c \
   "$(curl -fsSL https://raw.githubusercontent.com/Homebrew/install/master/install.sh)"
Just copy and paste the code above into your terminal and watch it go.
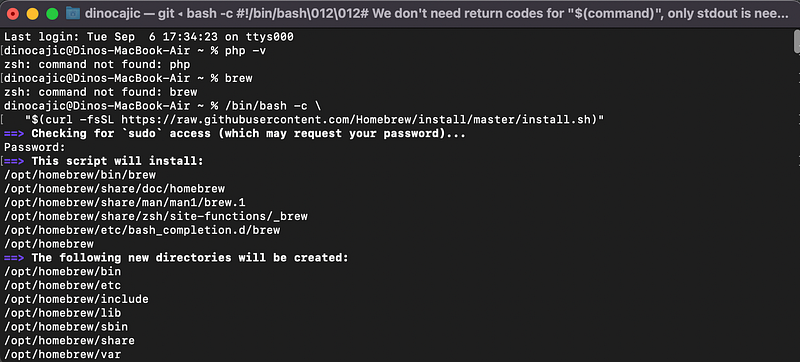
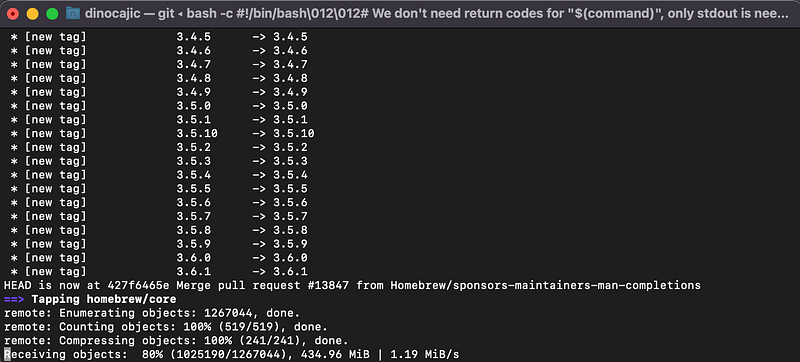
It’ll ask for your sudo password. Enter it and press Enter. You’ll have to hit Enter once more to start the script. Sit back and watch it install.
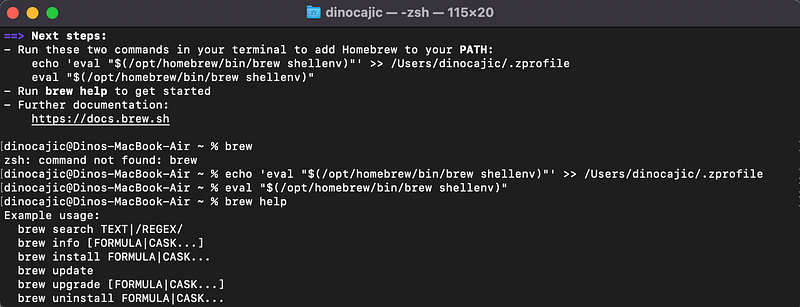
Once it’s installed, it’ll tell you to run two commands.
==> Next steps:- Run these two commands in your terminal to add Homebrew to your PATH:echo 'eval "$(/opt/homebrew/bin/brew shellenv)"' >> /Users/YOUR_USER_NAME/.zprofileeval "$(/opt/homebrew/bin/brew shellenv)"- Run brew help to get started- Further documentation:https://docs.brew.shRun those two commands. Type in brew afterwards into your terminal and watch all of the commands populate.
Composer
Now that you have brew installed, it’s time to install composer. Run the following command in your terminal.
brew install composerFirst Potential Error
If you’re running on the Apple chip, you may get an error.
Warning: No available formula with the name "composer".==> Searching for similarly named formulae...Error: No similarly named formulae found.==> Searching for a previously deleted formula (in the last month)...Error: No previously deleted formula found.==> Searching taps on GitHub...Error: No formulae found in taps.To fix it, run the following commands:
rm -rf $(brew --repo homebrew/core)brew tap homebrew/core
Second Potential Error
And you might get another error. This time with git. This is during the time that you’re trying to reinstall homebrew/core.
error: RPC failed; curl 56 LibreSSL SSL_read: error:06FFF064:digital envelope routines:CRYPTO_internal:bad decrypt, errno 0To fix this error, run the following lines:
git initgit config http.postBuffer 524288000Then, rerun: brew tap homebrew/core
Finally
If you didn’t experience any errors, great. If you did, you’ll have to attempt to install composer again.
brew install composerDocker
The last dependency that you’ll need is Docker. Just visit https://www.docker.com/ to get started. Be careful if you have the Apple (M1/M2) chip. You’ll need to click on the Apple Chip download for it to download the correct version.
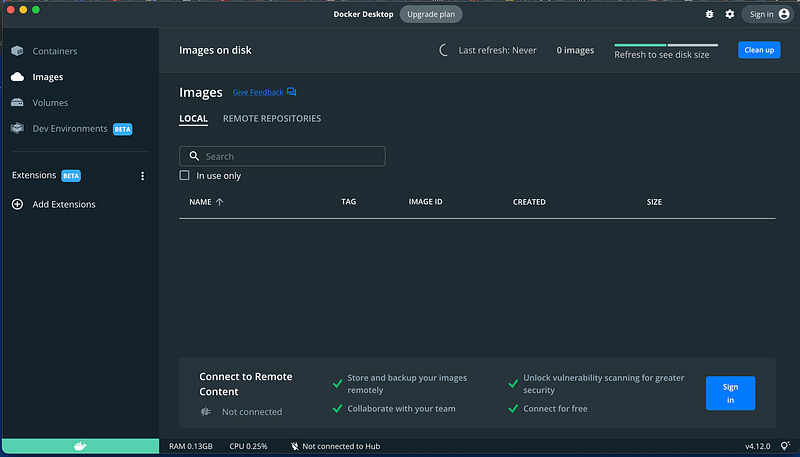
Once Docker is installed, you’ll see it running in your top menu.

Click on the Docker logo to open up the dropdown and select Dashboard. You won’t have anything running.
Laravel Fresh Install
To install a new fresh instance of Laravel now is really straight-forward. Run the following command in the directory of your choice. I setup a www folder under my root directory where I keep all my code.
curl -s "https://laravel.build/example-app" | bashThe example-app should be replaced with your app name.
Once it’s installed, navigate to your newly created app directory and run the sail upcommand.
cd example-app./vendor/bin/sail upYou’re going to see your Docker application running in the Docker Dashboard.
See what the output is going to be. For me it was http://0.0.0.0.
Laravel GitHub Install
Clone your repository from GitHub. Once cloned, cd into your directory and run composer install.
If you get an error, you may have to run composer update first. Once updated, run composer install again.
Copy your .env.example file into a new .env file and configure any passwords if necessary.
cp .env.example .envRun the sail up command.
./vendor/bin/sail upI know you know what’s going to happen now…possibly an error on the Apple chips.
executor failed running [/bin/sh -c apt-get update && apt-get install -y gnupg gosu curl ca-certificates zip unzip git supervisor sqlite3 libcap2-bin libpng-dev python2 && mkdir -p ~/.gnupg && chmod 600 ~/.gnupg ...To fix it, you’ll have to publish your Dockerfile and make a change. You’ll need to make sure that you have php installed first.
brew install phpNavigate to your project’s root directory and run the following:
php artisan sail:publishThis will create a new docker directory in your root directory. I have php 8.1 running, so I navigated to /docker/8.1/ and opened up the Dockerfile.
Delete the following lines of code.
&& curl -sS https://dl.yarnpkg.com/debian/pubkey.gpg | gpg --dearmor | tee /usr/share/keyrings/yarn.gpg >/dev/null \&& echo "deb [signed-by=/usr/share/keyrings/yarn.gpg] https://dl.yarnpkg.com/debian/ stable main" > /etc/apt/sources.list.d/yarn.list \&& apt-get install -y yarn \Save the Dockerfile and run the sail up command again.
./vendor/bin/sail upYou can get into your Docker container now. Click on your Laravel application.

When you click on the laravel.test-1 (in my case), you’ll be able to click on the CLI that appears at the top of the Docker Dashboard.

This opens up your integrated terminal. You can still open it up as an external terminal if you prefer.

You’ll now need to run your code to get everything up and running.
php artisan key:generatecomposer updatephp artisan storage:linkphp artisan migrate --seedSee what the output is going to be. For me it was http://0.0.0.0.
Conclusion
Whenever something new comes out, stuff just breaks. I had a pretty fun time (I hope you sense the sarcasm) setting up Docker with Laravel on my M2 powered MacBook Air. I hope that this article helps someone going through the same issues.

Dino Cajic is currently the Head of IT at LSBio (LifeSpan BioSciences, Inc.), Absolute Antibody, Kerafast, Everest BioTech, Nordic MUbio and Exalpha. He also serves as the CEO at MyAutoSystem. He has over a decade of software engineering experience. He has a B.S. in Computer Science and a minor in Biology. His background consists of creating enterprise level e-commerce applications, performing research based software development, and facilitating the spread of knowledge through writing.
You can connect with him on LinkedIn, follow him on Instagram, or subscribe to his Medium publication.


