
Setting up Amazon SageMaker Environment On Your Local Machine

Amazon SageMaker is beyond just managed Jupyter notebooks, it is a fully managed service that enables you to build, train, optimize and deploy machine learning models. A common misconception, specially when you are starting out with SageMaker is that, in order to use these services, you need a SageMaker Notebook Instance or SageMaker (Studio) Notebook. You can in fact kick off all these services directly from your local machine or even from your favorite IDE.
Before we go further, let’s consider how we interact with Amazon SageMaker services. You have two APIs
SageMaker Python SDK — This is a high level API in Python that abstracts the code to build, train and deploy machine learning models. Specifically it provides estimators for first class or built in algorithms as well as supported frameworks like TensorFlow, MXNET etc. In most cases you will use this to interact with your interactive machine learning tasks.
AWS SDK — This is a low level API that is used to interact with all supported AWS services, not specific to SageMaker. The AWS SDK is available in most popular programming languages like Java, Javascript, Python (boto) etc. In most cases you will use this service-level APIs for things such creating resources for automations or interacting with other AWS services that are not supported by the SageMaker Python SDK.
Why a local environment
Cost is probably the first thing that comes up, but it is also the flexibility to use your own IDE plus the ability to work offline and kick off jobs on AWS cloud when you are ready.
How a local environment works
You write the code to build your model as you normally would but instead of a SageMake Notebook Instance (or a SageMaker Studio Notebook), you do this one your local machine running Jupyter or from your IDE. Then when you are ready, you kick off your training on SageMaker instances on AWS. Once the training is complete, the model is stored in AWS. You can then kick off a deployment or run a batch transformation job from your local machine.
Environment setup Using conda
It is recommended that you set this up as a Python virtual environment. In our case we are using conda to manage our virtual environments , but you can also use virtualenv. Amazon SageMaker also uses conda to manage environments and packages. It is assumed that you already have conda setup, if not, head here
Create a new conda environment
conda create -n sagemaker python=3Activate and verify the environment

Install the standard data science packages.
You can use conda or pip to install the packages. We will stick to conda
conda install -y pandas numpy matplotlibInstall AWS packages
Install AWS SDK for Python (boto), awscli and SageMaker Python SDK. The SageMaker Python SDK is not available as conda package, so we will use pip here
pip install boto3 awscli sagemakerIf you are using the awscli for the first time, you must configure it. See here on how to configure the awscli
By default the version 2 of the SageMaker Python SDK will be installed. Be sure to check for the changes in the version 2 of the SDK, specially the breaking changes here.
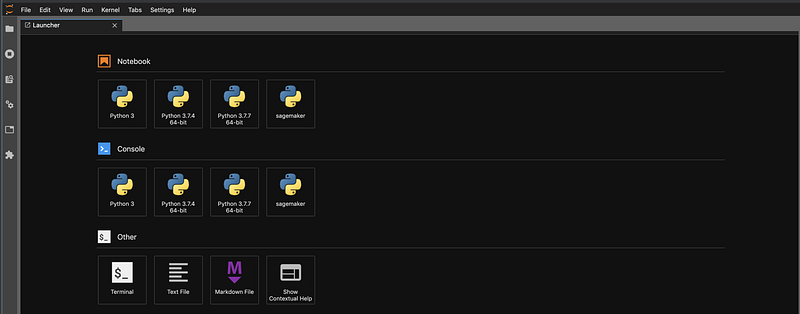
Install Jupyter and create a kernel
conda install -c conda-forge jupyterlab
python -m ipykernel install --user --name sagemaker
Verify the environment and check the versions
Start Jupyter by issuing an jupyter lab and choose the sagemaker kernel created above
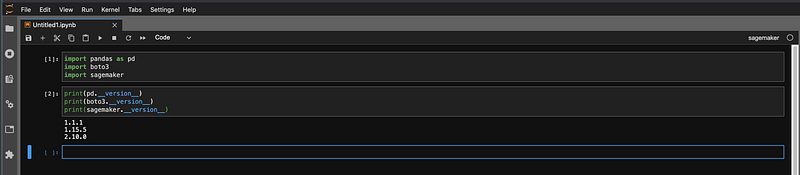
Next verify the versions in the notebook to make sure everything is as expected.
Build and Train
You can now start building your model locally and kick off training on AWS when ready
Import Packages
Import the necessary packages and specify the role. The key difference here is to specify the arn of the role directly instead of get_execution_role(). Since you are running this from your local machine using your AWS credentials as opposed to a notebook instance with an attached role, get_execution_role() will not work.
Create Estimator
Create the estimator and set hyperparameters as you would normally. In the example below, we are training an image classifier using the built in image classification algorithm. You also specify the type of SageMaker instance and number of instances you want to use for training
Training channels
Specify the training channels, again no changes here compared to how you would do this on a notebook instance
Start training job
Start the training job on SageMaker calling the fit method which kicks off the training job on SageMaker instances on AWS
classifier.fit(inputs=data_channels, logs=True)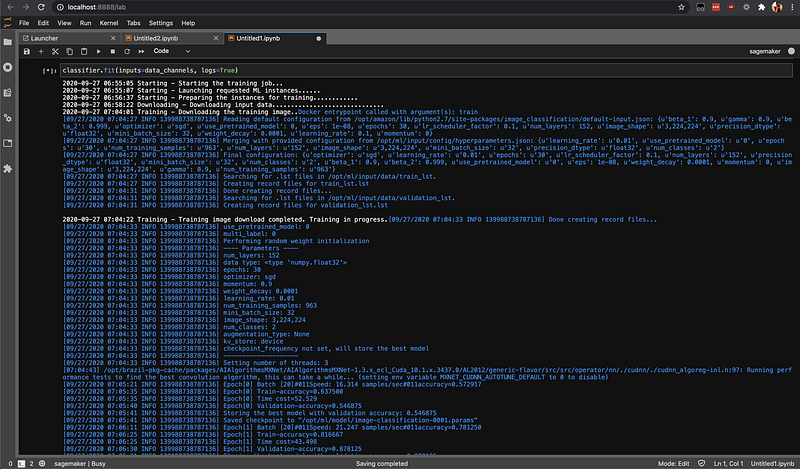
You can check the status of your training jobs using list-training-jobs
That’s it. Here we saw how you can setup a SageMaker environment locally and build machine learning models on your local machine using Jupyter. In addition to using Jupyter, you can also do the same from your IDE.
Happy training!


