
Scrapbooking Memories
“How To”…Step by Step
For those of you who love pictures and need an at-home hobby. Try Scrapbooking! I will show you here how simple that can be. You can choose to have fancy, more expensive books or use three-ring binders. You can print
“real” photos or drag photos (digital) into a program like Pages, where you type narratives, captions, or just a title and print the pages.
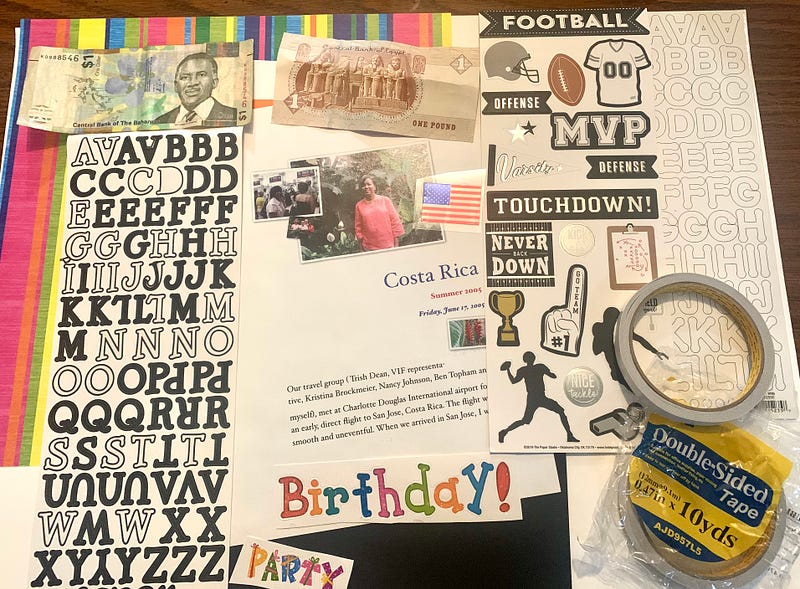
Basic supplies needed: Scrapbook or Binder (with front window pocket for the title page, Color paper or card stock, Stick on letters, Two-sided tape, or tape squares. If it is a travel book, display money, and other items from your travels.
Optional Tools
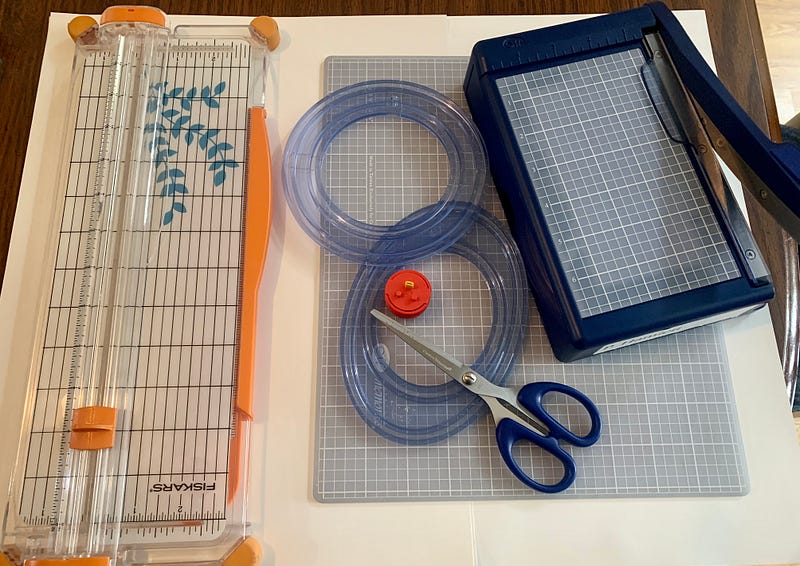
The paper cutter above, to the left, is sold at most hobby stores. Creative Memories is an excellent resource for design tools.
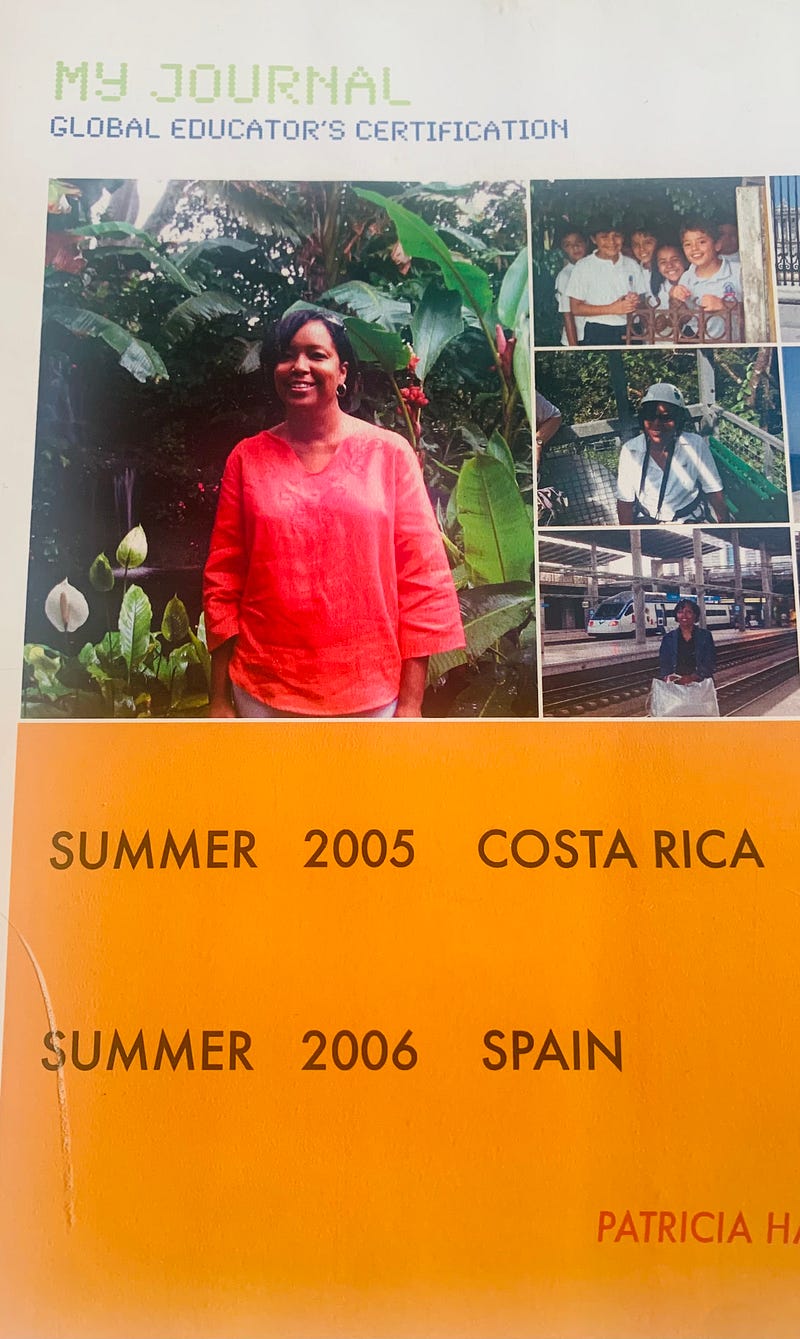
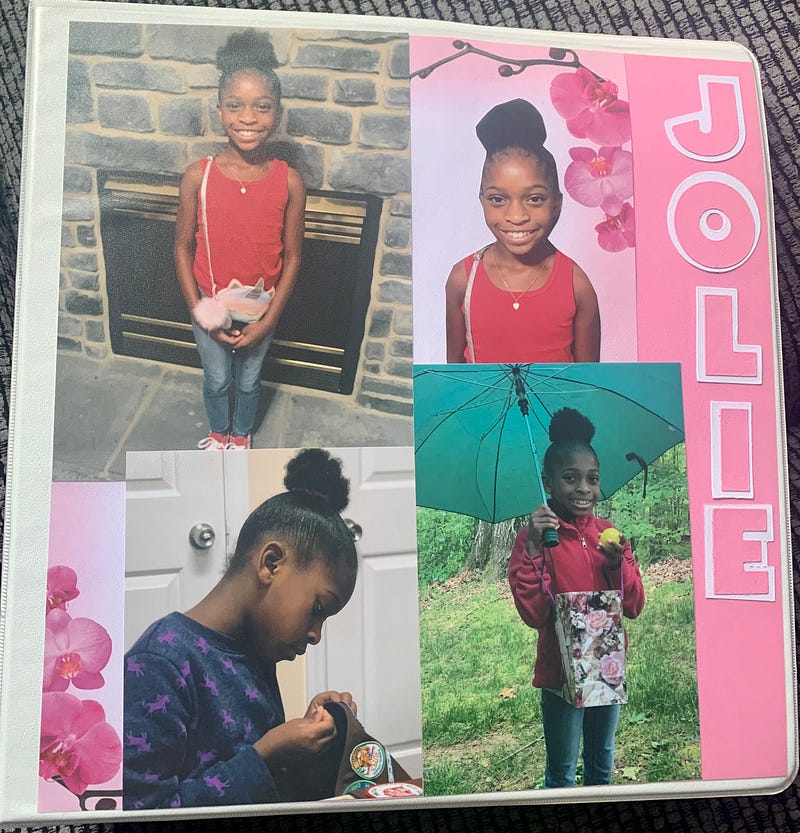
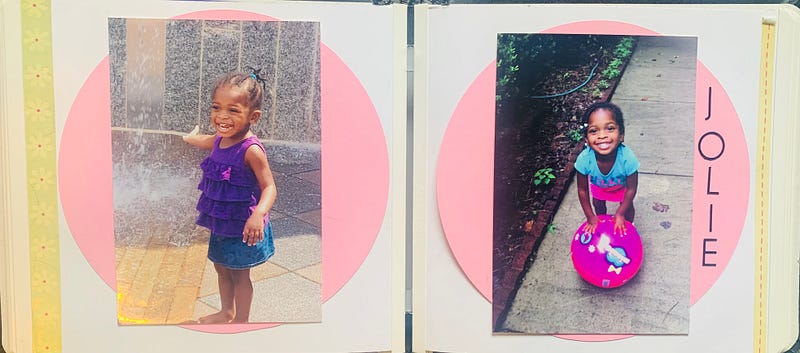
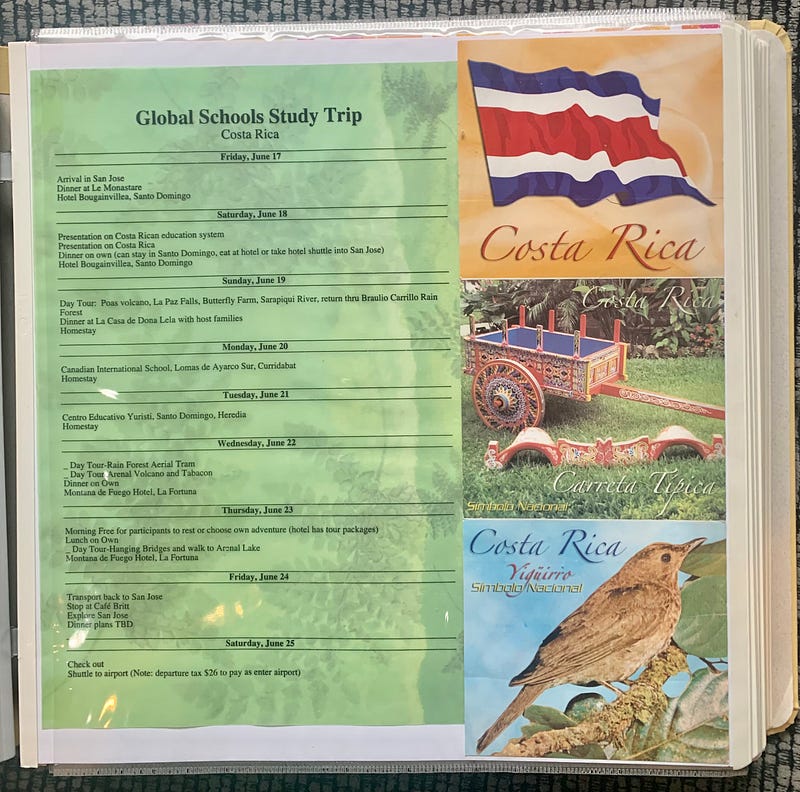
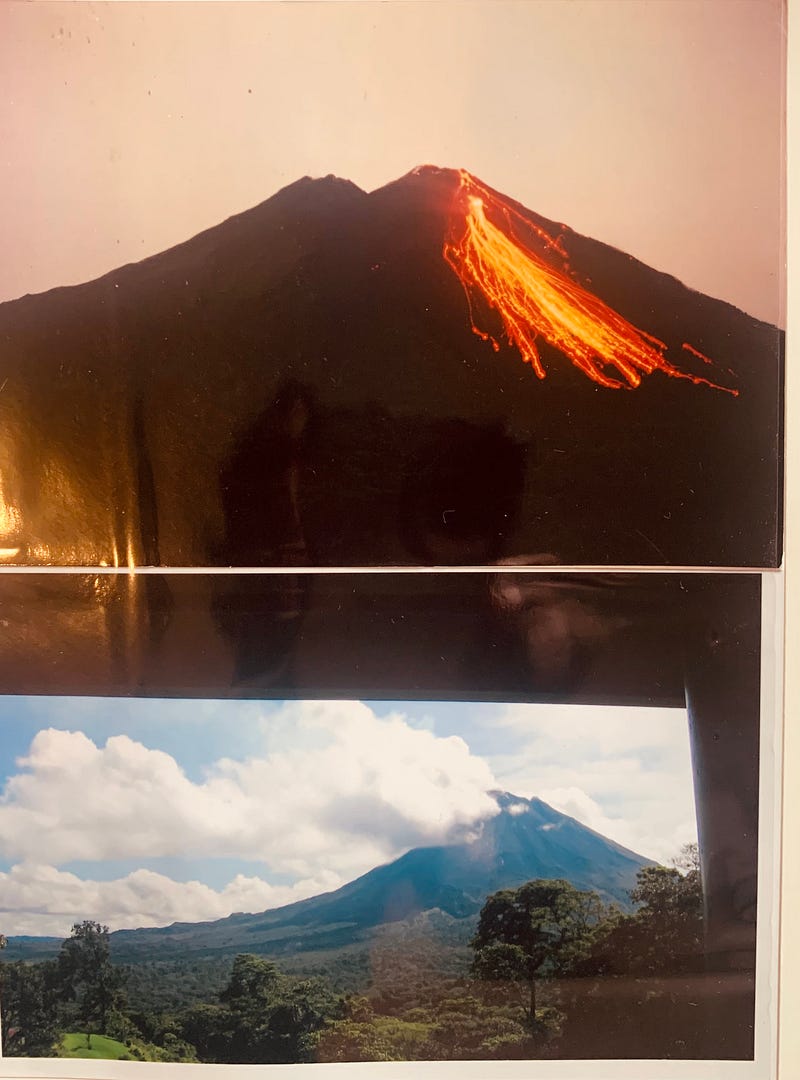
The two pages below are from the digital program “Pages.” Everything is typed online into the templet; then, you drag your digital pictures into the squares on the page. The pre-shaped squares or rectangles resize the image automatically. Very user-friendly.

Decide On An Album Type:
There is a wide variety of “ready-made” scrapbooks with words or picture designs.
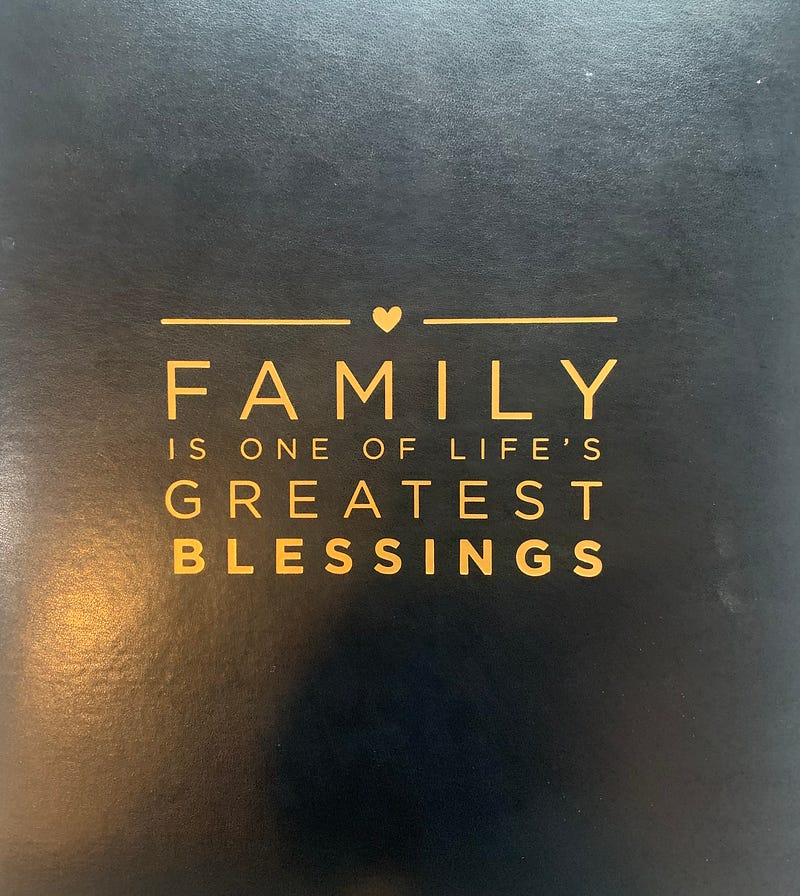
Some scrapbooks can be engraved with names and special messages.

This is the front of a large three-ring binder. You can add the person’s name and pictures, then slip the page into the window pocket.
I have scrapbooks for each of my five grandchildren. I update their books with birthday parties, holidays, and special events. Because the books are for them to enjoy, I make them in large 3-ring binders. No worries about fingerprints or destroying an expensive album.
I purchased the Binders and Sheet Protectors from a local office supply store to insert the completed scrapbook pages. I do not use the non-glare sheet protectors.
I then purchase 8 ½ X 11 colorful cardstock paper from the hobby store. It makes their pages sturdy and easy to turn.
They love to sit and look through their books!
Note: I am not artistic. I collect or purchase the items I want in my books. They usually come together well and make attractive pages.
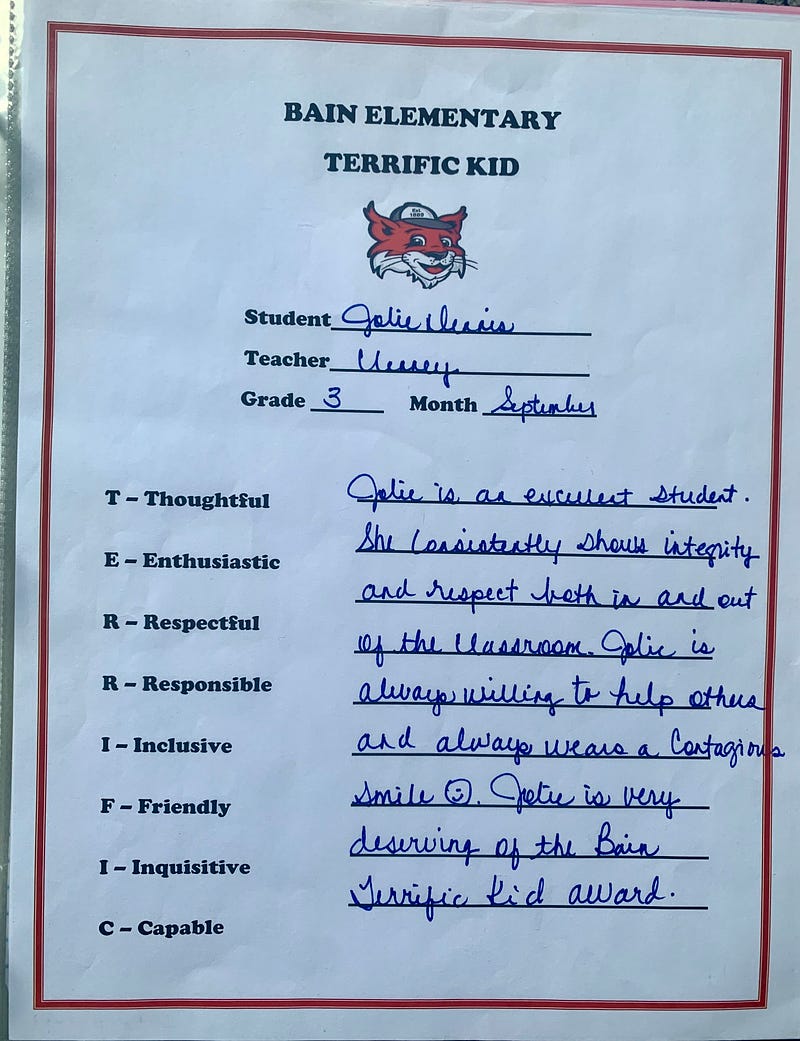
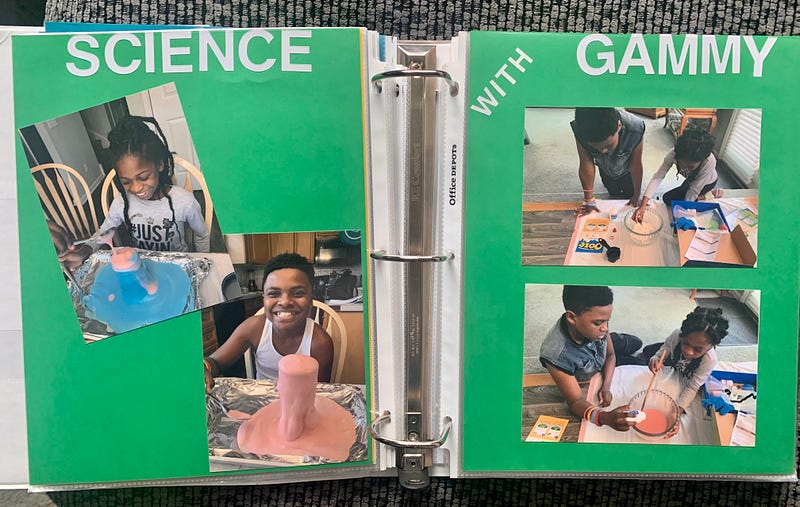
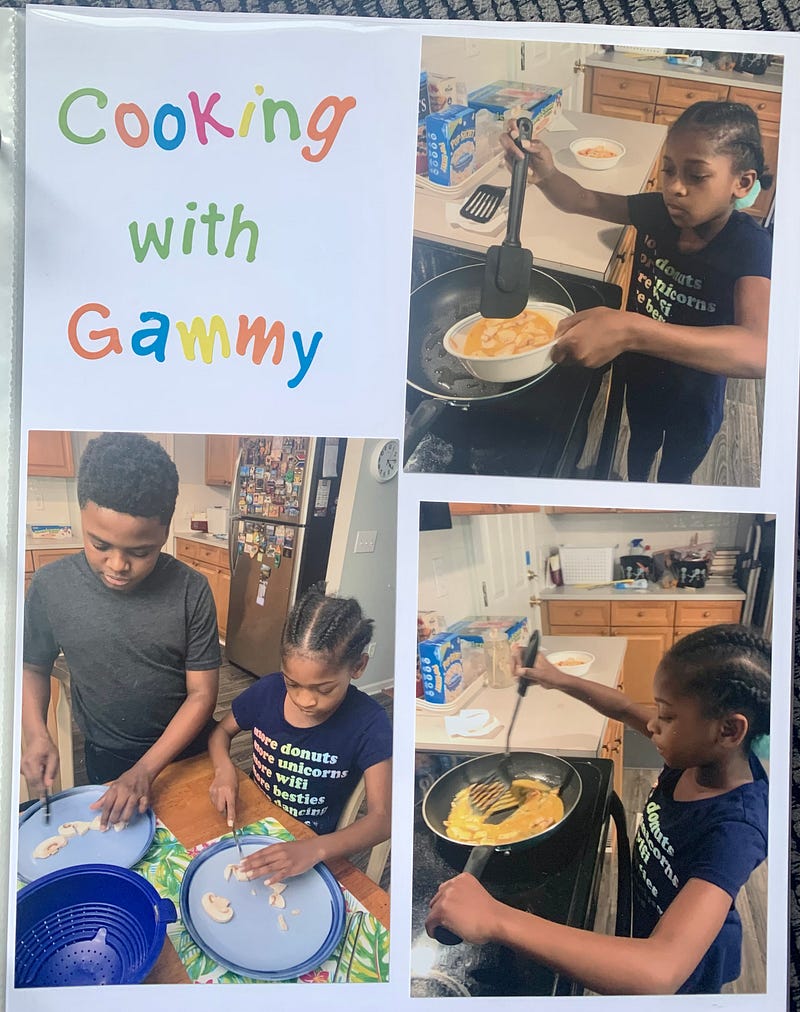
Add Special Awards & Fun Activities
Storage Containers — I use the following containers to organize my materials. It keeps them neat, clean, dry, and free from being bent. It also makes it easier to put my hobby away when I am finished. Purchased at craft Stores.
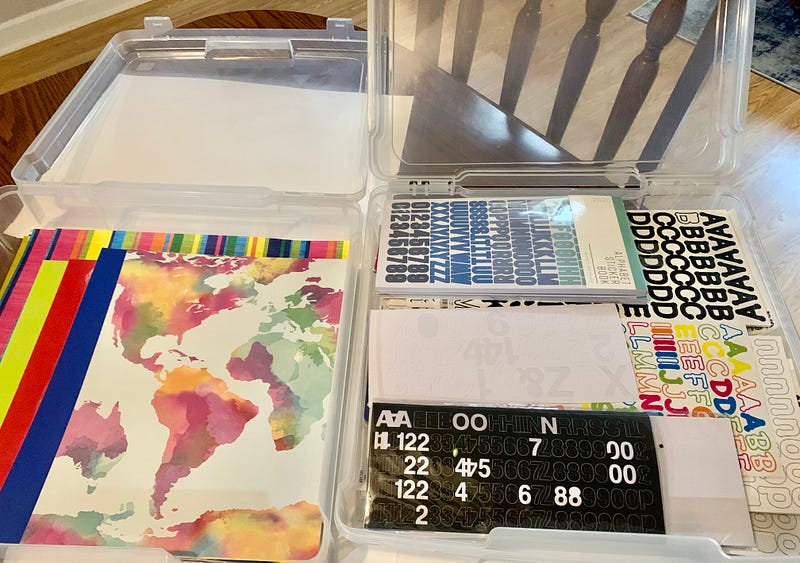
I have 3 of these 14” X 14” containers. They are used for:
1. Storing scrapbook paper
2. Storing stick-on letters and other decorative items.
3. Storing pages I am working on or completed pages
waiting to be placed in a scrapbook.
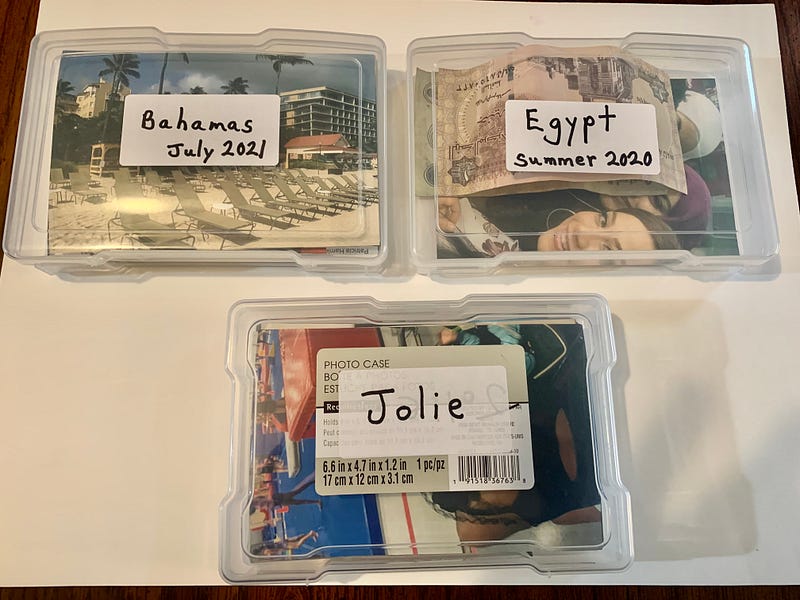
The 4” X 6” boxes below store individual picture projects.
Starting Notes:
1. Decide on a theme. I will show you a few samples.
Common themes are Travel, Family, Birthday Parties, Fashion Over the Years (this could also serve as a portfolio), Sports, Dance or Gymnastic Competitions, etc.
Small albums are easy to complete. The above album is 7 ½" by 8”.
Note: Scrapbooks make great gifts! I’ve attended Baby/Bridal Showers over the years and not taken a gift. However, a week or two later sent back a scrapbook filled with the memories of that occasion. Priceless!
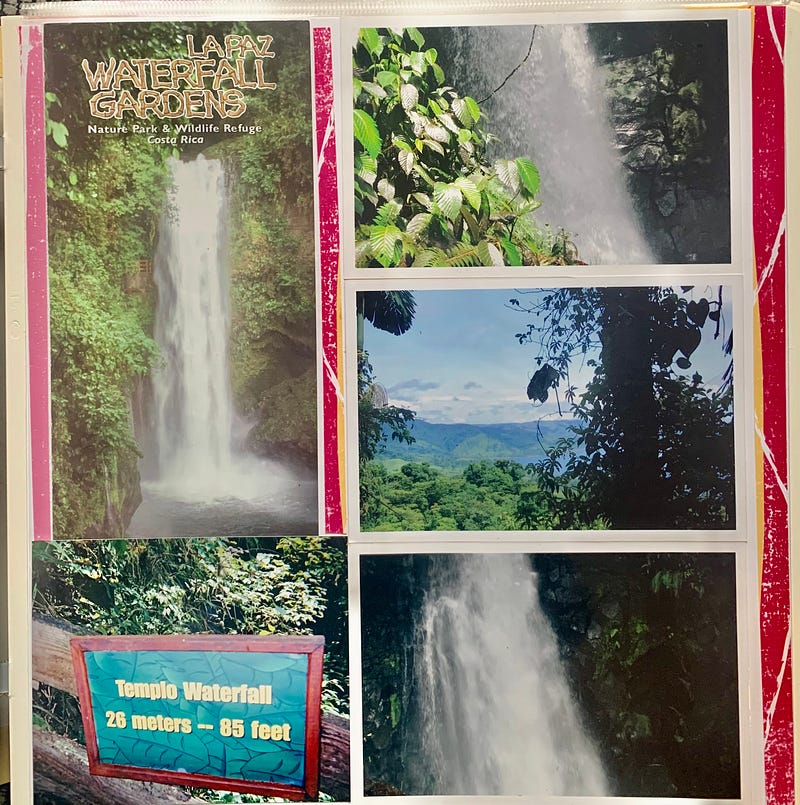
2. If your theme is travel, make a few notes for yourself before leaving for your trip. Examples: If traveling out of the country, bring back a sample of the paper money to include in your book. Bring back brochures if you take exciting excursions (say on a cruise vacation). It will either help you with details for journaling notes or (my favorite) copy or cut apart pages of the actual brochure to add to your scrapbook pages. It makes your pages colorful and exciting.
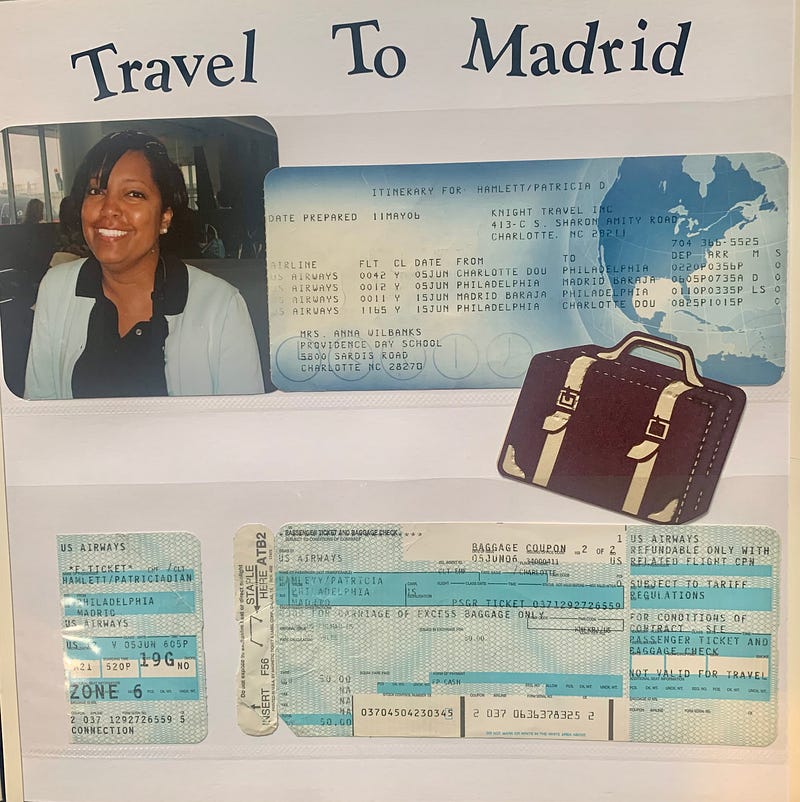
Adding the itinerary from your trips is a great idea. You’d be surprised how quickly you forget the details.
Scrapbooks are also great conversation pieces for your coffee table.
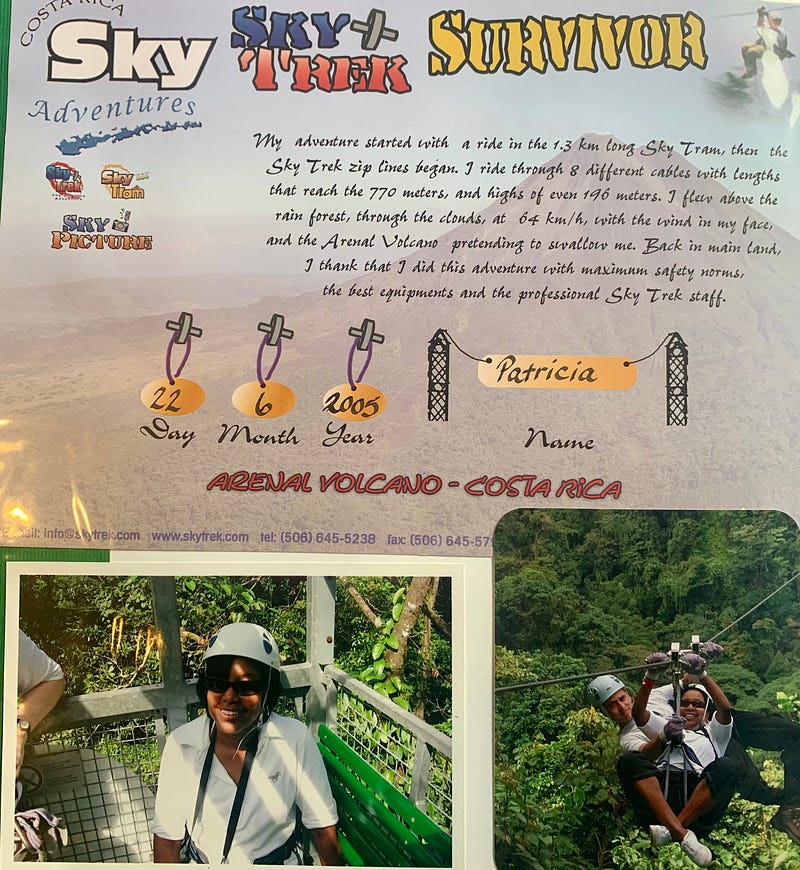
I like to use a combination of actual pictures, brochures, and other items.
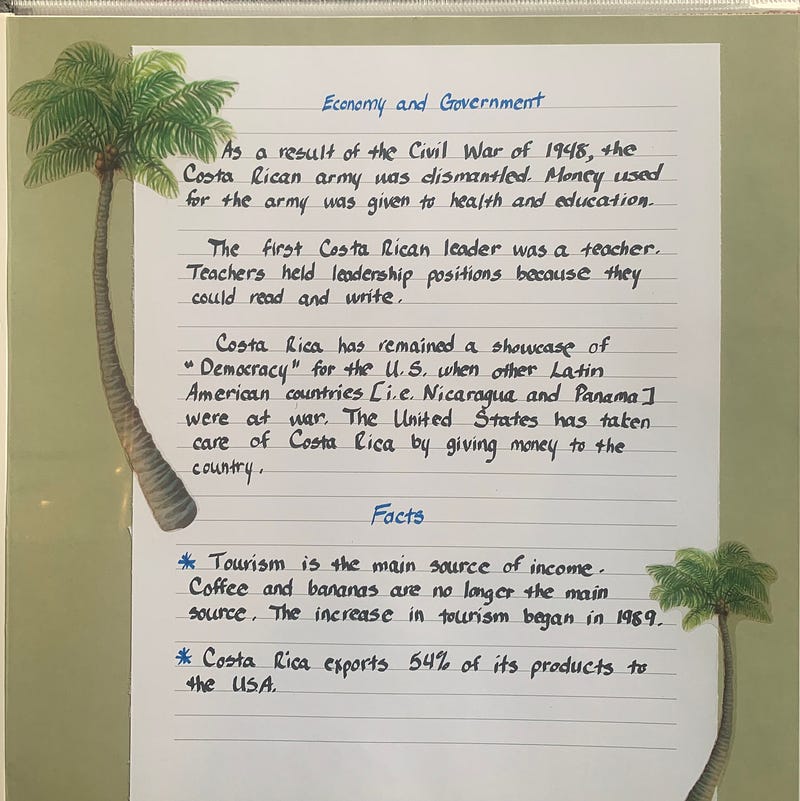
Journaling adds a personal touch to your memory books.
3. If you choose to use real pictures (my favorite), select the images on your camera that you want and drag them to your desktop. My ending notes explain how to send them for printing. I find it easier to work on scrapbook projects from a laptop. However, you can upload pictures to be used on your phone.
4. Local craft stores like Hobby Lobby or Michaels carry everything you need to create your book. Caution: Like any hobby, you can spend a little or a fortune on decorative items. Watch your budget!
5. The easier scrapbooks to work in are where you drop the completed pages into a plastic sleeve. The advantage is lifting the page in and out to make necessary changes.
So, don’t let those pictures sit on your phone! It’s time to make them available to enjoy daily and to share those memories with friends and family.
Ending Notes:
- If you choose to use real pictures, never pay full price. Stores like CVS and Walgreens have weekly coupons from 40–60% off. Google “photo coupons” for that store and choose the one that applies to you. It will give you a code to enter before submitting your order. Make sure you select “pick-up at the store. Pictures are usually ready in an hour if mainly ordering 4X6 (Standard size) There is a variety of coupons for calendars, enlargements, etc. Don’t panic if you forget to enter the discount code. When you pick your pictures up, let the clerk know before they ring up your total.
Also, while online, you are not entirely checked out until they give you your time of pick-up and confirmation number. Sometimes people “click” submit once, and think they are finished.
2. Go to the store’s website and select Photos. Your first step will be to upload your photos.
3. After they have uploaded, “select print all.” This doesn’t mean you will purchase them all. You can look at each one and enter a number or “0” zero.
4. Very important- always select edit for each picture, even if it looks perfect. Otherwise, the computer will self-edit and may print your picture “off-center,” or cut someone out of an image.
If the website “suggests” the best option size, choose that. It means your picture will look better that size. Instead of 4X6, the system for me will often recommend 4X4 square. It’s smaller but always looks great.
5. You can also choose one of their memory book options by selecting your photos and a theme. They “drop” the images into a book for you. You choose and add a title page too. Again, these books also range in price and variety. They walk you through the entire process. If you’re still not feeling confident, save your work or go to the store first. I would not stay if the store is busy. They will walk you through each step if they do not have customers in line.
6. One last photo note of importance: You can not drag a picture into most articles or online books with an extension of .HEIC. While on your desktop, open your picture file, “click on recent.” Drag the picture in, then drag it back to your desktop. It will change the extension to a jpeg. So, the new number under the picture might be IMG_4032.jpeg. This is important. Then delete the image with the other extension.
I guess you can tell I’m an avid scrapbooker. It’s because my family loves to sit and look at our holiday celebrations, and I like to capture the memories of my travels. It’s not something I do weekly or every month. However, I keep supplies handy and print pictures often. That way, when the mood hits, my hobby is there waiting. Sometimes I will scrapbook for days or weeks at a time, then not pick it up again for a few months. As stated earlier, you don’t need artistic skills for this hobby.
I would love to hear back from anyone who decides to make a scrapbook after reading my “How To.” I find scrapbooking a very relaxing hobby any time of day or night.
Have fun and be creative!


