
Run Python Scripts at Scheduled Time Everyday
Four simple steps to schedule your script to run at a fixed time automatically.
1. Write the Script 2. Locate your python interpreter 3. Create a bat file to run the script 4. Schedule the day and time to run it
1. Write the Script
Definitely the most important part, but for the purpose of this article, we will only use a simplest script and save it as “Hello.py”
print("Hello World!")2. Locate your python interpreter
For Windows users, if you are using Anaconda environment, the interpreter is mostly likely located under C:\Users\<User>\anaconda3\python.exe or if you have created your own environment: ...\anaconda3\envs\<env name>\python.exe
For those who installed Python manually, simply go to the python folder and you should see python.exe in it. Copy the full path with \ and without quoting marks.
3. Create a bat file to run the script
Right click in your File Explorer to create a new text document. You could name it “Hello.txt” for now.
Get the full path of your Python script, and edit the text file in the following format:
@echo off
<full path of python interpreter> <quoted full path of script>
As an example, it should look something like this:
@echo off
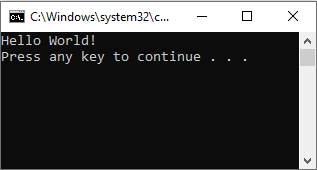
C:\Users\User\anaconda3\python.exe "D:\Hello.py"Save the file and rename it as “Hello.bat”. Now double click to run it, and you should see a Command Prompt window popped up like this:
4. Schedule the day and time to run it
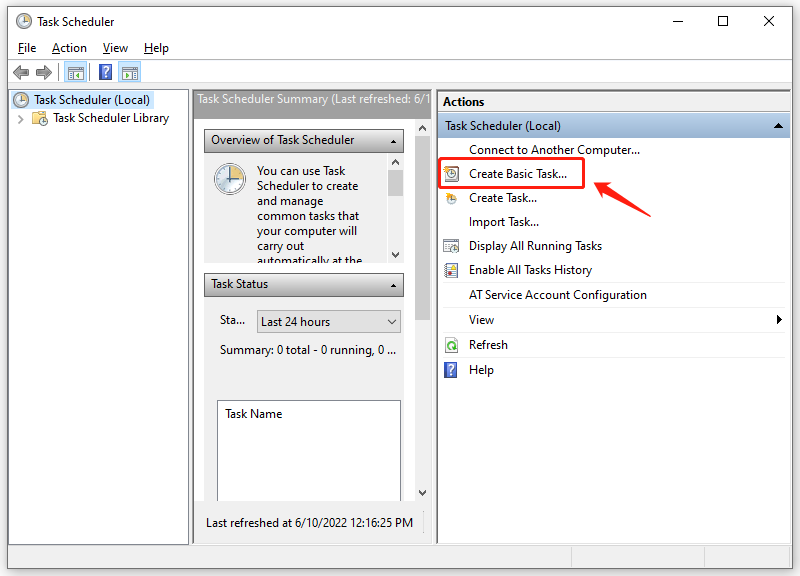
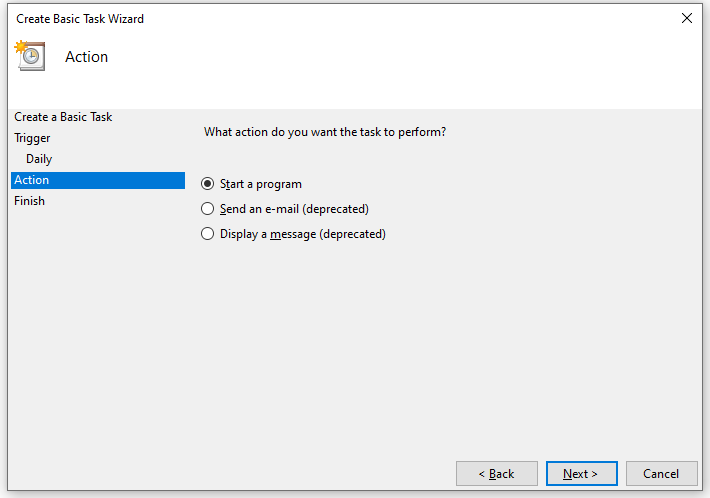
Now to the final part, search for “Task Scheduler” in Windows Search bar, click on “Create Basic Task…”.
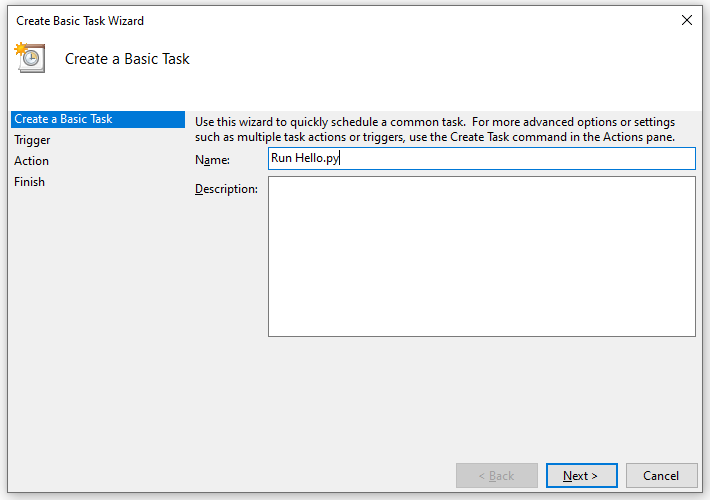
Name the task so that it is easier for you to distinguish and manage in the future, and hit “Next”.
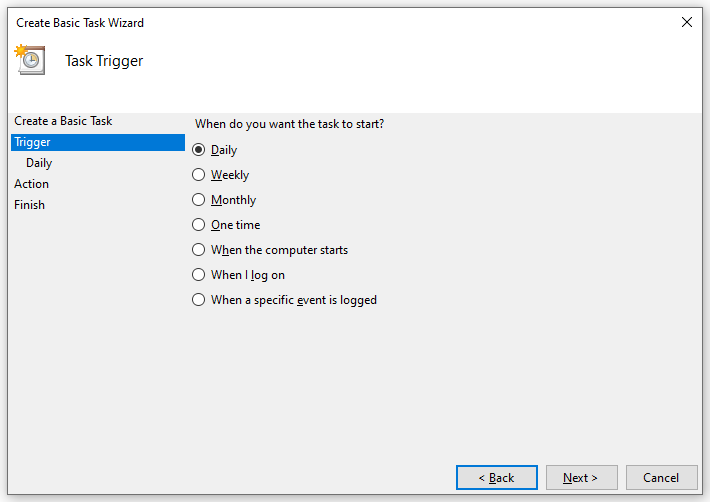
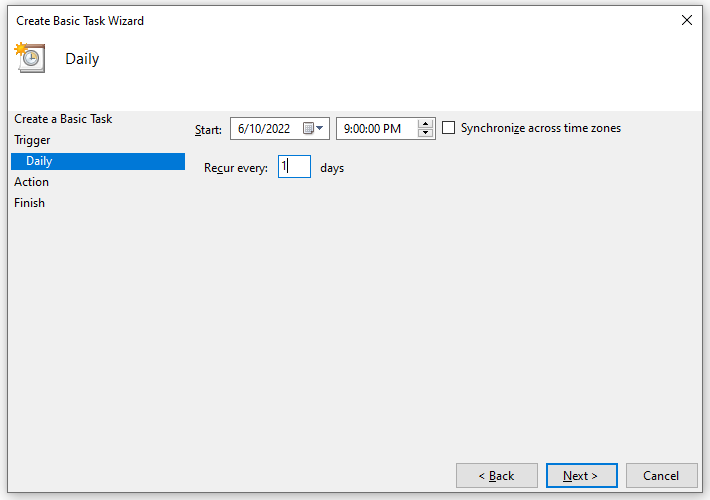
Set the trigger frequency and exact time as you wish.
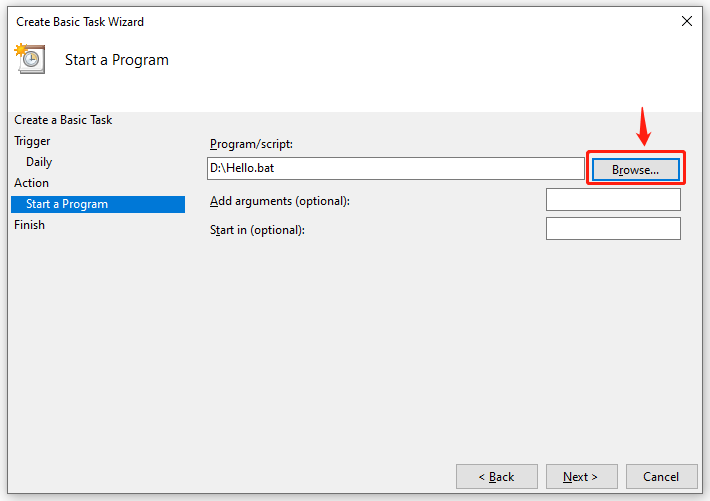
At the next step, browse and locate the bat file created in Step 3.
Check for the settings before hitting “Finish”.

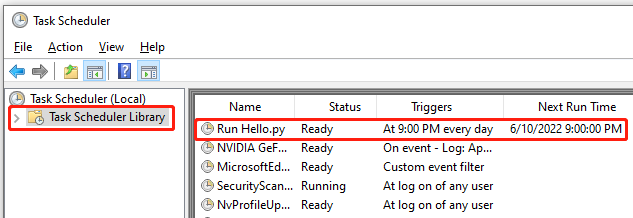
You should be able to find the newly created task in the Task Scheduler Library in Ready status. To edit or disable it, double left click on the task to open its settings page.
Final Note
To confirm the task has run at the scheduled time and successfully, you may want to write the task output in a log file, maybe even email it to you after the task completes, so that it is easier to check to keep track.