
UITableViewCell with Round Corners and Shadows in Swift 5
This is a tutorial to add both Round Corners and shadow in UITableViewCell using swift 5.
You can find also the full tutorial in pdf in this link:
The best way to do that is to use 2 different layers for the corner radius and the shadows. Let’s start setting the shadow in a cell.
First we need to create an Extension of UIView in order to apply our shadow in every view.
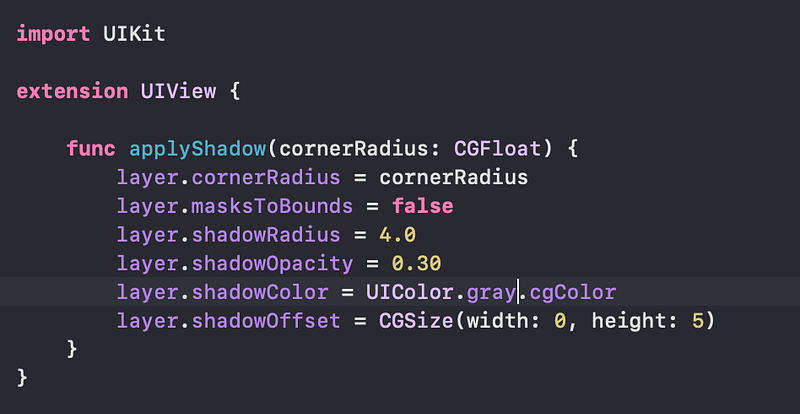
We wrote the applyShadow function which takes a cornerRadius to set in the layer and the properties of the shadow. You can play the shadowColor, shadowRadiues and shadowOpacity to design your shadow as you wish.
Now let’s create a base UITableViewCell that we need for every cell we are creating in our app.
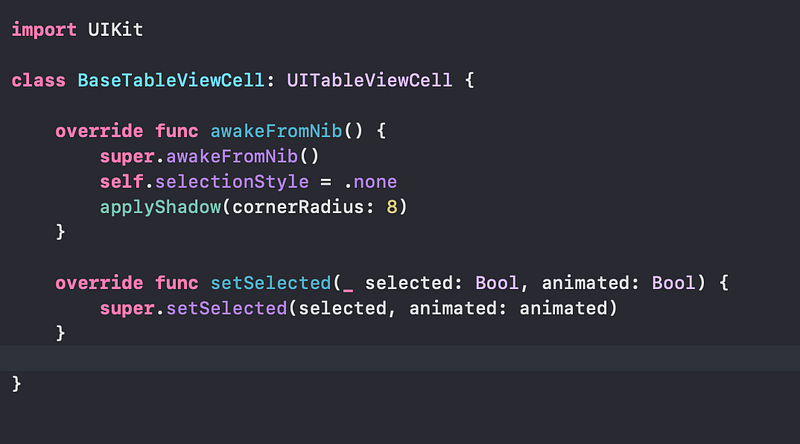
Using the code above we say at the cell to applyShadow with corner radius 8 in it’s root view. Now let’s create our UITableViewCell and extend our base class.
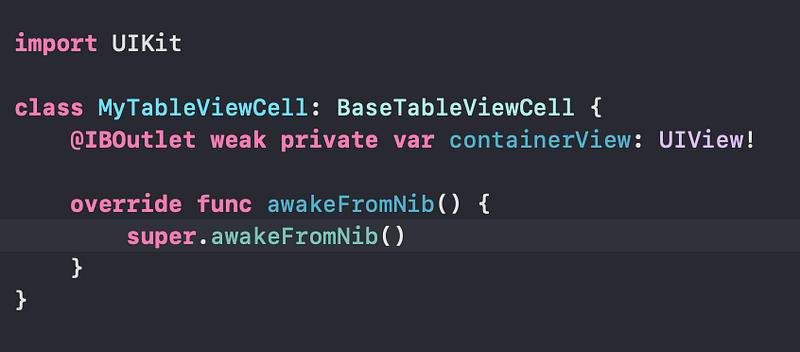
Now we have our custom “MyTableViewCell” that extends our BaseTableViewCell and automatically apply our shadow in it’s root view.
As you have noticed we have an outlet called “containerView” this is what we need to add the corners in our view. Let’s see how our xib should look like.
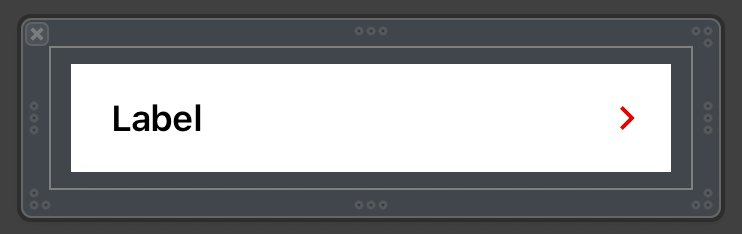
What we have done here is that we add a view called “containerView” and add constraint 8 for top, bottom, left and right constraints. The trick here is to set the background color of the contentView (or rootView) to .clear and the containerView to white or whatever color you wish to.
What we need to do now is to add corners to containerView as the shadow is already applied to the contentView of the cell.
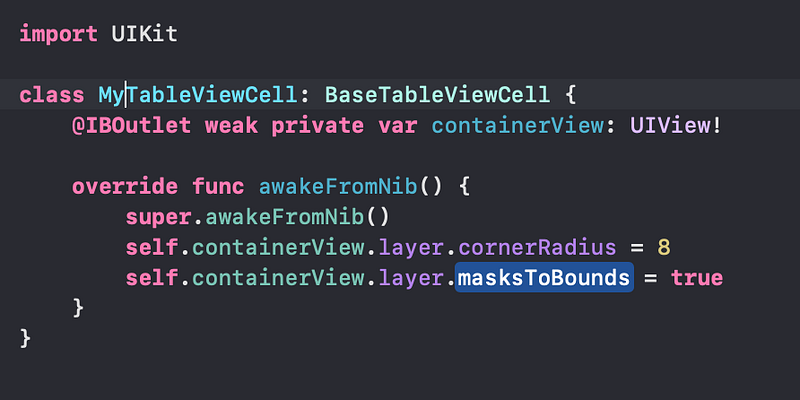
Now we just added the layer.cornerRadius of the containerView layer and the masksToBounds at true.
Enjoy! We have a UITableViewCell with corner radius and shadow.
Let’s see the result.


