Restoring a #4 Stanley Bench Plane
How Far Gone is Too Far Gone?
Not long after I plunged into hand tool wood working I realized I would need some hand tools. I had minimally restored the Stanley #7 joiner plane that started this madness, jointed and glued up the 2x4s for the top of my low Roman Work Bench (thanks Rex Krueger), and now I needed to flatten and smooth that top. Off to Ebay for some shopping, and before too long I had a fairly clean #5, also known as a “jack plane” to whip into shape. Pulling long filmy wood curls with a hand plane is addictive, at least it is for me, and it was obvious I want/needed a #4 smoother too.
By now my Covid routine had me watching YouTube every night, along with measured binges of West Wing and Downton Abbey. Rex tutored me on tool building and sharpening while Paul Sellers delivered a dry but definitive lesson on restoring the #4. Several months later now I have become the crazy cat lady of old Stanley planes, and I figure, why not spread the madness around?
Why restore an old Stanley plane in the first place, why not just buy a new one? There are a couple of answers. Stanley still sells a #4 smoother but by most accounts the manufacture of this plane doesn’t measure up to their vintage ones, and they’re more expensive than a smart vintage buy as well. Often the old Stanleys can be picked up at yard sales or estate sales, or rescued from a relative’s basement. A plane similar in quality to a well tuned old Stanley can cost hundreds, and anything cheaper will require much the same tuning that you will invest in your old find.
The first step in the restoration is to dismantle the plane, important education if you actually want to use the plane, new or old. You will need a good quality straight screwdriver with a clean and unworn blade. All the assembly screws are slotted screws and you don’t want to damage the slots. If the plane is heavily rusted you will want to apply a drop or spritz of penetrating oil to each screw, except for the brass slotted nuts that hold the handle, known as the tote, and knob, and set the plane aside for a day or two. Usually the screws will release with some careful torque; you want to disassemble on an ample surface and carefully collect every screw and washer. They are difficult to replace.
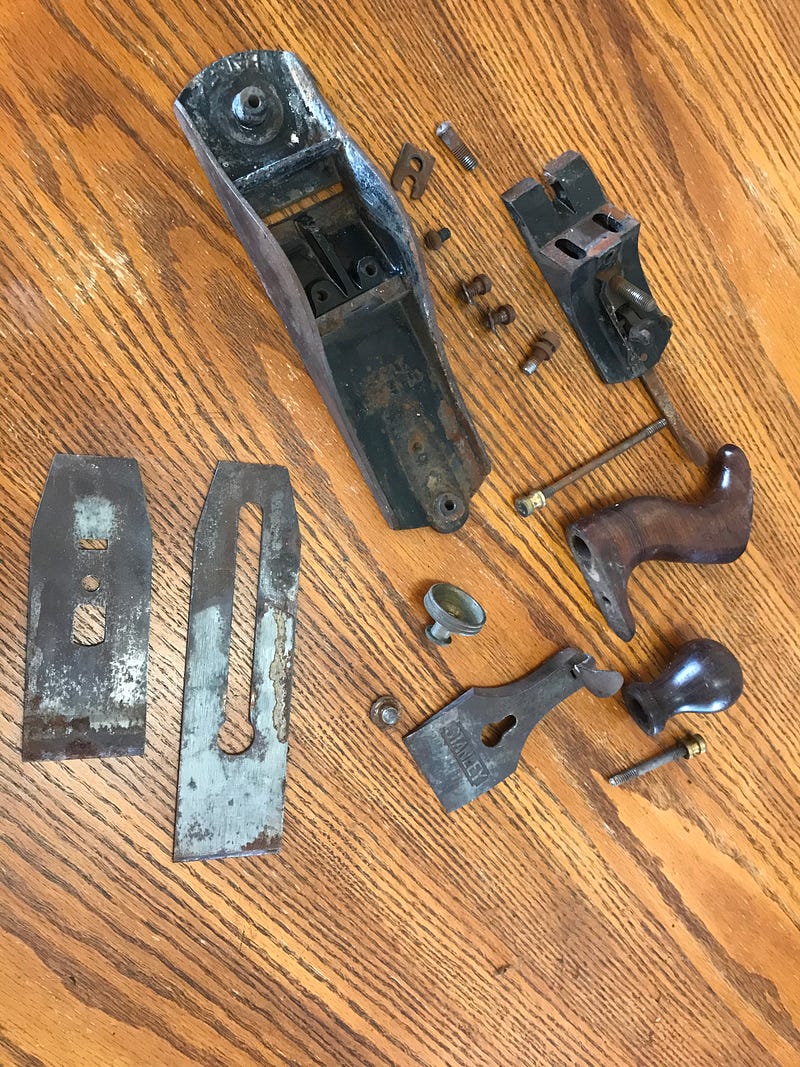
Pictured here is the disassembled plane. You pop off the lever cap (bottom middle with the key hole slot) by lifting the lever and sliding it back till the cap screw clears the slot. The blade assembly (lower left corner) will now slide up and back out of the body. Using an appropriately size screwdriver or the end of the lever cap you unscrew the knurled nut that holds the “iron” and “chip breaker” together. Next you remove the “frog” (upper right corner), which is attached to the body with two slotted screws directly below and in front of the the lever cap screw…don’t lose the washers;)
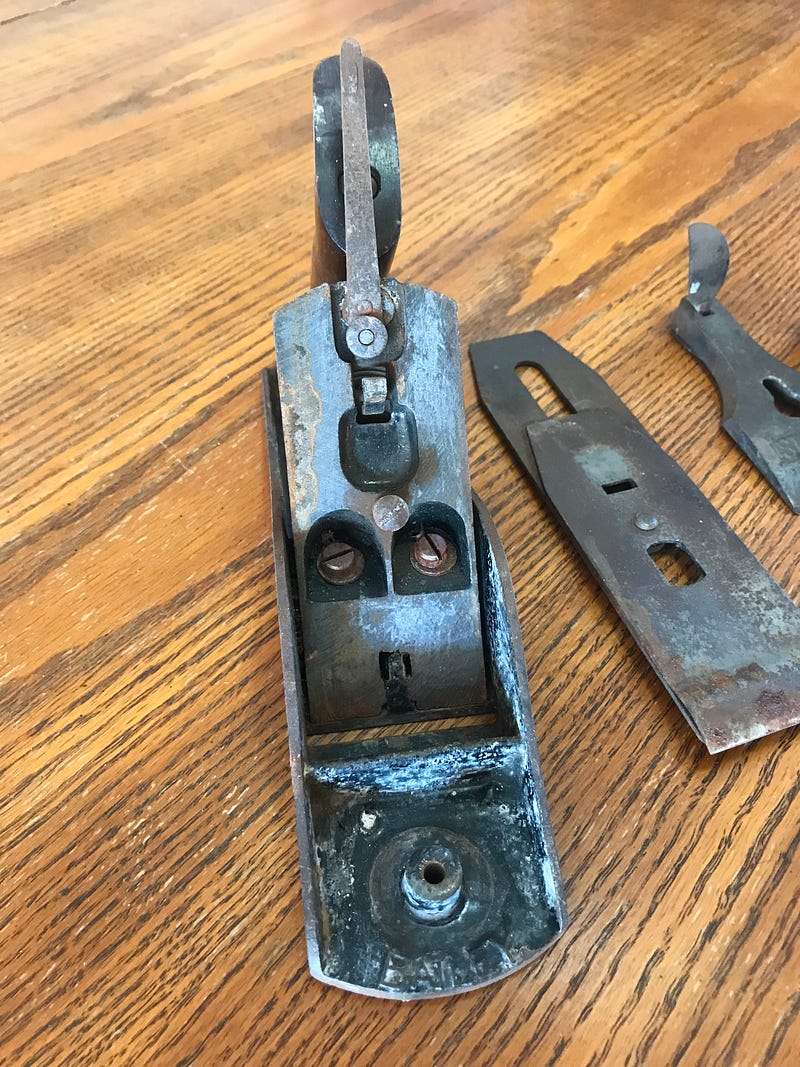
The frog will lift out. On “newer” Stanleys it will have a flat yoke (flat piece just above the plane body in the parts pic) towards the lower rear that is captured between the head and shoulder of a bold slotted screw. this screw threads into the plane body itself. After you lift the frog you unscrew the yoke screw and remove the yoke. Using a well fitted screwdriver carefully unscrew the brass nuts holding down the tote and knob. The brass blade adjustment knob is reverse threaded, spin it off its threaded stud, unscrew the lever cap screw and you’re pretty much there, time to assess.
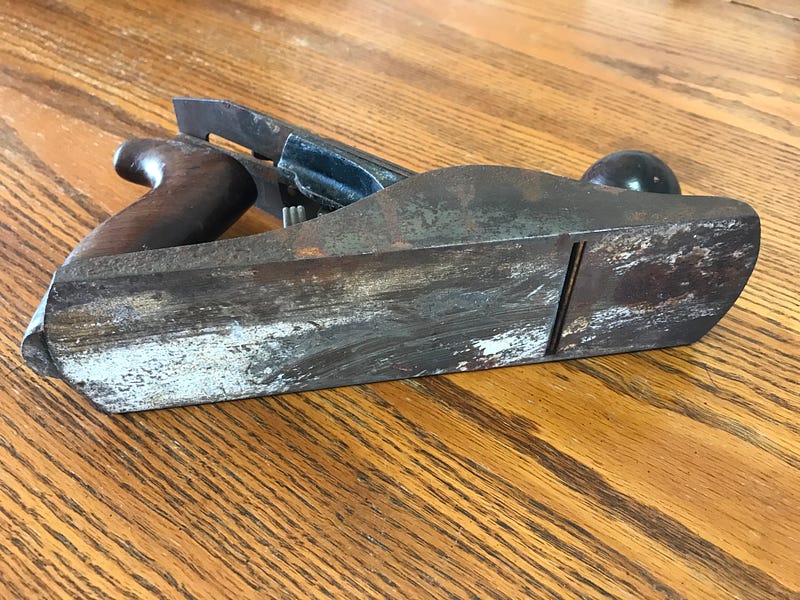
This plane was heavily rusted and pitted. I usually sand and file off the rust on the plane body; if you have a bench grinder with a wire wheel you can use it to clean up most of the parts. Take care to hold small parts with pliers to keep your fingers out of harm’s way and to avoid shooting them across your shop if they catch on the wheel. It’s CRITICALLY important to wear safety glasses. Wires regularly fly off the wheel, don’t take one in the eye. I took the lazy route with my rusted mess, filling a plastic tray with white vinegar and dunking the parts for several days. The vinegar eats the rust.
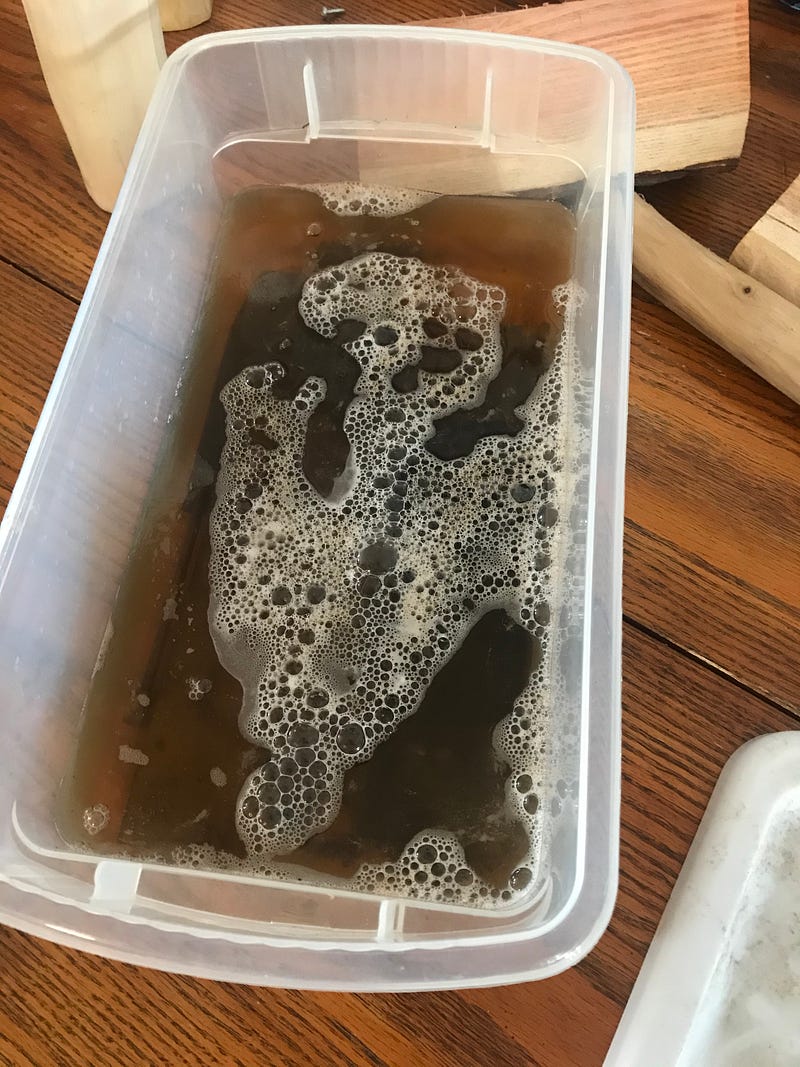
After about four days I put on gloves, probably not necessary with white vinegar, and retrieved the parts one by one. I scrubbed them under the kitchen tap (ah the bachelor life) with a nylon scrubber while thoroughly rinsing in warm water to stop the action of the acidic bath. Trying to abate the rust here, not encourage it. The plane body had a way to go so I re-dunked it for a couple of days and worked on the blade assembly, frog, tote and nut screws, and the various other assembly screws.

I don’t have a bench grinder in my shop, do have an assortment of brass wire wheels designed for use in a drill, and I clamped my battery powered drill in the leg vise of my work bench and burnished away. Again, wear your safety glasses!
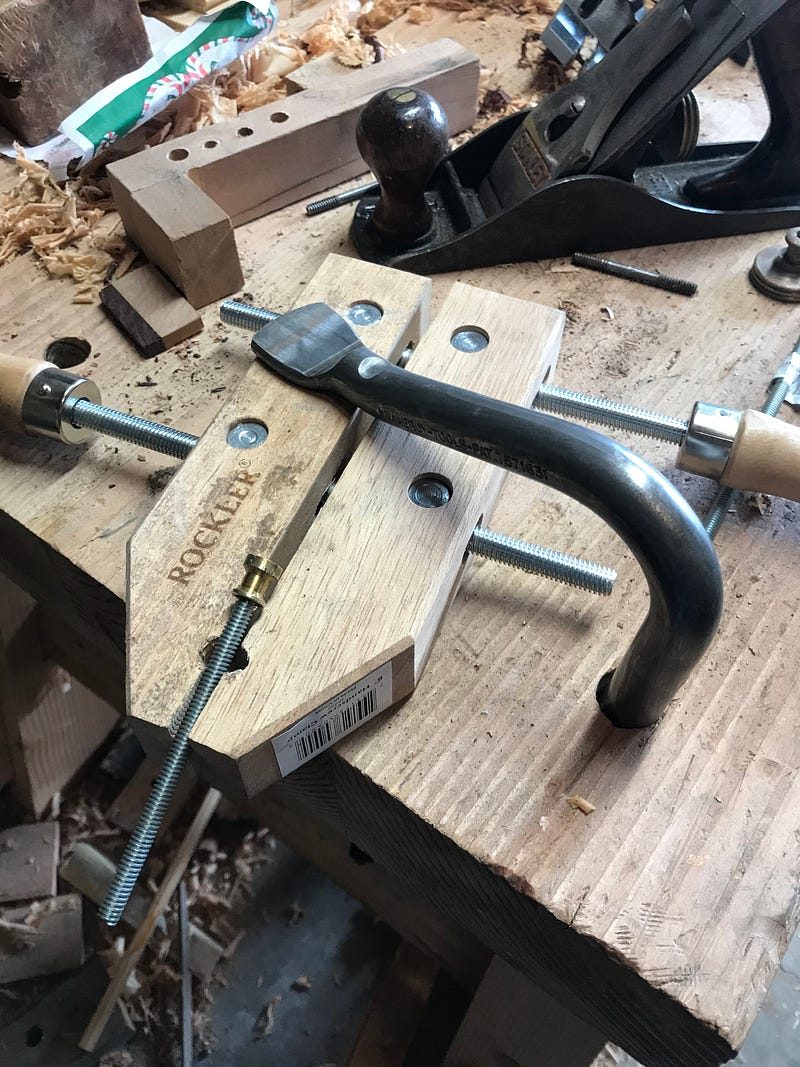
The frog has a flat front, interrupted by the circular cut outs for the frog mounting screws. This face wants to be as flat and smooth as possible since it both supports the blade and is the surface on which the bladed assembly is adjusted, in or out and from side to side. I worked this surface on my diamond plate, lapping around the lateral adjuster which extends above this surface at the top middle.
Next I turned my attention to sharpening the iron and tuning the chip breaker. I set the iron in my honing jig for a 25 degree bevel and worked it on my stone sink cut out with 120 grit self adhesive sandpaper adhered. You don’t need a stone surface for this, a well supported piece of 3/4" melamine or birch plywood will do. You just need a reliably flat surface. The bevel on the iron wasn’t too bad, it took me 10 minutes or so to bring the new bevel face to meet the back of the iron. You can tell when the two surfaces come together, you will feel a sharp burr curling over the back when they do. At this point I did twenty or more strokes with heavier pressure on one side of the iron and then the other to slightly round the corners of the iron. This is called camber and keeps those corners from digging in to the work or leaving tracks.
Next I took the iron to the diamond plates, repeating the steps from the sandpaper. Now I only needed about fifty strokes with pressure on the middle and twenty or so on the sides. My plate has a 300 side and a 1000 side; I don’t think these numbers correlate with sandpaper grits but the principle is the same. The burr on the back diminished as I worked. When the bevel looked polished I removed the iron from the honing jig to work on the back of the iron.
Several strokes showed the high places on the back, as they polished first. Fortunately the telltale polish was at the edge; the back of the iron must be flat and polished. The sharpness of the iron is determined by the degree of polish and flatness of the bevel and back. This polish need not cover the whole back of the iron, just the section where the two faces meet.
As I polished the back, the burr nearly disappeared, time for the strop. A strop is a piece of leather, any stout leather will do, with polishing compound rubbed on the surface. Mine is about three inches wide and ten inches long. I clamp it to a wood block, it would work better if I contact cemented it to a piece of wood. I drew the bevel with some pressure over the strop, taking care not to cut the leather as I set the iron down or come off the end hard, damaging the edge. The more strokes the better the polish, but we all have limits to our patience. Some woodworkers test their edge by shaving the back of their arm, others slice the edge of a piece of paper. I’ve found you can test it on a fingernail. if the edge catches with the lightest of touch it’s pretty sharp. You will gain a feeling for this the more you sharpen.
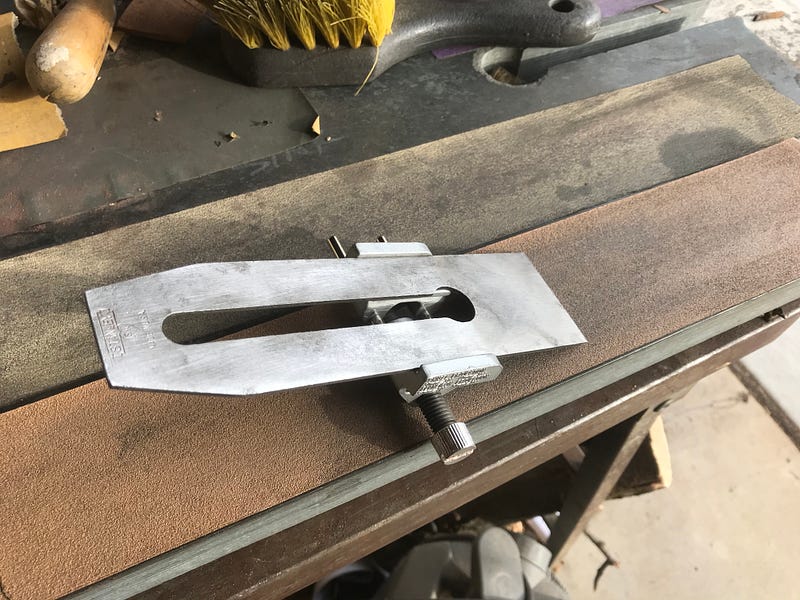
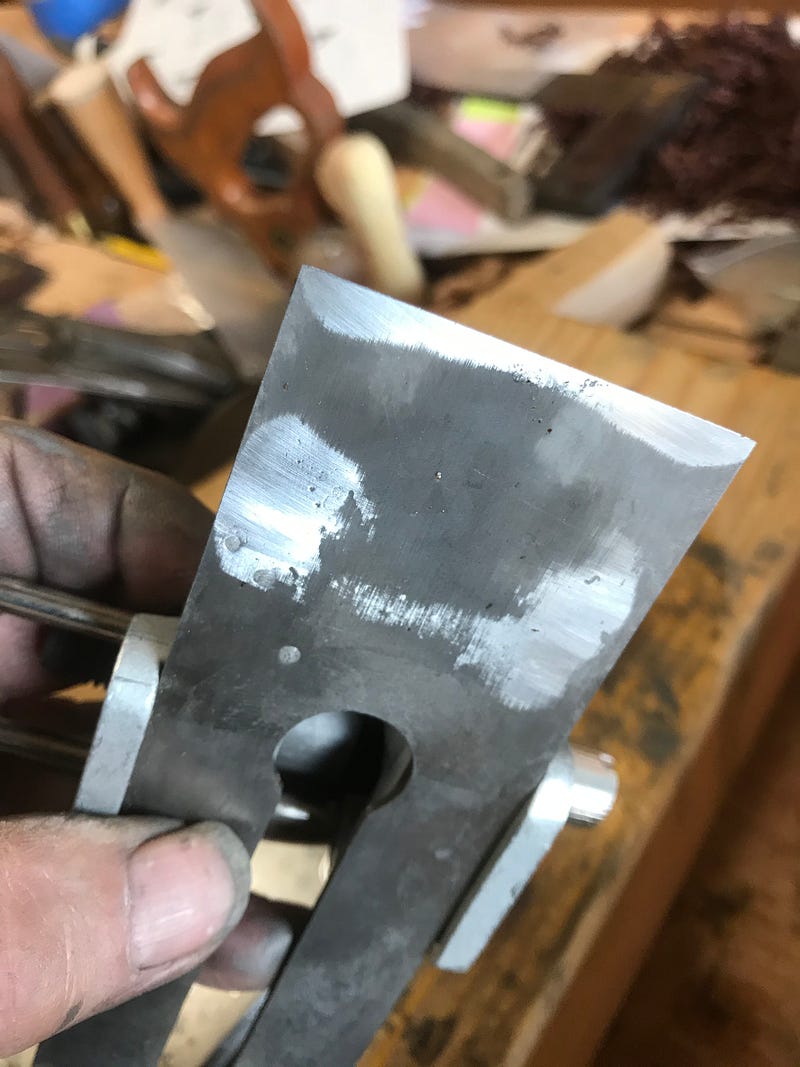
The end of the cap iron, also known as the chip breaker, must make clean and gapless contact with with the back of the iron. I honed that end polished flat on the diamond stone, as shown above. If there are even tiny gaps where these parts meet, shavings will jam in the gaps and cause the plane to skip and chatter. I honed and polished the other side of the chip breaker to encourage shavings to glide up over it.
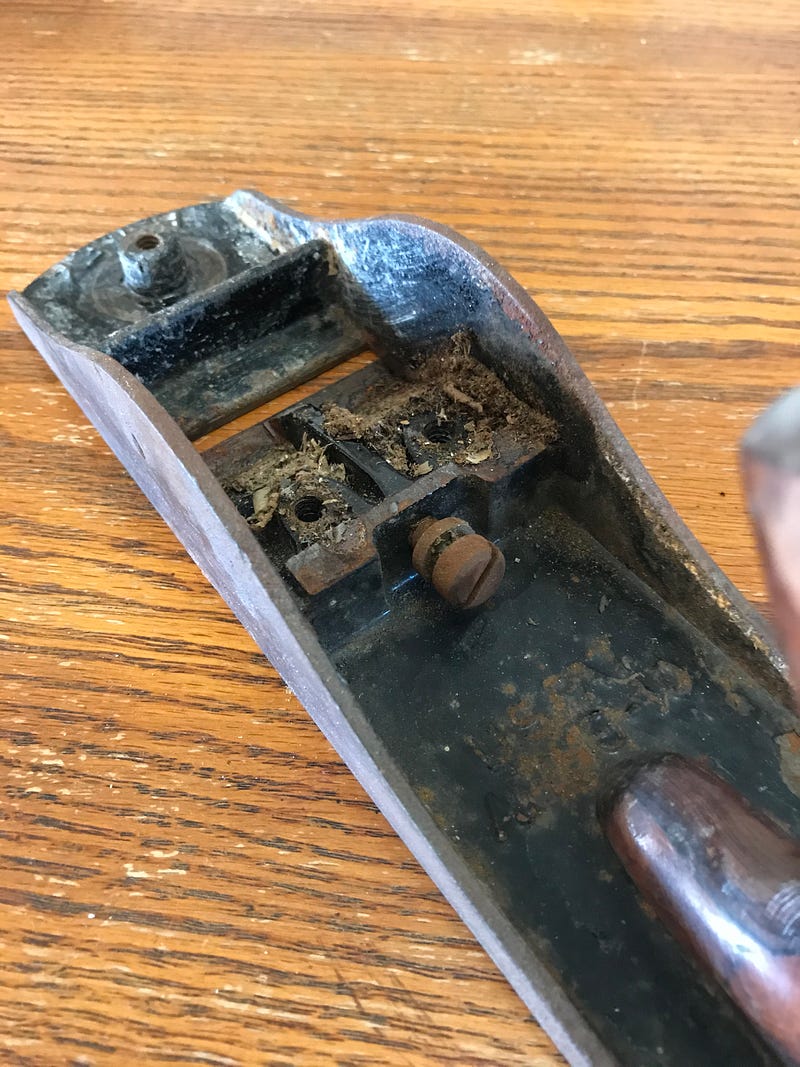
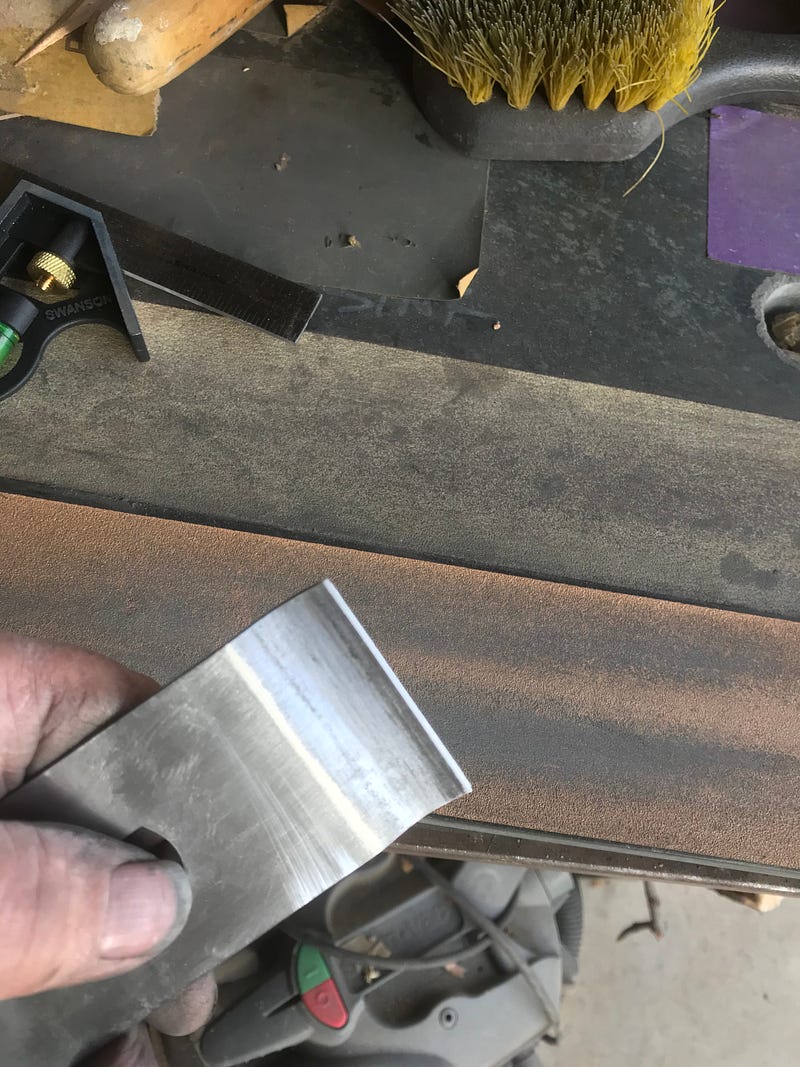
Time to work on the plane body. The sides were still tarnished and pitted. I ground them on the sandpaper stone as long as my patience held our, getting through most of the pits. I did a little flattening of the sole, but the plane must be fully assembled before final flattening, also called lapping. Here I ran into a new snag. The threaded holes in the plane body that accept the tote and knob threaded rods seemed to be rusted out, the rods droped loosely in without catching a thread…damn. I called a couple of old buddies, Brad who buys $10,000 boxes of rusty parts and restores them into shiny, ridable Indian motorcycles, and Paul, who used to fling cars and blow things up for the movie biz, an ultimate guy job. Each had ideas. Paul, a mad self taught engineer genius who set the rigging to hang Lucy Lieu and Cameron Diaz off of cliffs in Charly’s Angels, took a deep dive into old English thread standards. Lots of fun to catch up but over my technical head early and often.
I picked up a tap, clearance drill and die for the next larger common thread size and a length of threaded rod to match, and carefully dressed the threads in the plane body. These seemed to already be sized to my new parts, #10/20 thread. hmmm. A mystery I won’t solve, the mismatched original rods and plane body. Forging ahead I cut lengths of threaded rod and oh so carefully tried to drill and thread the brass nuts. This would have been easier with a drill press; I don’t have a drill press. Ticklish work here, I only ruined one of the nuts, drilling all the way through. Fortunately I have a spare and on this one I succeeded with clearance holes and treads.
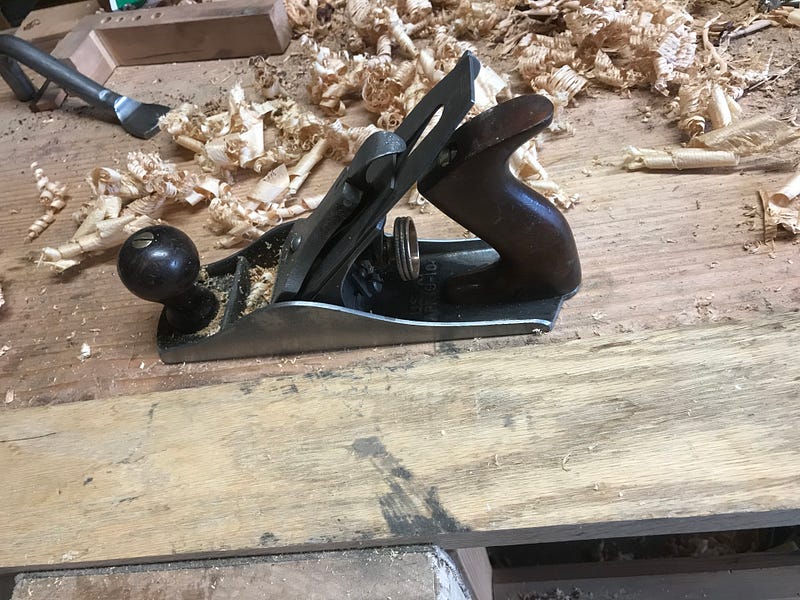
Time to reassemble. I put a small drop of machine oil on all screws as I seated them and wiped a thin film on all bare surfaces. The paint inside the plane body, also known as Japanning, was chipped and rusted away in places, a project for the future. I was anxious to see how it cuts so I skipped by some work still to do on the plane body and blade assembly. Later I will file and sand all metal edges round and smooth, friendly to the hand. When the plane was together I returned to the sandpaper stone to flatten and polish the sole further. This does not need to be perfect, but the flatter and smoother it is, the better the plane works. Then I clamped a piece of oak in the leg vise and took my “new” #4 for a spin.
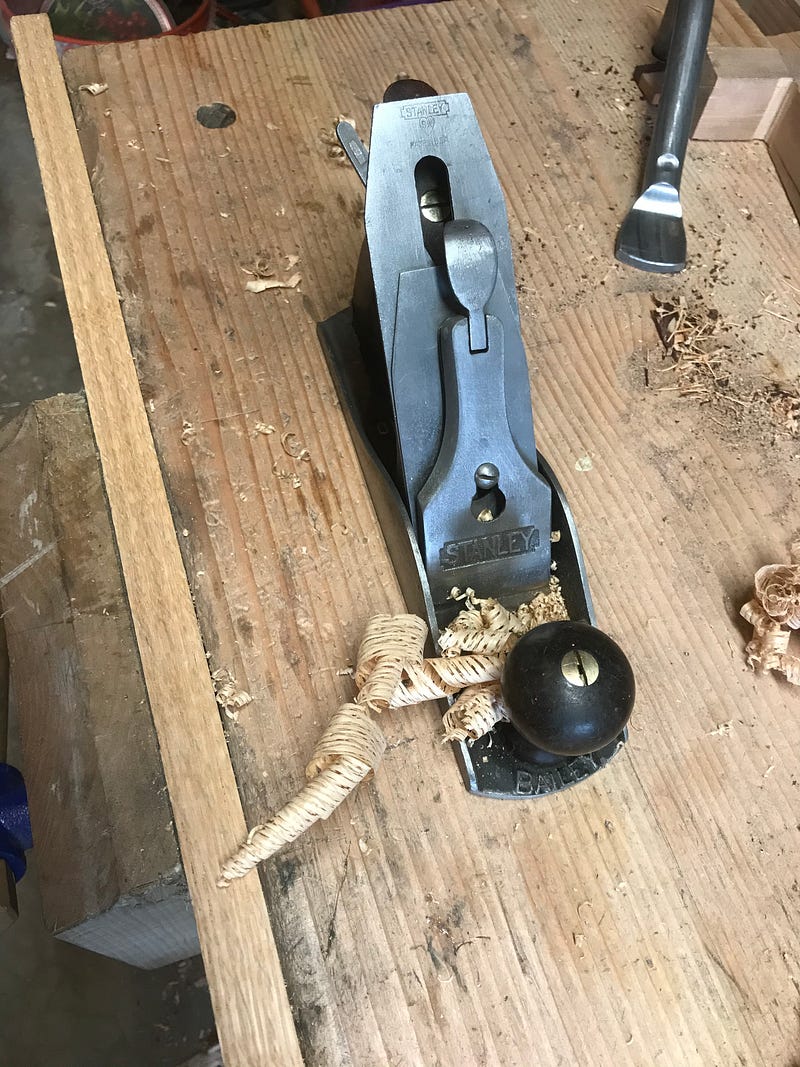
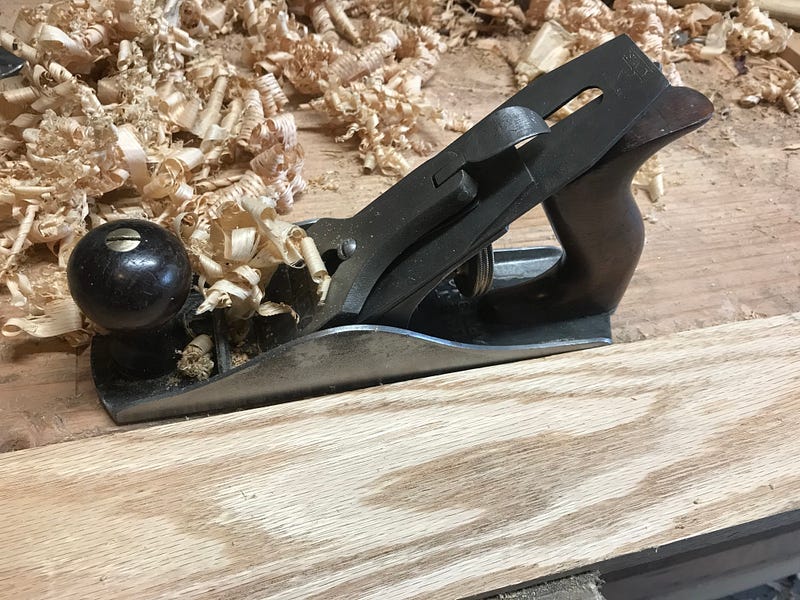
Nice long curls off the edge. I clamped it flat. Once again I pulled smooth wispy shavings up from the iron. Thirty seconds or so turned a rough and dirty surface into a polished surface. Sweet!
I have nicer #4s, planes with unblemished chrome plated cap irons, un-pitted sides and soles. This one will be a good “user” in the terminology of plane collectors, never a beauty queen. Sadly for the user crowd, collectors are constantly on the search for old Stanleys. Some claim that taking off the rust and “patina” lowers their value. While it seems that I am collecting them, I want to use them, or see them used. I have gifted one already to an old friend and business partner. My other old partner will get one and then I’ll start working my way through the carpenters in our old company which is still very much a going concern.
This one could end up my favorite though. It has plenty of steel left on the iron and works great already. Like me it’s a little beaten and battered, we might just be a pair;)