
Recreating the iOS Chat Bubble with the Tail using SwiftUI
Learn how to recreate the iMessage Chat Bubble with Tail using SwiftUI
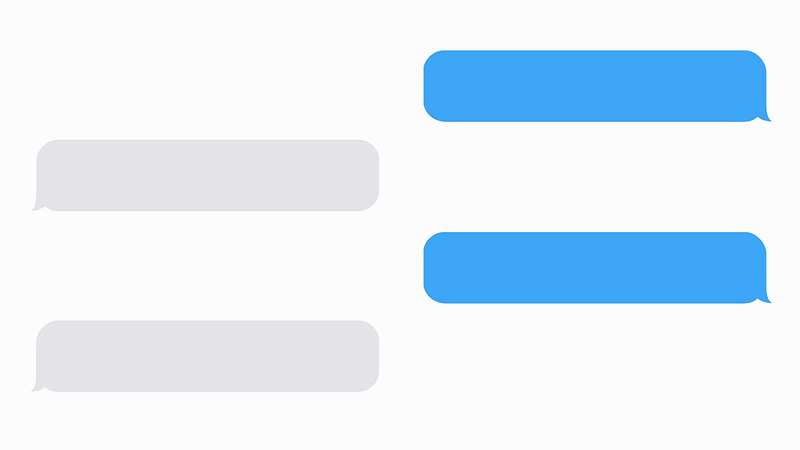
I wrote these little pieces of code using Swift with Swift Playgrounds on an iPad.
Code
import SwiftUI
import PlaygroundSupport

struct Screen: View {
    var body: some View {
        VStack {
            HStack {
                Spacer()
                Text("Here’s to the crazy ones, the misfits, the rebels, the troublemakers, the round pegs in the square holes… the ones who see things differently — they’re not fond of rules…").padding().background(Color(UIColor.systemBlue)).clipShape(BubbleShape(myMessage: true)).foregroundColor(.white)
            }.padding(.leading, 55).padding(.vertical, 10)

            HStack {
                Text("You can quote them, disagree with them, glorify or vilify them, but the only thing you can’t do is ignore them because they change things…").padding().foregroundColor(.primary).background(Color.secondary.opacity(0.2)).clipShape(BubbleShape(myMessage: false))
                Spacer()
            }.padding(.trailing, 55).padding(.vertical, 10)
        }.padding(.horizontal, 15)
    }
}

struct BubbleShape: Shape {
    var myMessage : Bool
    func path(in rect: CGRect) -> Path {
        let width = rect.width
        let height = rect.height

        let bezierPath = UIBezierPath()
        if !myMessage {
            bezierPath.move(to: CGPoint(x: 20, y: height))
            bezierPath.addLine(to: CGPoint(x: width - 15, y: height))
            bezierPath.addCurve(to: CGPoint(x: width, y: height - 15), controlPoint1: CGPoint(x: width - 8, y: height), controlPoint2: CGPoint(x: width, y: height - 8))
            bezierPath.addLine(to: CGPoint(x: width, y: 15))
            bezierPath.addCurve(to: CGPoint(x: width - 15, y: 0), controlPoint1: CGPoint(x: width, y: 8), controlPoint2: CGPoint(x: width - 8, y: 0))
            bezierPath.addLine(to: CGPoint(x: 20, y: 0))
            bezierPath.addCurve(to: CGPoint(x: 5, y: 15), controlPoint1: CGPoint(x: 12, y: 0), controlPoint2: CGPoint(x: 5, y: 8))
            bezierPath.addLine(to: CGPoint(x: 5, y: height - 10))
            bezierPath.addCurve(to: CGPoint(x: 0, y: height), controlPoint1: CGPoint(x: 5, y: height - 1), controlPoint2: CGPoint(x: 0, y: height))
            bezierPath.addLine(to: CGPoint(x: -1, y: height))
            bezierPath.addCurve(to: CGPoint(x: 12, y: height - 4), controlPoint1: CGPoint(x: 4, y: height + 1), controlPoint2: CGPoint(x: 8, y: height - 1))
            bezierPath.addCurve(to: CGPoint(x: 20, y: height), controlPoint1: CGPoint(x: 15, y: height), controlPoint2: CGPoint(x: 20, y: height))
        } else {
            bezierPath.move(to: CGPoint(x: width - 20, y: height))
            bezierPath.addLine(to: CGPoint(x: 15, y: height))
            bezierPath.addCurve(to: CGPoint(x: 0, y: height - 15), controlPoint1: CGPoint(x: 8, y: height), controlPoint2: CGPoint(x: 0, y: height - 8))
            bezierPath.addLine(to: CGPoint(x: 0, y: 15))
            bezierPath.addCurve(to: CGPoint(x: 15, y: 0), controlPoint1: CGPoint(x: 0, y: 8), controlPoint2: CGPoint(x: 8, y: 0))
            bezierPath.addLine(to: CGPoint(x: width - 20, y: 0))
            bezierPath.addCurve(to: CGPoint(x: width - 5, y: 15), controlPoint1: CGPoint(x: width - 12, y: 0), controlPoint2: CGPoint(x: width - 5, y: 8))
            bezierPath.addLine(to: CGPoint(x: width - 5, y: height - 12))
            bezierPath.addCurve(to: CGPoint(x: width, y: height), controlPoint1: CGPoint(x: width - 5, y: height - 1), controlPoint2: CGPoint(x: width, y: height))
            bezierPath.addLine(to: CGPoint(x: width + 1, y: height))
            bezierPath.addCurve(to: CGPoint(x: width - 12, y: height - 4), controlPoint1: CGPoint(x: width - 4, y: height + 1), controlPoint2: CGPoint(x: width - 8, y: height - 1))
            bezierPath.addCurve(to: CGPoint(x: width - 20, y: height), controlPoint1: CGPoint(x: width - 15, y: height), controlPoint2: CGPoint(x: width - 20, y: height))
        }
        return Path(bezierPath.cgPath)
    }
}

PlaygroundPage.current.setLiveView(Screen())
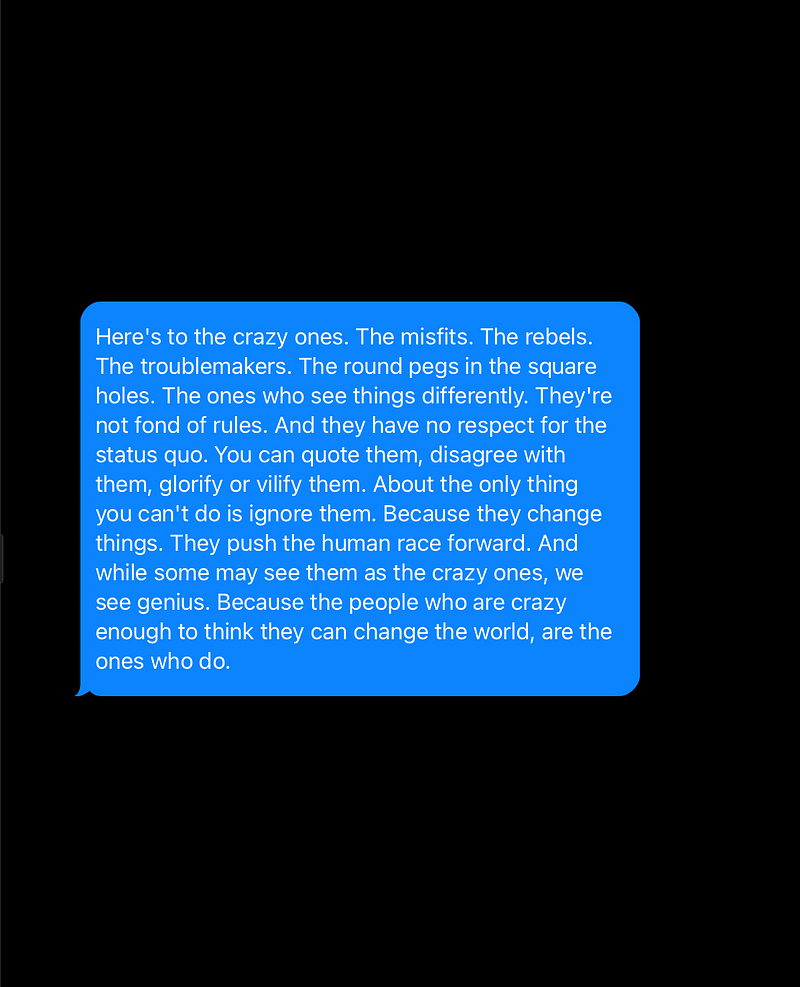
Final Result
That’s it! Follow for more.


