
Power BI Source Control Tutorial: End-to-End Solution
This is a full-blown Power BI tutorial on Source Control — a complete end-to-end solution. If you’re wondering anything about Source Control, you’re going to learn it in this. Here are the chapters of this tutorial:
- Installing Visual Studio Code (VS Code)
- Installing Git
- Creating a Repository in GitHub
- Installing VS Code Extensions for Git
- Connecting VS Code to GitHub Repo
- Cloning the Repo to Local Machine
- Loading a Dataset into the Repo
- Enabling Preview Features in Power BI Desktop
- Creating and Understanding a PBIP File
- Staging, Committing, and Syncing Changes
- Making Changes and Syncing
- Setting Up Power BI Service for Git Integration
- Configuring Workspace for Git Integration
- Syncing Repo to Workspace and Promoting Changes
1. Installing Visual Studio Code (VS Code)
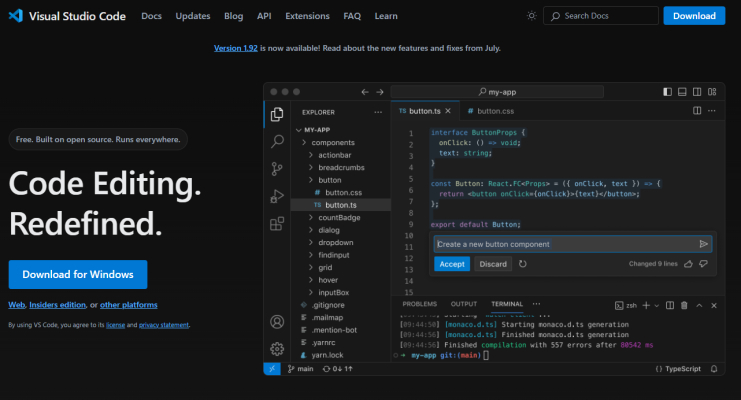
First, we need to install Visual Studio Code, which will serve as the Integrated Development Environment (IDE) for Source Control. Download and install it from the Visual Studio Code website here Visual Studio Code — Code Editing. Redefined.
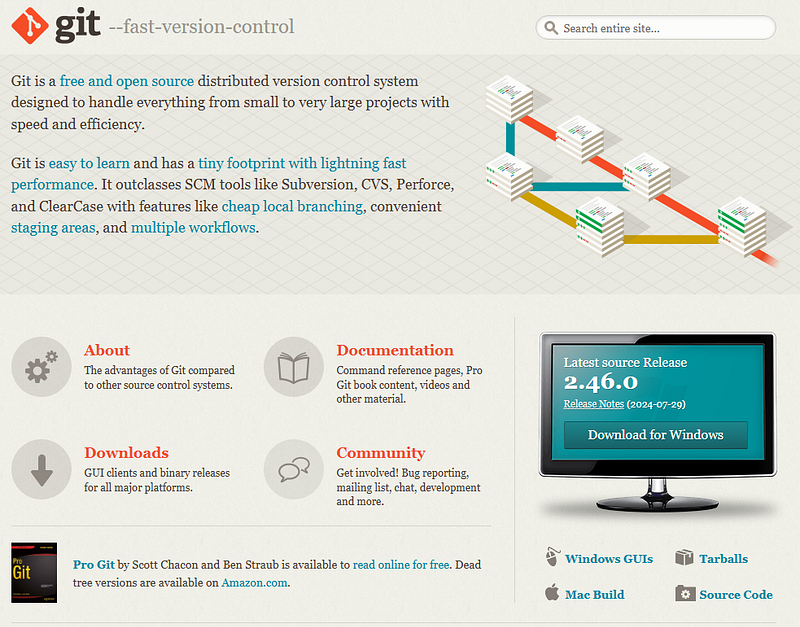
2. Installing Git
Next, we need to install Git, which will allow your computer to communicate with GitHub or other repositories. Download and install Git from the Git website here Git — Downloads (git-scm.com).
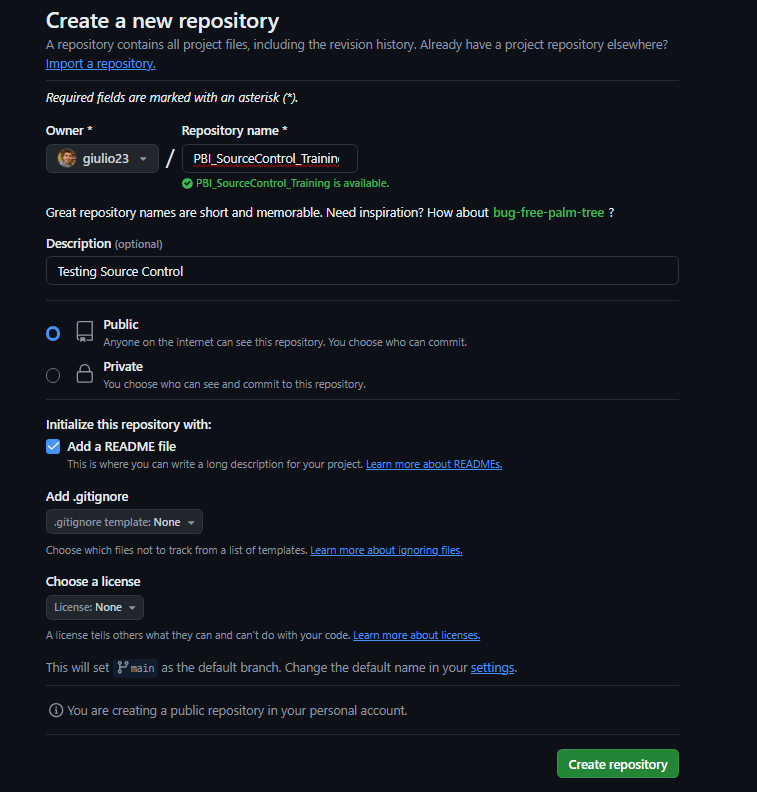
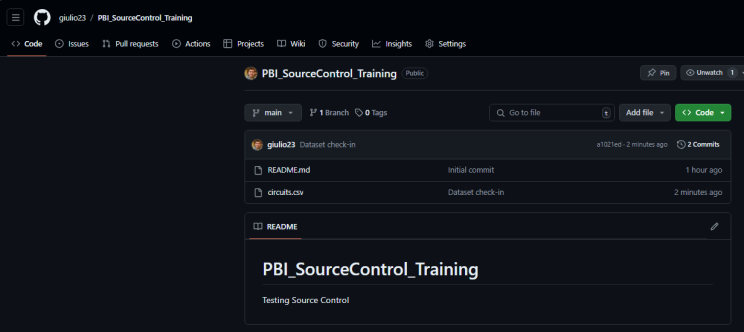
3. Creating a Repository in GitHub
Go to GitHub (https://github.com) and sign in or create an account. Once logged in:
- Click on the top right-hand corner to create a new repository.
- Name it (e.g., PBI_SourceControl_Training).
- Add a description (e.g., Used for video tutorial).
- Choose to make it public or private.
- Initialize the repository with a README file.
- Click Create repository.
4. Installing VS Code Extensions for Git
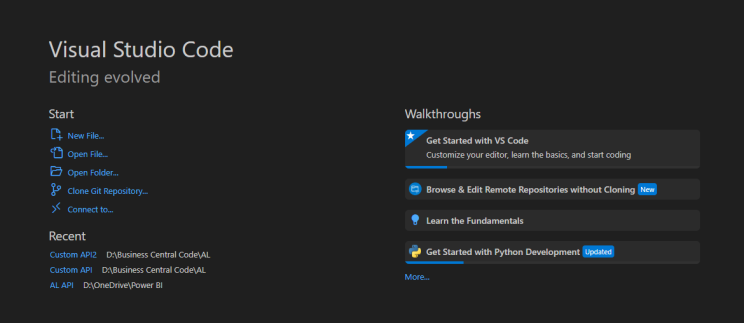
In VS Code:
Go to the Extensions view by clicking the Extensions icon on the sidebar.
Search for and install the following extensions:
- GitHub Pull Requests
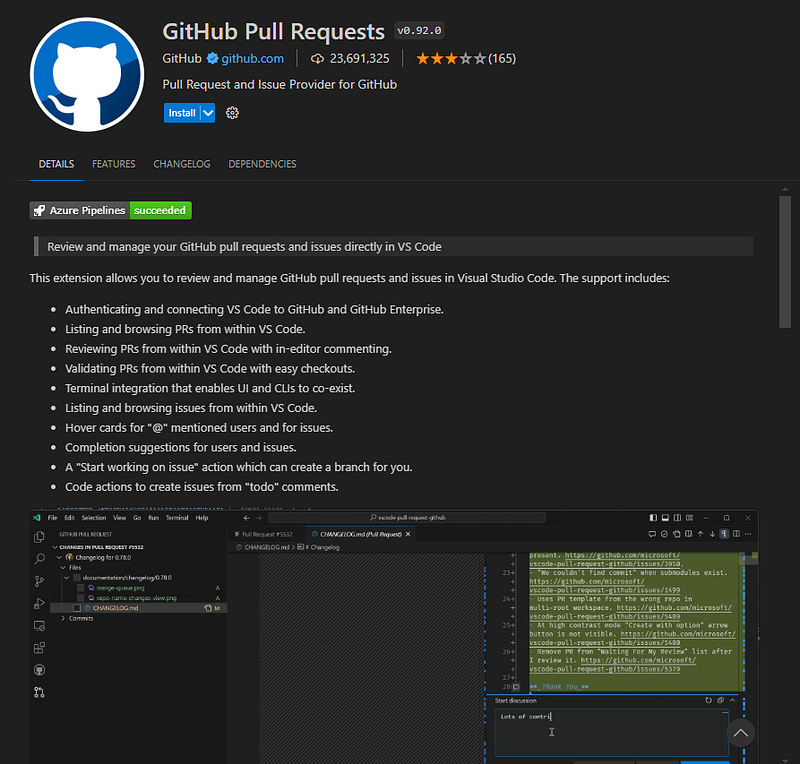
- GitHub Repositories
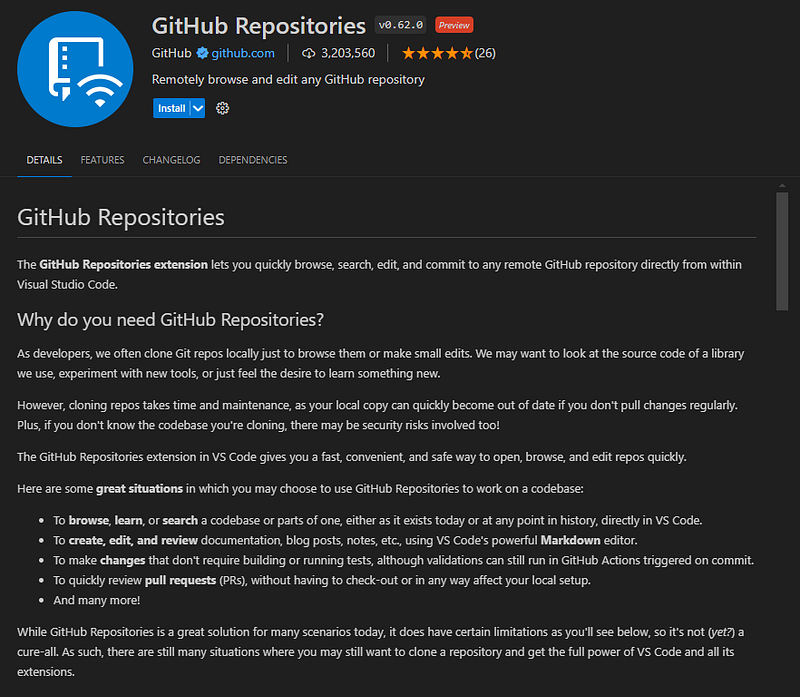
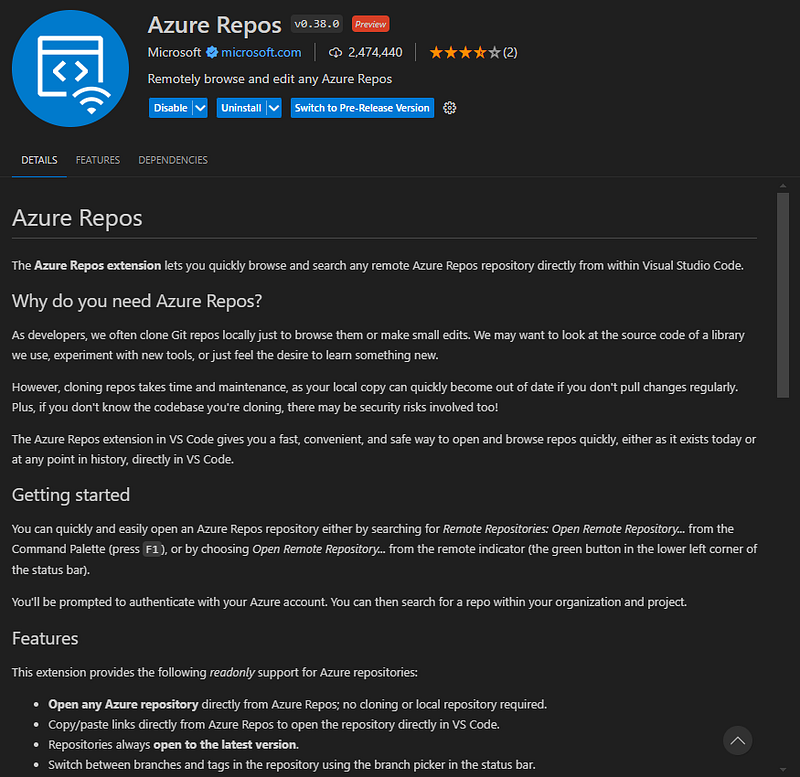
- Azure Repos (if using Azure DevOps)
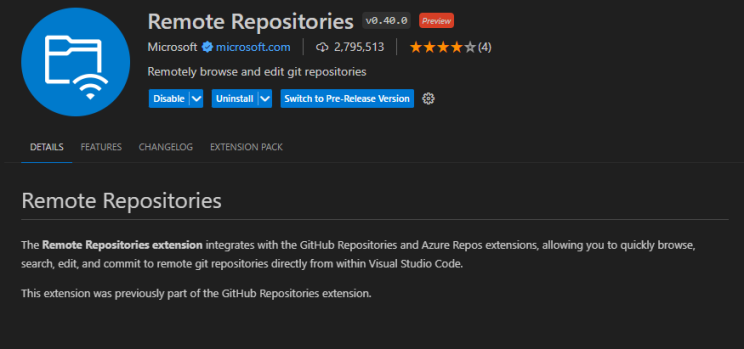
- Remote Repositories
5. Connecting VS Code to GitHub Repo
In VS Code:
- Sign in to GitHub from the bottom left-hand corner.
- Clone the repository by selecting Clone from GitHub.
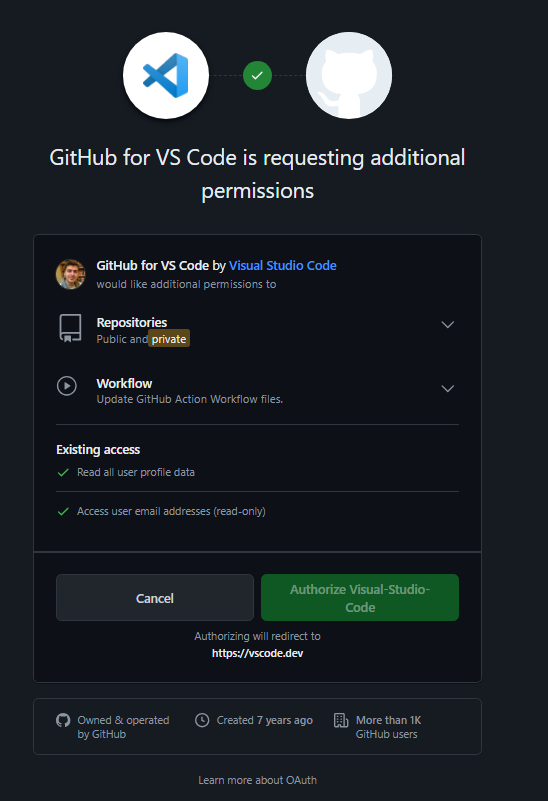
- Authorize VS Code
- Select the repository you created and choose a local folder to save it.


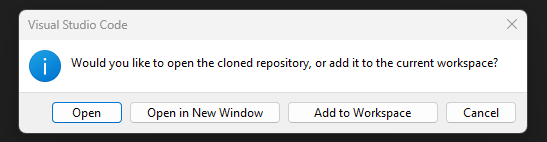
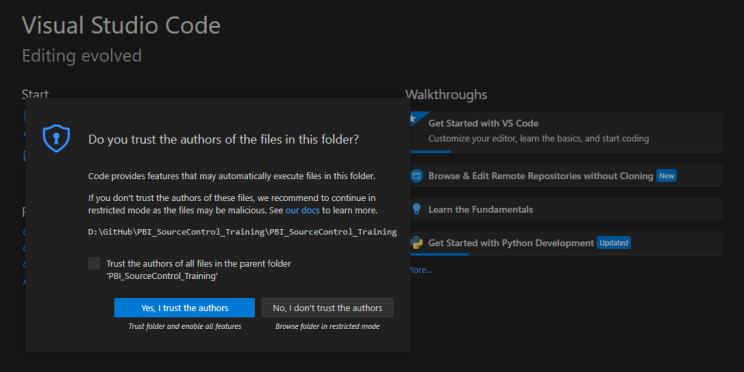
- Finally, Click Open and select Yes, I trust the authors.
6. Cloning the Repo to Local Machine
After cloning the repository:
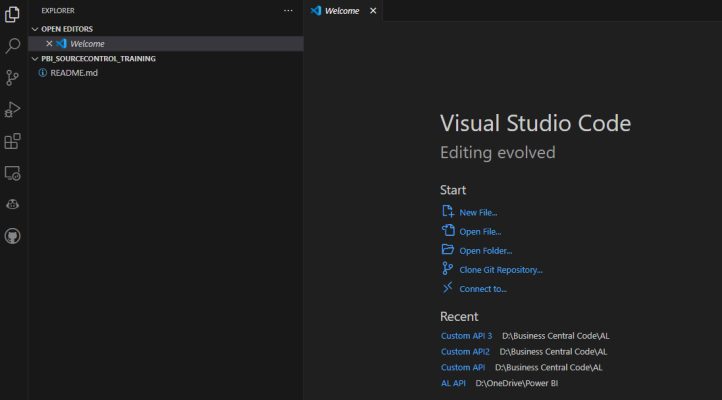
- Open the local folder in VS Code. You will the see on the left side under Explorer and OPEN EDITORS the PBI_SOURCECONTROL_TRAINING folder:
You should see the README file you created in GitHub.
7. Loading a Dataset into the Repo
Download a dataset from Kaggle or any source. I downloaded the Formula 1 World Championship (1950–2024) (kaggle.com).
- Unzip the dataset.
- Drag and drop the CSV file into your local repo folder.
- In VS Code, the new file will appear in green, indicating it’s untracked.
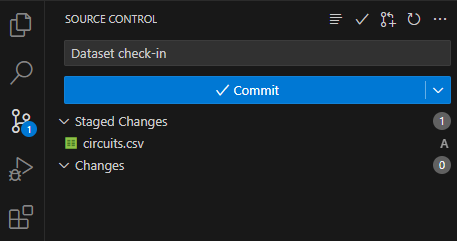
- Go to the Source Control view, stage the changes by clicking on the + icon

- Add a commit message (e.g., Dataset check-in), and commit the changes.
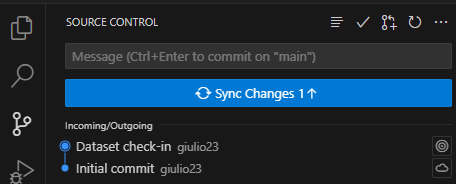
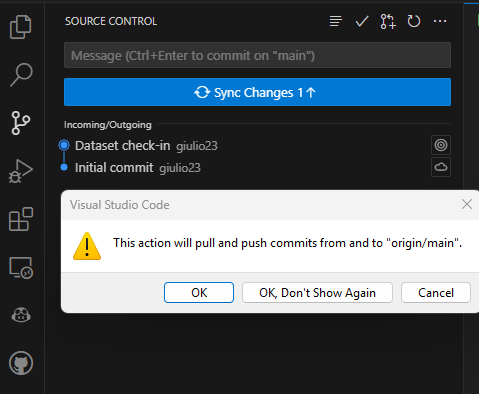
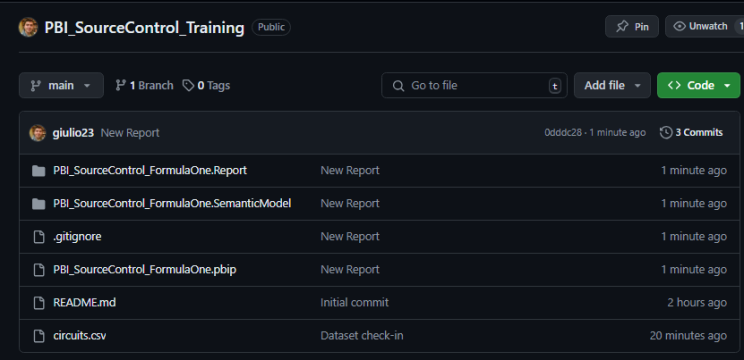
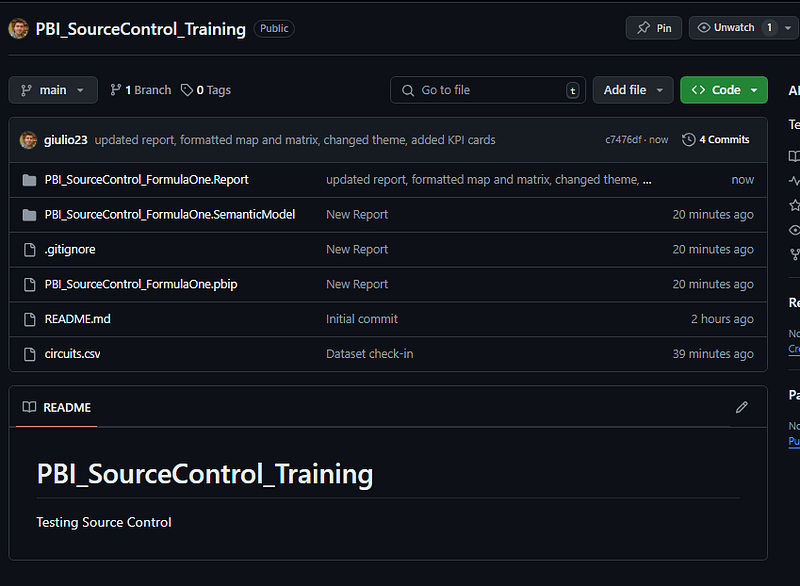
- Sync the changes to GitHub.
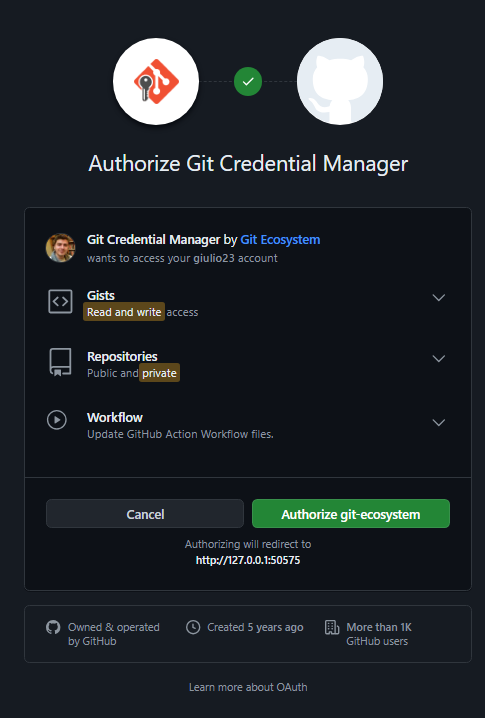
- Sign-in with Browser
- Now the file is synced with the GitHub repository
8. Enabling Preview Features in Power BI Desktop
In Power BI Desktop:
Go to File -> Options and settings -> Options.
Under Preview features, enable the following:
- Power BI Project (.pbip) save option
- Store semantic model using TMDL format
- Store reports using enhanced metadata format (PBIR)

9. Creating and Understanding a PBIP File
In Power BI Desktop, connect to the dataset you added to the repo on your local machine.
Create a simple report.
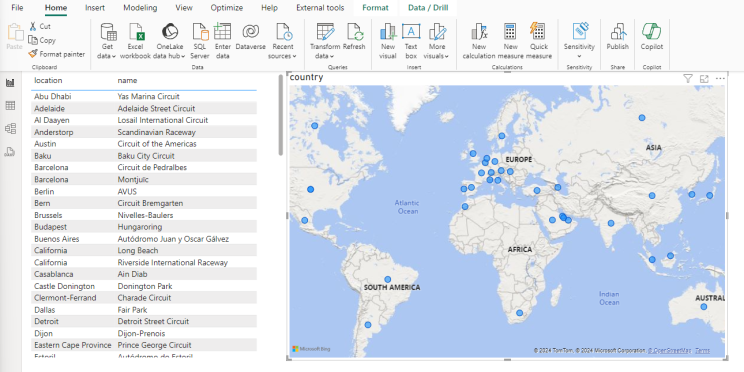
Save the file as .pbip in the local repo folder. You can read more about PBIP here: Power BI Desktop projects (PBIP) — Power BI | Microsoft Learn

In the repo folder, you will see the PBIP file and new folder structures for the report and semantic model.

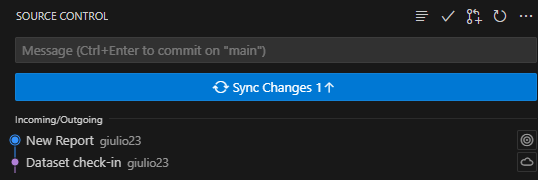
10. Staging, Committing, and Syncing Changes
In VS Code:
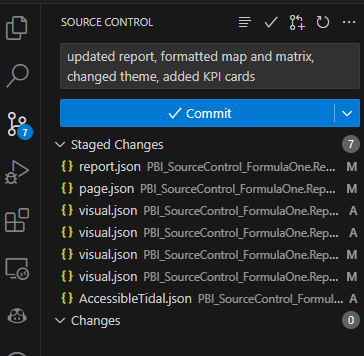
Go to the Source Control view.
You will see new untracked files for the PBIP structure.
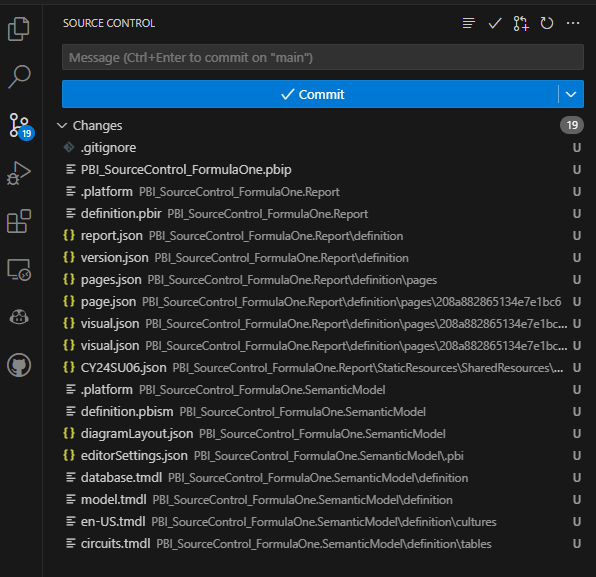
- Stage the changes by clicking on the + icon
- Add a commit message (e.g., New report), and commit.

- Sync the changes to GitHub.
11. Making Changes and Syncing
Make changes in Power BI Desktop:
Change some visuals or data.

- Save the file.
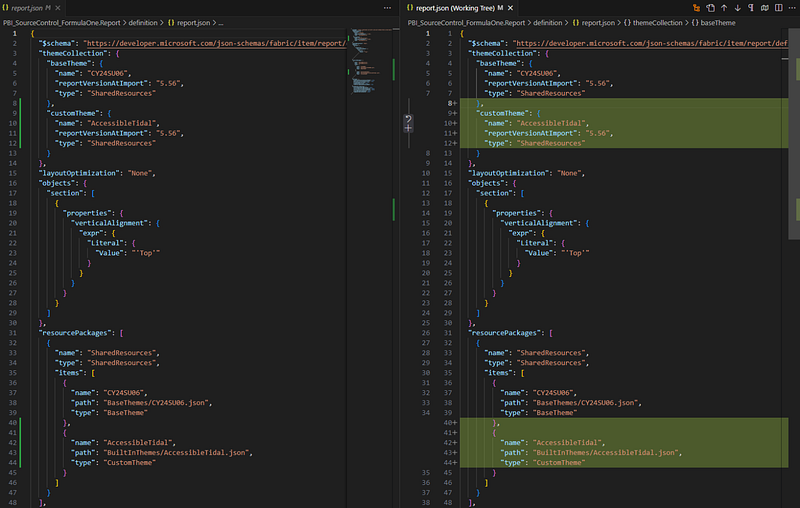
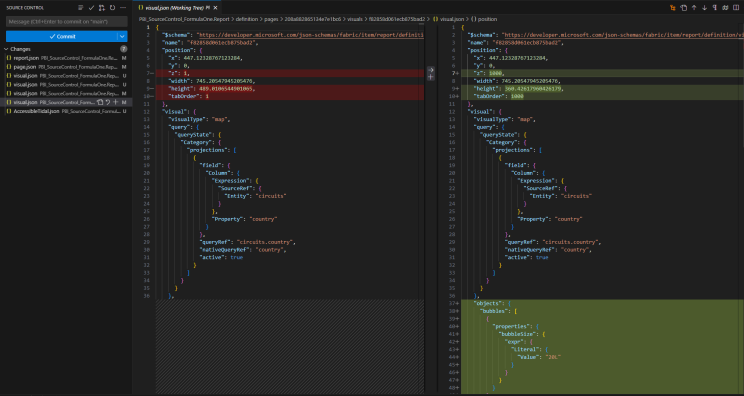
In VS Code, review the changes in the Source Control view.
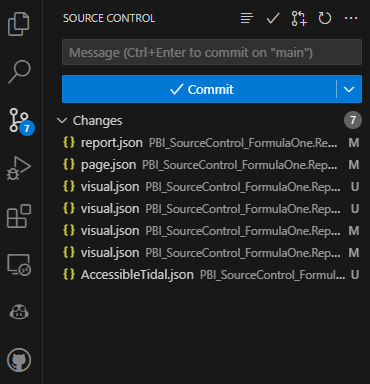
- Example: changed the Theme
- Example: changed the page name

- Example: changed some map settings
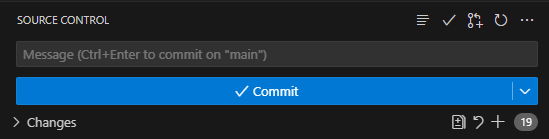
Stage the changes, add a commit message (e.g., Updated report), and commit.
- Sync the changes to GitHub.
12. Setting Up Power BI Service for Git Integration
In Power BI Service:
- Go to Settings -> Admin Portal -> Tenant settings.
- Enable the Git-related features.

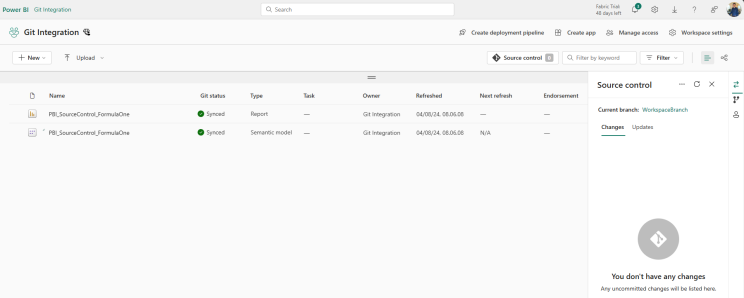
13. Configuring Workspace for Git Integration
Create a new workspace and assign it to a premium capacity.
Go to GitHub and create a GitHub personal access token
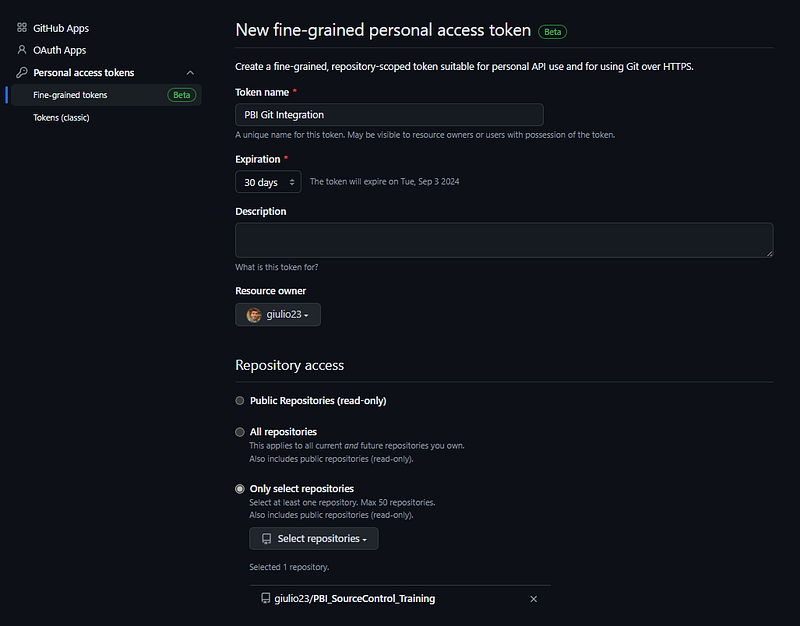
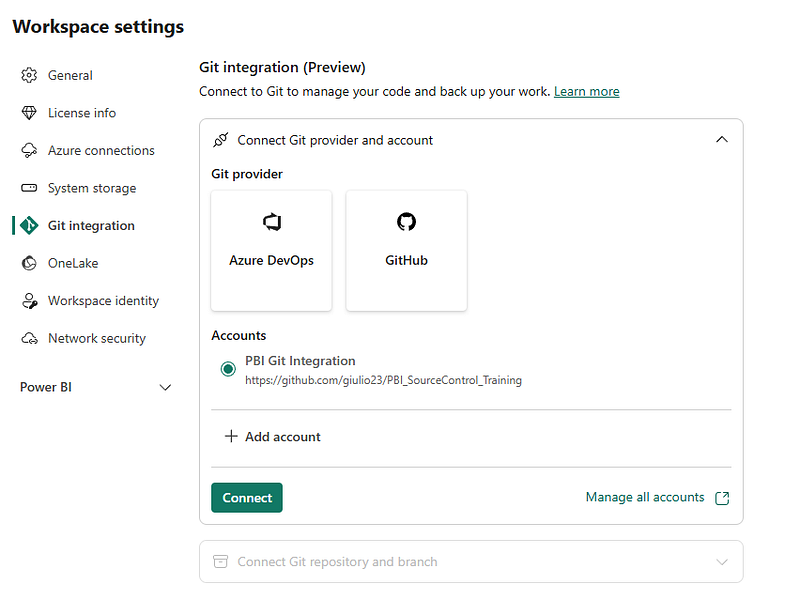
- Go to Workspace settings and enter a display name, and the GitHub repository URL
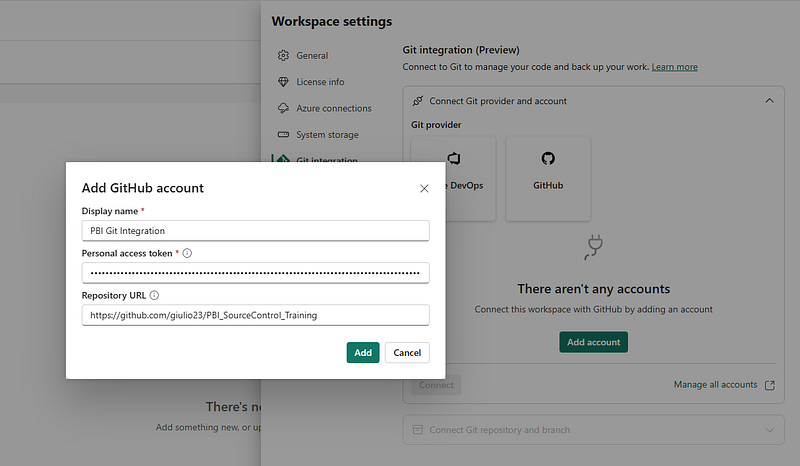
- Connect to your GitHub account and repository.
- Create a new branch for the workspace from the main branch
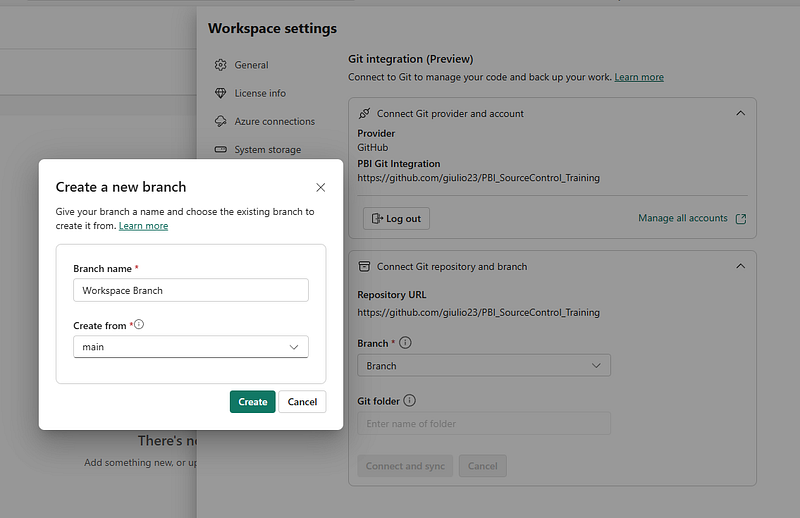
- Enter a Git folder name and then click on Connect and Sync

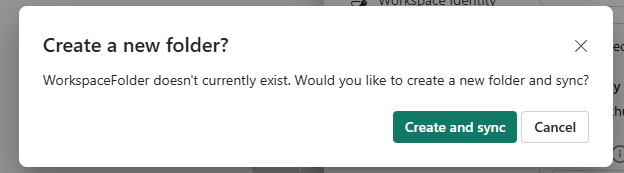
- Create and sync
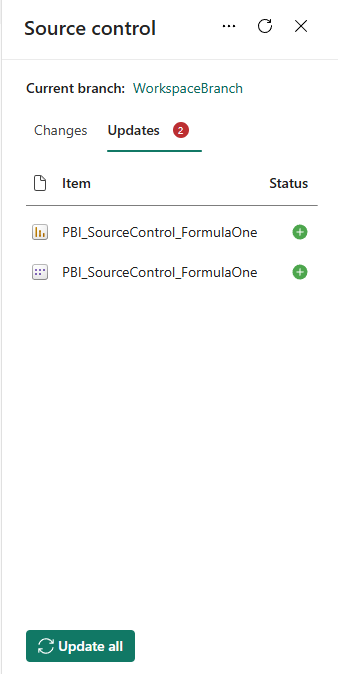
14. Syncing Repo to Workspace and Promoting Changes
In VS Code:
- Switch to the new branch created for the workspace.
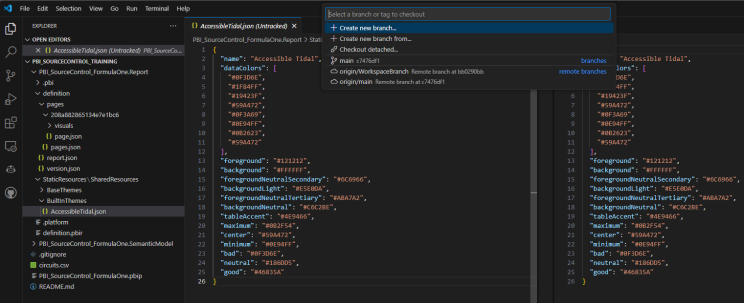
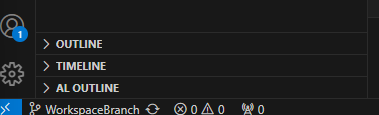
- Check if you are connected to the workspace
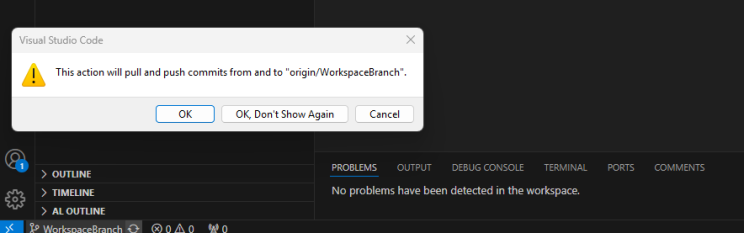
- Sync the changes
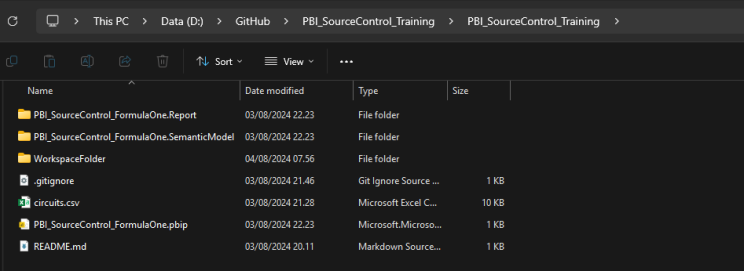
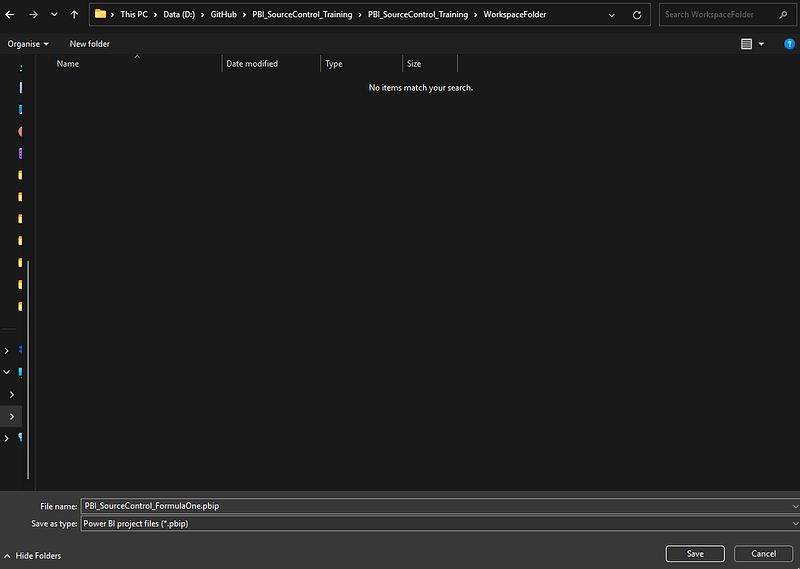
- In the GitHub folder on your local machine you should see a new folder called WorkspaceFolder
- Save the PBIP file in the workspace folder.
- Go to VS Code and check the new files in Source Control
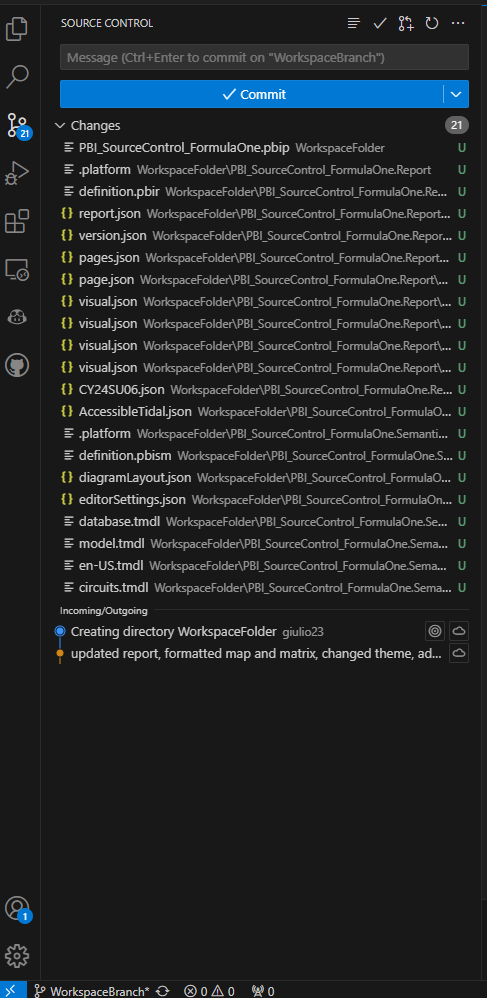
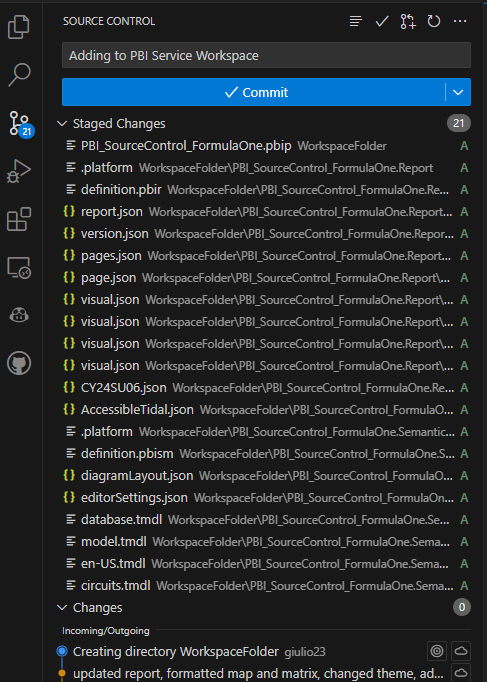
Stage the changes, add a commit message (e.g., Add to workspace), and commit.
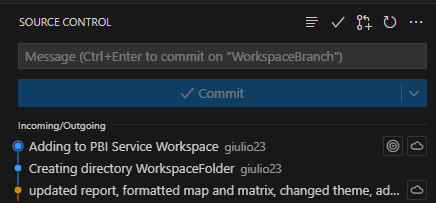
Sync the changes to GitHub.
In Power BI Service:
Refresh the workspace to see the synced report.

Promote the changes to the workspace (Update all)
You now have a complete end-to-end solution for Source Control in Power BI. If you found this valuable, please like and sshare. Thank you!


