
Part-1 Connect to Salesforce REST API using Postman
Salesforce Rest API is a open source api from forcedotcom to enable easy access to salesforce objects and metadata without using Salesforce UI itself.
Use Case: Consider you are a tester/developer and you need to perform CRUD operations (read/write/update/delete) on salesforce objects like Account, Contact, Case, Opportunities, etc without actually logging into Salesforce UI. Then this series aims to provide step by step instructions of achieving the same.
Please note: I am not a salesforce developer. I am a self taught salesforce learner and it took me several days to figure it out. Hence sharing this knowledge with the help of this guide.
Pre-requisites Setup:
- Already signed up for Salesforce Developer org.
- Postman is installed in system.
Instructions:
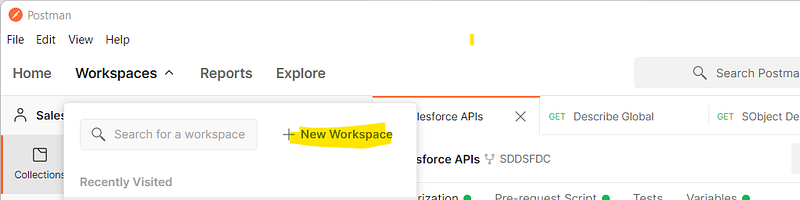
1- With Postman open, create a new personal workspace

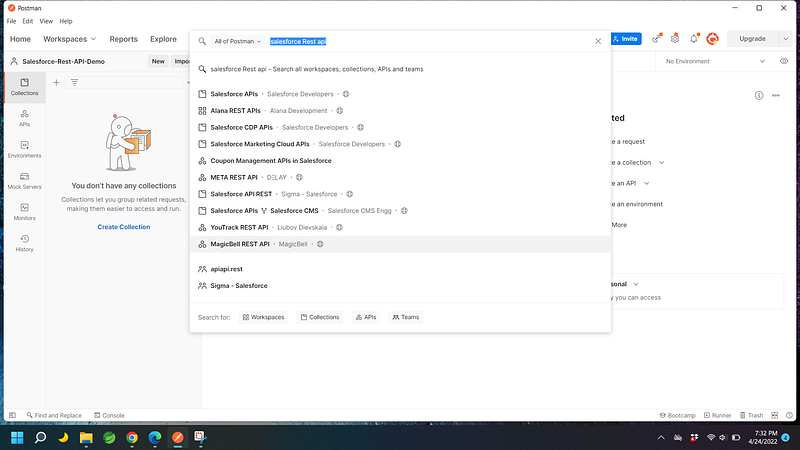
2- Search for keyword “Salesforce api” in the search box.
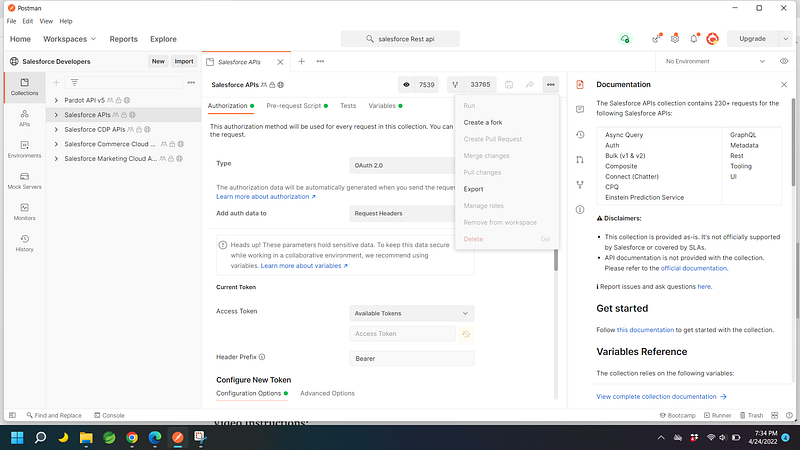
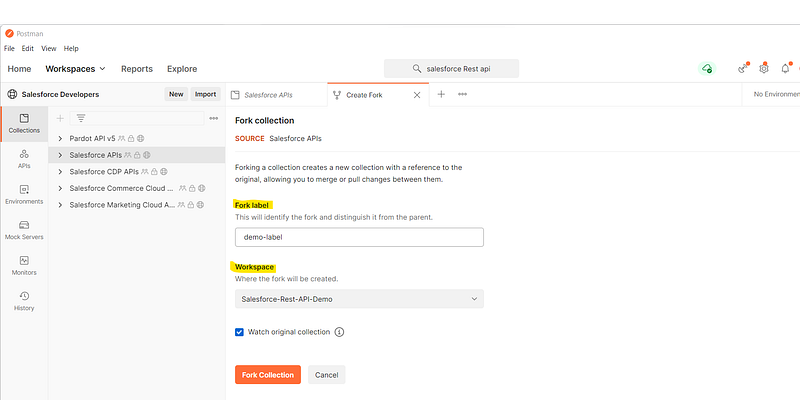
3-Select “Salesforce API” and once loaded, click on three dots at end to “Create a fork”.
4-Provide any name for fork label and select previously created workspace name under “Workspace” dropdown. Click on fork collection.
5-It will take a while to show the collection name in your workspace.
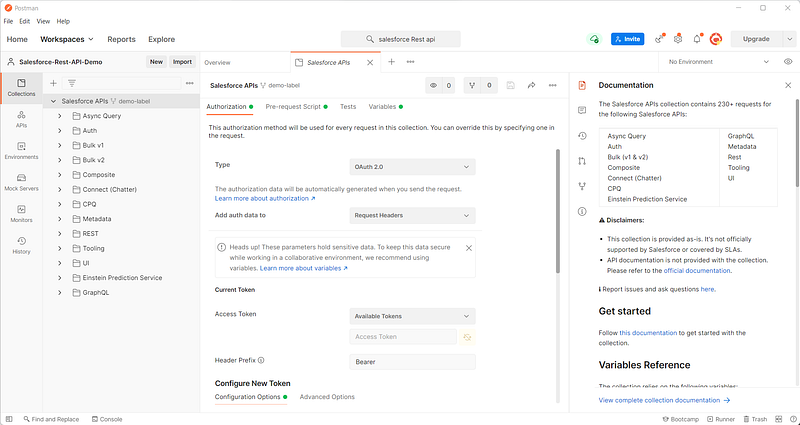
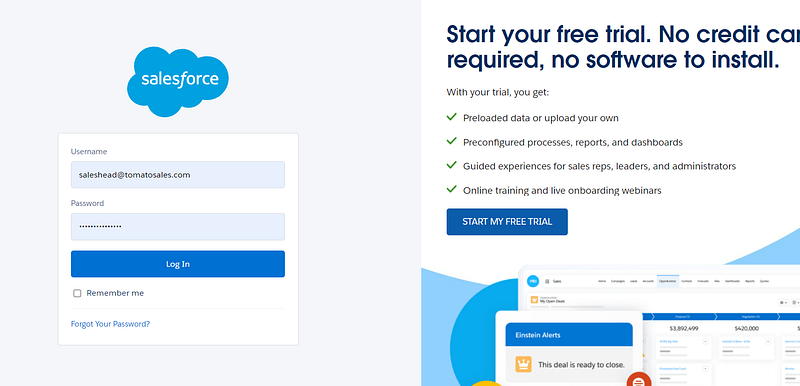
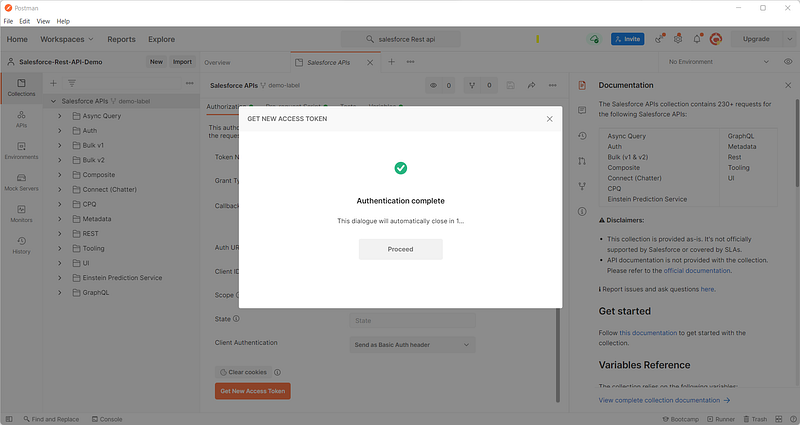
6-Once the workspace is loaded with the newly forked Salesforce API, scroll to bottom of page and click “Get New Access Token”. This will try to open the developer org for browser authentication.
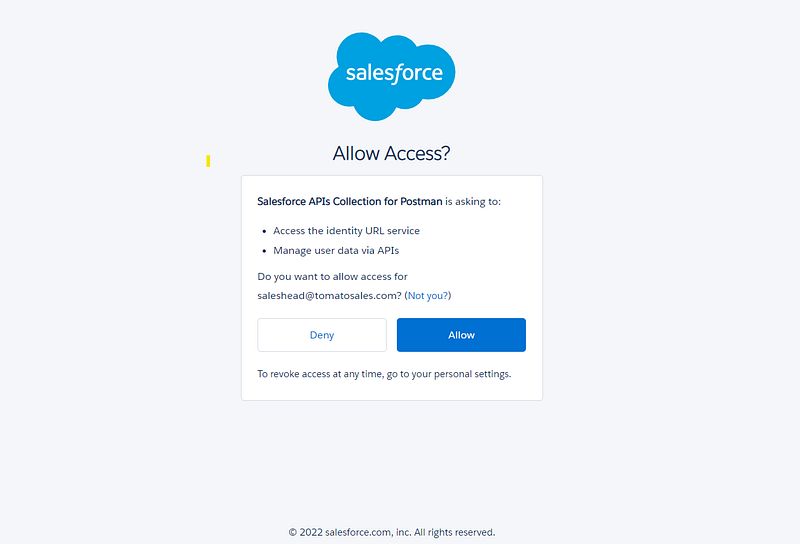
7- Click Allow. This will prompt the user to open the authentication in postman tool. Click on the link.
8-This will navigate back to postman indicating that authentication was completed. Click “Proceed”.
9-Copy the instance url as highlighted below and click on “Use Token”.
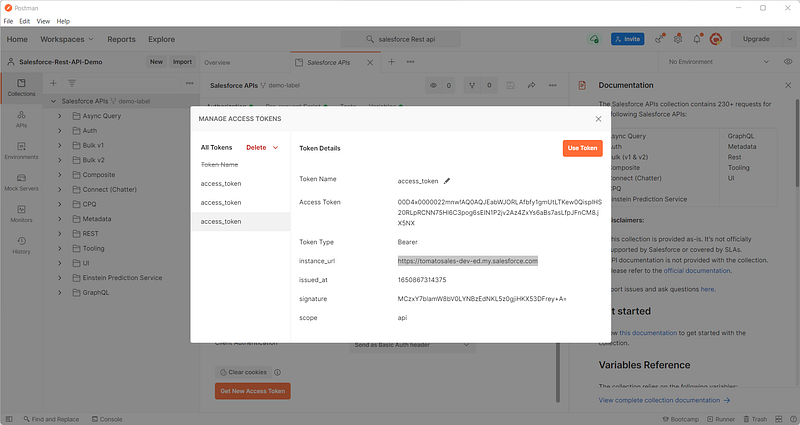
10-Newly created token will automatically be populated as shown below:
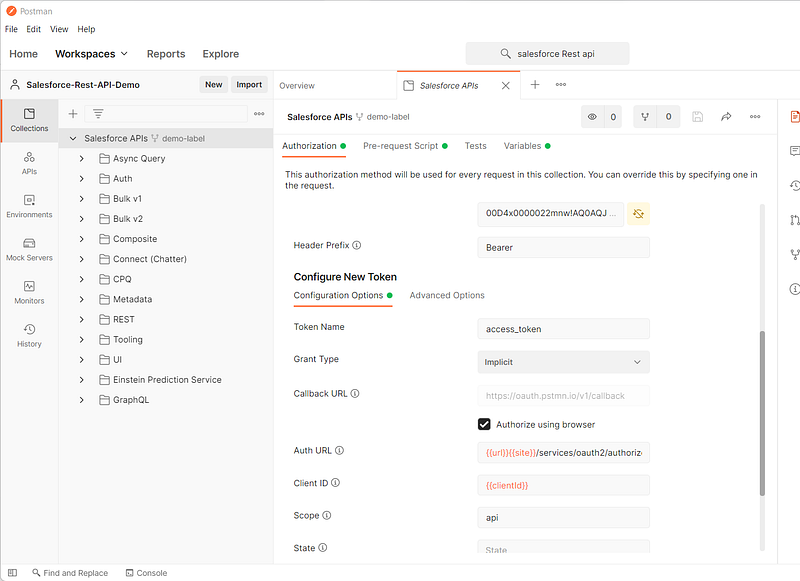
11-Paste the copied instance url under “_endpoint” variable and Click save.
12-Test the connection by navigating to REST>>Versions. Click send for getting the version of the api.
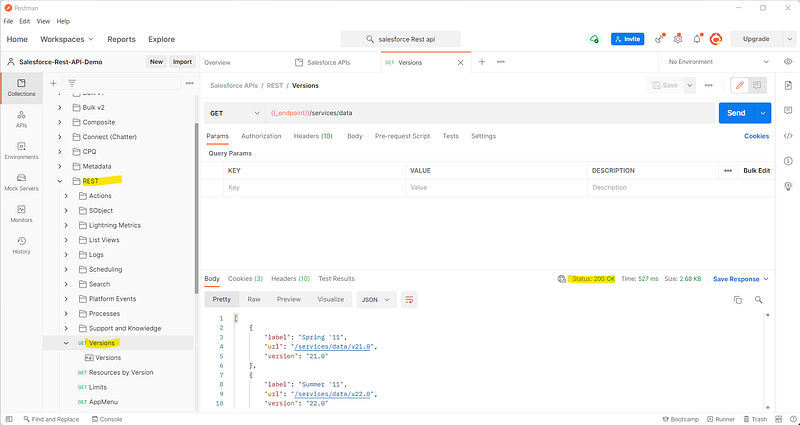
As seen above, we got valid HTTP status code 200 Ok indicating that our connection to the developer org was successful and we are ready for the CRUD operation.
That’s all for today. Please support my work by following my page and subscribing for future updates. Thanks for Reading.!!!
Video Instructions:
References: