
ART | ART PROCESS | MURAL PAINTING
Painting a Realistic Crumbling Brick Wall
Like anything, it is a step-by-step process.
My partner and I are currently staying in Thessaloniki, Greece. As we travel full-time, we paint murals in exchange for accommodation in hostels and hotels.
We had a bit of a border mishap before arriving here and didn’t plan to paint any art in this hostel. It was just meant to be a transition point before we went to the next place. However, on the day we were going to leave, the owner started talking to us about our artwork.
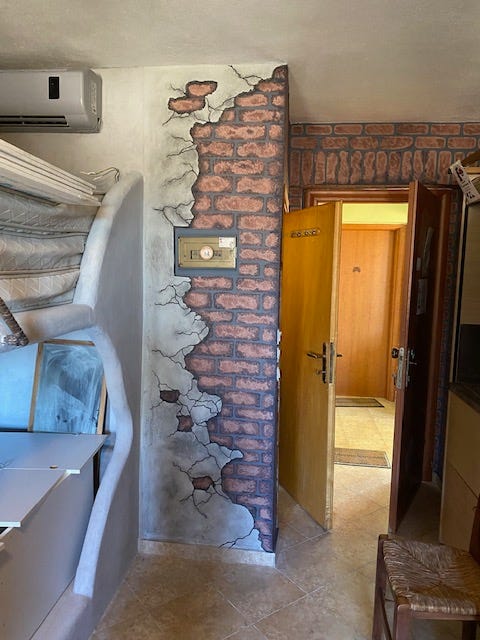
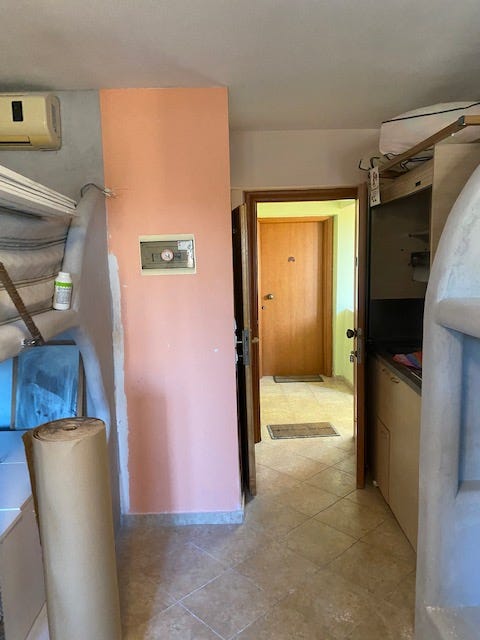
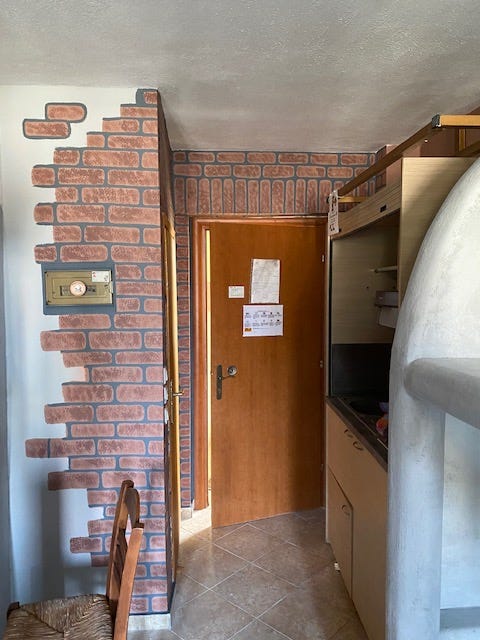
One thing lead to the other and he showed us a room that we was working on where he had built concrete bunk beds. He wanted some art done on the walls that would make it seem like the bunks were in a castle.
He is a structural engineer, so he had a pretty solid idea of what he wanted us to paint.
On one section he wanted a crumbling brick wall painted.
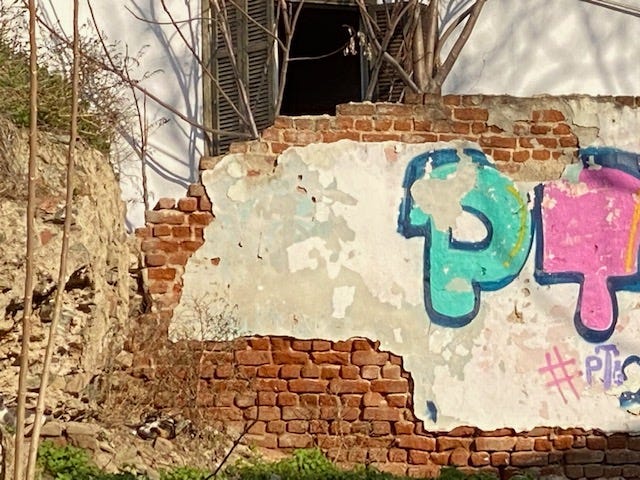
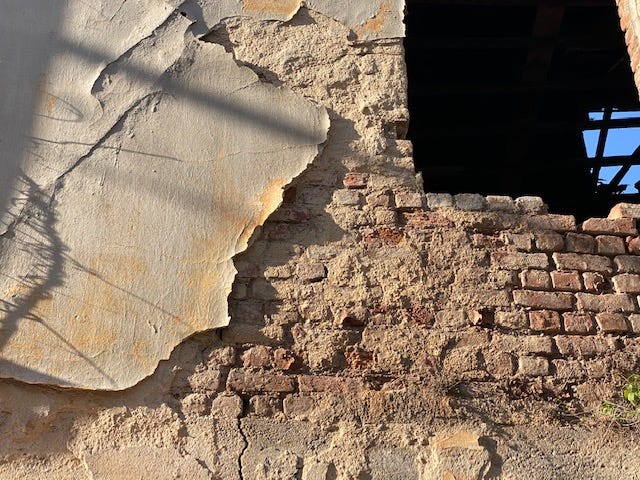
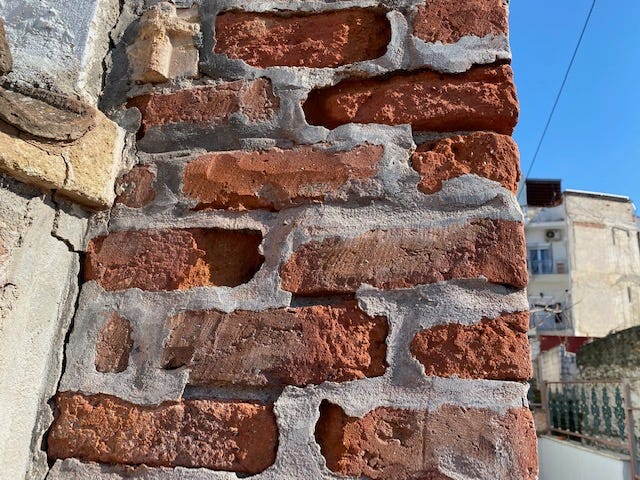
I had never actually painted brick before, but I was up for the challenge. Thankfully around Thessaloniki, there are a lot of crumbling brick walls, so I took lots of reference photos as we walked around the city.
Like any project of this sort, you really have to start with base colors that you build on. I decided on a bright brick color for the background and a light grey that matched the cement on the bunk beds.
I wanted it to feel like it was all attached.
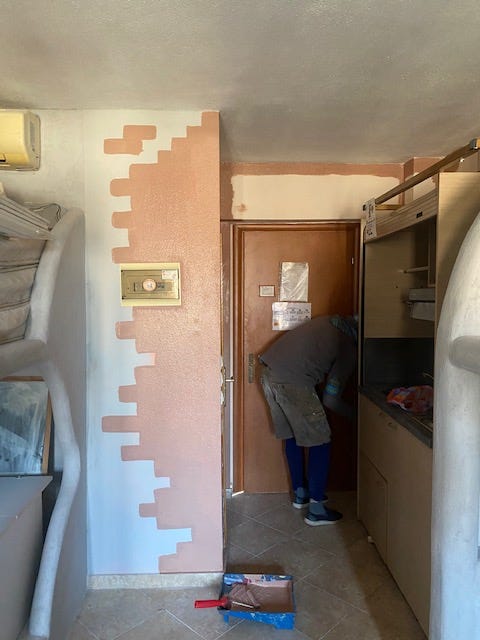
Next, I wanted to get my bricks laid out so I painted in the cement mortar lines. Before doing this I had to decide how I wanted to lay the bricks out so that they made sense. I added a bit of a decorative touch over the door that resembles the Byzantine architecture in the area.
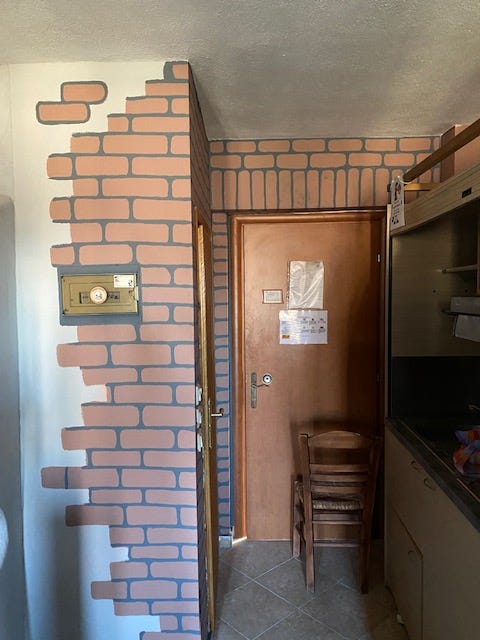
Next, I mixed a darker red brick color to create a bit of texture on the bricks. I painted this on with just a 1" regular paint brush by just barely dipping the bristles into the paint and then dabbing it onto the wall.
If you have watched Bob Ross paint bushes, you will know what I mean by this.
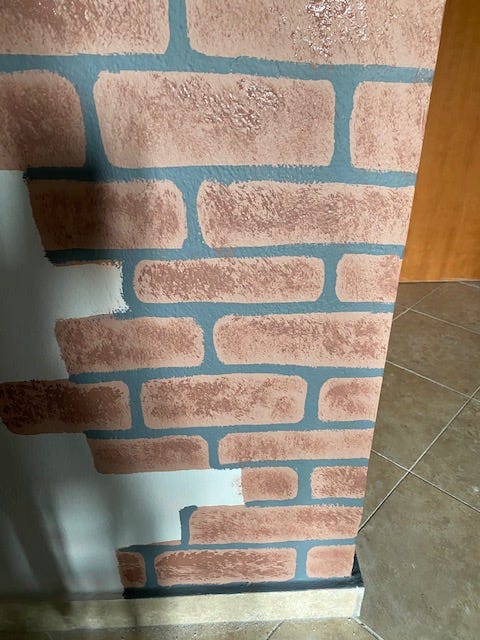
Next, I wanted to create further depth to make the bricks look like they are crumbling. I used an even darker red and dabbed it around the edges, then went back over the inside edges of that with the original brick color that I used for the background.
It created some good definitions.
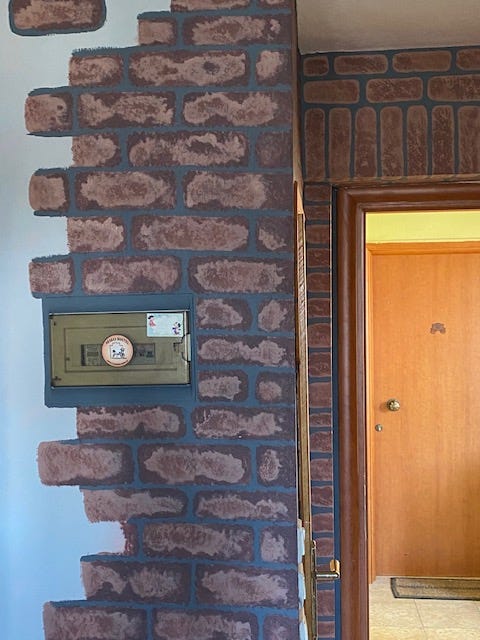
I took yet a darker red color and went over the very corner of the wall, to make it feel like the bricks are crumbling off at the corner. I also did this over the doorway as well.
Next, I roughly painted the light gray color back over the bricks, to make it look like it is a coating overtop that is crumbling off.
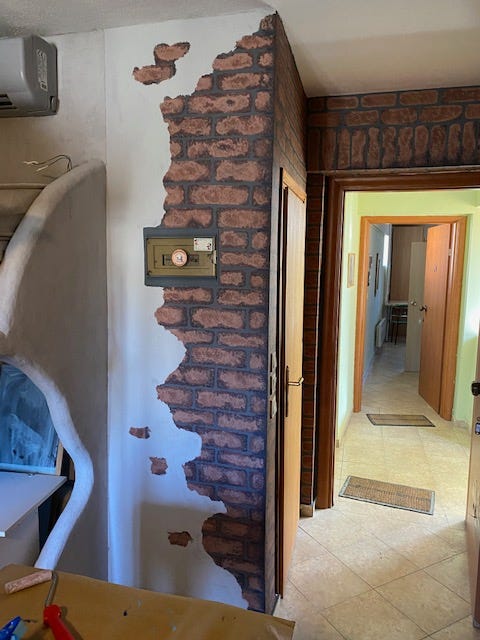
Finally, I went back in with a really dark grey and painted shadows and cracks around the crumbling area. I also used a damp rag to rub the dark grey color into the light grey, making it look old and worn.
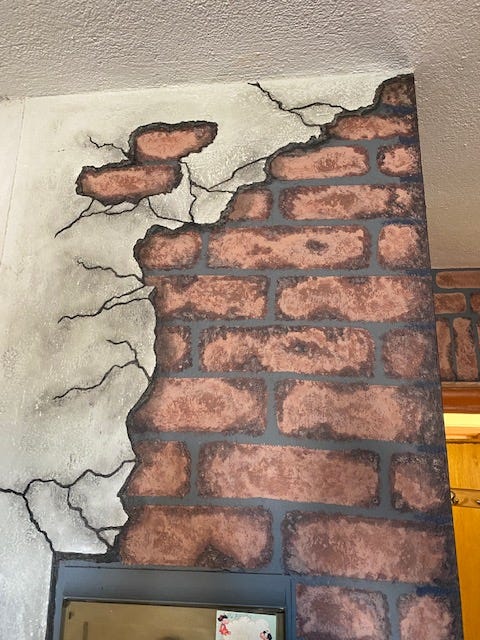
I’m really happy with how this wall turned out, though there are still more steps that I could have taken to make it a little more realistic.
For one, each brick really should have a shadow under it to make it look like it stands out from the mortar in between. However, with time constraints, we decided that it wasn’t absolutely necessary.
When we are given unlimited amounts of time to do things, then we tend to do as much detail as we need to to make sure it is as good as we can make it.
Either way, the owner was pleased with our efforts. We also painted a few other walls in this room which you can see in this video:
As usual, we had a great time doing artwork at this hostel. In fact, we are also working on a few more projects around here. Stay tuned for the entire project reveal which I will write about soon!

Hi there, I am Jill from Artistic Voyages. My partner and I are full-time artists who now find ourselves in Greece. We paint murals in exchange for our accommodation, plus make digital artwork for selling online. Subscribe to Medium through my referral link to get full access to my writing plus thousands of others! Check us out on KO-FI!
Website | Instagram | Facebook | Twitter | Patreon| YouTube | Medium


