
My Favorite Canva Tips And Tricks
Create more quality content faster.
Canva is like Photoshop for creatively challenged. Since I’m one of those people, I love Canva for its simplicity and — especially — ready-to-use templates. When Photoshop makes me feel helpless, Canva always comes to the rescue. It allows creating beautiful digital and print graphics, GIFs, and even small videos in a matter of minutes.
When It’s Not Wise To Use Canva
Once you start using Canva on a daily basis, it’s tempting to start using it for everything. Resist the temptation because Canva is not a one-size-fits-all solution. While you can use it to create cool graphics easily, I don’t recommend using Canva for designing logos. Canva is not a vector-based program so the logos won’t be scalable. They will look nice, sure, but as soon as you try to repurpose your logo and resize it for some other website, you’ll see what I’m talking about. For logo design, there are better tools out there like Adobe Illustrator or Figma:
For everything else, there is Canva.
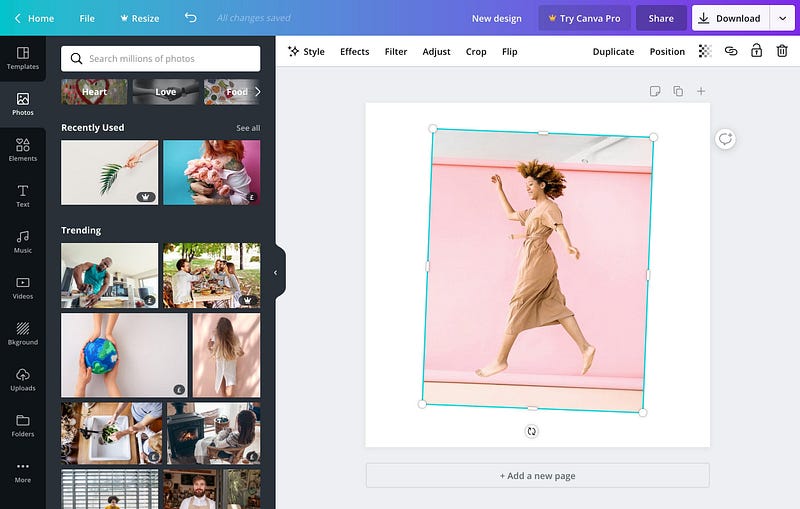
Magic Resize
Most of the creators post on more than one platform and figuring out each platform’s aspect ratios can be such a pain! Canva’s developers are obviously very thoughtful people because they included the magic resize option. Click on resize and select all platforms that apply.

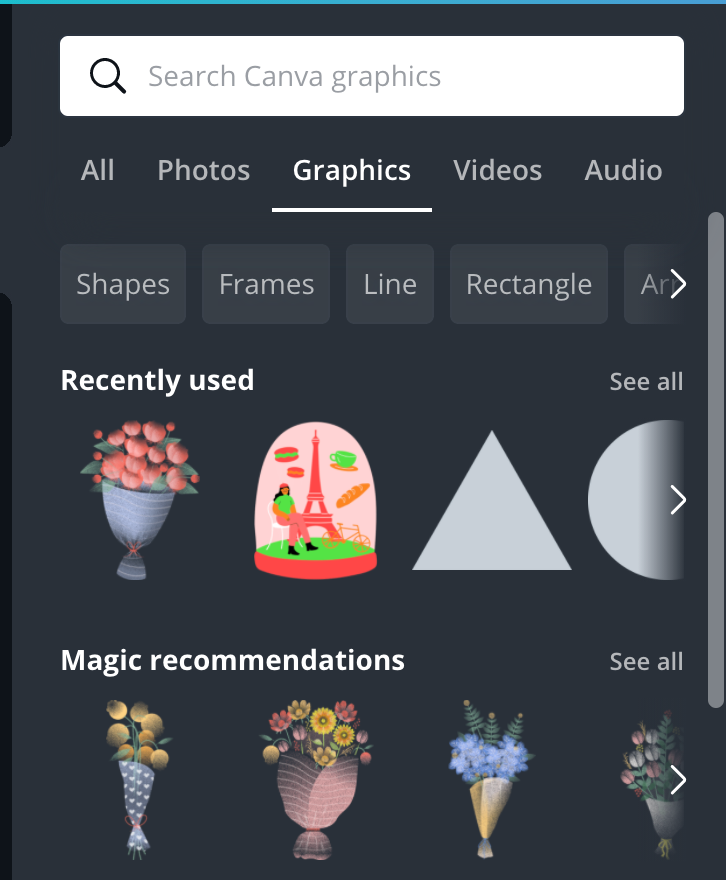
Magic Recommendations
Select a subcategory in the Elements menu to see the magic recommendation — images similar to the last one you chose. Keep in mind that you won’t see them on the All tab. Also, you need to click on them twice sometimes to see that extremely useful menu pop up.
Select Different Layers
Mac: CMD + Left-click
Windows: CTRL +Left-click
This simple shortcut allows switching between layers that overlap each other.
Edit Videos
On Canva’s home page, there is a frequently overlooked option to create a video. While it doesn’t have all the features of the professional video editing software, it’s so much easier to use than, say, Adobe Premiere Pro!

Create GIFs
Canva has a lot of animated elements that you can mix and match. However, you can also add small videos to the views, edit them, and then save them as GIFs.
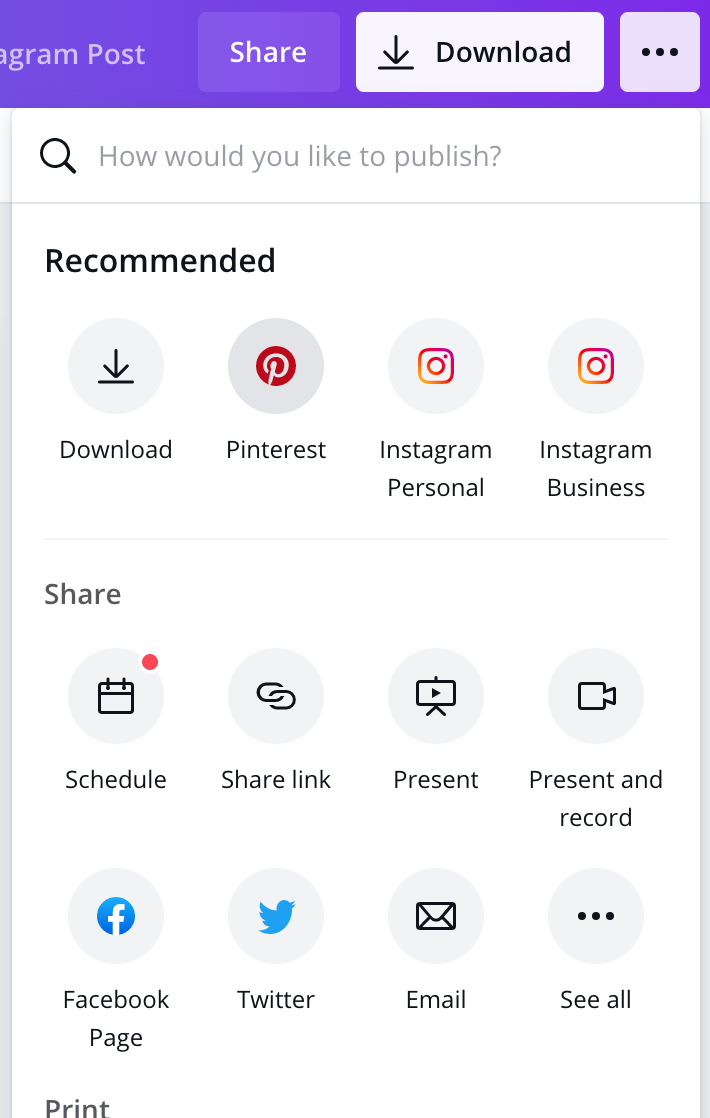
Upload to Pinterest
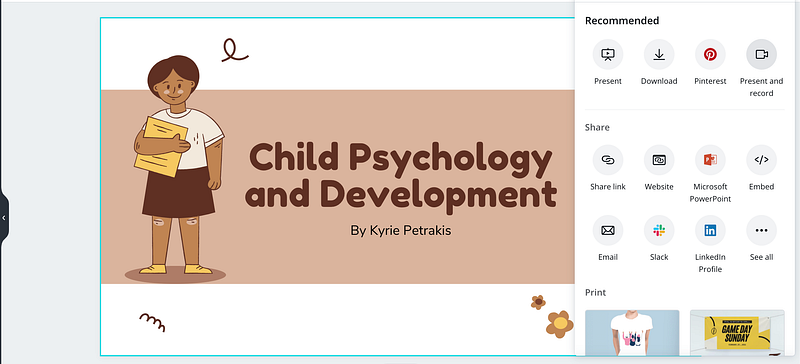
The small button with three dots in the upper right corner has so many options to choose from! My favorite ones are the one that sends designs directly to Pinterest and the one that allows scheduling posts. All of the integrations work seamlessly — you can add a name, description, and link directly from Canva. No need to open anything else.
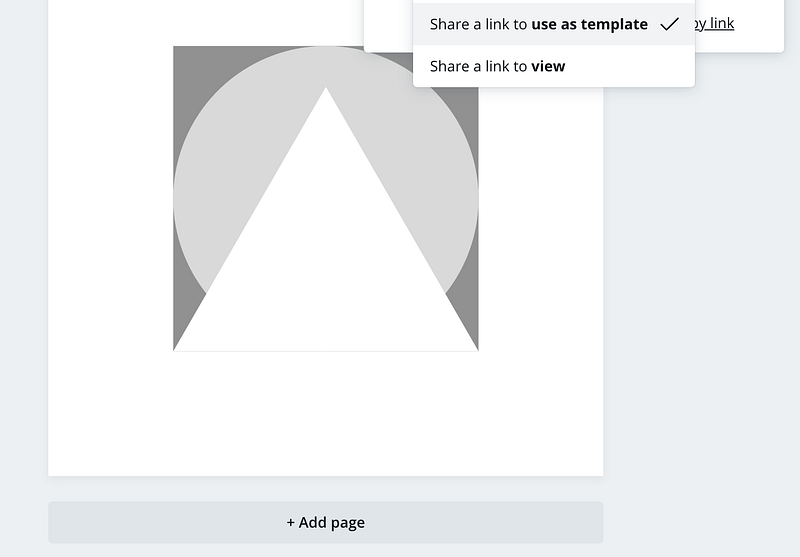
Create Templates
When you create something particularly nice, you can convert it into a template (just like those you see on the left panel) and share them with others. To do so, click on a Share button and select the second option.
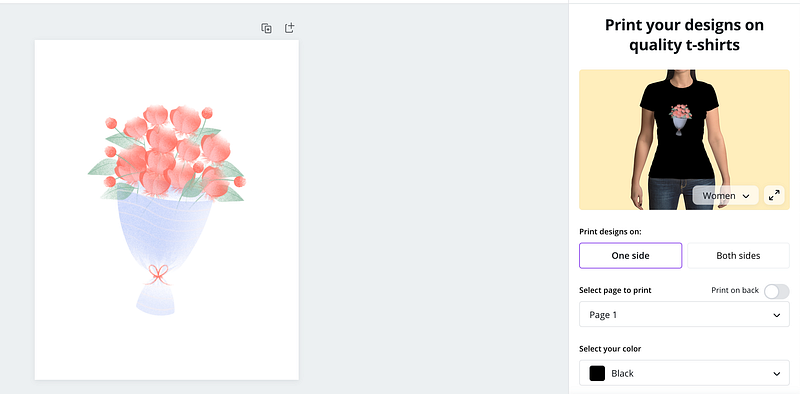
Create a Product or a Mockup
Canva has a lot of built-in integrations, like the one with Pinterest that we’ve discussed earlier. But on the same menu pane on the right, there is an entire section called Print that will open your design in the new editor. This option is perfect for designing T-shirts, mugs, stickers, photobooks…basically, anything you can think of.
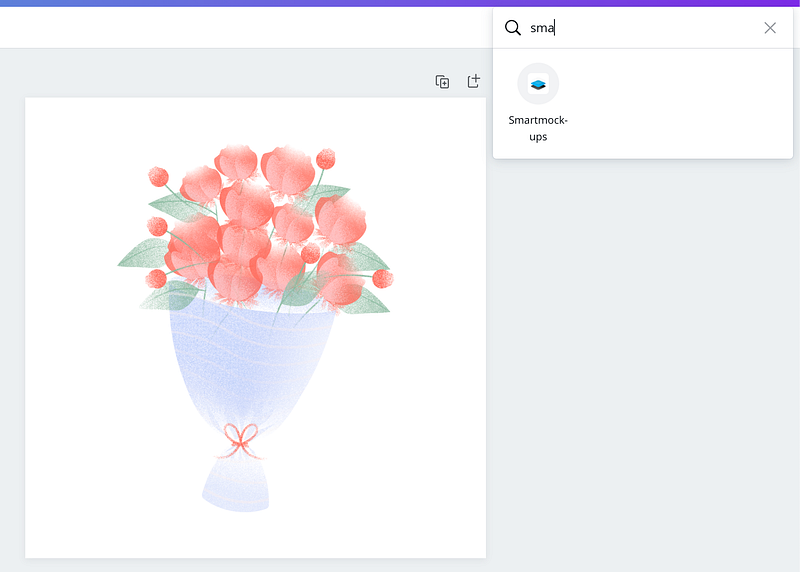
Alternatively, you can use the integration with Smartmock-ups to create a realistically looking mockup of your future product. The most popular use for this feature is creating e-book covers (Canva has a lot of templates for that!) that look like real books.
Create Talking Presentations
Next, there is an option to create a talking presentation. Select a template for presentations (or design your own) and use an option to Present and record to add your voice to it. Neat!
Brand Kit
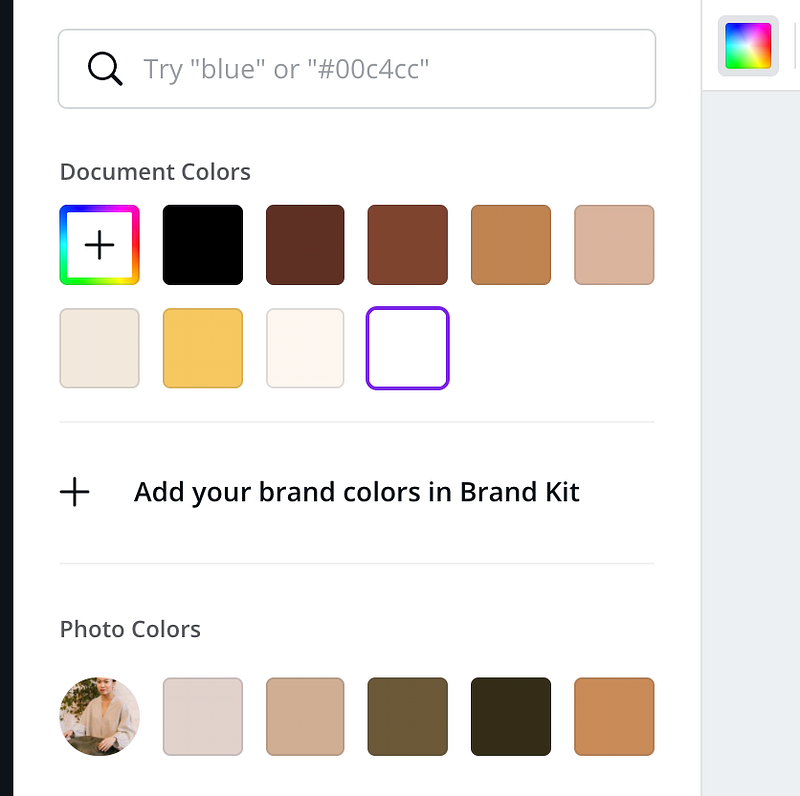
If you are struggling with creating a brand identity, Canva has a brand kit feature that will help you to stay consistent and organized. Let’s start by picking the color palette. The simplest way to do that is to find a photo that you really like and upload it to Canva. Then, click on the bottom layer and choose a color wheel in the upper left corner to see the photo colors. From there, you can select Add your brand colors in Brand Kit and start creating a nice style guide for your brand.
Scale Proportionally
Mac: ALT+ drag
Here is another useful shortcut I wish I knew earlier. Just like with the Adobe programs, hold the ALT key when you resize your objects to keep the proportions intact.
Add Comments and Mentions
Right-click anywhere on the layout to leave a comment for your future self or to mention someone else who is working on the same design.
Canva Design School
Canva courses, workshops, webinars, and one-on-one training sessions spring up like mushrooms nowadays. But in my opinion, an expensive course won’t make you a professional designer in less than an hour, even (and especially) if they claim to do so. Professional designers don’t use Canva anyway. If you want to learn more about this great tool, I would recommend taking one of the courses from Canva’s free design school instead.


