
MIDJOURNEY TIPS & TRICKS
Midjourney Reverse Mock-Up Technique | A New Hidden Gem Using Vary Region
Master Your Product Mock-Ups Using Midjourney
Have you ever had that pesky mock-up image pop into your Midjourney image results? … and it’s the BEST image of the four? With this newly discovered tip you will learn how to pull that image off the mock-up so you can use it in your design. I’m calling it “Midjourney Mock-Up Reversal”
OK … I wanted to use the subtitle of this article as the main title but this is only one piece of using Midjourney for mock-up design. Maybe I’ll have enough tips to create a series :)
Back in July I wrote an article about replacing the word “t-shirt” in your Midjourney tshirt design prompts with “clipart” for more consistent non-mocked-up image results. The downside to doing so is the designs tend to lose some of the Midjourney “WOW” factor and fall a little flat. Using chaos values can fix that, but that’s not what this article is about RIGHT!? :)
Now you can use t-shirt any way you like and NEVER fear the gorgeous mockup results.
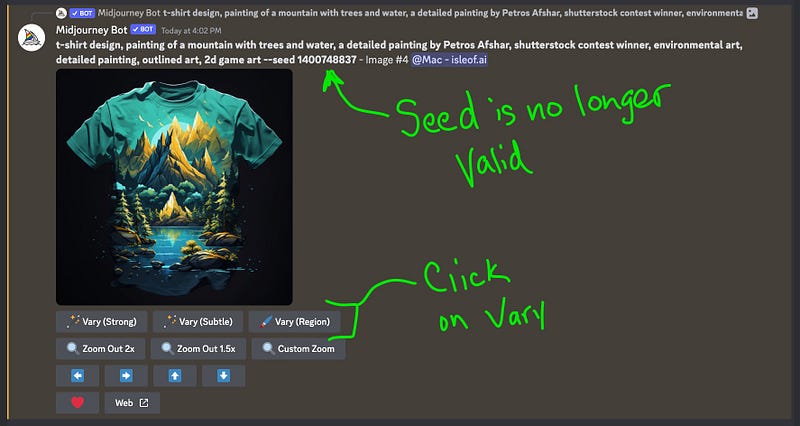
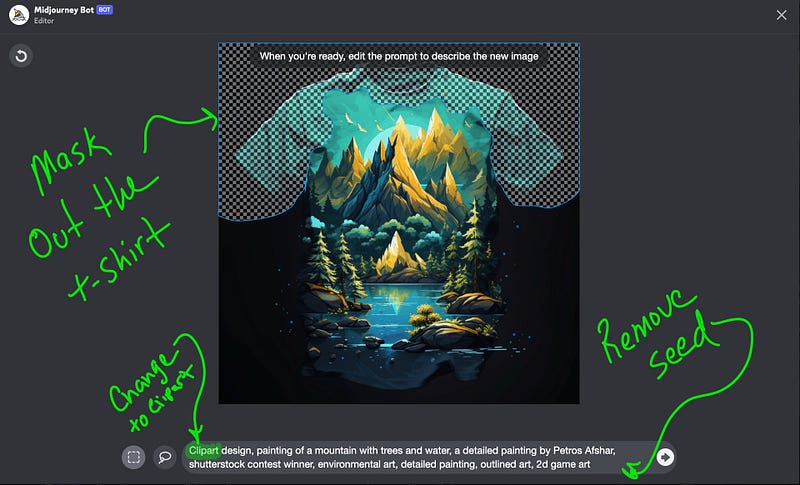
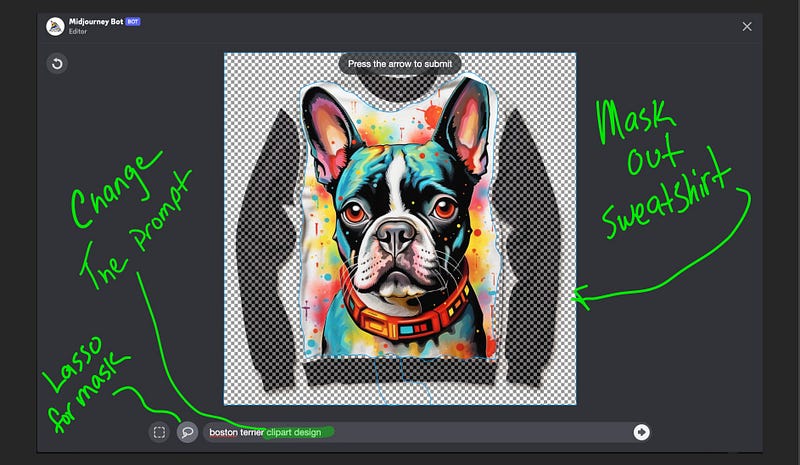
We’re going to use Midjourney’s “Vary (Region)” feature to mask out the unwanted mock-up and re-generate a new image with the image we want and pull it from the mock-up. There’s some amazing power in this technique, and it produces amazing results.
I wanted to use the same prompt and seed as the example I used in the article mentioned above, but it’s no longer working. There are two possible reasons.
- Midjourney docs states the seed is not static, so it doesn’t stay the same between sessions. I’ll be honest, not sure I understand that completely as I have had seeds work several weeks later. BUT …
- The reason that makes more sense to my brain. When trying to generate the same four images I just hit the refresh/reroll button with the seed in the prompt. MISTAKE! What I did there was, I told Midjourney to “remix” the prompt and it generated a NEW image using that seed. The seed is now returning the duplicate to the new reroll. Lesson Learned :)
Soooo … I’m going to use it as the example anyway since I only needed the upscaled version of a mock-up. Later in the article I include two examples you can use to practice this technique and if the seed no longer works on those, it will still continue to produce images you can test with because the prompt itself generates mock-ups.
Full disclosure, the prompt used in this example was pulled from the Midjourney public feed and not something I would have used to create a t-shirt design. It works though :)
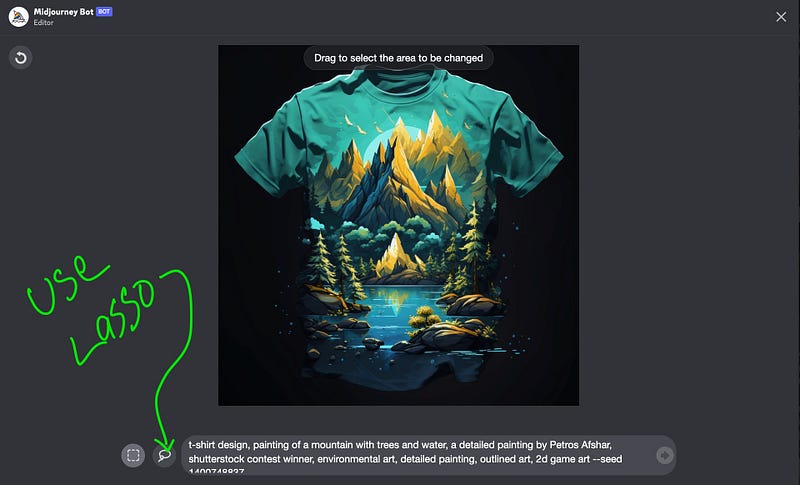
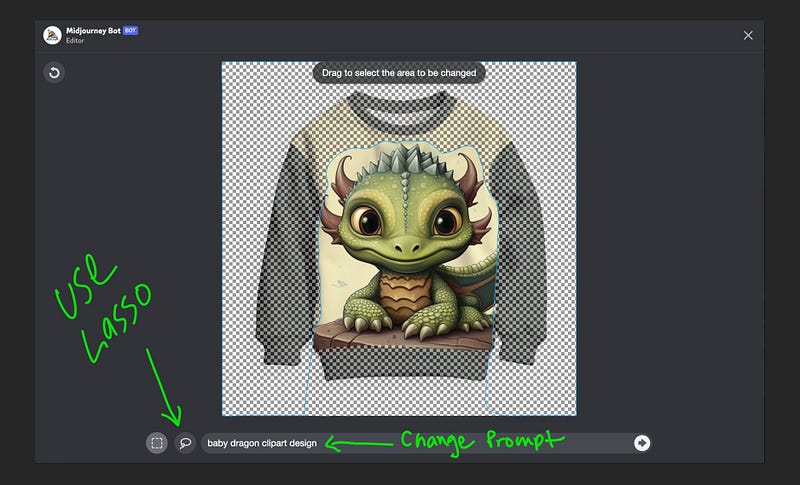
This technique will be easier on a tablet with a pencil/stylus or tablet on a computer because we want to use the lasso tool for more precision in the mask. It can be done on a phone, but depending on the precision control you have with your fingers, it may be frustrating at the start and require more practice. I call it a mask, but it’s not really a mask. You’re just marking the area you want Midjourney to change. If you make a mistake on a selection there’s a redo button in the upper left of the screen.
TIP: You can make multiple selections and your selections can over lap. Also, don’t fear cutting too far into the image, in fact you may get better results if you do. Midjourney will always regenerate what you remove.
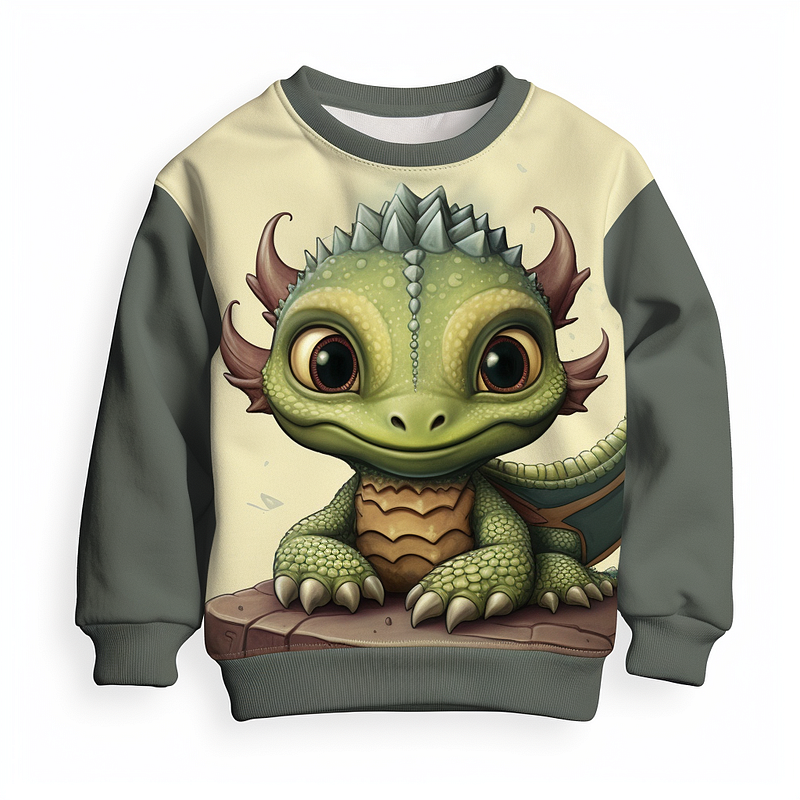
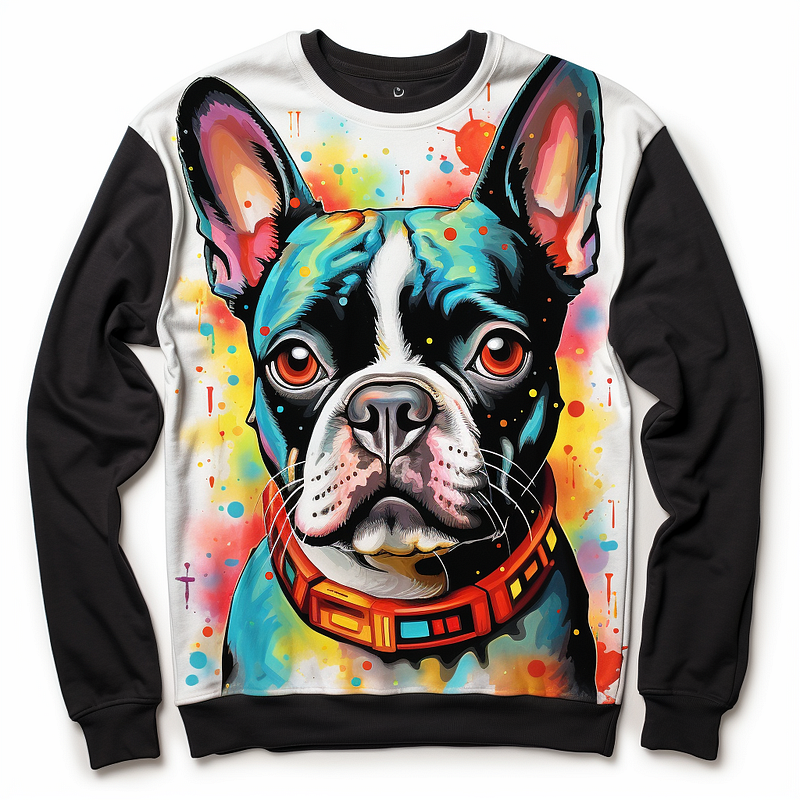
And presto CHANGO … you have just recovered the image and the mock-up is GONE!
Next I’ll take you through two more examples. One is relatively easy, and the other was more challenging because of higher mock-up detail.
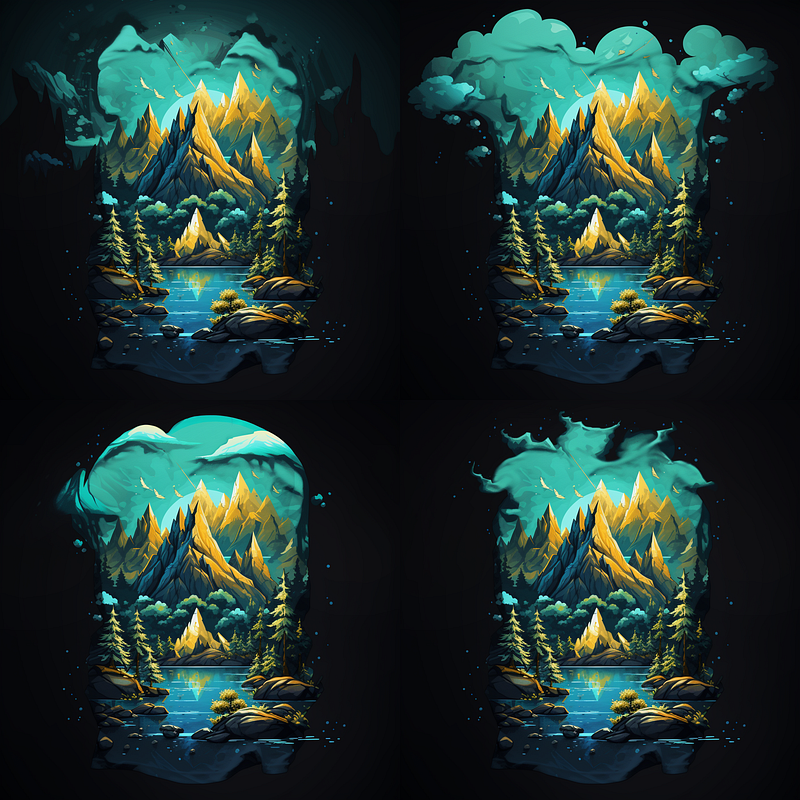
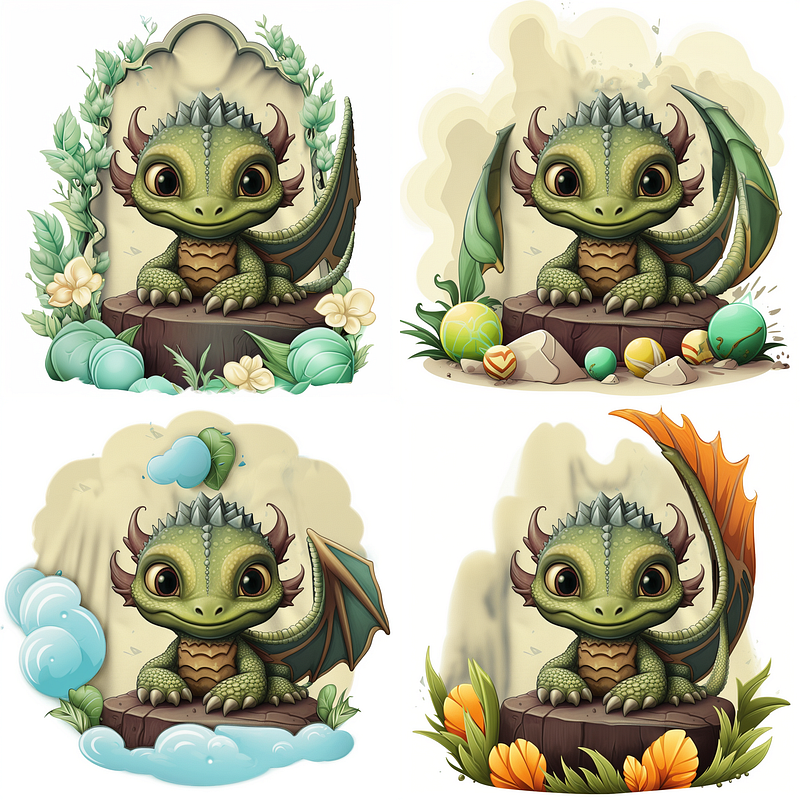
We have a baby dragon and a cute Boston terrier sweatshirt prompt. Except it’s not really a usable prompt unless you want a mock-up LOL
We’ll start with the baby dragon (it’s the easy one ;) the prompt and seed are …
baby dragon sweatshirt --seed 1623472783
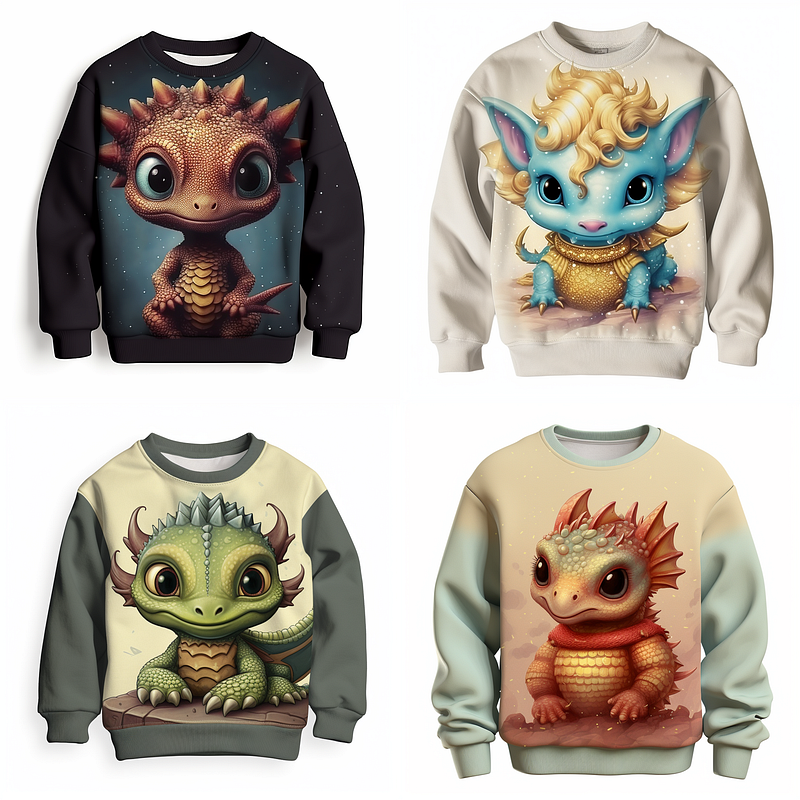
After upscaling, click on the “Vary (Region)” button and use the lasso to mark off the sections of the sweatshirt. Remember, you can make multiple selections in order to select all the area you want regenerated. Don’t forget to change the prompt by removing “sweatshirt” and adding “clipart design” to ensure you get an image useable for printing on t-shirts, sweathsirt, and hoodies at your favorite print on demand supply.
YES! amazing results, just look at these cuties! Some are a little under developed or mutant, slightly 🤣 but hey, that’s why you have the refresh right?

Are you ready to stretch your Midjourney skills?
This next one has a lot of shirt detail and my first attempt didn’t produce useable results. I continued to chip away at the selection area and found the best results when I pulled the re-gen area in as close to the dog as possible without losing too much of the color detail I wanted for Midjourney to pickup on. I skipped to the final, after the start if you’re wondering about all the “chipping” away edits. ;)
The prompt and seed used …
boston terrier sweatshirt --seed 2968508186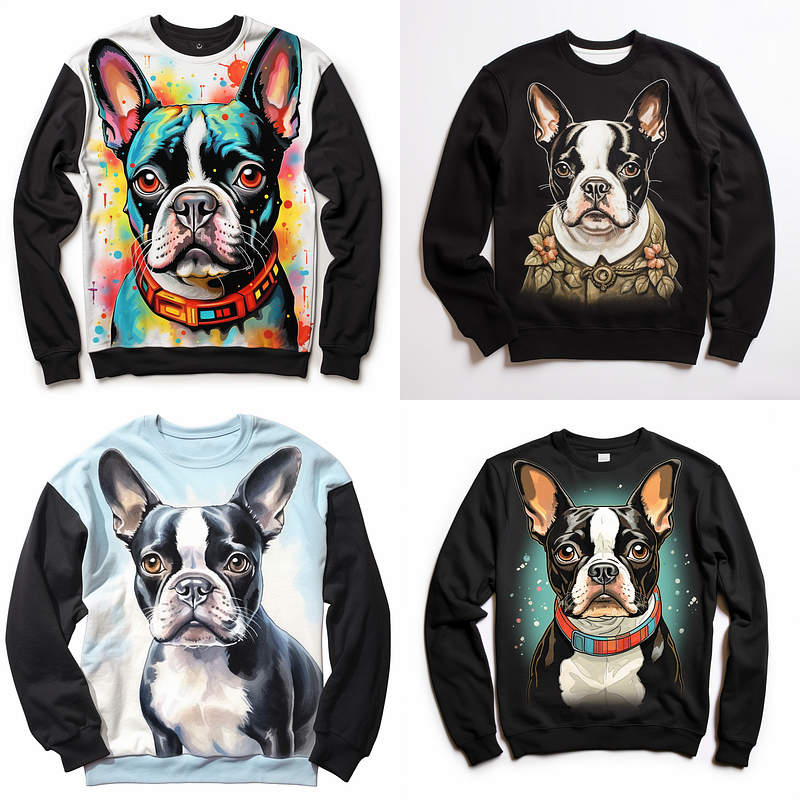
This is my first attempt. I removed the shirt but left the color as I hoped to get some of the color back in the final. BUT … as you can see, NOPE.
I guess if you wanted some cool circular sticker designs, these would work. Still a pretty cool re-gen, but Midjourney picked up too much of the sweatshirt design, and well, that’s what we’re trying to remove.
Here’s where you come into some of the Midjourney magic. If you go back to your upscaled image and click the “Vary (Region)” again, you’ll see your selection is still marked along with the prompt change that generated it. Best of all … you can continue to edit the region and resubmit until you get what you want. Even change the prompt if it’s not generating what you want.

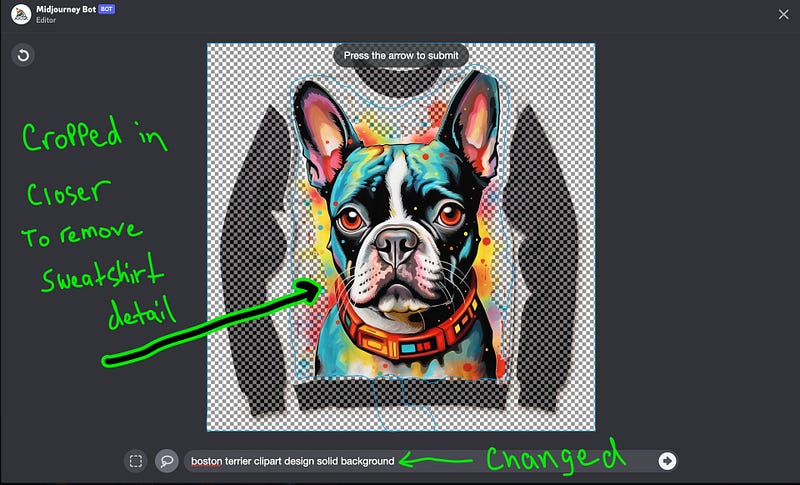
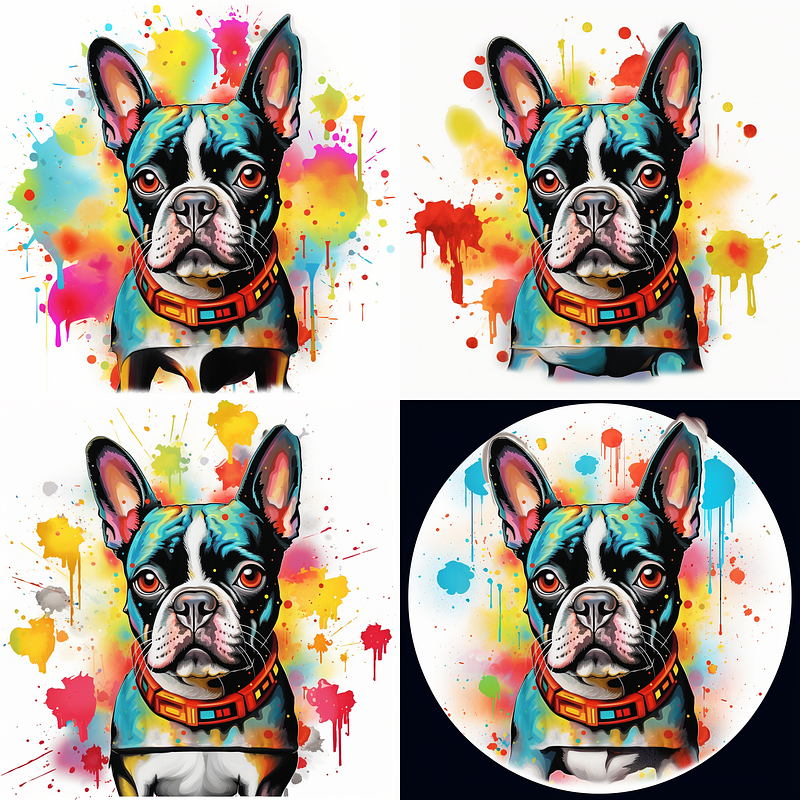
Here I show you the last edit and how close-in the cropping had to be in order to remove the sweatshirt detail messing with the re-gen. I also changed the prompt by adding “solid background” hoping Midjourney will pickup “I don’t WANT that sweatshirt IN THE DESIGN ANYMORE” 🤣😅🤣
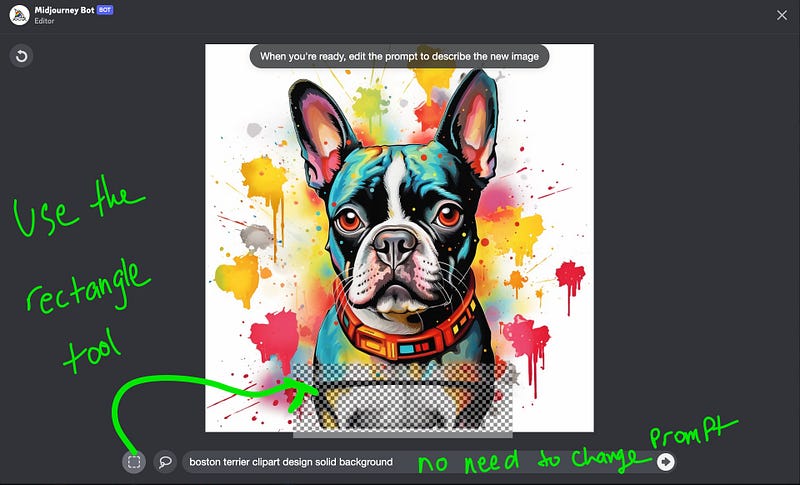
We’re almost there, we still got that pesky circle but any of the other three can be used and fixed with another “vary (Region)” reroll. I’m going with image #3 and will just use the rectangle tool on the edit screen to mark an area around the legs.
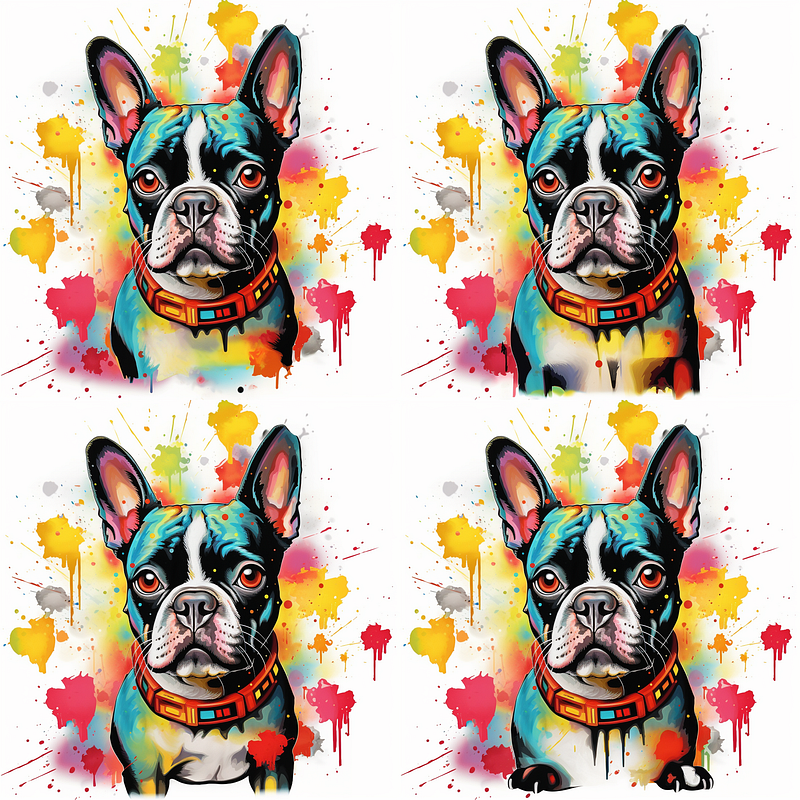
There you have it … three of the four are useable. Unless you like the strange feet on the fourth LOL
If you appreciate this article, here’s what you can do for me …
👏 Clap for this article 🎨 Follow me (button on profile) 💌 Subscribe to stay updated! It’s free!
Head over to my Instagram and share your art in a DM
ENJOY!


