
Midjourney Fun With “Pan” and “Zoom Out”
The “Pan” and “Zoom Out” features of Midjourney allow you to expand an upscaled image in a specific direction or in all directions.
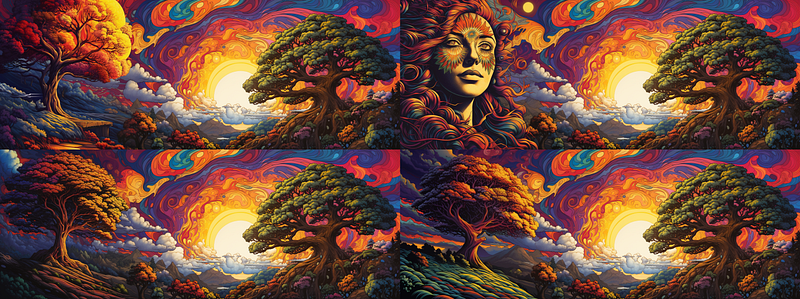
Below we begin by panning left on the upscaled image shown.

When I did the left pan, I did not change the prompt, so there are second trees on quad numbers 1, 3, and 4. Number 2 is an example of how Midjourney just likes to randomly throw a woman into your image for no apparent reason. In this case, it is very cool, other times one just has to ask WHY?!
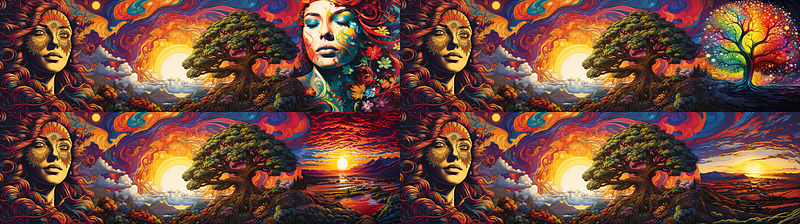
Since #2 is interesting I decided to upscale it and panned right, again without changing the prompt, and again one woman, an extra tree and a couple of sunsets, notice we now have two sun.
Some base images lend themselves more to panning, in most cases, you do want to consider how your prompt may need to change to get the pannings to work properly without undesirable repeating elements.
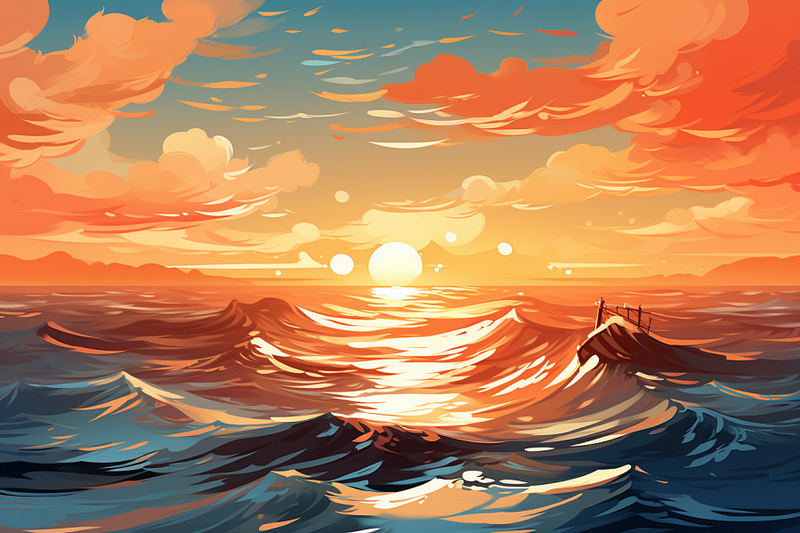
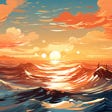
Starting with my base image, I used the “Pan” feature to extend the view to both the left and right. I changed the initial prompt to just “ocean” to avoid multiple suns appearing in the extended scenes. Intriguingly, Midjourney took some creative liberties, adding elements like a ship and a lighthouse to the landscape. These were not things I explicitly requested; they were simply the AI’s interpretation of what might naturally belong in such a setting.

When you use the “Pan” feature, the resulting image often exceeds the standard size constraints. For example, the final image size in one of my tests was 4032x896 pixels. This can be very handy if you wish to have a larger image size. Keep in mind that if you subsequently use the “Zoom” or “Make Square” functions, the image will revert back to a 1024x1024 resolution, potentially sacrificing some finer details. If you’re planning to use any of the “vary” options on a panned image, you’ll first need to select either “Zoom” or “Make Square” for those options to become available under the “Upscale” menu.
Panning is generally more forgiving with simpler landscapes, like oceans, but can be trickier with complex scenes, like countryside. One challenge I’ve encountered is that the area where the image extends can sometimes be glaringly obvious. This usually requires some prompt adjustment and rerolling to achieve a more seamless extension.
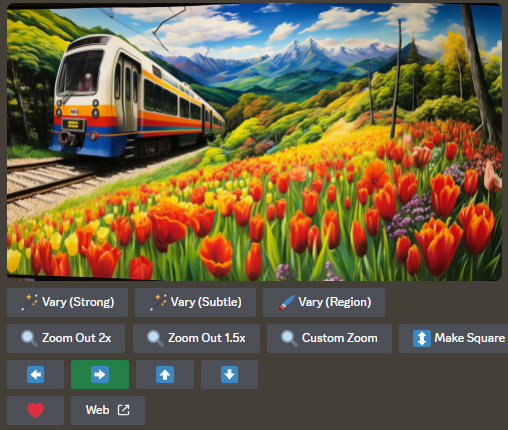
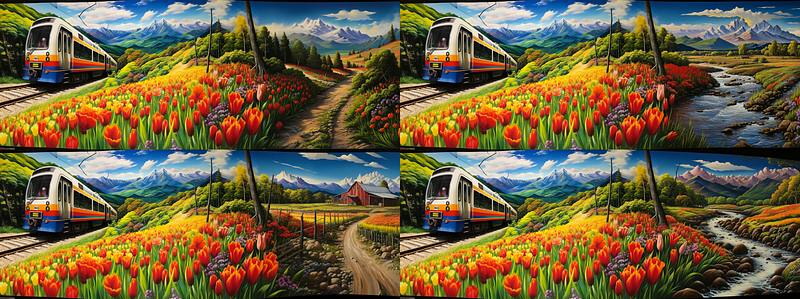
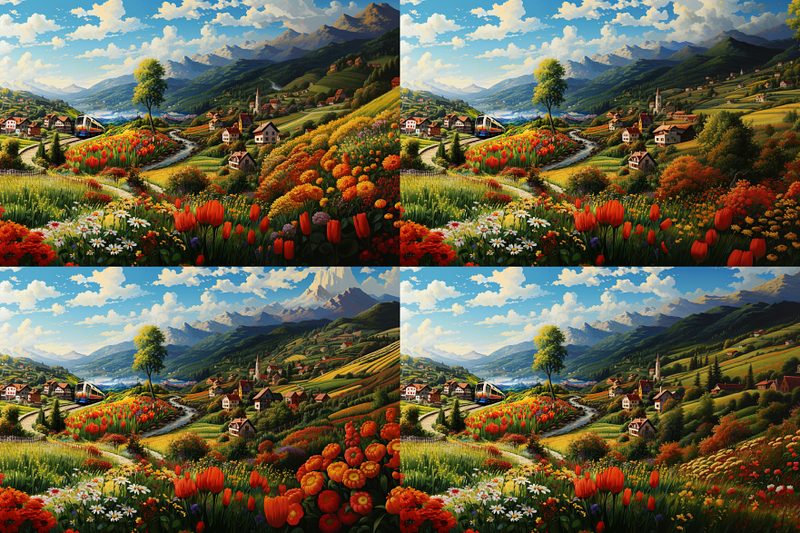
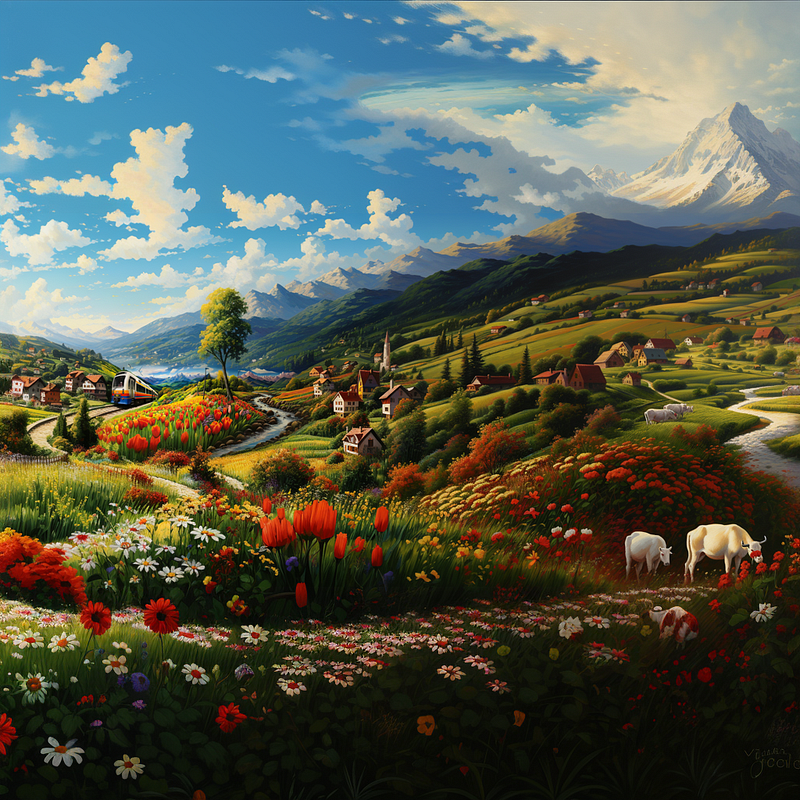
For example, my initial image was prompted by the phrase “A train is traveling through the countryside.” To avoid duplicating trains in the panned versions, I modified the prompt to just “countryside,” letting Midjourney fill in the details. Interestingly, the AI seemed to place the scene in what appears to be Europe, adding an unexpected twist to the landscape.
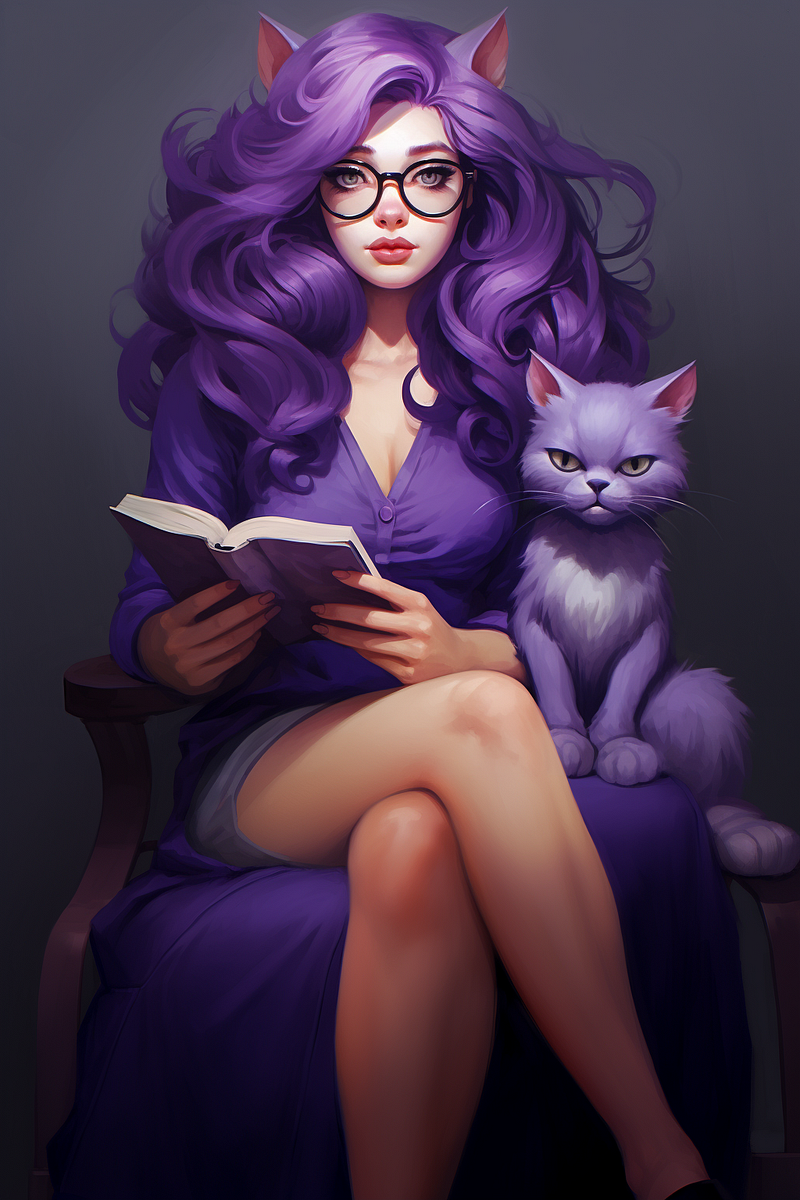
This image below is panned right one time. You can see the original unpanned image at the very end of this article below the final image in this set of explorations.
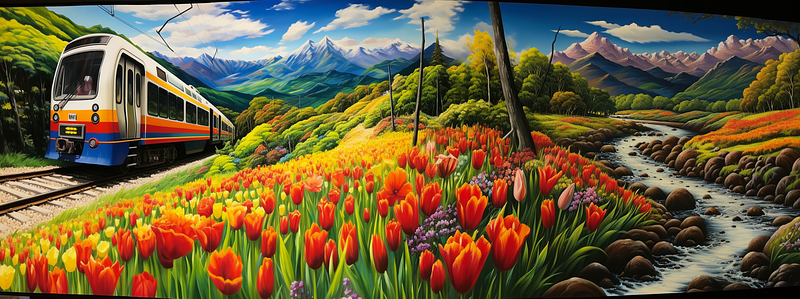
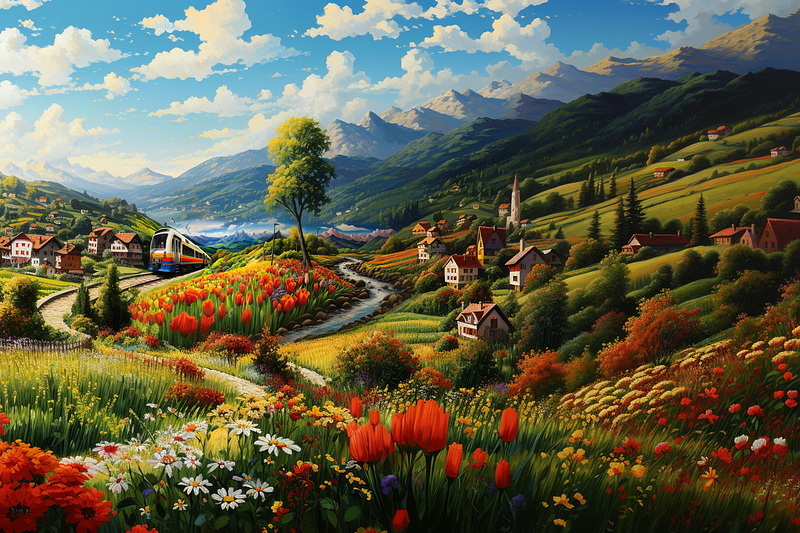
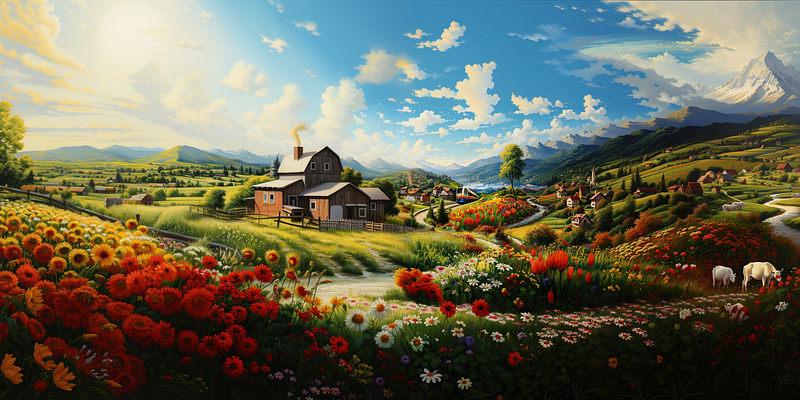
For some variety, I decided to take the upscale and use “zoom out x2” on it. Notice how the original upscale part of the image is much smaller now and loses a bit of definition, and at the same time so much more has been added to the picture in all directions.
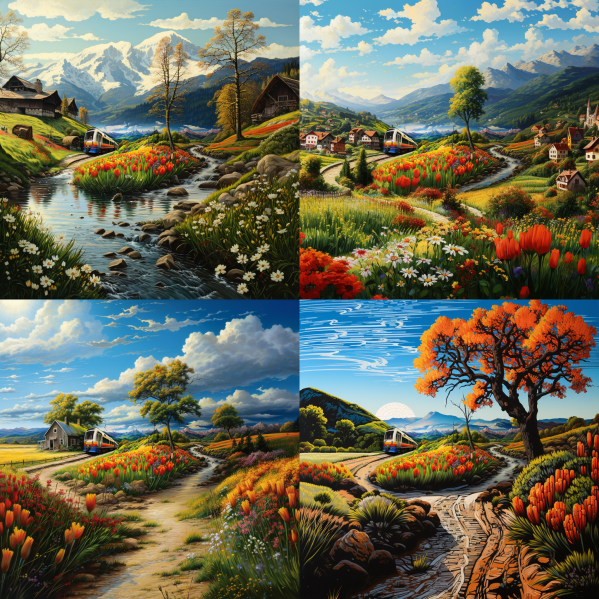
I loved the image right here but being an explorer I just had to pan right to look at those houses and what else might be out there.
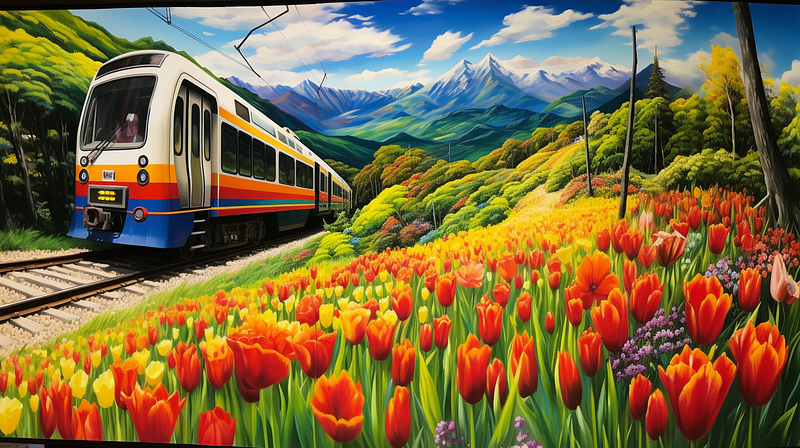
It just keeps getting more interesting so I panned right again.
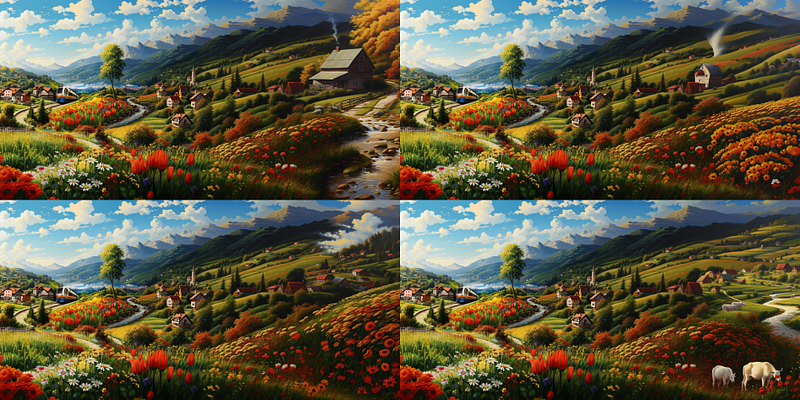
And finally, one last “Zoom out” to bring in more sky and foreground.
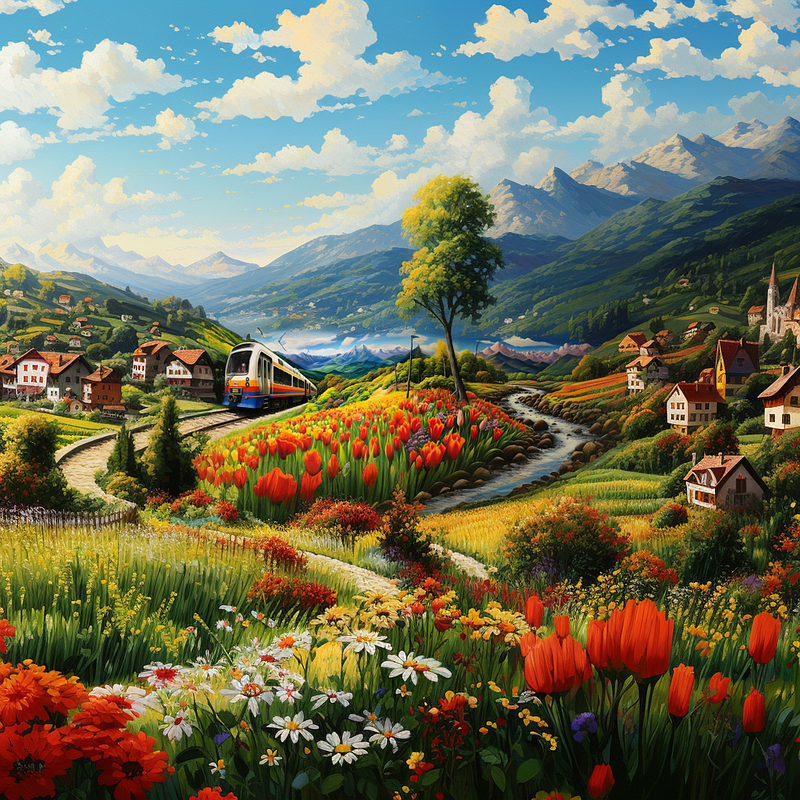
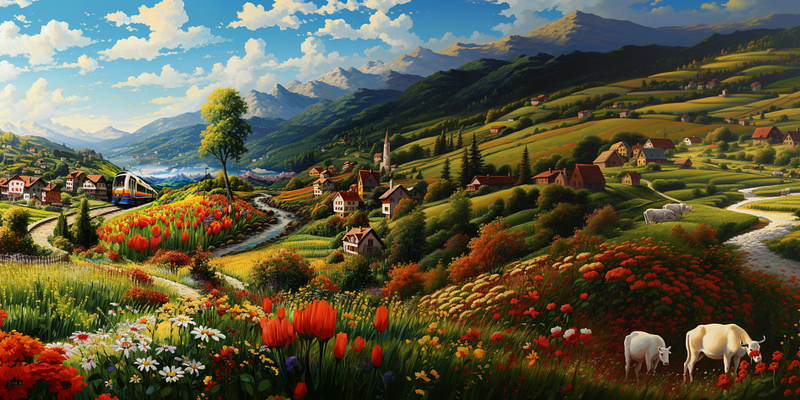
And one two gratuitous lefts pans for balance and here we have
More practical purposes for Pan and Zoom Out
The “Pan” and “Zoom Out” features are not just for making dramatic alterations; they are also great for fine-tuning your image. For instance, if Midjourney tends to crop out the top of a subject’s head or hat, the pan function can help you include those missing elements. Having a little extra room in your image offers the flexibility to crop it down later to exactly what you want.
This is particularly handy given Midjourney’s tendency to center subjects squarely in the middle of the frame. Utilizing the “Pan” feature allows you to adjust the composition to better align with principles like the rule of thirds, thereby creating a more visually appealing result. Using “zoom out” gives you more area all the way around the picture for additional cropping space.
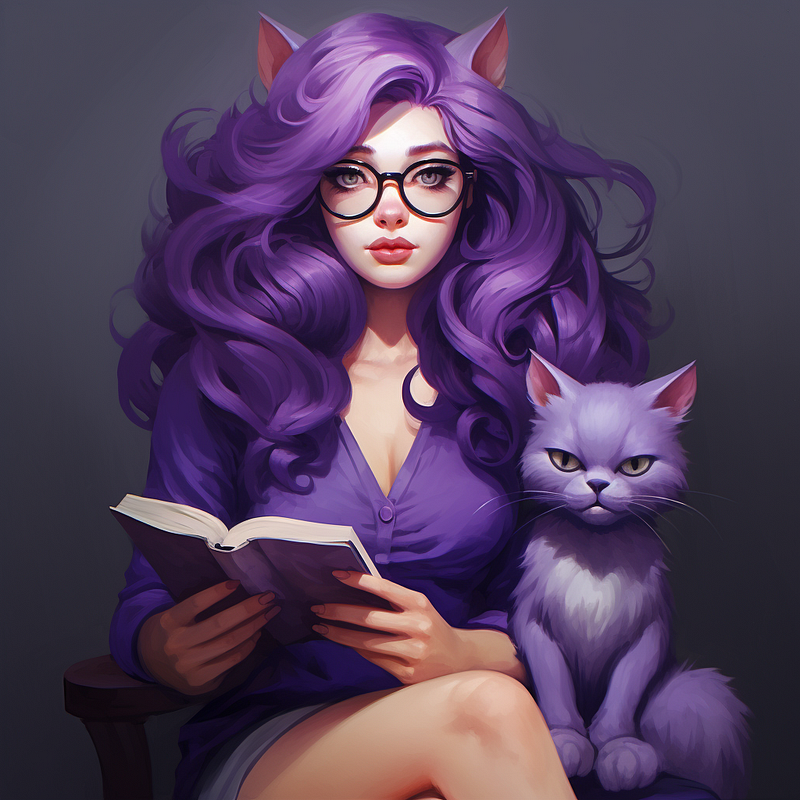
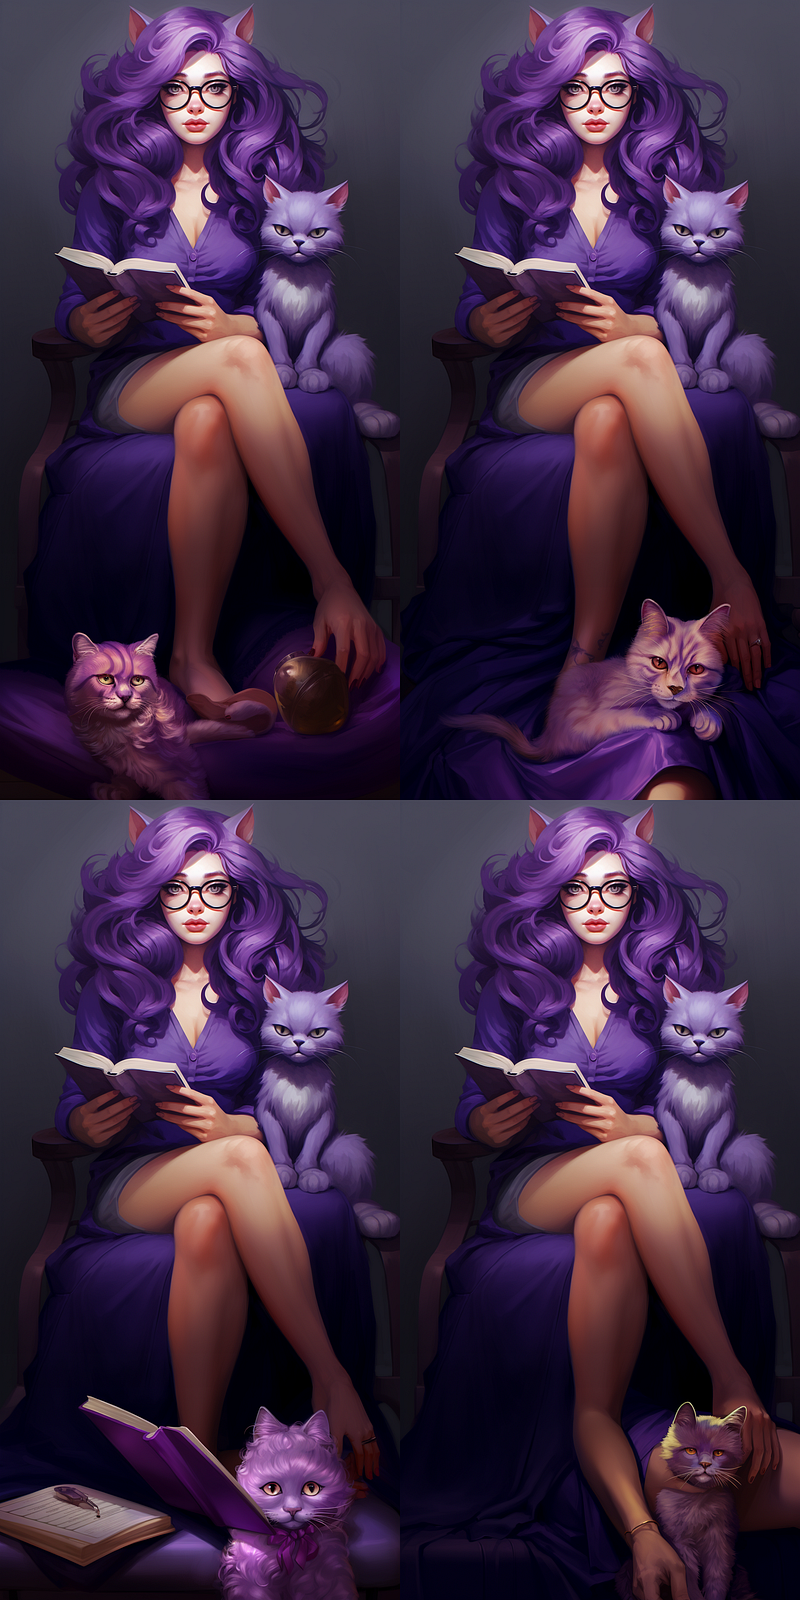
After one more “Pan Down,” the resulting image featured some rather odd-looking feet and additional cats. This is fairly common with panning and zooming, one must take it in stride and look first at the pan prompt to see what can be better. Occasionally I have just used a period in the field and nothing else, it is not possible to leave the field blank.
To address the issue of the oddly-rendered feet, I took a different approach. I completely cleared the existing text in the pan prompt window and replaced it with “deep-purple-shoes.” While this method improved the situation, the results weren’t perfect, showcasing the trial-and-error nature of working with AI-generated imagery.
About the hyphens — I often use hyphens to link adjectives and nouns or other qualifiers, ensuring they’re applied specifically to the intended object rather than the entire scene.
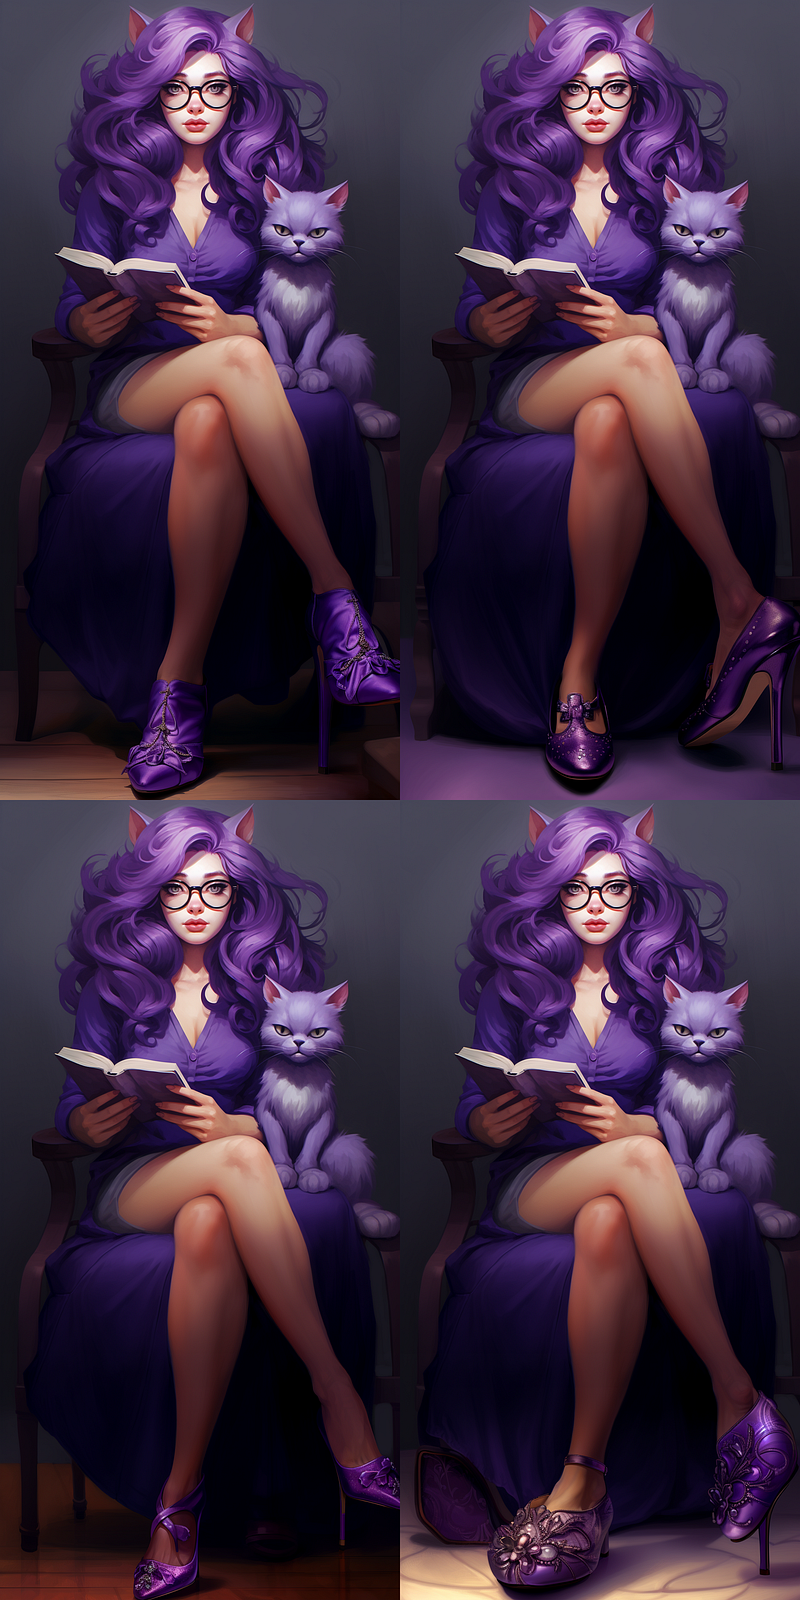
Option #1 on the top left appears to be the best fit for my needs. While the other choices could potentially be fine-tuned using the “vary(region)” function, activating that option would first require either “Zoom Out” or “Make Square” to be enabled. For this project, I’ve decided to proceed with option #1. To give myself more flexibility in the post-editing stage, I’ll use a 1.5x “Zoom Out,” which will expand the background and offer more room for precise cropping later on.
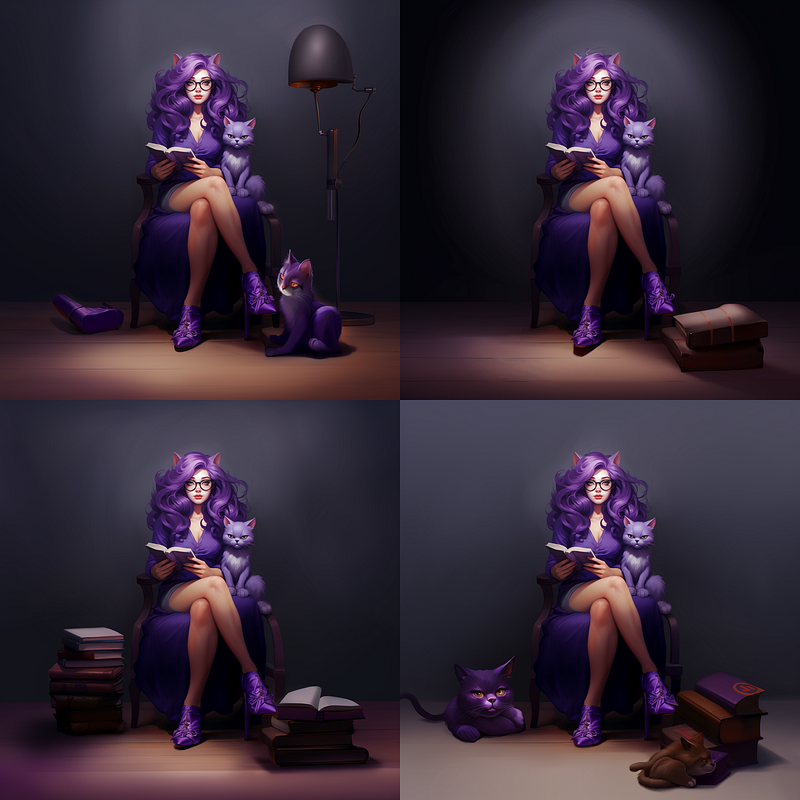
Having zoomed out 1.5 it would now be possible to vary region and make any corrections to the scene. I am satisfied with it as it is so I will leave it alone. I added the white frame to this final upscaled image to show how much we were able to add with a few clicks and generations. I noticed that one of her heels is super long, which could be fixed in vary(region) but it is a much quicker fix in Photoshop so I would fix that in post-work on the image.

In Conclusion
Thank you so much for taking the time to read through this guide. I genuinely hope you found it insightful and beneficial as you navigate the world of Midjourney. If you’d like to stay updated on future articles and dive deeper into this fascinating set of generative art tools, please do follow me here on Medium.com. Your support means the world to me, happy creating!
A Message from AI Mind

Thanks for being a part of our community! Before you go:
- 👏 Clap for the story and follow the author 👉
- 📰 View more content in the AI Mind Publication
- 🧠 Improve your AI prompts effortlessly and FREE
- 🧰 Discover Intuitive AI Tools


