Master Photography Class Week 3: Fundamentals of Photography
Let’s Go!
Welcome back to my Master Photography Class! I am excited to share this weeks lesson and to share the gift of photography with you.
Let’s go:
First of all, if you are new to my Medium page, welcome! Thank you for choosing to join me, and I hope that you enjoy this new course in addition to all of the other knowledge and stories that I share here.
If you are joining me for the first time for a class, and are new to my page here on Medium, please register for the class to get access to all of the resources here:
By registering for the full class, you not only get access to the weekly post here, but you get access to personalized resources on my Discord server where you can share your work and get feedback.
You also get access to become part of a community of dedicated and supportive photographers so that you can grow and learn from others.
Once you register for the full course, please make sure that you are also a Medium member to get access to all of the weekly lessons.
If you are not already a Medium member, you can sign up here: https://medium.com/@charlienaebeck/membership.
And once you sign up, don’t forget to jump aboard my email list on the right side of my Medium page so that you get the posts in your email box also.
Now, on to the meat and potatoes!
Let’s go!
Lecture: The Fundamentals of Photography

Photography is a beautiful art form that allows us to capture moments, memories, and emotions that will last a lifetime. Whether you’re a beginner or an experienced photographer, mastering the fundamentals of photography is key to creating amazing images.
Today, we’ll delve into the basics of photography and provide insights that will help you grow as a photographer.
From camera types and features to understanding the exposure triangle and the importance of composition, let’s explore the fundamental building blocks of photography.
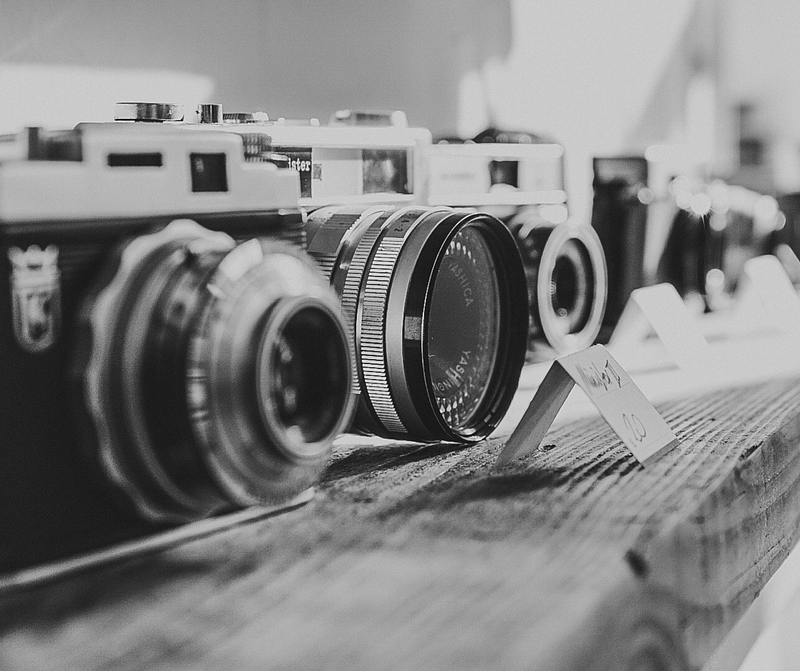
Camera Types and Features Choosing the right camera for your photography needs is an essential part of getting started in photography.
There are three different types of cameras available, including point-and-shoot, mirrorless, and DSLR cameras in 2023.
In the history of photography, you will also read about large format, medium format, and SLR cameras.
While large format, medium format, and SLRs are great to experiment with, these days most photography is done in the digital realm.
Each camera has its unique features and specifications, so it’s crucial to understand which camera suits your photography needs.
When choosing a camera, three main factors come into play to help you get the most out of your camera, and to make the images that you love:
- The size and weight of the camera: If the camera is too large or too heavy, you are not going to want to pick it up. And also, imagine what you are going to use the camera for. Sometimes a lightweight camera is called for, while others a more sturdy and heavy duty camera is needed.
- Your budget: Let’s face it, new cameras are often not cheap. Searching for the right camera for you that falls into your budget might be one of the most rattling things, yet once you realize that it is you that makes the images with your new skills in this class, and not the camera, a world of possibilities open up. Set your budget based on what you can afford. A lot of folks will tell you that you need a $2000 camera, and quite frankly, you don’t.
- What you will be photographing: If you are a sports photographer for example, you will need a different rig than if you are a portrait photographer. And if you are a street or travel photographer, you will also need a different set up than if you are a birding or landscape photographer. Sit down and look at many different styles of photography to decide what you are interested in, and then choose wisely at your local camera shop for the best camera that fits those needs.
Once the camera has been chosen, you will need to know how to operate it. Let’s explore the exposure triangle together.
The exposure triangle is a crucial concept in photography that refers to the three main elements that control the exposure of a photograph: aperture, shutter speed, and ISO.
Understanding how these three elements work together can help you achieve the correct exposure for your images.
Aperture, Shutter Speed, and ISO Aperture, shutter speed, and ISO are the building blocks of exposure, and mastering them is essential to creating excellent photos.
Aperture controls the amount of light that enters the camera, shutter speed determines the duration of exposure, and ISO adjusts the camera’s sensitivity to light.
Knowing how to use these settings correctly will help you create stunning images.
Aperture numbers range from F 1.4 to F32 on most modern digital cameras.
The lower the number, the more light that enters into your camera. The higher the number, the less light that enters into your camera. This is called opening up, or stopping down in photography.
The aperture also controls what is called depth of field in photography. This is the amount of blur in the background of your subject, or the amount of the image that is in focus.
A low F-stop or aperture will produce a blurred background with what is called a shallow depth of field, while a higher number F-stop or aperture will produce a sharper background with more in focus that is called a large or deep depth of field.
Tip: If you are ever confused as to where to set your aperture, think about a tip that my Grandma (who was also a photographer) gave me. She said “F8 is great.” This stuck with me through 33 years of photography, and if you think about it, it is the middle of the road with apertures.
You can always take a photo and see what it looks like on your camera and make a decision for a higher or lower F-stop/aperture to achieve what you want to see in your images.
And if you like my Grandma’s slogan, I made t-shirts for it over on my site after teaching students in over 70 different countries these days:
When you set your aperture, the depth of field and focus play a vital role in photography, affecting how much of your image is in focus and where the focus lies.
Understanding these concepts and how to use them creatively can help you create images that capture your intended subject in the way you want.
Shutter Speed
The shutter speed of your camera is based on time. When you set a very slow shutter speed for example (1/60th or below), you will hear a very slow click from your camera. Inside your camera is a physical or electronic curtain that moves when you push the button to make a photo. With your shutter speed you can control how fast it moves.
Slow shutter speeds as I mention are generally used on a tripod and can be used to capture things like movement in light painting, a night sky, or creative effects.
Fast shutter speeds on the other hand are used to freeze motion. If you want to stop most average subjects, a shutter speed of 1/250th or above will do the trick. If you have a faster moving subject that you wish to capture, don’t worry, your shutter speed often reaches 1/4000th or 1/8000th of a second on your camera.
We will be experimenting more with shutter speeds and how to use them in the upcoming sessions together.
ISO
ISO has to do with the sensor that is inside your camera with how sensitive it is to light.
If you set your ISO low, it will mean that it receives less light. This can be a great way to combat a very bright sunny day with an ISO of 100 for example.
If you set your ISO high, it will mean that it receives more light. This can be a great way to get a hand held shot at night time, or in low lighting conditions.
Be aware that the higher the number on your ISO that it can produce what is called noise or grain in your pictures. This can be seen as a creative effect in some photography circles, or in old time photography it was seen as a non-quality photo by raising the ISO too high.
These days, there are no such things as right or wrong when experimenting with ISO, and most modern digital cameras will handle high ISO with ease.
We will be diving into many experimentations with ISO in our coming sessions as well.
Composition and Framing
Composition is the art of arranging the elements in your photograph to create a visually appealing image.
Understanding composition techniques such as the rule of thirds, leading lines, and framing can help you create stunning photos that capture the viewer’s attention.
On most modern cameras, you will see a grid that is on the screen. If you don’t see one, a lot of times you can turn it on in your camera or phones settings. This is what is called the rule of thirds, and is there as a guideline for you to make pleasing compositions.
Leading lines can be things like a road, sidewalk, a row of trees in nature, a fence, or anything that can literally form a line. They are used in composition to draw your eyes to a particular point or subject that you want your viewer to pay attention to.
Framing is what you include and what you do not include in your images. One of the mistakes that I see most students making a lot is to include “everything” or too much in their photographs. Less is more in photography, and making a decision to include or remove something from a photo can often strengthen or break a great shot.
We’ll be exploring these composition techniques and more in the upcoming sessions together.
Mastering the fundamentals of photography is an essential step towards creating beautiful, compelling images.
Understanding modern camera types and features, the exposure triangle, aperture, shutter speed, ISO, depth of field and focus, and composition and framing are crucial building blocks for any photographer.
By mastering these skills, you can unleash your inner creativity and take your photography skills to new heights.
So grab your camera, explore these fundamentals, and let your creativity run wild!
IMPORTANT:
This class will have a new post here on Medium once per week on Saturday mornings at 7am EST to be exact. You can expect a new lesson like clockwork! Make sure to mark your calendars to give yourself a couple hours each week to study the lessons and to do the homework to get the most out of this course.
Assignment for week 3:

This week, your assignment is simple, get out your camera, and start to explore the buttons and functions.
Most cameras will have a mode wheel on the top that allows you to switch the functions or settings on the camera.
A lot of the modern digital cameras have several settings for automatic modes, and they also have settings for manual mode.
Pick your favorite settings in automatic mode that you feel comfortable in, and make 10 different images in them.
Then, switch to one of the M, A, S, P, (also M, Av, Tv, or P on Canon) modes and play with the aperture, shutter, and ISO to understand the differences explained above in the settings. Make an additional 10 photographs in these settings.
If you are registered for the full class, jump over to the class Discord, and post your results from this weeks assignment, and tell us about the photographs that you made, and what you learned from this assignment.
If you are not already registered and would like to register to take advantage of all of the resources in this class, you can sign up here:
Thank you for joining me in this journey, and I can’t wait to see you win and to see what you create!
Have a great week, and happy shooting!
Charlie https://www.charlienaebeck.co