
Master Apple Shortcuts: Create Powerful Automations in Minutes!
Setting up an automation within Apple Shortcuts can help you streamline repetitive tasks and improve your productivity. Here’s a step-by-step guide to creating an automation:
- Open the Shortcuts app: Locate and open the Apple Shortcuts app on your iPhone or iPad.
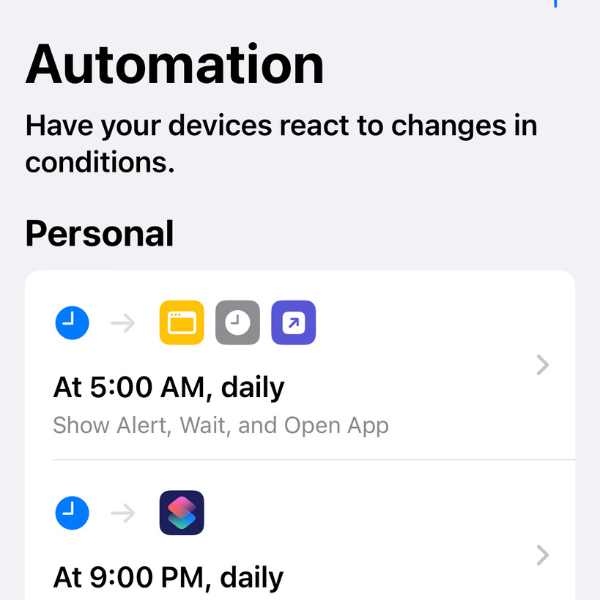
- Navigate to the Automation tab: At the bottom of the screen, tap on the “Automation” tab to access the automations section.
- Create a new automation: Tap the “+” icon in the top-right corner to start creating a new automation.
- Choose the type of automation: You’ll see two options — “Personal Automation” and “Home Automation”. For this guide, select “Personal Automation” to create an automation that applies to your device only.
- Select a trigger: Browse through the list of available triggers, such as “Time of Day”, “Arrive”, “Leave”, “Before I Commute”, “Wi-Fi”, “Bluetooth”, and more. Select the trigger that best suits your automation scenario.
- Configure the trigger: Depending on the trigger you chose, you might need to provide additional details. For example, if you chose “Time of Day”, you’ll need to set the specific time for the automation to run.
- Tap “Next”: After configuring the trigger, tap the “Next” button in the top-right corner to move on to the next step.
- Add actions: Now you’ll add the actions that you want the automation to perform. Tap the “Add Action” button, and search or browse for the actions you’d like to include. Tap the action to add it to your automation.
- Configure actions: Some actions may require additional configuration, such as selecting specific apps, entering text, or setting values. Make sure to configure each action as needed.
- Add more actions (optional): You can add multiple actions to a single automation. To do so, tap the “+” icon below the current action and search for another action to add.
- Reorder actions (optional): If you want to change the order of actions, tap and hold the action, then drag it to the desired position in the sequence.
- Tap “Next”: Once you’ve added and configured all the actions, tap the “Next” button in the top-right corner to proceed.
- Review the automation: Look over the summary of your automation to make sure everything is set up correctly. If you need to make changes, tap “Back” to return to the previous screens and make adjustments.
- Disable “Ask Before Running” (optional): By default, your automation will ask for confirmation before running. To disable this and have the automation run automatically, toggle off the “Ask Before Running” switch.
- Save the automation: Tap the “Done” button in the top-right corner to save your new automation.
Your automation is now set up and will run whenever the specified trigger is activated. You can edit or delete your automation at any time by navigating to the “Automation” tab in the Shortcuts app and tapping on the automation you want to modify.
I’m always looking for ways to increase productivity and create tools(Google Spreadsheets) to help digital marketers/small businesses excel at productivity. Check out some time-saving Google sheets that can help you streamline your tasks and achieve your goals more efficiently by clicking on my Gumroad site below 👇.


